Apache httpd : Webメールシステム : RoundCube2014/09/29 |
|
RoundCube をインストールして Yahoo メールのような Web メールシステムを構築します。
当例では以下のような環境で、メールサーバーは同一 LAN 内の別ホストを利用するように設定します。 またバックエンドでデータベースを使用するため、MySQL, SQLite, PostgreSQL のいずれかがインストール済みである必要があります。 当例では MySQL 互換の MariaDB を利用するよう設定します。 +----------------------+ | +----------------------+ | [ www.srv.world ] |10.0.0.31 | 10.0.0.32| [ mail.srv.world ] | | Apache httpd +----------+----------+ Postfix | | (Roundcube) | | Dovecot | | MariaDB | | | +----------------------+ +----------------------+ |
| [1] |
こちらを参考に SMTP サーバーをインストール・起動しておきます。
|
| [2] |
こちらを参考に IMAP サーバーをインストール・起動しておきます。
|
| [3] | |
| [4] | |
| [5] | |
| [6] | RoundCube 用のデータベースを作成しておきます。 |
|
[root@www ~]# mysql -u root -p Enter password: Welcome to the MariaDB monitor. Commands end with ; or \g. Your MariaDB connection id is 10 Server version: 5.5.60-MariaDB MariaDB Server Copyright (c) 2000, 2018, Oracle, MariaDB Corporation Ab and others. Type 'help;' or '\h' for help. Type '\c' to clear the current input statement. # [roundcube] データベース作成 ([password]の箇所は設定したいパスワードに置き換え)
MariaDB [(none)]>
create database roundcube; Query OK, 1 row affected (0.00 sec)
MariaDB [(none)]>
grant all privileges on roundcube.* to roundcube@'localhost' identified by 'password'; Query OK, 0 rows affected (0.00 sec)
MariaDB [(none)]>
MariaDB [(none)]> flush privileges; Query OK, 0 rows affected (0.00 sec) exit Bye |
| [7] | RoundCube のインストールと設定です。 |
|
[root@www ~]# cd /usr/share/roundcubemail/SQL [root@www SQL]# mysql -u roundcube -D roundcube -p < mysql.initial.sql Enter password: # MariaDB roundcube パスワード [root@www SQL]#
[root@www ~]#
cp -p /etc/roundcubemail/defaults.inc.php /etc/roundcubemail/config.inc.php [root@www ~]# vi /etc/roundcubemail/config.inc.php # 27行目:以下のように変更 ([password] の箇所はroundcubeに設定したパスワード) $config['db_dsnw'] = 'mysql://roundcube: password @localhost/roundcube ';
# 73行目:ログの日付形式を [年-月-日 時:分:秒] に変更 $config['log_date_format'] = ' Y-M-d H:i:s O ';
# 127行目:IMAPサーバーを指定 (STARTTLS接続) $config['default_host'] = ' tls://mail.srv.world ';
# 130行目:IMAPポート変更 (STARTTLS接続) $config['default_port'] = 143 ;
# 232行目:SMTPサーバーを指定 (STARTTLS接続) $config['smtp_server'] = ' tls://mail.srv.world ';
# 236行目:SMTPポート変更 (STARTTLS接続) $config['smtp_port'] = 587 ;
# 240行目:変更 (SMTP認証にIMAP認証と同じユーザー名を使用) $config['smtp_user'] = ' %u ';
# 244行目:変更 (SMTP認証にIMAP認証と同じパスワードを使用) $config['smtp_pass'] = ' %p ';
# 248行目:変更 (SMTP認証タイプ) $config['smtp_auth_type'] = ' LOGIN ';
# 260行目:SMTP HELO host を指定 $config['smtp_helo_host'] = ' mail.srv.world ';
# 449行目:ドメインを指定 $config['mail_domain'] = ' srv.world ';
# 467行目:表示画面のタイトルを変更 $config['product_name'] = ' Server World Webmail ';
# 470行目:UserAgent変更 $config['useragent'] = ' Server World Webmail ';
# 602行目:日本語に変更 $config['language'] = ja_JP ;
# 953行目:デフォルト文字セット変更 $config['default_charset'] = ' iso-2022-jp ';
[root@www ~]#
vi /etc/httpd/conf.d/roundcubemail.conf # 14行目:必要に応じてアクセス許可IPを追記 Require ip 10.0.0.0/24
systemctl restart httpd |
| [8] | SELinux を有効にしている場合は、ポリシーの許可設定が必要です。 |
|
[root@www ~]# setsebool -P httpd_can_network_connect on |
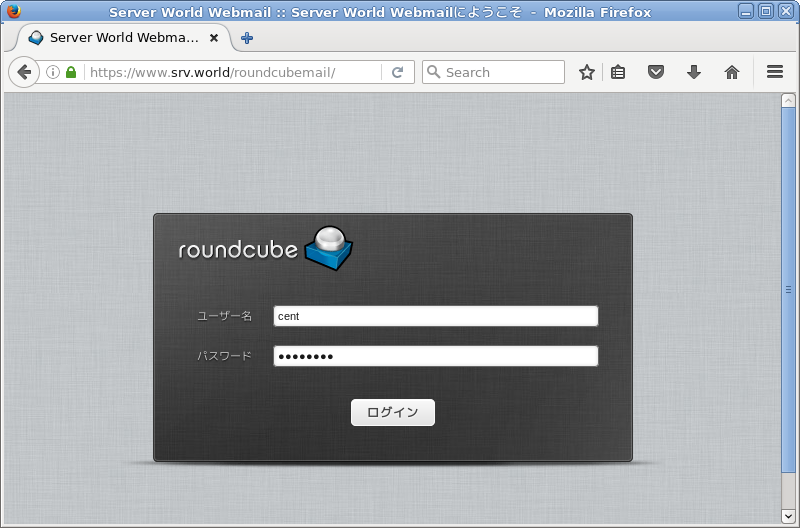
| [9] | アクセス許可したネットワーク内の任意のクライアントPC で Web ブラウザを起動し、[https://(サーバーのホスト名またはIPアドレス)/roundcubemail/] にアクセスします。 すると roundcubemail のログイン画面が表示されるので、メールサーバー側に登録済みの任意のユーザーでログインします。 |
|
| [10] | ログインできました。メールを送受信テストを実施して問題ないか確認してください。 |

|
関連コンテンツ