WebDAVの設定2010/07/24 |
| WebDAVを利用したファイルサーバーの設定です。 |
|
| [1] | 例として /home ディレクトリ直下に、ユーザー認証が必要な「security」というフォルダを作成してSSL経由のみで利用できるようにします。 |
|
root@www05:~# aptitude -y install libapache2-mod-encoding root@www05:~# mkdir /home/security root@www05:~# chown www-data. /home/security root@www05:~# chmod 770 /home/security root@www05:~# vi /etc/apache2/conf.d/webdav.conf
Alias /share /home/security <Location /share> DAV On SSLRequireSSL Options None AuthType Basic AuthName WebDAV AuthUserFile /etc/apache2/conf.d/.htpasswd <LimitExcept GET OPTIONS> Order allow,deny Allow from 10.0.0. # アクセス元許可リスト Require valid-user </LimitExcept> </Location> root@www05:~# vi /etc/apache2/mods-available/encoding.conf # 新規作成
EncodingEngine on SetServerEncoding UTF-8 DefaultClientEncoding UTF-8 CP932 EUCJP-MS AddClientEncoding "Microsoft .* DAV 1.1" ASCII CP932 UTF-8 AddClientEncoding "Microsoft .* DAV" UTF-8 CP932 AddClientEncoding "(Microsoft .* DAV $)" UTF-8 CP932 AddClientEncoding "(Microsoft .* DAV 1.1)" CP932 UTF-8 AddClientEncoding "Microsoft-WebDAV*" UTF-8 CP932 AddClientEncoding "RMA/*" CP932 AddClientEncoding "xdwin9x/" CP932 AddClientEncoding "cadaver/" UTF-8 EUCJP-MS AddClientEncoding "Mozilla/" EUCJP-MS root@www05:~# a2enmod dav* encoding Enabling module dav. Considering dependency dav for dav_fs: Module dav already enabled Enabling module dav_fs. Enabling module dav_lock. Enabling module encoding. Run '/etc/init.d/apache2 restart' to activate new configuration! root@www05:~# htpasswd -c /etc/apache2/conf.d/.htpasswd lucid New password: # パスワード設定 Re-type new password: # 再入力 Adding password for user lucid root@www05:~# /etc/init.d/apache2 restart * Restarting web server apache2 ... waiting ...done. |
| [2] | クライアント側の設定です。Windows XP を例にします。 |
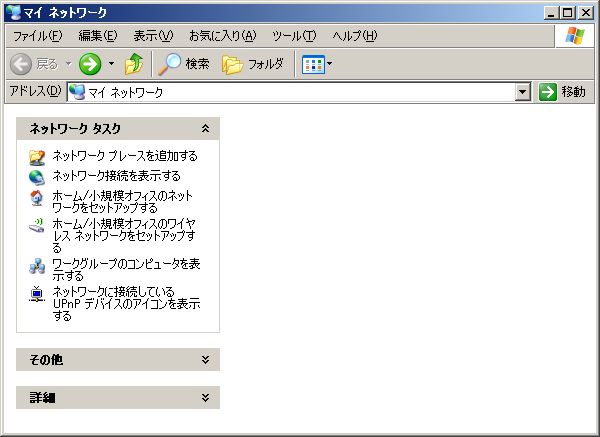
| (1) | 「マイネットワーク」を開き、1番上の「ネットワークプレースを追加する」をクリックします。 |
|
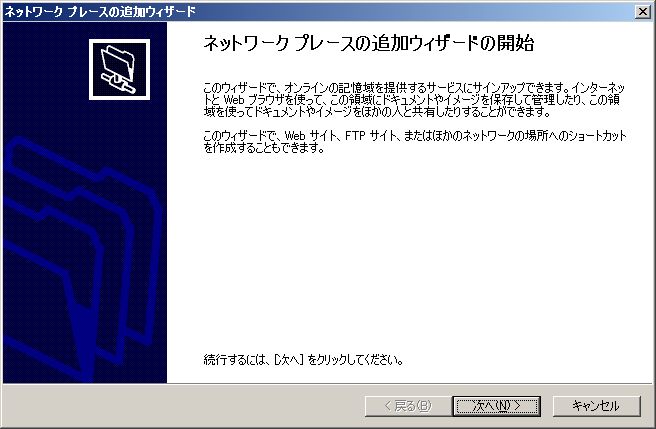
| (2) | 「次へ」をクリック |
|
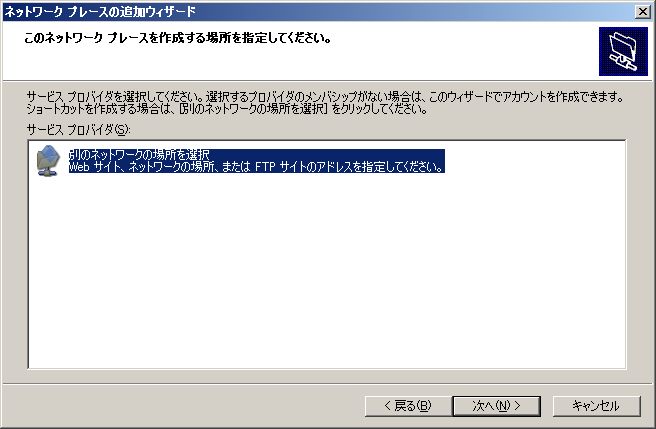
| (3) | 「次へ」をクリック |
|
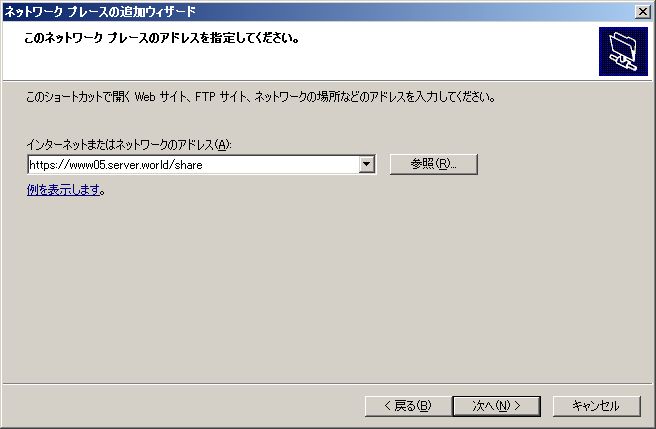
| (4) | 設定したWebDAVフォルダのアドレスを指定します。 |
|
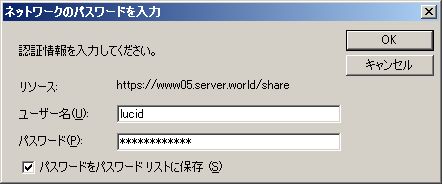
| (5) | 認証を求められます。htpasswd で追加したユーザーとパスワードで認証します。 |
|
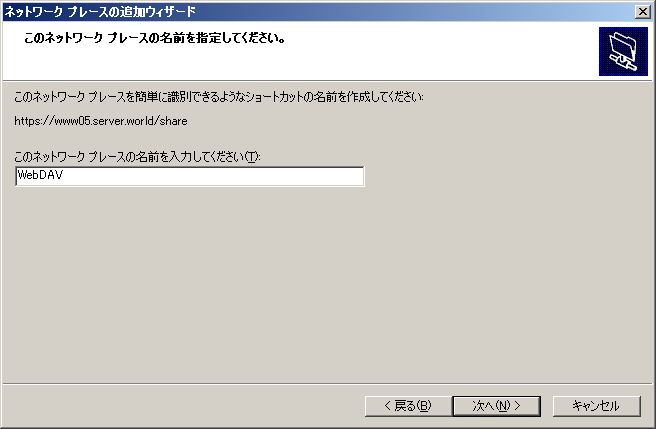
| (6) | フォルダの名前をつけます。任意のものでOKです。 |
|
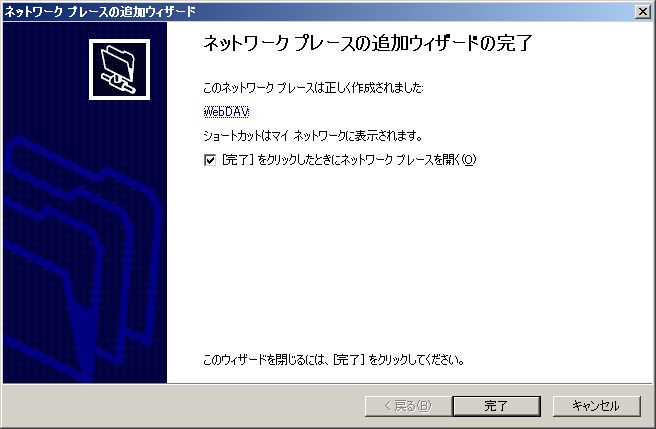
| (7) | 「完了」をクリック |
|
| (8) | 再度ユーザー名とパスワードを求められます。 |
|
|
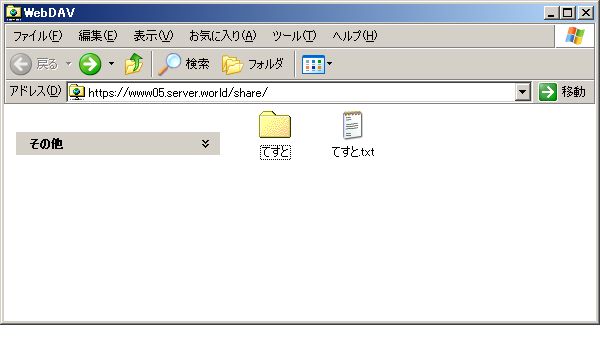
| (9) | アクセスできました。 |
|
関連コンテンツ