デスクトップ環境 : VNCサーバーの設定2019/04/23 |
|
VNCサーバーをインストールして、Windows コンピューターから Ubuntu サーバーへ、グラフィカルにリモート接続します。
|
|
| [1] | VNCサーバーをインストールします。 |
|
root@dlp:~# apt -y install vnc4server
|
| [2] | VNC を起動したい任意のユーザーでログインして設定します。デスクトップ環境については当例では MATE デスクトップを利用しています。 |
|
# VNCパスワード設定 ubuntu@dlp:~$ Password: Verify: # VNCサーバー起動 ubuntu@dlp:~$ vncserver :1 New 'dlp.srv.world:1 (ubuntu)' desktop at :1 on machine dlp.srv.world Starting applications specified in /home/ubuntu/.vnc/xstartup Log file is /home/ubuntu/.vnc/dlp.srv.world:1.log Use xtigervncviewer -SecurityTypes VncAuth,TLSVnc -passwd /home/ubuntu/.vnc/passwd dlp.srv.world:1 to connect to the VNC server. # 一旦停止 ubuntu@dlp:~$ vncserver -kill :1 Killing Xvnc4 process ID 1513
ubuntu@dlp:~$
vi ~/.vnc/xstartup # 最終行に追記
exec /usr/bin/mate-session &
# ディスプレイ番号 [1], 解像度 [800x600] で起動 ubuntu@dlp:~$ vncserver :1 -geometry 800x600 -localhost no New 'dlp.srv.world:1 (ubuntu)' desktop at :1 on machine dlp.srv.world Starting applications specified in /home/ubuntu/.vnc/xstartup Log file is /home/ubuntu/.vnc/dlp.srv.world:1.log Use xtigervncviewer -SecurityTypes VncAuth,TLSVnc -passwd /home/ubuntu/.vnc/passwd dlp.srv.world:1 to connect to the VNC server. |
| [3] |
クライアント側の設定です。Windows 10 を例にします。
ダウンロードとインストールの完了後、[UltraVNC Viewer] をクリックして起動すると、以下の画面になります。下記サイトより、最新版の UltraVNC をダウンロードします。 [VNC Server] の欄に [サーバーのホスト名またはIPアドレス:起動時に指定したディスプレイ番号] と指定し、[Connect] ボタンをクリックします。 |

|
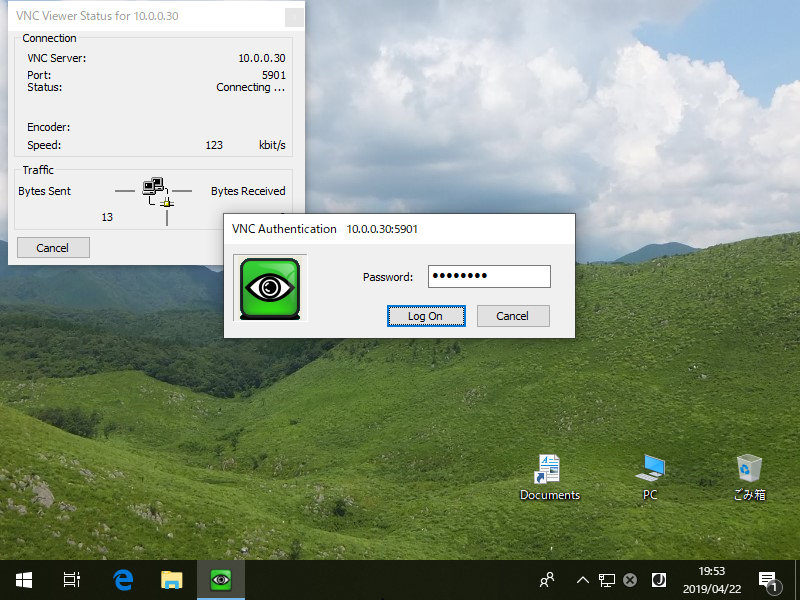
| [4] | 以下の画面になるので vncpasswd で設定したパスワードを入力します。 |
|
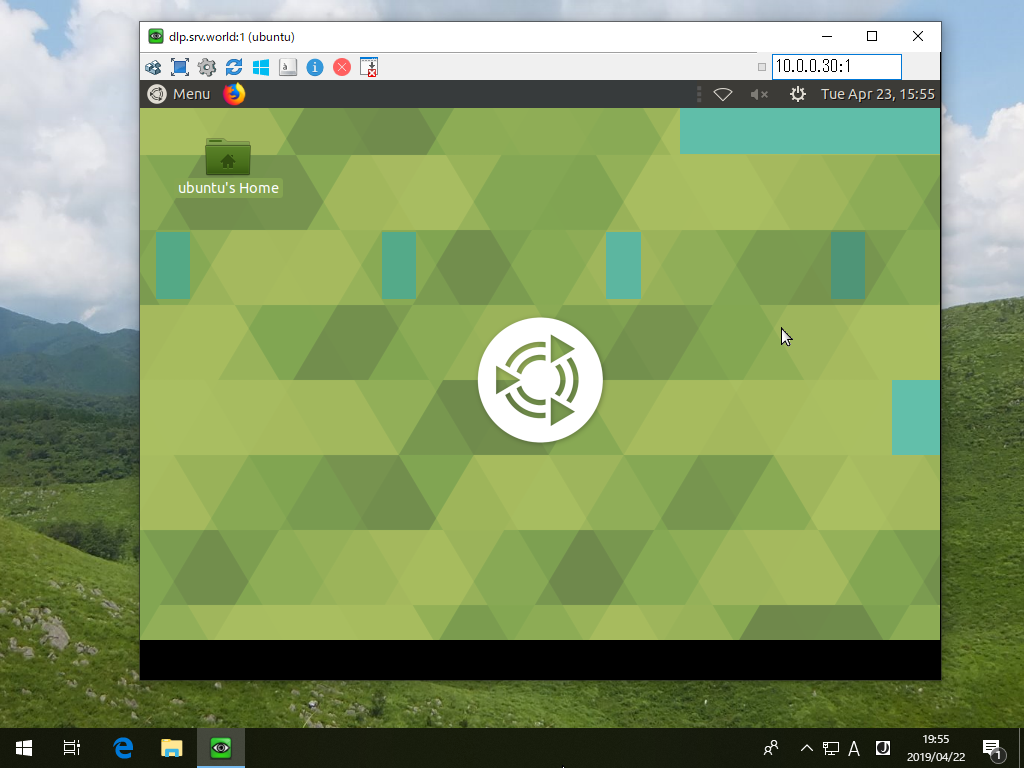
| [5] | 接続できました。 |
|
関連コンテンツ