Pound : HTTP を負荷分散2016/06/07 |
|
HTTP/HTTPS 負荷分散ソフトウェア Pound をインストールします。
例として、ここでは以下のような環境で構築します。
        |
--------+--------------------------------------------------------------------
        |
        +-------------------+--------------------+--------------------+
        |10.0.0.30          |10.0.0.51           |10.0.0.52           |10.0.0.53
 +------+-----+     +-------+------+     +-------+------+     +-------+------+
 |  Frontend  |     |   Backend#1  |     |   Backend#2  |     |   Backend#3  |
 |   Pound    |     |  Web Server  |     |  Web Server  |     |  Web Server  |
 +------------+     +--------------+     +--------------+     +--------------+
|
|
Pound をインストールした Frontend サーバーへの HTTP 通信を Backend#1, Backend#2, Backend#3 の
Webサーバーへ負荷分散するように設定します。
|
|
| [1] | Pound をインストールします。 |
|
root@dlp:~# apt-get -y install pound
|
| [2] | Pound の設定です。 |
|
root@dlp:~# mv /etc/pound/pound.cfg /etc/pound/pound.cfg.org
root@dlp:~#
vi /etc/pound/pound.cfg User "www-data" Group "www-data" # ログレベル (5が最大) LogLevel 3 # ログの出力先 LogFacility local1 # ハートビートを送る間隔 (秒) Alive 30 Control "/var/run/pound/poundctl.socket" # フロントエンドを定義
ListenHTTP
    Address 0.0.0.0
    Port 80
End
# バックエンドを定義
Service
    BackEnd
# バックエンドサーバーのIPアドレス
Address 10.0.0.51
# バックエンドサーバーの待ち受けポート
Port 80
# 優先度を定義 (1-9 で指定。9が最優先)
        Priority 5
    End

    BackEnd
        Address  10.0.0.52
        Port     80
        Priority 5
    End

    BackEnd
        Address  10.0.0.53
        Port     80
        Priority 5
    End
End
sed -i -e "s/^startup=0/startup=1/" /etc/default/pound root@dlp:~# systemctl restart pound |
| [3] | 指定したファシリティのログが取得できるように Rsyslog の設定を変更します。 |
|
root@dlp:~#
vi /etc/rsyslog.d/50-default.conf # 9行目:以下のように変更して追記 *.*;auth,authpriv.none;local1.none -/var/log/syslog local1.* /var/log/pound.logroot@dlp:~# systemctl restart rsyslog |
| [4] | バックエンド Webサーバーで X-Forwarded-For ヘッダーをロギングするよう設定しておきます。 |
|
root@www01:~# a2enmod remoteip Enabling module remoteip. To activate the new configuration, you need to run: service apache2 restart
root@www01:~#
vi /etc/apache2/apache2.conf # 206-209行目:以下のように変更 # RemoteIPInternalProxy は Pound のIPアドレスを指定
RemoteIPHeader X-Forwarded-For RemoteIPInternalProxy 10.0.0.30 LogFormat "%v:%p %a %l %u %t \"%r\" %>s %O \"%{Referer}i\" \"%{User-Agent}i\"" vhost_combinedLogFormat " %a %l %u %t \"%r\" %>s %O \"%{Referer}i\" \"%{User-Agent}i\"" combined
systemctl restart apache2 |
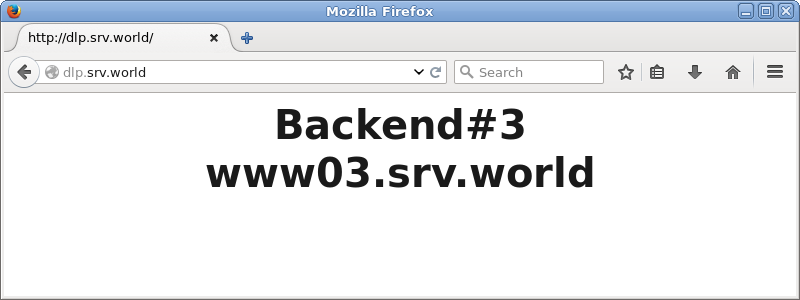
| [5] | 任意のクライアントから Pound サーバーへ HTTP アクセスし、何度かリロードしたりバックエンドサーバーの一部を手動で停止する等して、動作を確認してください。 |

|

|
|
関連コンテンツ