Kubernetes : ダッシュボードを有効にする2022/11/22 |
|
ダッシュボードを有効にして、Web UI で Kubernetes クラスターの管理ができるようにします。
当例では以下のような Kubernetes クラスター環境で設定します。
-----------+---------------------------+--------------------------+------------
           |                           |                          |
       eth0|10.0.0.30              eth0|10.0.0.51             eth0|10.0.0.52
+----------+-----------+   +-----------+----------+   +-----------+----------+
|   [ dlp.srv.world ]  |   | [ node01.srv.world ] |   | [ node02.srv.world ] |
|     Control Plane    |   |      Worker Node     |   |      Worker Node     |
+----------------------+   +----------------------+   +----------------------+
|
| [1] | Control Plane ノードでダッシュボードを有効にします。 |
|
[root@dlp ~]# kubectl apply -f https://raw.githubusercontent.com/kubernetes/dashboard/v2.7.0/aio/deploy/recommended.yaml namespace/kubernetes-dashboard created serviceaccount/kubernetes-dashboard created service/kubernetes-dashboard created secret/kubernetes-dashboard-certs created secret/kubernetes-dashboard-csrf created secret/kubernetes-dashboard-key-holder created configmap/kubernetes-dashboard-settings created role.rbac.authorization.k8s.io/kubernetes-dashboard created clusterrole.rbac.authorization.k8s.io/kubernetes-dashboard created rolebinding.rbac.authorization.k8s.io/kubernetes-dashboard created clusterrolebinding.rbac.authorization.k8s.io/kubernetes-dashboard created deployment.apps/kubernetes-dashboard created service/dashboard-metrics-scraper created deployment.apps/dashboard-metrics-scraper created |
| [2] | ダッシュボード用のアカウントを追加して、ダッシュボードにアクセスできるように設定します。 |
|
[root@dlp ~]#
kubectl create serviceaccount -n kubernetes-dashboard admin-user serviceaccount/admin-user created
[root@dlp ~]#
vi rbac.yml # 新規作成 apiVersion: rbac.authorization.k8s.io/v1 kind: ClusterRoleBinding metadata: name: admin-user roleRef: apiGroup: rbac.authorization.k8s.io kind: ClusterRole name: cluster-admin subjects: - kind: ServiceAccount name: admin-user namespace: kubernetes-dashboard
[root@dlp ~]#
kubectl apply -f rbac.yml clusterrolebinding.rbac.authorization.k8s.io/admin-user created # 追加したアカウントのセキュリティトークン取得 [root@dlp ~]# kubectl -n kubernetes-dashboard create token admin-user eyJhbGciOiJSUzI1NiIsImtpZC..... # プロキシ起動 [root@dlp ~]# kubectl proxy Starting to serve on 127.0.0.1:8001 # もし他ホストからもアクセスする場合はポートフォワード [root@dlp ~]# kubectl port-forward -n kubernetes-dashboard service/kubernetes-dashboard --address 0.0.0.0 10443:443 Forwarding from 0.0.0.0:10443 -> 8443 |
| [3] |
[kubectl proxy] で起動した場合は、ローカルホストで Web ブラウザーを起動して、以下の URL にアクセスします。
⇒ http://localhost:8001/api/v1/namespaces/kubernetes-dashboard/services/https:kubernetes-dashboard:/proxy/
ポートフォワーディングで起動した場合は、ローカルネットワーク内の任意のコンピューターで Web ブラウザーを起動して、以下の URL にアクセスします。
⇒ https://(Control Plane ノードのホスト名 または IP アドレス):(設定したポート)/
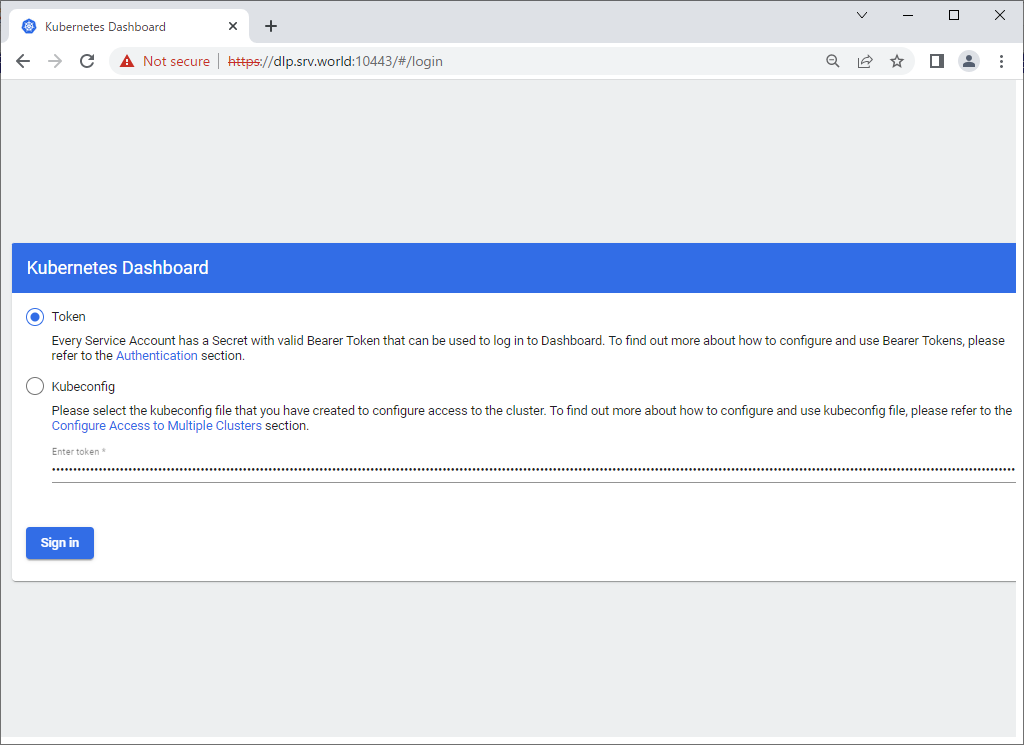
アクセス後、以下のような画面が表示されたら、[2] で取得したセキュリティトークンを コピー & ペーストして [Sing In]
ボタンをクリックします。
|
|
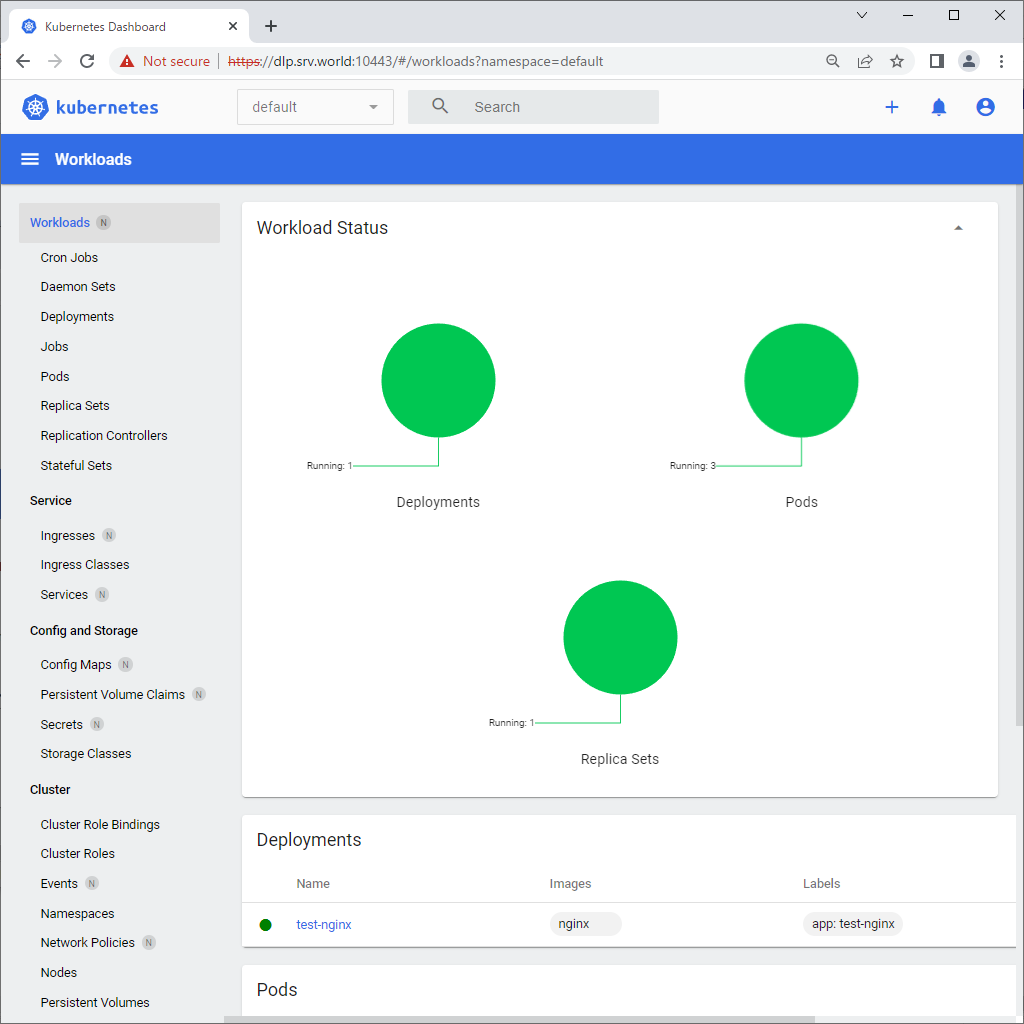
| [4] | 認証が成功すると Kubernetes クラスターのダッシュボードが表示されます。 |
|

|
関連コンテンツ