Django 4 : インストール2022/06/24 |
|
Python Web アプリケーションフレームワーク Django をインストールします。
|
|
| [1] | Python venv 環境で Django をインストールします。任意の一般ユーザーで実行可能です。 |
|
[cent@dlp ~]$ python3 -m venv --system-site-packages ~/django [cent@dlp ~]$ source ~/django/bin/activate (django) [cent@dlp ~]$ pip3 install django>=4
(django) [cent@dlp ~]$
django-admin --version 4.0.5 # venv から exit する場合は以下 (django) [cent@dlp ~]$ deactivate [cent@dlp ~]$ |
| [2] | テストプロジェクトを作成して動作確認します。 Firewalld 稼働中、且つ、他ホストからも Django にアクセスする場合は、事前に管理者権限で使用するポートを許可しておく必要があります。 (下例の場合は [8000/tcp] を許可) |
|
[cent@dlp ~]$
source ~/django/bin/activate
# testproject 作成 (django) [cent@dlp ~]$ django-admin startproject testproject (django) [cent@dlp ~]$ cd testproject # データベース設定 (デフォルトは SQLite) (django) [cent@dlp testproject]$ python manage.py migrate
# 管理者ユーザー作成 (django) [cent@dlp testproject]$ python manage.py createsuperuser Username (leave blank to use 'cent'): serverworld Email address: serverworld@dlp.srv.world Password: Password (again): Superuser created successfully.
(django) [cent@dlp testproject]$
vi testproject/settings.py # 28行目 : 他ホストからもアクセスを許可する場合は設定 # 許可ホストはカンマ区切りで複数指定可 # または全て許可する場合は以下のように設定 ALLOWED_HOSTS = [ '*' ]
# サーバー起動 (django) [cent@dlp testproject]$ python manage.py runserver 0.0.0.0:8000 Watching for file changes with StatReloader Performing system checks... System check identified no issues (0 silenced). June 24, 2022 - 01:20:05 Django version 4.0.5, using settings 'testproject.settings' Starting development server at http://0.0.0.0:8000/ Quit the server with CONTROL-C. |
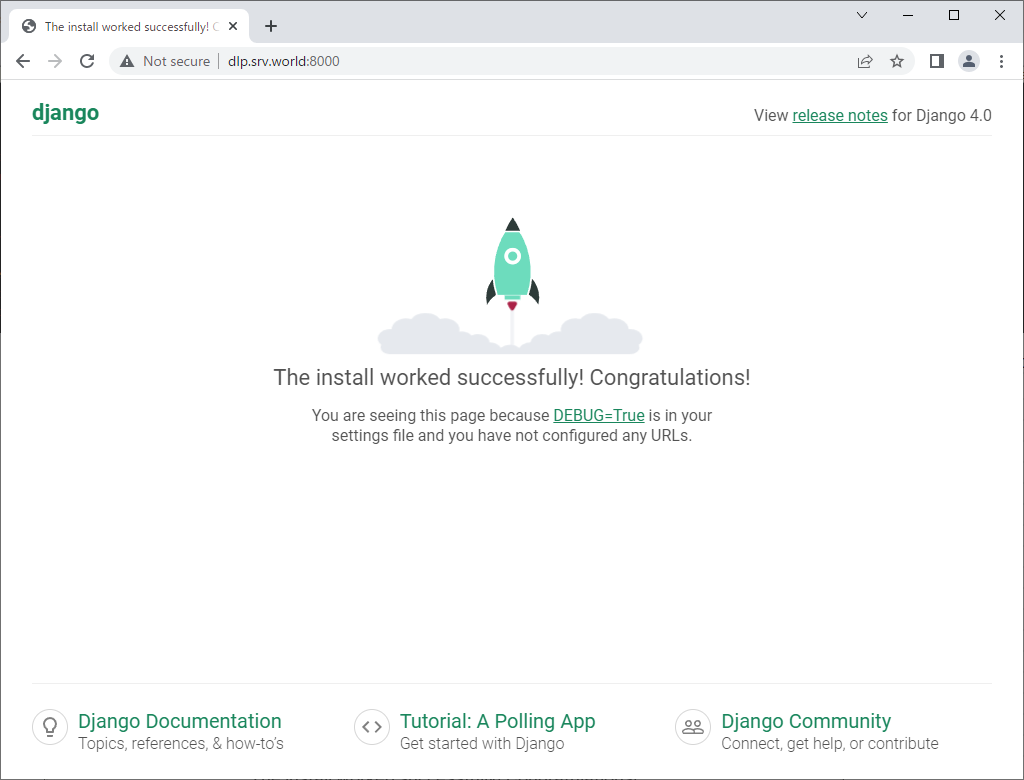
| [4] | 任意のクライアントコンピューターで Web ブラウザーを起動し、[http://(サーバーのホスト名 または IP アドレス):8000/] にアクセスして、以下のようなページが表示されれば OK です。 |
|
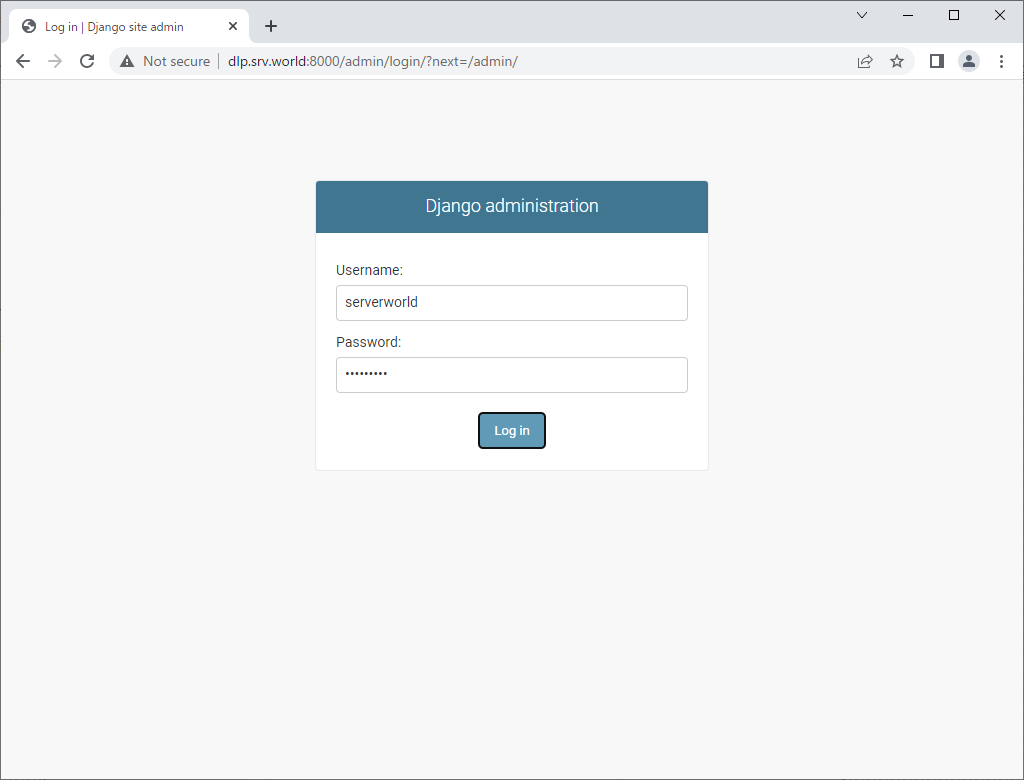
| [5] | [http://(サーバーのホスト名 または IP アドレス):8000/admin] にアクセスすると、管理用サイトが利用できます。設定した管理ユーザーでログイン可能です。 |
|

|
| [6] | 作成したテストプロジェクトでテストアプリケーションを作成し、動作確認します。 |
|
[cent@dlp ~]$
source ~/django/bin/activate
(django) [cent@dlp ~]$
(django) [cent@dlp testproject]$ cd testproject python manage.py startapp test_app
(django) [cent@dlp testproject]$
vi test_app/views.py # 最終行に追記
from django.http import HttpResponse
def main(request):
    html = '<html>\n' \
           '<body>\n' \
           '<div style="width: 100%; font-size: 40px; font-weight: bold; text-align: center;">\n' \
           'Django Test Page\n' \
           '</div>\n' \
           '</body>\n' \
           '</html>\n'
    return HttpResponse(html)
(django) [cent@dlp testproject]$
vi testproject/urls.py # 17, 21行目 : 以下のように追記 from django.contrib import admin from django.urls import path, include urlpatterns = [ path('admin/', admin.site.urls), path('test_app/', include('test_app.urls')), ]
(django) [cent@dlp testproject]$
vi test_app/urls.py # 新規作成
from django.urls import path
from .views import main

urlpatterns = [
    path('', main, name='home')
]
(django) [cent@dlp testproject]$
vi testproject/settings.py # 33行目 : [INSTALLED_APPS] にテストアプリ追記
INSTALLED_APPS = (
    'django.contrib.admin',
    'django.contrib.auth',
    'django.contrib.contenttypes',
    'django.contrib.sessions',
    'django.contrib.messages',
    'django.contrib.staticfiles',
    'test_app',
)
(django) [cent@dlp testproject]$ python manage.py runserver 0.0.0.0:8000 |
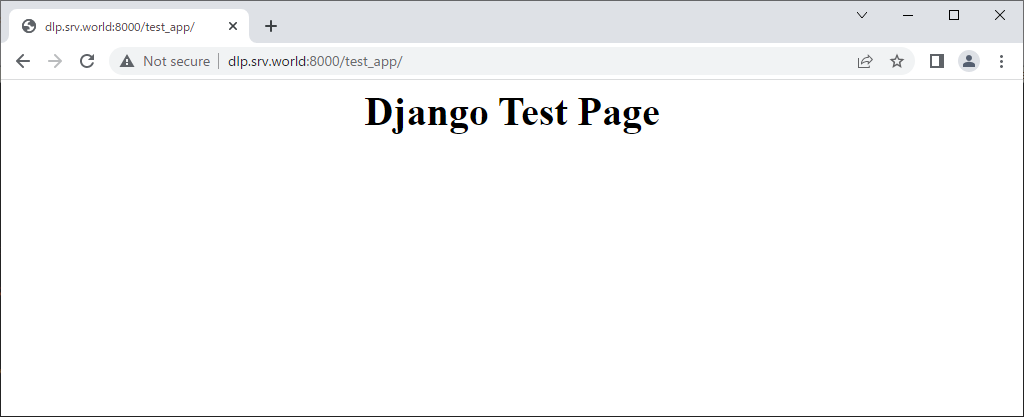
| [7] | 任意のクライアントコンピューターで Web ブラウザーを起動し、設定した URL [http://(サーバーのホスト名 または IP アドレス):8000/test_app/] にアクセスして、以下のようなページが表示されれば OK です。 |
|
関連コンテンツ