Oracle Database 19c : インストール2020/07/15 |
|
Oracle Database 19c をインストールします。
|
|
| [1] | 作業はインストール前の環境設定で作成した [oracle] ユーザーログインして実施します。 |
|
| [2] | Oracle Databse 19c の Linux 用インストーラーを下記サイトからダウンロードしてサーバーの作業用ディレクトリにアップロードしておきます。
⇒ https://www.oracle.com/database/technologies/oracle-database-software-downloads.html |
| [3] | ダウンロードしたファイルがある場所へ移動し、以下のようにファイルを展開してインストーラーを起動します。 |
|
[oracle@dlp ~]$ cd database [oracle@dlp database]$ unzip LINUX.X64_193000_db_home.zip [oracle@dlp database]$ export CV_ASSUME_DISTID=RHEL8.2 [oracle@dlp database]$ ./runInstaller
|
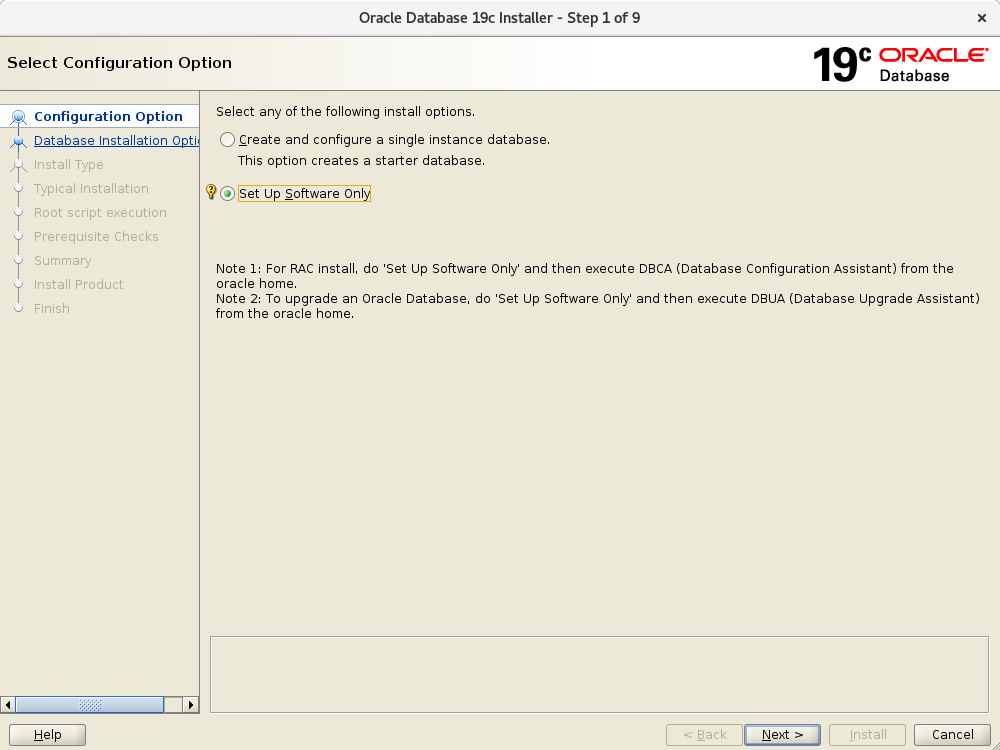
| [4] | インストールオプションを選択します。当例では [ソフトウェアのみインストール] するを選択して進めます。 |
|
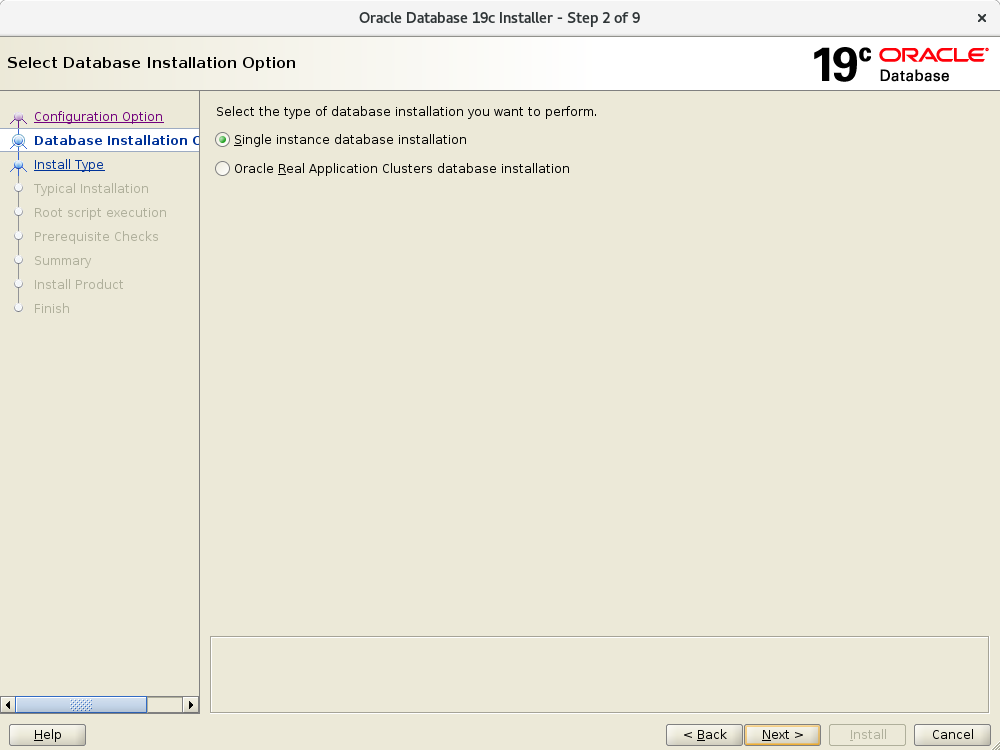
| [5] | インストールするデータベースのタイプを選択します。当例では [シングル インスタンス データベース] を選択して進めます。 |
|
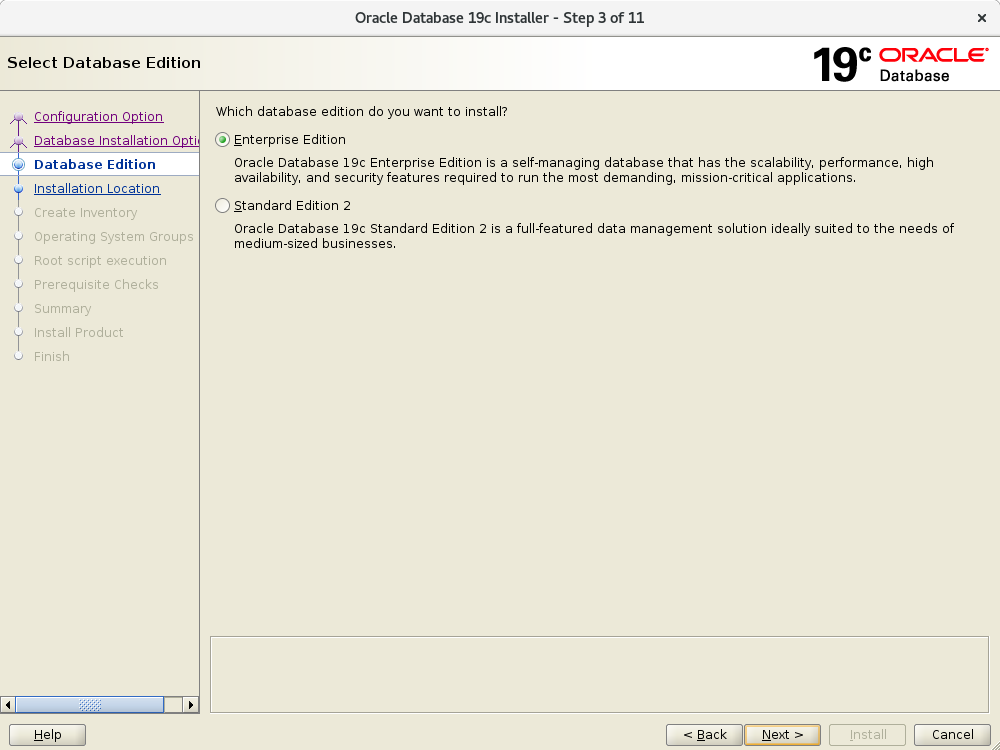
| [6] | インストールするエディションを選択します。 |
|
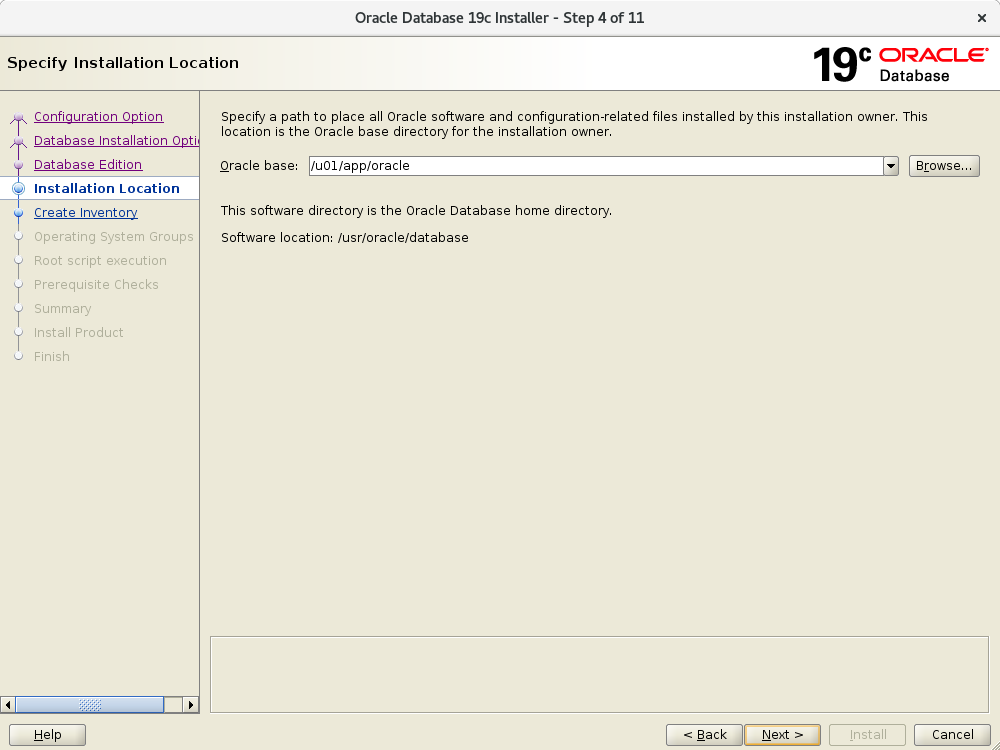
| [7] | Oracle Database のベースディレクトリやアプリケーション関連ファイルの場所を指定します。当例ではデフォルトで進めます。 |
|
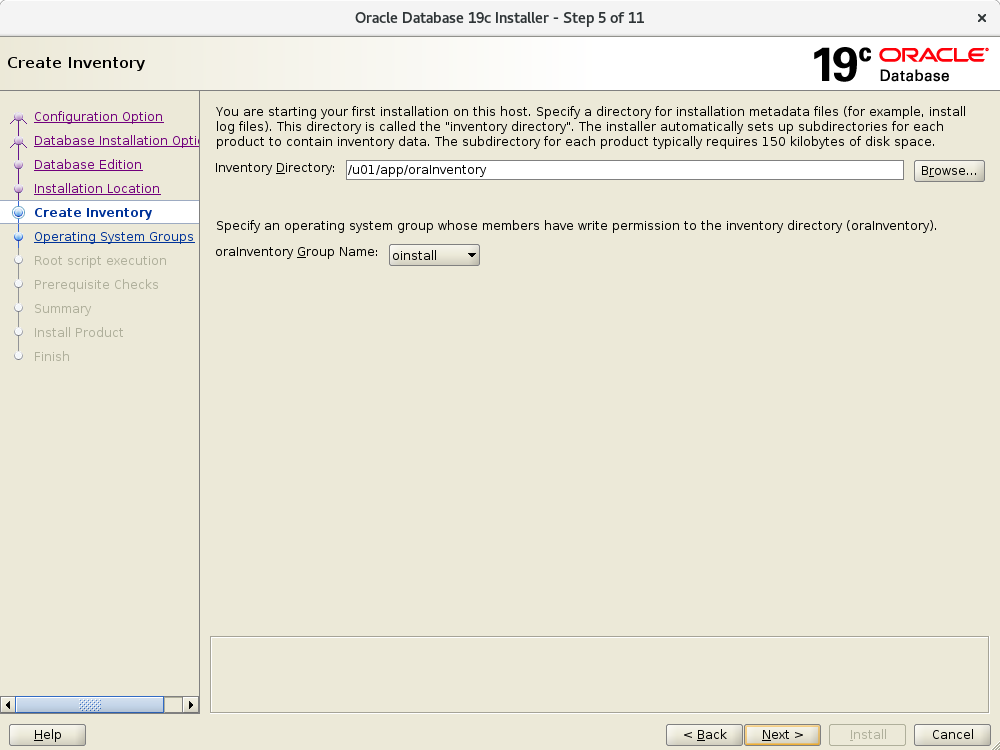
| [8] | インストール用ファイルのディレクトリを指定します。当例ではデフォルトで進めます。 |
|
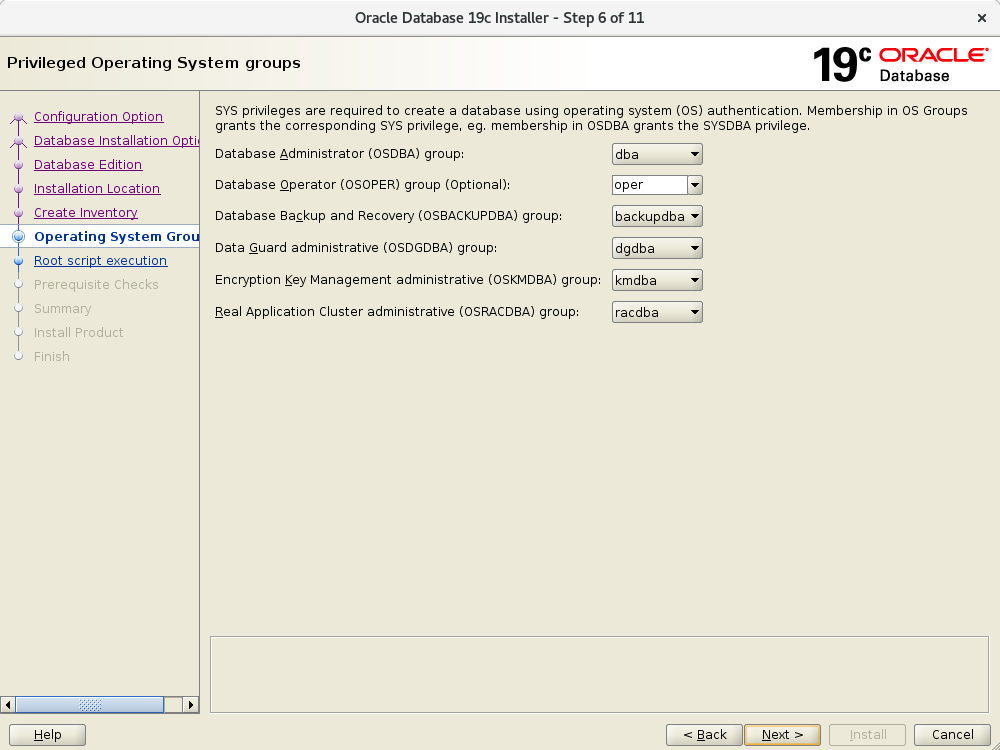
| [9] | 特権グループを指定します。当例ではデフォルトで進めます。 |
|
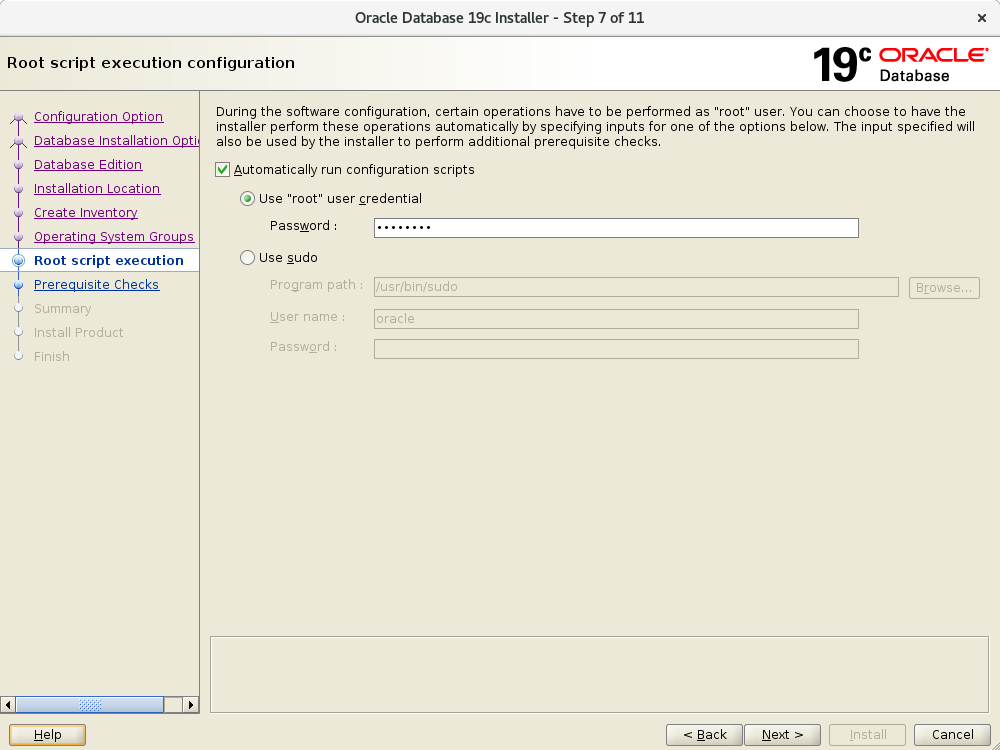
| [10] | root ユーザーアカウントでの設定スクリプトの実行が必要なため、インストーラーで自動実行するか選択し、自動実行の場合は、root
パスワード、または root 権限が行使可能なユーザーを入力します。 自動実行しない場合は、この後のインストールタスクの中で、設定スクリプトの手動実行が求められます。 |
|
| [11] | システム要件のチェックになります。以下のように Oracle 推奨ではない設定値になっている場合は通知が表示されます。必要に応じて対応ください。 |

|
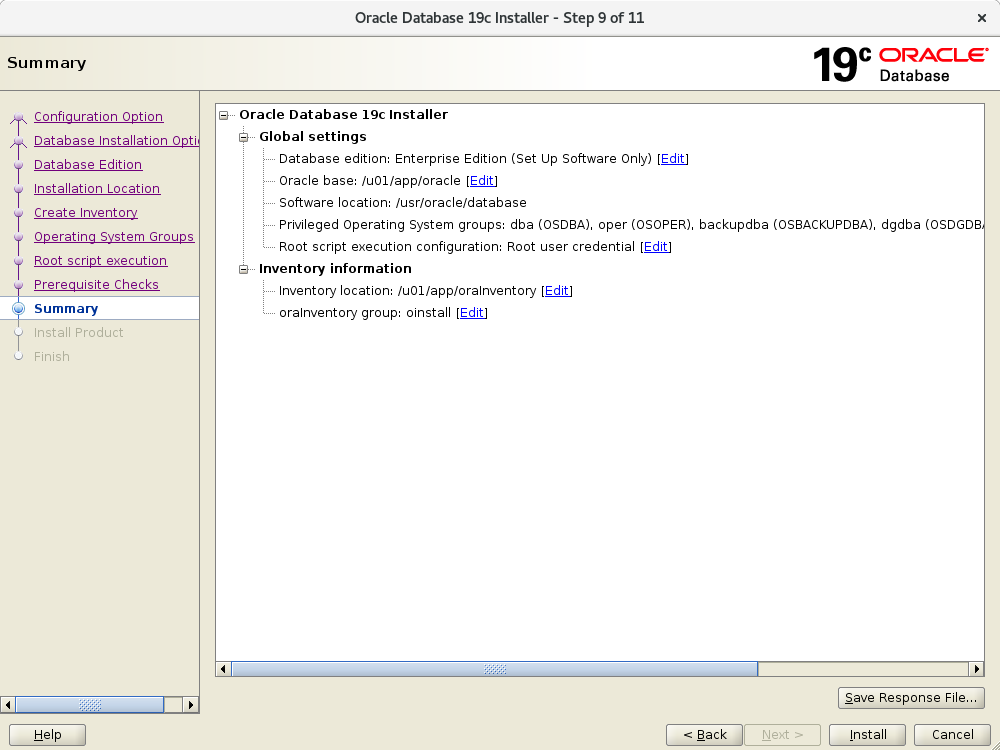
| [12] | ここまでの設定の選択の一覧です。よければ [Install] をクリックしてインストールを開始します。 |
|
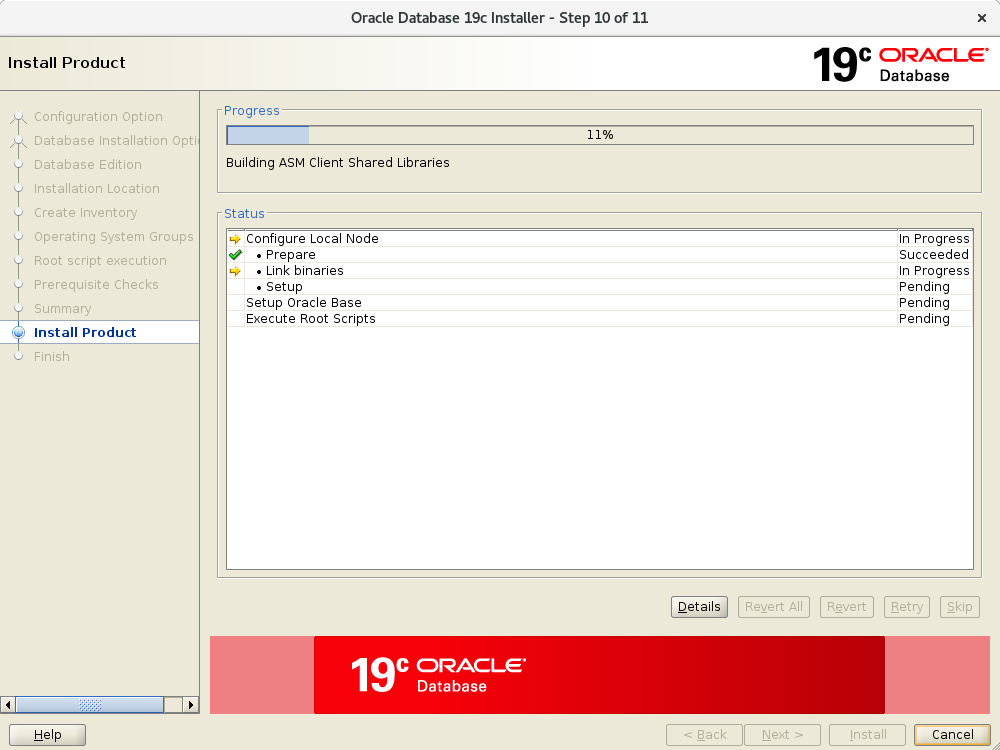
| [13] | インストールが進行していきます。 この後、[10] で設定スクリプトの自動実行を選択しなかった場合は、root 権限での手動実行が求められます。 その場合は以下のように実行し、実行後は OK ボタンをクリックして画面を閉じます。 |
|
|
[root@dlp ~]# /u01/app/oraInventory/orainstRoot.sh Changing permissions of /u01/app/oraInventory. Adding read,write permissions for group. Removing read,write,execute permissions for world. Changing groupname of /u01/app/oraInventory to oinstall. The execution of the script is complete.[root@dlp ~]# /usr/oracle/database/root.sh
Performing root user operation.

The following environment variables are set as:
    ORACLE_OWNER= oracle
    ORACLE_HOME=  /usr/oracle/database

Enter the full pathname of the local bin directory: [/usr/local/bin]:  # Enter
   Copying dbhome to /usr/local/bin ...
   Copying oraenv to /usr/local/bin ...
   Copying coraenv to /usr/local/bin ...


Creating /etc/oratab file...
Entries will be added to the /etc/oratab file as needed by
Database Configuration Assistant when a database is created
Finished running generic part of root script.
Now product-specific root actions will be performed.
Do you want to setup Oracle Trace File Analyzer (TFA) now ? yes|[no] :
yes
Installing Oracle Trace File Analyzer (TFA).
Log File: /usr/oracle/database/install/root_dlp.srv.world_2020-01-21_19-13-21-711439865.log
Finished installing Oracle Trace File Analyzer (TFA)
|
| [14] | インストール完了です。[Close] ボタンをクリックして終了します。 |

|
| [15] | Oracle ユーザーの環境変数の設定をしておきます。 |
|
[oracle@dlp ~]$
vi ~/.bash_profile # 最終行に追記
export ORACLE_HOME=/usr/oracle/database
export PATH=$PATH:$ORACLE_HOME/bin source ~/.bash_profile |
関連コンテンツ