Node.js 10 : インストール2019/12/12 |
|
Node.js 10 をインストールします。
|
|
| [1] | 現在、有効になっている Node.js のバージョンを確認してインストールします。 |
|
[root@dlp ~]# dnf module list nodejs CentOS-8 - AppStream Name Stream Profiles Summary nodejs 10 [d] common [d], development, minimal, s2i Javascript runtime Hint: [d]efault, [e]nabled, [x]disabled, [i]nstalled # Node.js 10 を指定してインストール [root@dlp ~]# dnf module -y install nodejs:10
Dependencies resolved.
================================================================================
 Package
        Arch   Version                                          Repository
                                                                           Size
================================================================================
Installing group/module packages:
 nodejs x86_64 1:10.16.3-2.module_el8.0.0+186+542b25fc          AppStream 9.0 M
 npm    x86_64 1:6.9.0-1.10.16.3.2.module_el8.0.0+186+542b25fc  AppStream 3.8 M
Installing module profiles:
 nodejs/common

Enabling module streams:
 nodejs        10

Transaction Summary
================================================================================
Install  2 Packages
.....
.....
[root@dlp ~]# node -v v10.16.3 # テストスクリプトを作成して動作確認
[root@dlp ~]# cat > nodejs_test.js <<'EOF'
var http = require('http');
var server = http.createServer(function(req, res) {
  res.write("Hello, This is the Node.js Simple Web Server!\n");
  res.end();
}).listen(8080);
EOF
[root@dlp ~]#
node nodejs_test.js & [1] 10686
[root@dlp ~]#
[root@dlp ~]# curl localhost:8080 Hello, This is the Node.js Simple Web Server! kill 10686 |
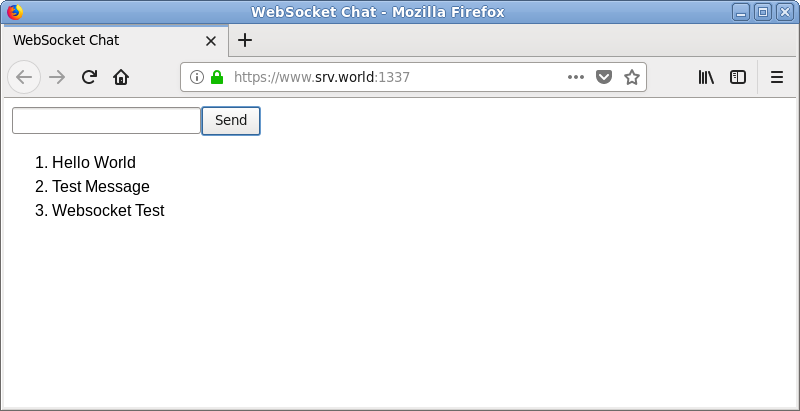
| [2] | 任意のユーザーで、WebSocket を利用した SSL/TLS 対応簡易チャットを作成して動作確認します。 SSL 証明書は事前に Let's enctypt で取得した証明書を使用します。 Firewalld 稼働中の場合はアプリケーションを起動させるポートの許可も必要です。(下例は [1337]) |
|
[cent@dlp ~]$
npm install fs socket.io express
[cent@dlp ~]$
vi chat.js
var fs = require('fs');
var express = require('express');
var app = express();

var opts = {
  key: fs.readFileSync('/etc/letsencrypt/live/dlp.srv.world/privkey.pem').toString(),
  cert: fs.readFileSync('/etc/letsencrypt/live/dlp.srv.world/fullchain.pem').toString(),
};

var http = require('https').Server(opts, app);
var io = require('socket.io')(http, opts);

app.get('/', function(req, res){
  res.sendFile(__dirname + '/index.html');
});

io.on('connection', function(socket){
  socket.on('chat message', function(msg){
    io.emit('chat message', msg);
  });
});

http.listen(1337, function(){
  console.log('listening on *:1337');
});
[root@dlp ~]#
vi index.html
<!DOCTYPE html>
<html>
<head>
<title>WebSocket Chat</title>
</head>
<body>
<form action="">
<input id="sendmsg" autocomplete="off" /><button>Send</button>
</form>
<ul id="messages" style="list-style-type: decimal; font-size: 16px; font-family: Arial;"></ul>
<script src="https://dlp.srv.world:1337/socket.io/socket.io.js"></script>
<script src="https://code.jquery.com/jquery.min.js"></script>
<script>
  var socket = io('https://dlp.srv.world:1337');
  $('form').submit(function(){
    socket.emit('chat message', $('#sendmsg').val());
    $('#sendmsg').val('');
    return false;
  });
  socket.on('chat message', function(msg){
    $('#messages').append($('<li style="margin-bottom: 5px;">').text(msg));
  });
</script>
</body>
</html>
node chat.js listening on *:1337 |
| [3] | 任意のクライアントコンピューターで Webブラウザーを起動し、アプリケーションにアクセスして動作確認します。 複数クライアント または 複数ブラウザーを起動すると、動作が確認しやすいでしょう。 |
|
関連コンテンツ