Cacti : Add Monitoring Target2020/03/23 |
|
Add Monitoring Target Host on the network.
|
|
| [1] | For example, Add CentOS 8 Host on here. Install SNMP on the new target Host. |
|
[root@node01 ~]#
dnf -y install net-snmp net-snmp-utils
[root@node01 ~]#
vi /etc/snmp/snmpd.conf # line 41: comment out #com2sec notConfigUser default public # line 74,75: uncomment and change # change [mynetwork] to your own network # change comunity name to anyone except public, private (for security reason) ## sec.name source community com2sec local localhost Serverworld com2sec mynetwork 10.0.0.0/24 Serverworld # line 78,79: uncomment and change ## group.name sec.model sec.name group MyRWGroup v2c local group MyROGroup v2c mynetwork # line 85: uncomment ## incl/excl subtree mask view all included .1 80 # line 93,94: uncomment and change ## context sec.model sec.level prefix read write notif access MyROGroup "" v2c noauth exact all none none access MyRWGroup "" v2c noauth exact all all all
[root@node01 ~]#
systemctl enable --now snmpd
# validation (replace [Serverworld] to the comunity name you set) [root@node01 ~]# snmpwalk -v2c -c Serverworld localhost system SNMPv2-MIB::sysDescr.0 = STRING: Linux node01.srv.world 4.18.0-147.5.1.el8_1.x86_64 #1 SMP Wed Feb 5 02:00:39 UTC 2020 x86_64 SNMPv2-MIB::sysObjectID.0 = OID: NET-SNMP-MIB::netSnmpAgentOIDs.10 DISMAN-EVENT-MIB::sysUpTimeInstance = Timeticks: (932) 0:00:09.32 SNMPv2-MIB::sysContact.0 = STRING: Root <root@localhost> (configure /etc/snmp/snmp.local.conf) SNMPv2-MIB::sysName.0 = STRING: node01.srv.world ..... ..... |
| [2] | On the new target Host, if Firewalld is running, allow SNMP service. |
|
[root@node01 ~]# firewall-cmd --add-service=snmp --permanent success [root@node01 ~]# firewall-cmd --reload success |
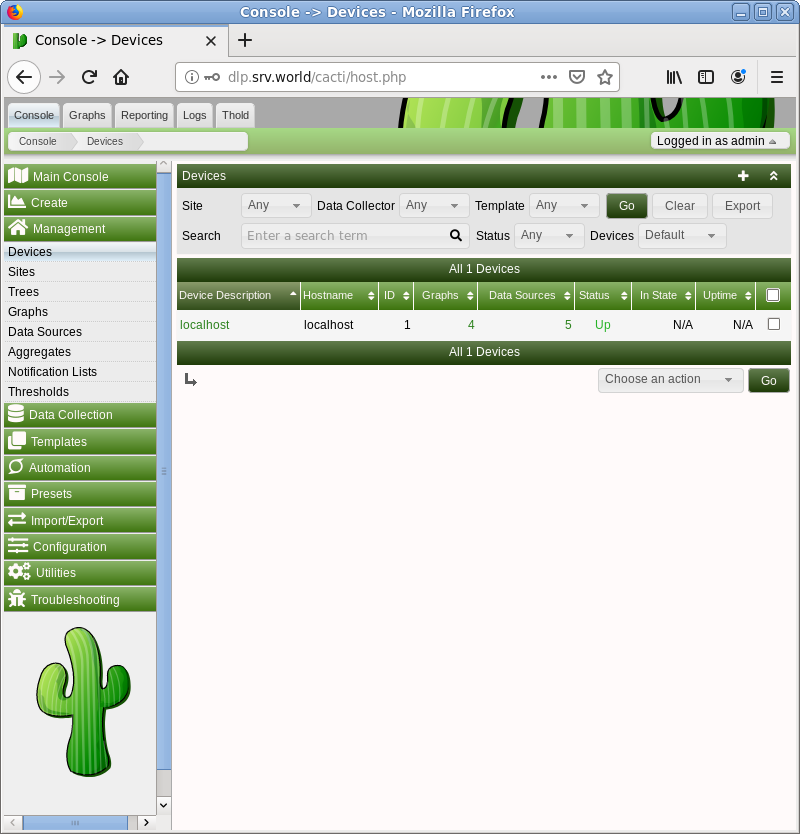
| [3] | Login to the Cacti admin site and Click [Management] - [Devices] on the left pane, then Click [+] button on the right pane. |
|
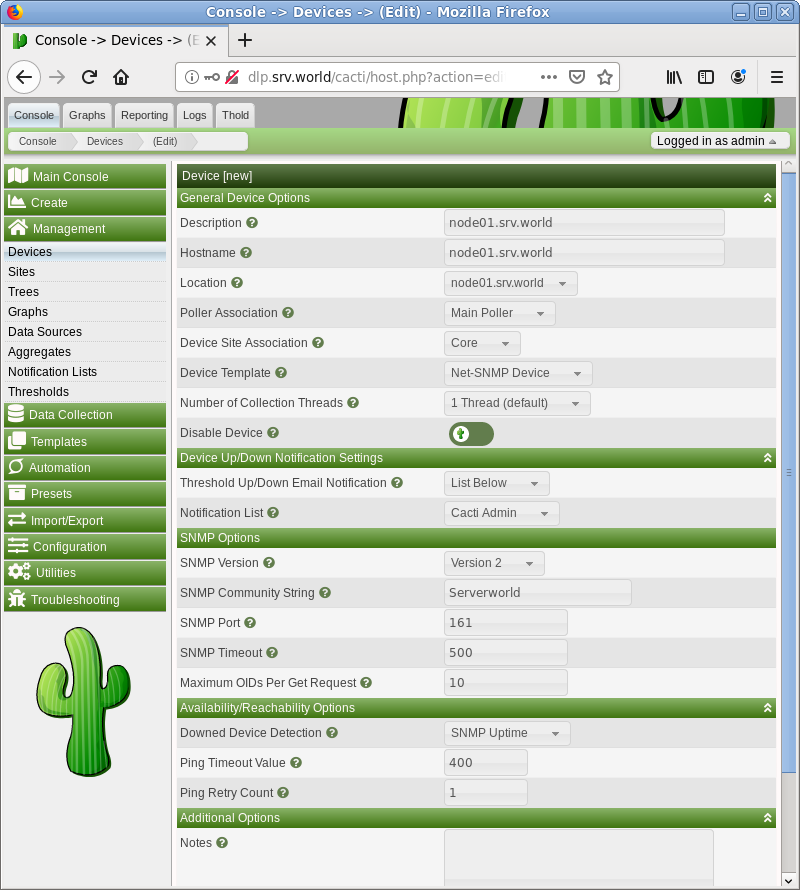
| [4] | Input information for new monitoring target Host. |
|
| [5] | After clicking [Create] button, following screen is shown. Select Graphs or Data Source you'd like to set. That's OK all, Click [Save] button. |

|
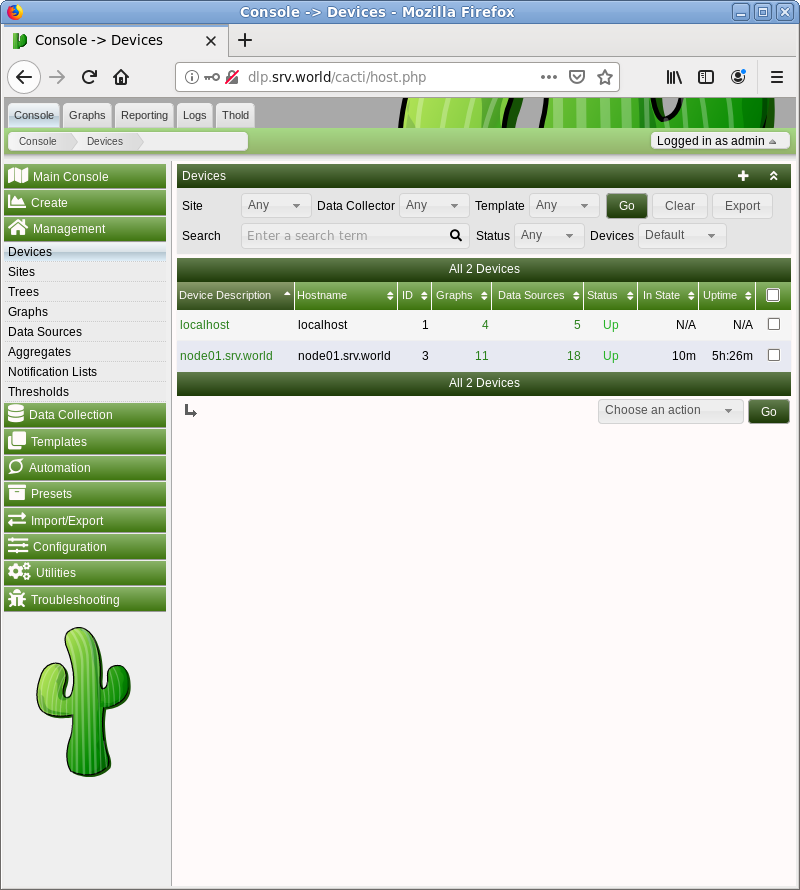
| [6] | After adding new target Host, it will be displayed on [Devices] list. |
|
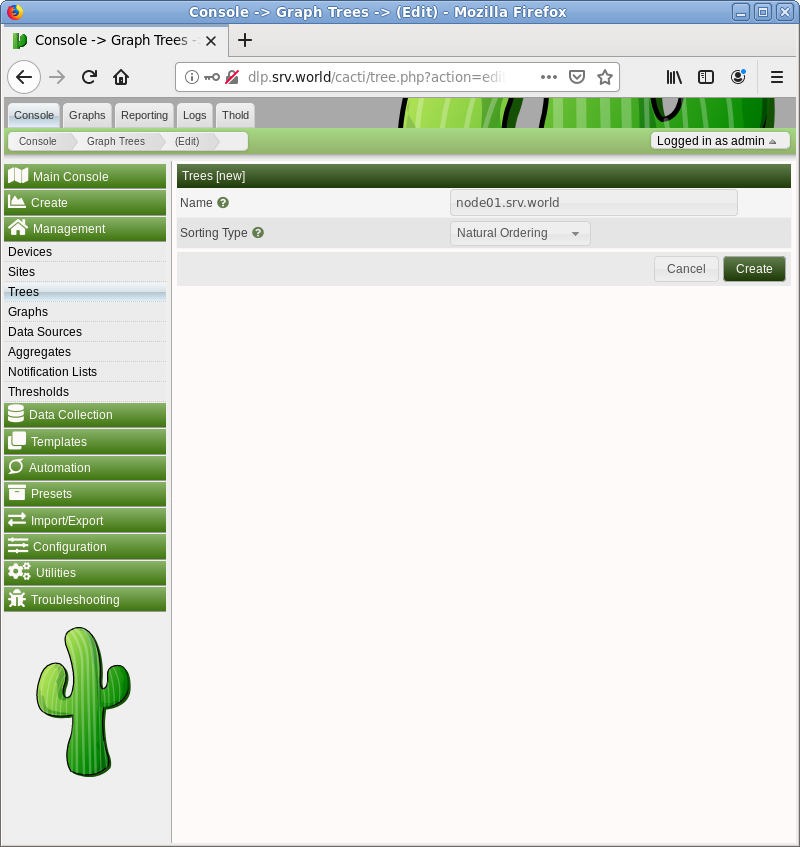
| [7] | If you'd like to add the new Host on [Graphs] tree, Click [Management] - [Trees] on the left pane, then Click [+] button on the right pane. |

|
| [8] | Input any tree name and Click [Create] button. |
|
| [9] | Click [Edit Trees] button and then turn to On for [Publish] field and Click [Save] button. |

|
| [10] | Next, Click [Management] - [Graphs] on the left pane, then check boxes of Graphs you'd like to set on tree, and next, Select [Place on a Tree (***)] and Click [Go] button. |
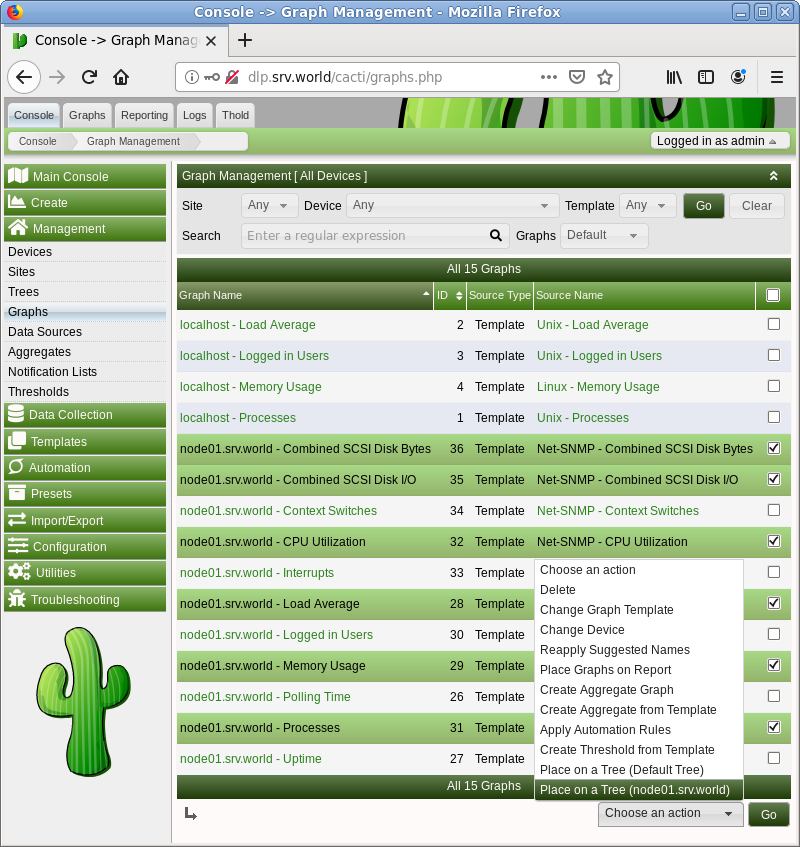
|
| [11] | That's OK, move to [Graphs] tab, then new tree will be displayed. |
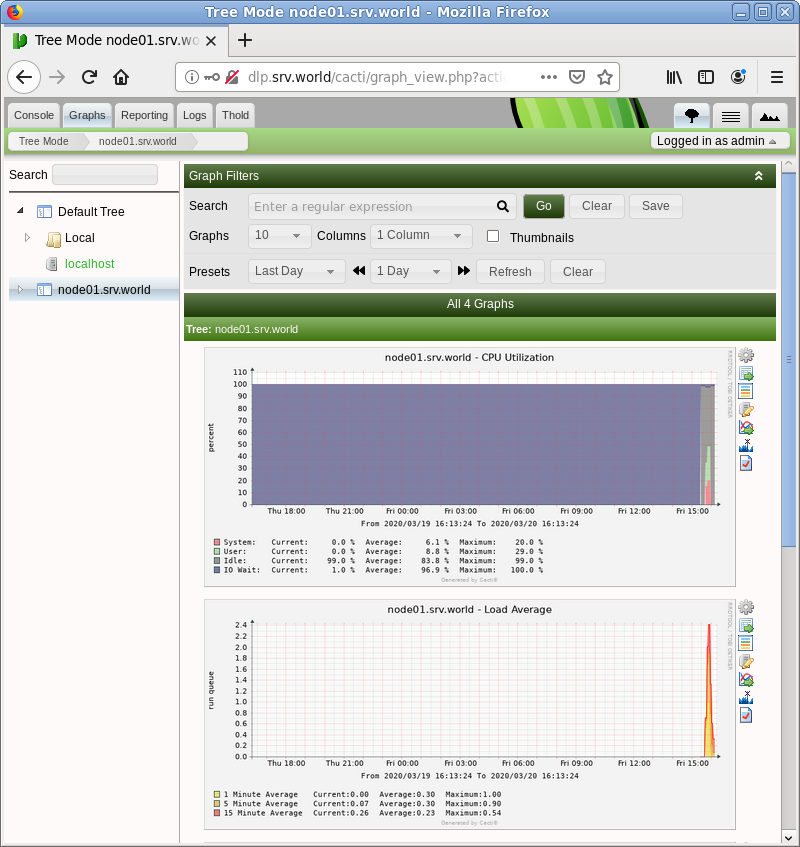
|
Matched Content