Apache httpd : Photo Gallery : Piwigo2023/03/03 |
|
Install Photo Gallery System, Piwigo.
|
|
| [1] | |
| [2] | |
| [3] | Install other required PHP modules. |
|
[root@www ~]#
dnf -y install php-mbstring php-xml php-pdo php-gd php-mysqlnd
[root@www ~]#
vi /etc/php-fpm.d/www.conf
# add to the end
# maybe you need to configure parameters below for your usage
php_value[max_execution_time] = 600
php_value[memory_limit] = 2G
php_value[post_max_size] = 2G
php_value[upload_max_filesize] = 2G
php_value[max_input_time] = 600
php_value[max_input_vars] = 2000
php_value[date.timezone] = Asia/Tokyo
systemctl restart php-fpm |
| [4] | Create a User and Database on MariaDB for Piwigo. |
|
[root@www ~]# mysql Welcome to the MariaDB monitor. Commands end with ; or \g. Your MariaDB connection id is 95 Server version: 10.5.13-MariaDB MariaDB Server Copyright (c) 2000, 2018, Oracle, MariaDB Corporation Ab and others. Type 'help;' or '\h' for help. Type '\c' to clear the current input statement. MariaDB [(none)]> create database piwigo; Query OK, 1 row affected (0.00 sec) MariaDB [(none)]> grant all privileges on piwigo.* to piwigo@'localhost' identified by 'password'; Query OK, 0 rows affected (0.00 sec) MariaDB [(none)]> flush privileges; Query OK, 0 rows affected (0.00 sec) MariaDB [(none)]> exit Bye |
| [5] | Configure Apache httpd for Piwigo. |
|
[root@www ~]# wget http://piwigo.org/download/dlcounter.php?code=latest -O piwigo.zip [root@www ~]# unzip piwigo.zip -d /var/www [root@www ~]# chown -R apache. /var/www/piwigo
[root@www ~]#
vi /etc/httpd/conf.d/piwigo.conf
Timeout 600
ProxyTimeout 600

Alias /piwigo "/var/www/piwigo/"
<Directory "/var/www/piwigo">
    Options FollowSymLinks
    AllowOverride All
    Require all granted
</Directory>
systemctl reload httpd |
| [6] | If SELinux is enabled, allow policy. |
|
[root@www ~]# setsebool -P httpd_can_network_connect on [root@www ~]# setsebool -P domain_can_mmap_files on [root@www ~]# setsebool -P httpd_unified on |
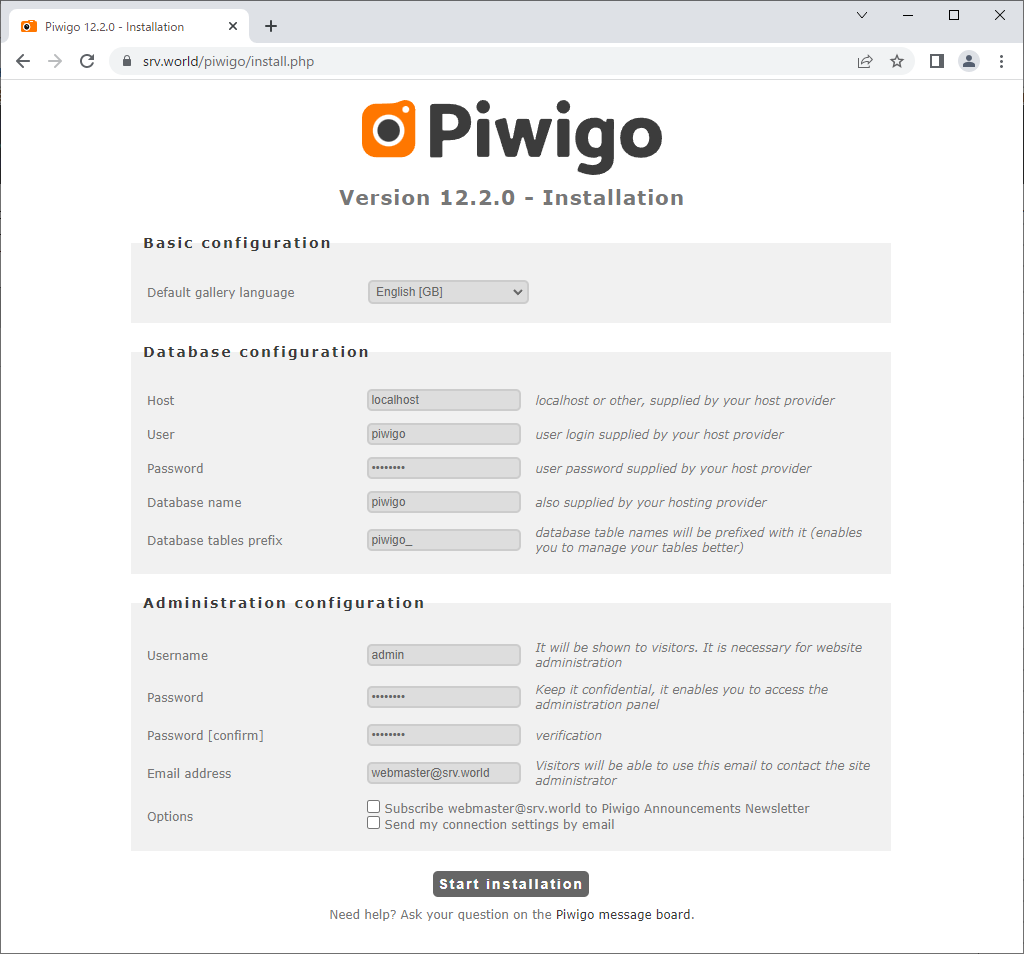
| [7] | Access to the URL [https://(Server's Hostname or IP address)/piwigo/] with Web browser on any Client, then following screen is displayed. Input settings and Click [Start installation] button. |
|
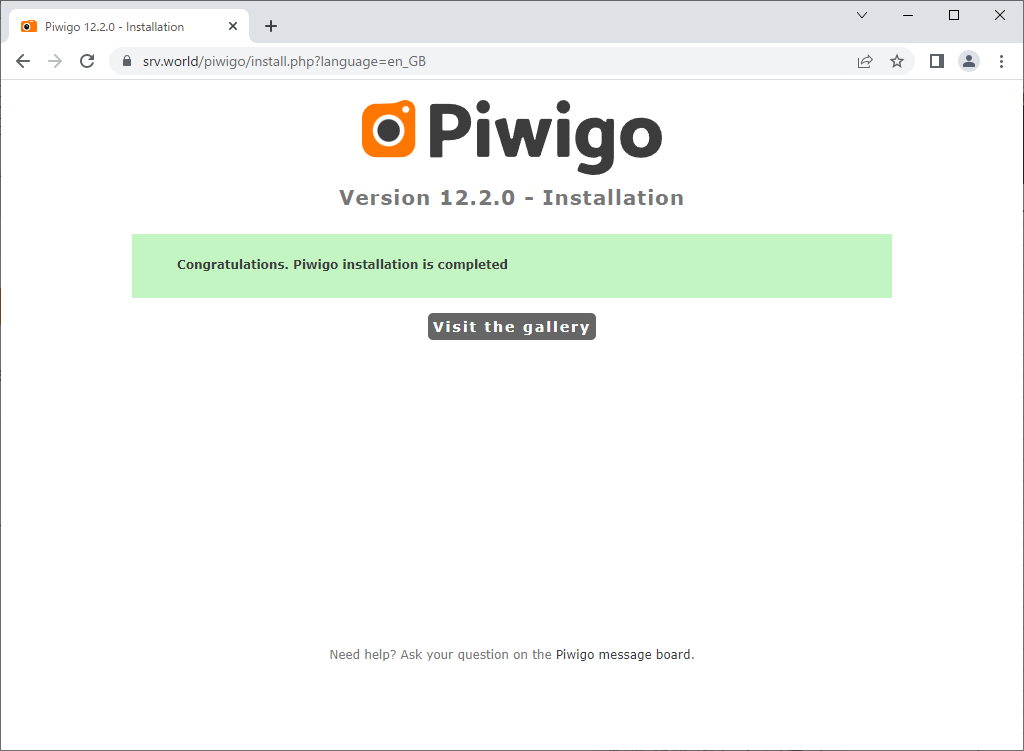
| [8] | After successfully setup, following screen is shown. |
|
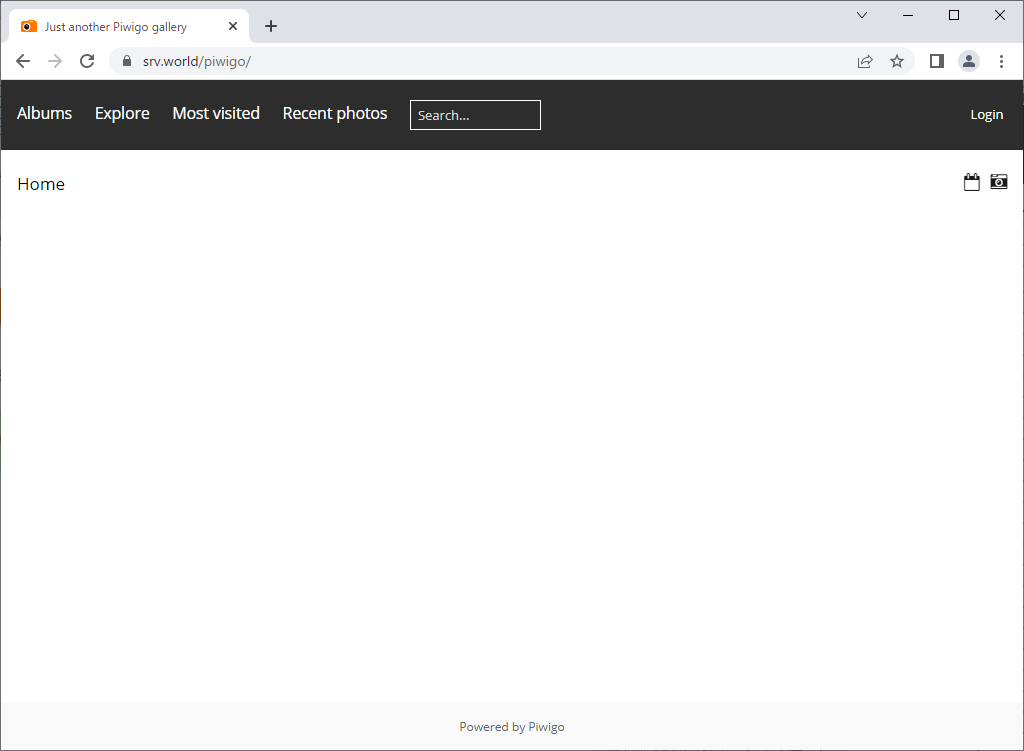
| [9] | After initial setup, wshen access to the Piwigo site, default index page is displayed. To manage your photos, login as administrative user you did setup, click [Login] button on upper-right. |
|
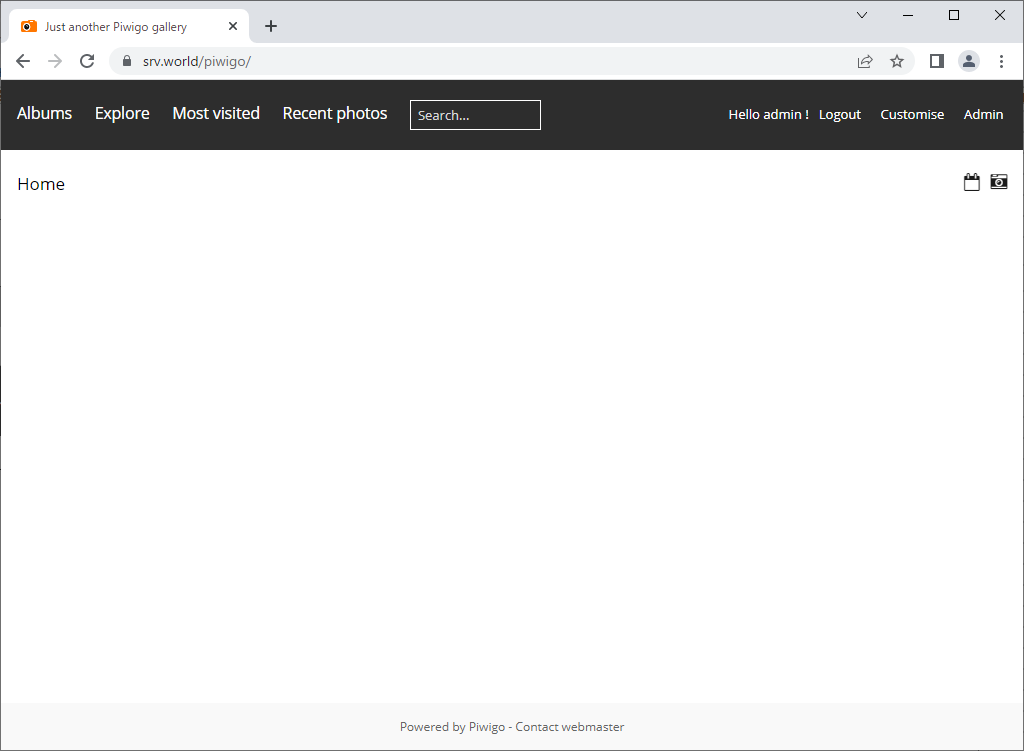
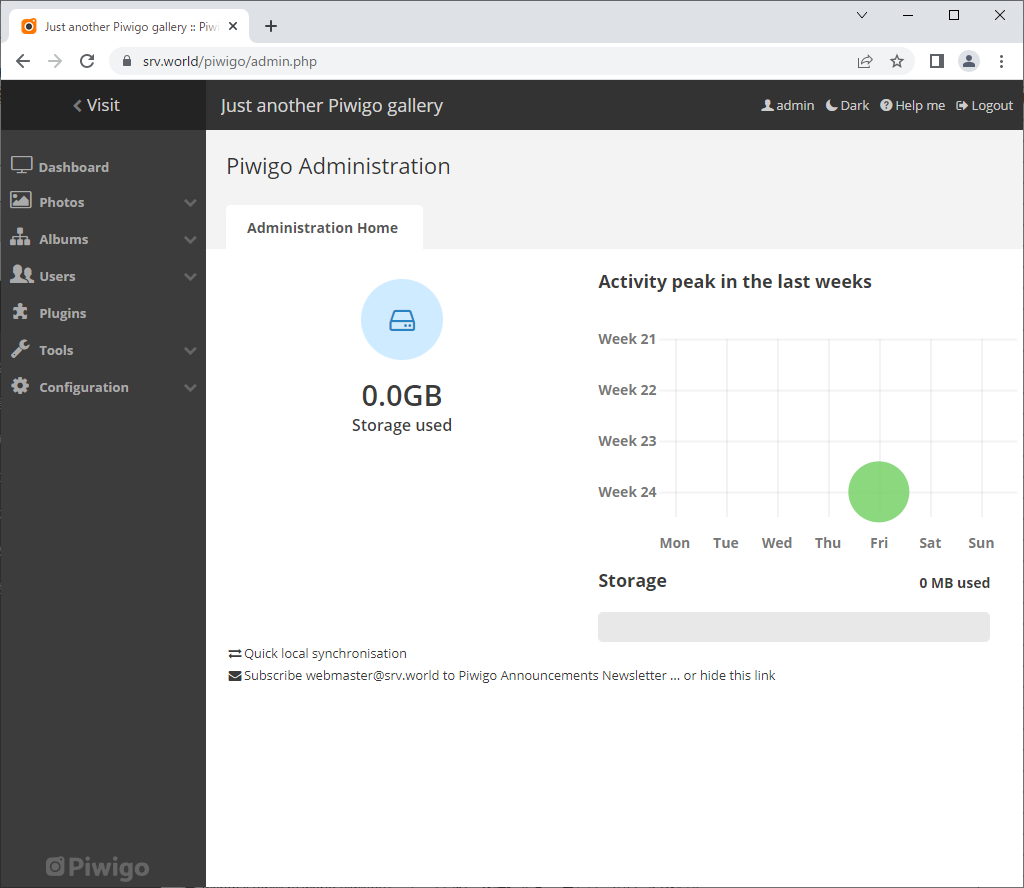
| [10] | After login, click [Admin] button to move to management dashboard. |
|
|
|
Matched Content