Apache httpd : WordPress インストール2015/10/25 |
|
ブログシステム WordPress をインストールします。
|
|
| [1] |
こちらを参考に PHP をインストールしておきます。
|
| [2] |
こちらを参考に MariaDB サーバーをインストールしておきます。
|
| [3] | WordPress 用のデータベースを作成しておきます。 |
|
[root@www ~]# mysql -u root -p Enter password: Welcome to the MariaDB monitor. Commands end with ; or \g. Your MariaDB connection id is 12 Server version: 5.5.44-MariaDB MariaDB Server Copyright (c) 2000, 2015, Oracle, MariaDB Corporation Ab and others. Type 'help;' or '\h' for help. Type '\c' to clear the current input statement. # 「wordpress」データベース作成 ( 'password'の箇所は設定するパスワードを入力 )
MariaDB [(none)]>
create database wordpress; Query OK, 1 row affected (0.00 sec)
MariaDB [(none)]>
grant all privileges on wordpress.* to wordpress@'localhost' identified by 'password'; Query OK, 0 rows affected (0.00 sec)
MariaDB [(none)]>
MariaDB [(none)]> flush privileges; Query OK, 0 rows affected (0.00 sec) exit Bye |
| [4] | WordPress をインストールします。 |
|
# 必要なパッケージを EPEL からインストール [root@www ~]# yum --enablerepo=epel -y install enchant hunspell php-IDNA_Convert php-PHPMailer php-enchant php-pdo php-gd php-getid3 php-mysql php-simplepie # WordPress 日本語版ダウンロード [root@www ~]# curl -O https://ja.wordpress.org/latest-ja.tar.gz [root@www ~]# tar zxvf latest-ja.tar.gz -C /var/www/html/ [root@www ~]# mv /var/www/html/wordpress/wp-config-sample.php /var/www/html/wordpress/wp-config.php
[root@www ~]#
vi /var/www/html/wordpress/wp-config.php # 29行目:DB指定 define('DB_NAME', ' wordpress ');
# 32行目:DBユーザー名指定 define('DB_USER', ' wordpress ');
# 35行目:DBパスワード指定 define('DB_PASSWORD', ' password ');
systemctl restart httpd
|
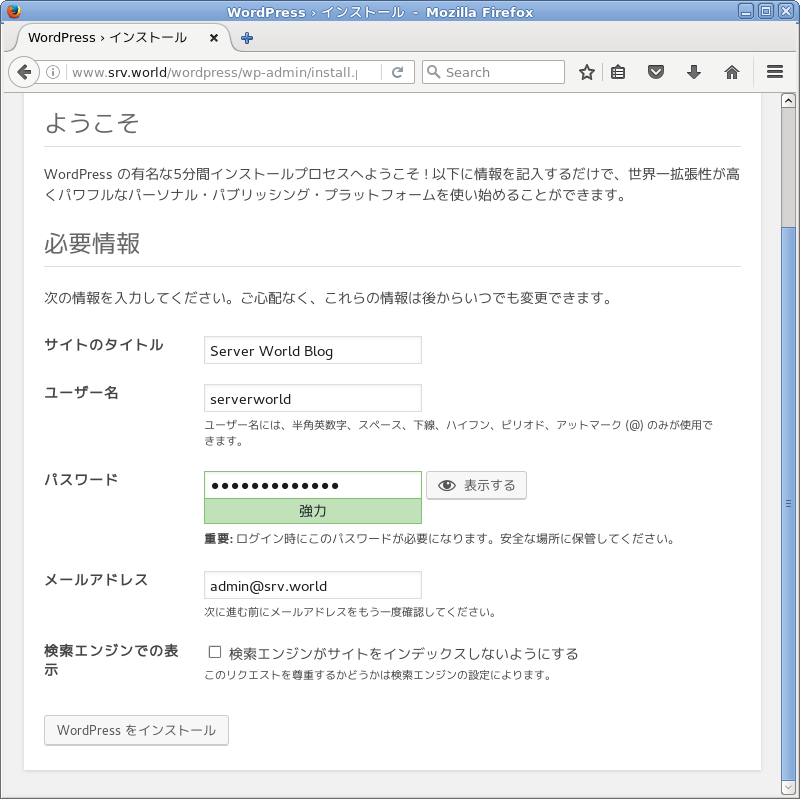
| [5] | 任意のクライアントで Web ブラウザを起動し 「http://(サーバーのホスト名またはIPアドレス)/wordpress/」にアクセスして、ユーザー名やパスワード等の最終設定をしてください。 |
|
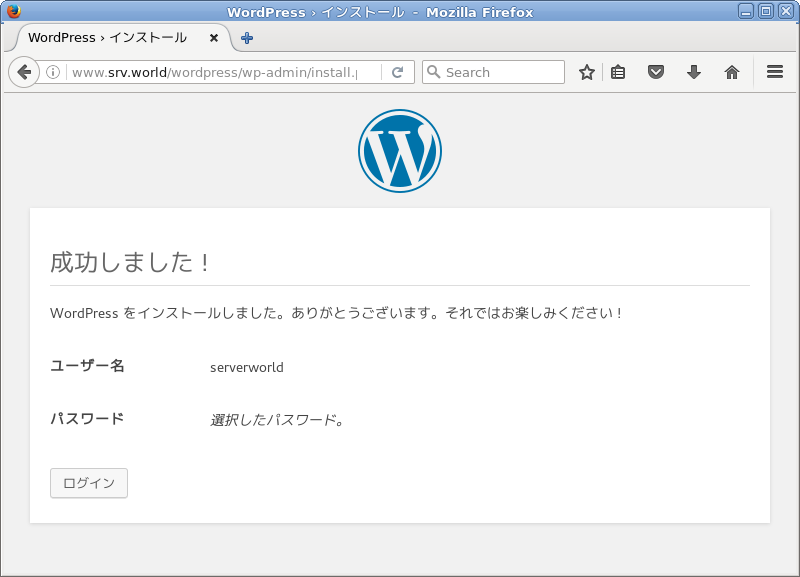
| [6] | 設定完了後、以下の画面でログインボタンをクリックします。 |
|
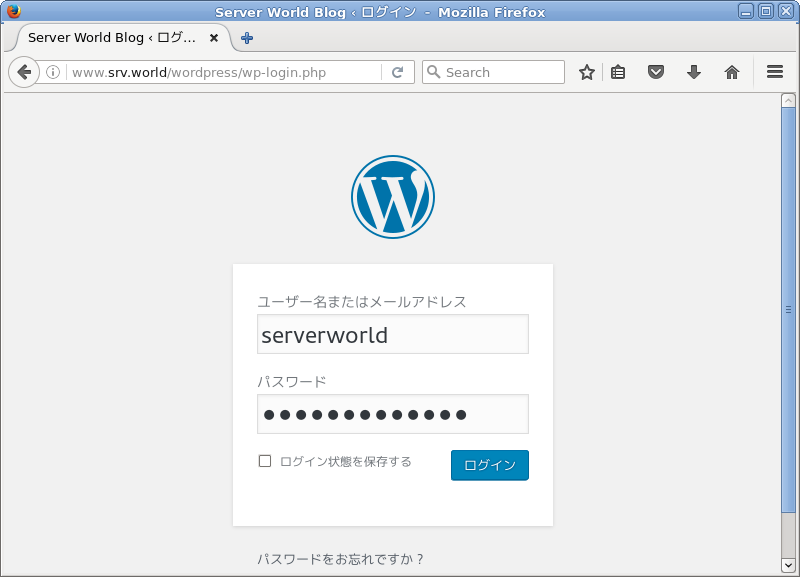
| [7] | 設定したユーザー名とパスワードでログインします。 |
|
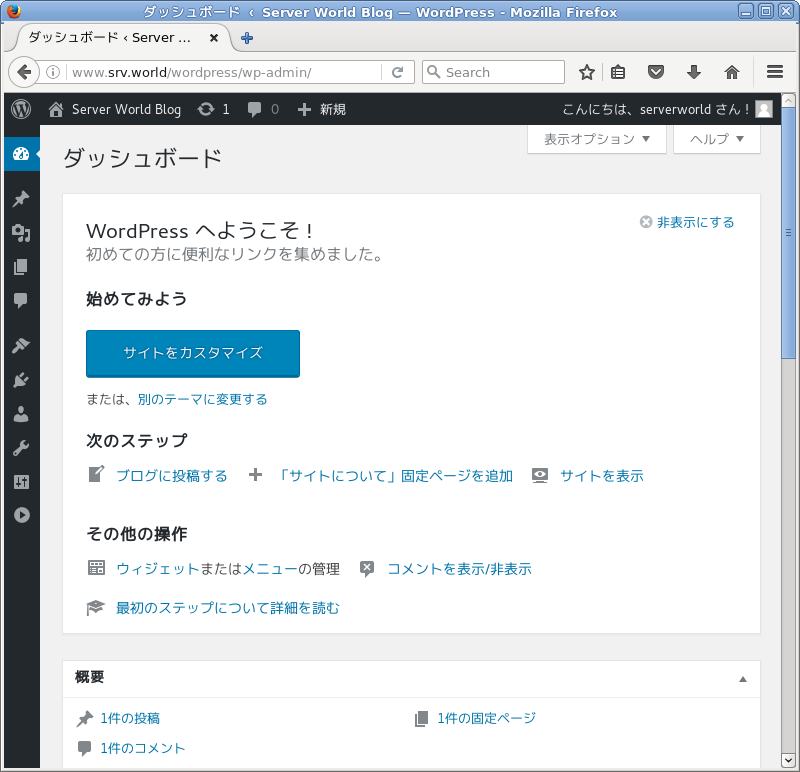
| [8] | 管理画面になります。ここから日々の投稿を作成します。 詳細な使い方は本家サイトを参照ください。 |
|
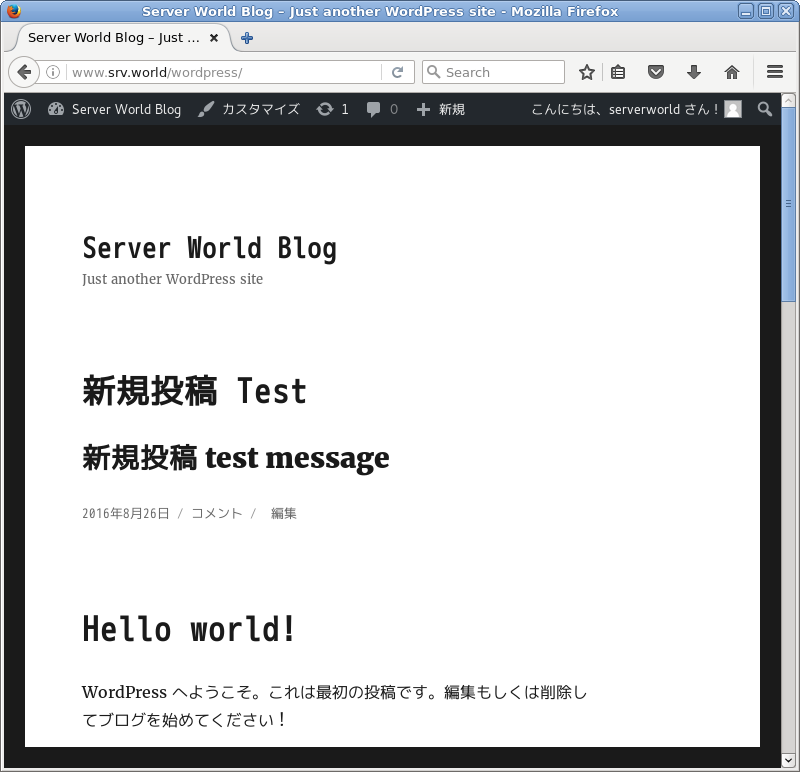
| [9] | ブログのトップページは「http://(サーバーのホスト名またはIPアドレス)/wordpress/」です。 テスト投稿をしてみて、正常に表示されていることを確認してください。 |
|
関連コンテンツ