SSLの設定2017/04/26 |
|
SSL の設定して暗号化通信ができるようにします。なお、HTTPS は 443/TCP を使用します。
|
|
| [1] | |
| [2] | Apache2 の設定です。 |
|
root@www:~#
vi /etc/apache2/sites-available/default-ssl.conf # 3行目:管理者アドレス変更 ServerAdmin webmaster@srv.world
# 32,33行目:[1]で作成したものに変更 SSLCertificateFile /etc/ssl/private/server.crt SSLCertificateKeyFile /etc/ssl/private/server.key
a2ensite default-ssl Enabling site default-ssl. To activate the new configuration, you need to run: service apache2 reloadroot@www:~# a2enmod ssl Considering dependency setenvif for ssl: Module setenvif already enabled Considering dependency mime for ssl: Module mime already enabled Considering dependency socache_shmcb for ssl: Enabling module socache_shmcb. Enabling module ssl. See /usr/share/doc/apache2/README.Debian.gz on how to configure SSL and create self-signed certificates. To activate the new configuration, you need to run: service apache2 restartroot@www:~# systemctl restart apache2 |
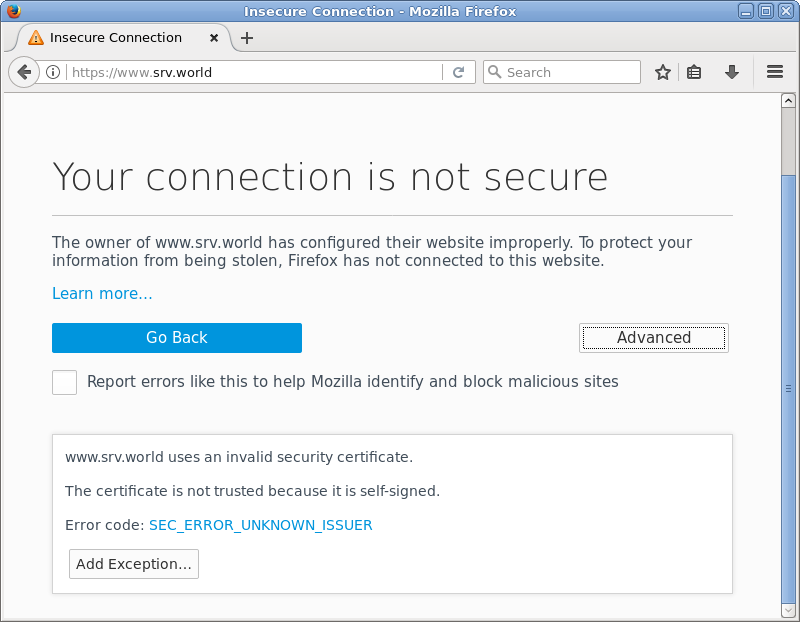
| Webブラウザでテストページに HTTPS でアクセスします。すると自己署名の証明書なので以下のような警告が出ます。 [危険性を理解した上で接続するには] をクリックし、表示された [例外を追加] ボタンをクリックします。 |
|
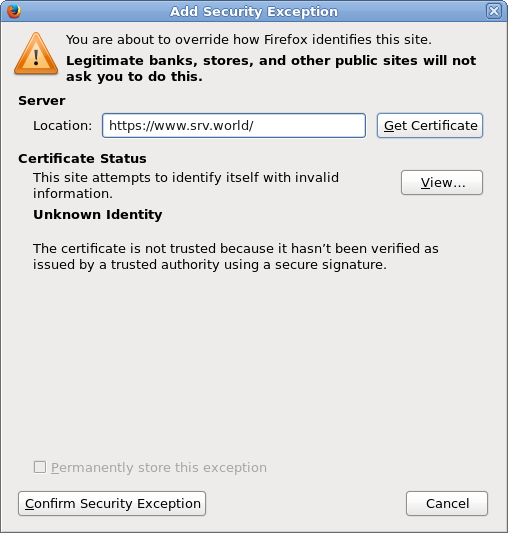
| 「セキュリティ例外を承認」ボタンをクリックします。 |
|
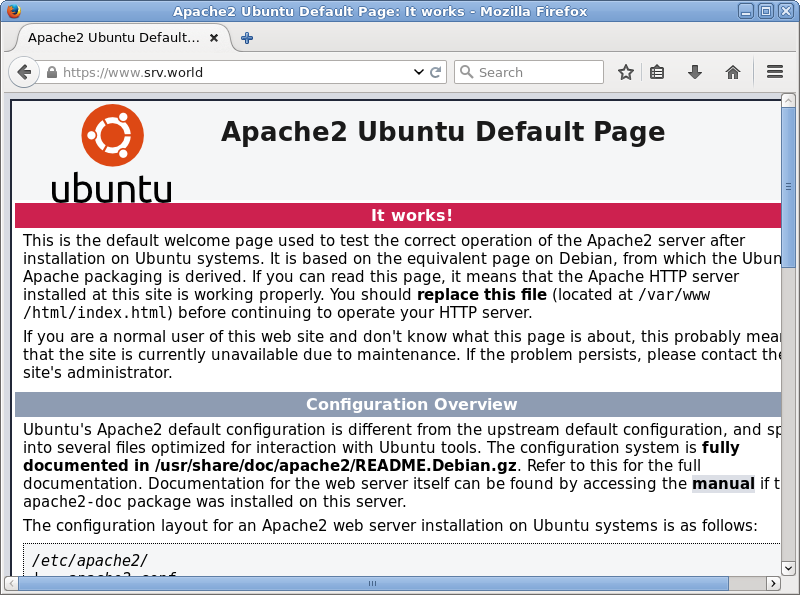
| HTTPS でアクセスできました。 |
|
関連コンテンツ