VNCサーバーの導入2010/07/20 |
| [1] | VNCサーバーを導入してクライアントのWindowsマシンからグラフィカルにリモート接続します。 |
|
root@ubuntu:~# aptitude -y install vnc4server root@ubuntu:~# vi /etc/vnc.conf # 以下の内容で新規作成 $geometry = "1024x768"; $depth = "24"; root@ubuntu:~# su - lucid # VNCを設定するユーザーに遷移 lucid@ubuntu:~$ # VNC用パスワード設定 Password: # 入力 Verify: lucid@ubuntu:~$ vncserver # 起動 xauth: creating new authority file /home/lucid/.Xauthority New 'ubuntu:1 (lucid)' desktop is ubuntu:1 Creating default startup script /home/lucid/.vnc/xstartup Starting applications specified in /home/lucid/.vnc/xstartup Log file is /home/lucid/.vnc/ubuntu:1.log lucid@ubuntu:~$ vi .vnc/xstartup # 以下追記
exec gnome-session & lucid@ubuntu:~$ vncserver -kill :1 # 一旦終了 Killing Xvnc4 process ID 31104 lucid@ubuntu:~$ vncserver # 再度起動 New 'ubuntu:1 (lucid)' desktop is ubuntu:1 Starting applications specified in /home/lucid/.vnc/xstartup Log file is /home/lucid/.vnc/ubuntu:1.log |
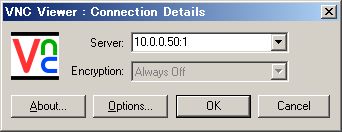
| [2] | クライアント側の設定です。Windows XP を例にします。 下記サイトより、名前等を入力してRealVNCダウンロードします。 http://www.realvnc.com/products/free/4.1/download.html ダウンロードしたらインストールして、「Run VNC Viewer」をクリックして起動します。 以下の画面になりますので、「Server」の欄に「サーバーのホスト名またはIPアドレス:ディスプレイ番号」と指定しOKをクリックします。 ディスプレイ番号は vncserver を起動したときに出たメッセージ [New 'ubuntu:1 (lucid)' desktop is ubuntu:1]の最後の数字の部分です。 |
|
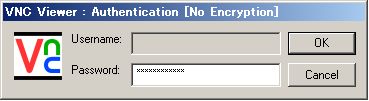
| [3] | 以下の画面になるので[1]で設定したパスワードを入力します。 |
|
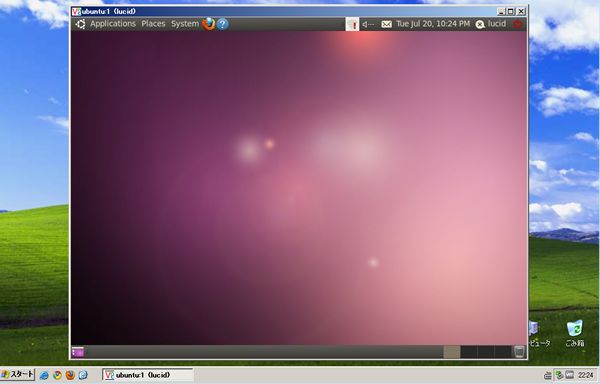
| [4] | 接続できました。 |
|
関連コンテンツ