Ruby開発実行環境 - Ruby on Rails2011/05/18 |
| [1] | 必要なものをインストールしておきます。 |
|
[root@rails ~]# yum -y install rubygems ruby-devel mysql-devel gcc make
|
| [2] | Rails をインストールします。なお、ここでは Rails は 3系ではなく 2系を使うことにします。 |
|
[root@rails ~]# gem install rails -v=2.3.11 --include-dependencies INFO: `gem install -y` is now default and will be removed INFO: use --ignore-dependencies to install only the gems you list Successfully installed rake-0.8.7 Successfully installed activesupport-2.3.11 Successfully installed activerecord-2.3.11 Successfully installed rack-1.1.2 Successfully installed actionpack-2.3.11 Successfully installed actionmailer-2.3.11 Successfully installed activeresource-2.3.11 Successfully installed rails-2.3.11 8 gems installed Installing ri documentation for rake-0.8.7... Installing ri documentation for activesupport-2.3.11... Installing ri documentation for activerecord-2.3.11... Installing ri documentation for rack-1.1.2... Installing ri documentation for actionpack-2.3.11... Installing ri documentation for actionmailer-2.3.11... Installing ri documentation for activeresource-2.3.11... Installing ri documentation for rails-2.3.11... Installing RDoc documentation for rake-0.8.7... Installing RDoc documentation for activesupport-2.3.11... Installing RDoc documentation for activerecord-2.3.11... Installing RDoc documentation for rack-1.1.2... Installing RDoc documentation for actionpack-2.3.11... Installing RDoc documentation for actionmailer-2.3.11... Installing RDoc documentation for activeresource-2.3.11... Installing RDoc documentation for rails-2.3.11... [root@rails ~]# gem install mysql -- --with-mysql-config=/usr/bin/mysql_config Building native extensions. This could take a while... Successfully installed mysql-2.8.1 1 gem installed Installing ri documentation for mysql-2.8.1... |
| [3] | テストアプリケーションとして簡単な掲示板を作成してみます。 |
|
[root@rails ~]# rails testapp -d mysql [root@rails ~]# cd testapp
[root@rails testapp]#
vi config/database.yml
development:
[root@rails testapp]# adapter: mysql encoding: utf8 reconnect: false database: testapp_development pool: 5 username: root password: password # MySQLのパスワード (「xxx_test」「xxx_production」も同様に設定) socket: /var/lib/mysql/mysql.sock rake db:create:all # DB作成 (in /root/testapp) [root@rails ~]# script/generate scaffold testapp title:string body:text [root@rails testapp]# rake db:migrate # テーブル作成 (in /root/testapp) == CreateTestapps: migrating ================================================= -- create_table(:testapps) -> 0.0635s == CreateTestapps: migrated (0.0640s) ========================================[root@rails testapp]# script/server # WEBrick起動 => Booting WEBrick => Rails 2.3.11 application starting on http://0.0.0.0:3000 => Call with -d to detach => Ctrl-C to shutdown server [2011-05-18 20:46:48] INFO WEBrick 1.3.1 [2011-05-18 20:46:48] INFO ruby 1.8.7 (2010-06-23) [x86_64-linux] [2011-05-18 20:46:48] INFO WEBrick::HTTPServer#start: pid=3341 port=3000 |
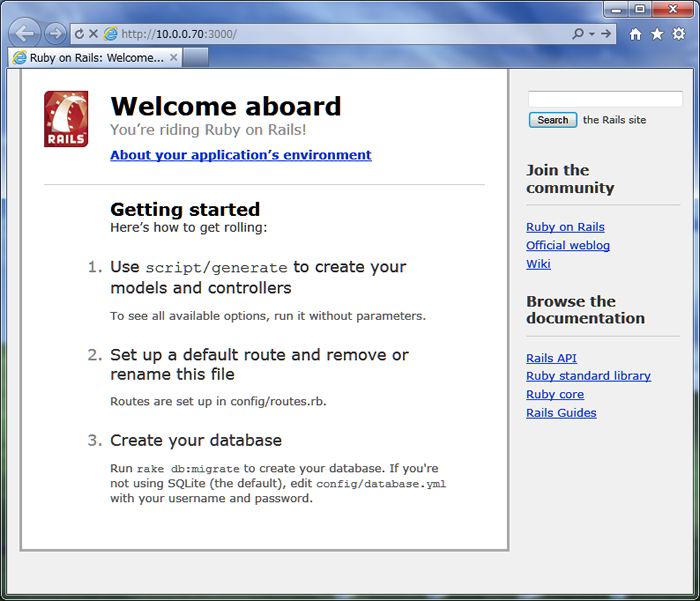
| [4] | Webブラウザで「http://(サーバー名またはIPアドレス):3000/」にアクセスして、 以下のようなページが表示されればOKです。 |
|
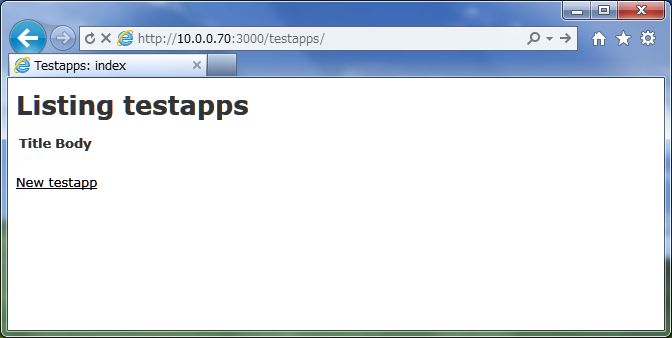
| Webブラウザで「http://(サーバー名またはIPアドレス):3000/testapps/」にアクセスすると 作成したテストアプリケーションの画面になります。 |
|
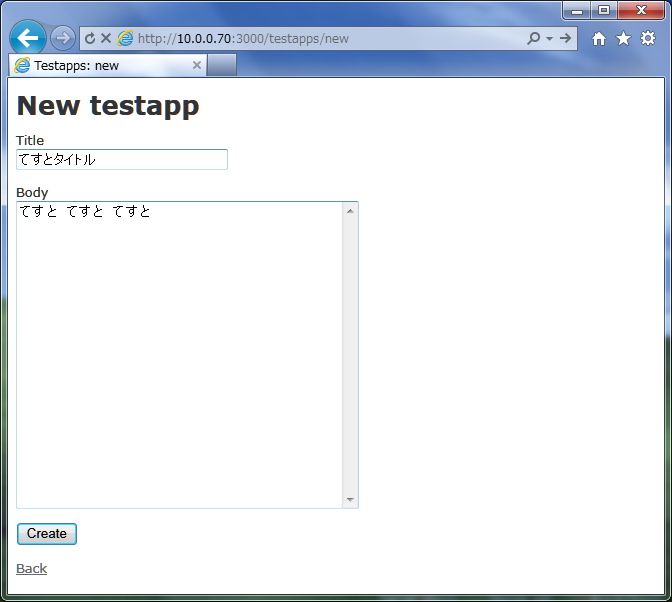
| 「New testapp」をクリックすると投稿画面になります。 |
|
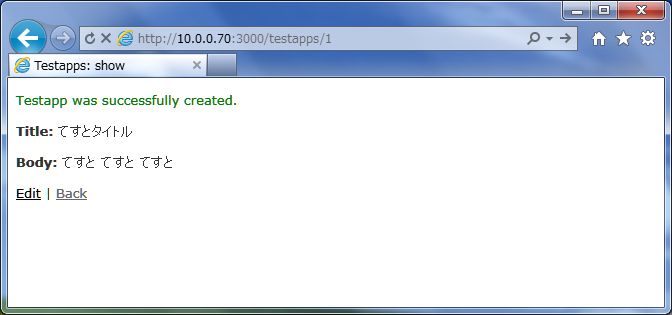
| 内容を入力してCreateすると投稿できます。 このように「登録」「編集」「削除」の処理ができる、掲示板やブログの土台ともいうべき機能がわずか数十秒程度(インストール作業除いて)の時間で作成できます。 |
|
関連コンテンツ