phpMyAdmin インストール2017/07/26 |
|
phpMyAdmin をインストールして、Web ブラウザ経由で MariaDB の操作ができるように設定します。
|
|
| [1] | |
| [2] |
こちらを参考に PHP をインストールしておきます。
|
| [3] | phpMyAdmin をインストールします。 |
|
[root@www ~]#
dnf -y install phpMyAdmin php-mysqlnd php-mcrypt php-php-gettext # phpMyAdmin に root ログインする場合は以下のように設定変更 [root@www ~]# mysql -u root -p mysql Enter password: Welcome to the MariaDB monitor. Commands end with ; or \g. Your MariaDB connection id is 3 Server version: 10.1.25-MariaDB MariaDB Server Copyright (c) 2000, 2017, Oracle, MariaDB Corporation Ab and others. Type 'help;' or '\h' for help. Type '\c' to clear the current input statement. MariaDB [mysql]> update user set plugin='' where user='root'; Query OK, 1 row affected (0.00 sec) Rows matched: 1 Changed: 1 Warnings: 0 MariaDB [mysql]> flush privileges; Query OK, 0 rows affected (0.00 sec) MariaDB [mysql]> exit Bye
[root@www ~]#
vi /etc/httpd/conf.d/phpMyAdmin.conf # 17行目:アクセス許可IP追記 Require ip 127.0.0.1 10.0.0.0/24
# 34行目:アクセス許可IP追記 Require ip 127.0.0.1 10.0.0.0/24
systemctl restart httpd |
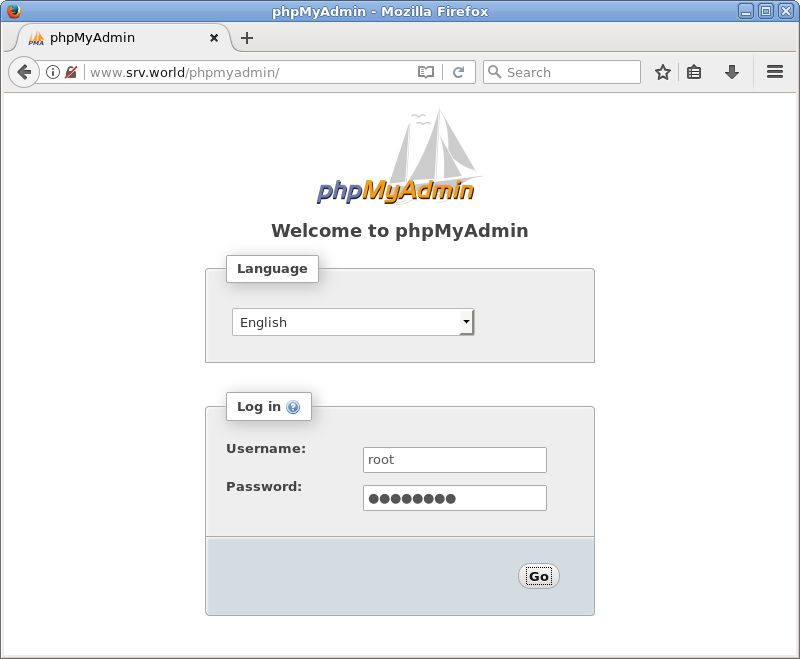
| [4] | クライアントPC で Web ブラウザを起動し、[http://(ホスト名またはIPアドレス)/phpmyadmin/] にアクセスします。 認証フォームが表示されるので、MariaDB に登録したユーザーで認証してログインします。ここでは例として root でログインします。 |
|
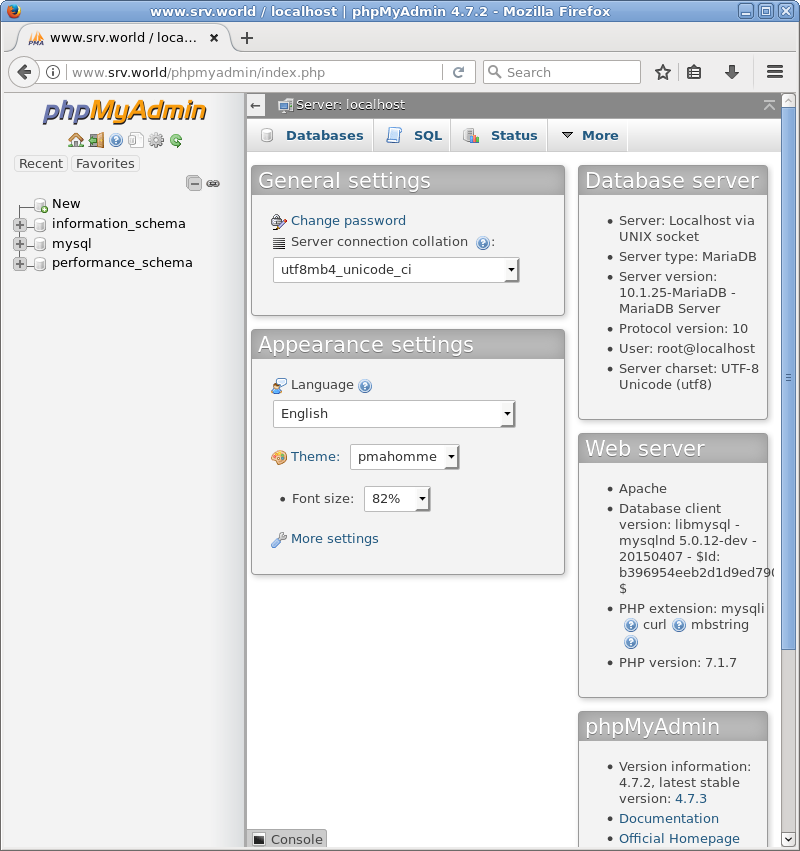
| [5] | ログインできました。この管理画面から MariaDB を操作することができます。 |
|
関連コンテンツ