Redmine : インストール2021/06/08 |
|
プロジェクト管理ツール Redmine をインストールします。
当例では SELinux は Permissive または Disabled で進めます。
|
|
| [1] | |
| [2] | |
| [3] | |
| [4] | |
| [5] | その他必要なパッケージをインストールしておきます。 |
|
# EPEL, PowerTools からインストール [root@dlp ~]# dnf --enablerepo=epel,powertools -y install ruby-devel postgresql-server-devel openssl-devel libxslt-devel libxml2-devel libpq-devel libcurl-devel zlib-devel httpd-devel gcc gcc-c++ gcc-gdb-plugin make patch rpm-build ImageMagick ImageMagick-devel |
| [6] | Redmine 用のユーザーとデータベースを作成しておきます。 |
|
[root@dlp ~]#
vi /var/lib/pgsql/data/pg_hba.conf # 82行目 : 以下のように変更 #host all all 127.0.0.1/32 ident host all all 127.0.0.1/32 md5 host all all ::1/128 md5
[root@dlp ~]#
systemctl restart postgresql # [password] は任意のパスワードを設定 [root@dlp ~]# su - postgres [postgres@dlp ~]$ createuser redmine [postgres@dlp ~]$ createdb redmine -O redmine [postgres@dlp ~]$ psql -c "alter user redmine with password 'password'" ALTER ROLE |
| [7] | Redmine をダウンロードしてインストールします。最新版を確認してダウンロードしてください。 ⇒ http://www.redmine.org/projects/redmine/wiki/Download |
|
[root@dlp ~]# curl -O https://www.redmine.org/releases/redmine-4.1.3.tar.gz [root@dlp ~]# tar zxvf redmine-4.1.3.tar.gz [root@dlp ~]# mv redmine-4.1.3 /var/www/redmine [root@dlp ~]# cd /var/www/redmine
[root@dlp redmine]#
vi config/database.yml # 以下の内容で新規作成 production: adapter: postgresql # データベース名 database: redmine host: localhost # データベースユーザー username: redmine # データベースユーザーのパスワード password: password encoding: utf8
[root@dlp redmine]#
vi config/configuration.yml # 以下の内容で新規作成 (SMTP の設定)
production:
  email_delivery:
    delivery_method: :smtp
    smtp_settings:
      address: "localhost"
      port: 25
      domain: 'dlp.srv.world'
  rmagick_font_path: /usr/share/fonts/google-droid/DroidSansJapanese.ttf
# bundler インストール [root@dlp redmine]# gem install bundler --no-rdoc --no-ri # Redmine で使用する Gem をインストール [root@dlp redmine]# bundle install --without development test mysql sqlite # 秘密鍵の生成 [root@dlp redmine]# bundle exec rake generate_secret_token # テーブル生成 [root@dlp redmine]# bundle exec rake db:migrate RAILS_ENV=production # Passenger インストール [root@dlp redmine]# gem install passenger --no-rdoc --no-ri # Apache httpd 用モジュールインストール [root@dlp redmine]# passenger-install-apache2-module
Welcome to the Phusion Passenger Apache 2 module installer, v5.3.7.

This installer will guide you through the entire installation process. It
shouldn't take more than 3 minutes in total.

Here's what you can expect from the installation process:

 1. The Apache 2 module will be installed for you.
 2. You'll learn how to configure Apache.
 3. You'll learn how to deploy a Ruby on Rails application.

Don't worry if anything goes wrong. This installer will advise you on how to
solve any problems.

Press Enter to continue, or Ctrl-C to abort.
1

.....
.....

Deploying a web application

To learn how to deploy a web app on Passenger, please follow the deployment
guide:

  https://www.phusionpassenger.com/library/deploy/apache/deploy/

Enjoy Phusion Passenger, a product of Phusion® (www.phusion.nl) :-)
https://www.phusionpassenger.com

Passenger® is a registered trademark of Phusion Holding B.V.
|
| [8] | Passenger を実行するための httpd の設定です。当例ではバーチャルホスト環境で設定します。 |
|
[root@dlp redmine]#
vi /etc/httpd/conf.d/passenger.conf # 以下の内容で新規作成
LoadModule passenger_module /usr/local/share/gems/gems/passenger-6.0.9/buildout/apache2/mod_passenger.so
PassengerRoot /usr/local/share/gems/gems/passenger-6.0.9
PassengerDefaultRuby /usr/bin/ruby
SetEnv LD_LIBRARY_PATH /usr/lib64

NameVirtualHost *:80
<VirtualHost *:80>
    ServerName redmine.srv.world
    DocumentRoot /var/www/redmine/public
</VirtualHost>

<Directory "/var/www/redmine/public">
    Options FollowSymLinks
    AllowOverride All
</Directory>
chown -R apache. /var/www/redmine [root@dlp redmine]# systemctl restart httpd |
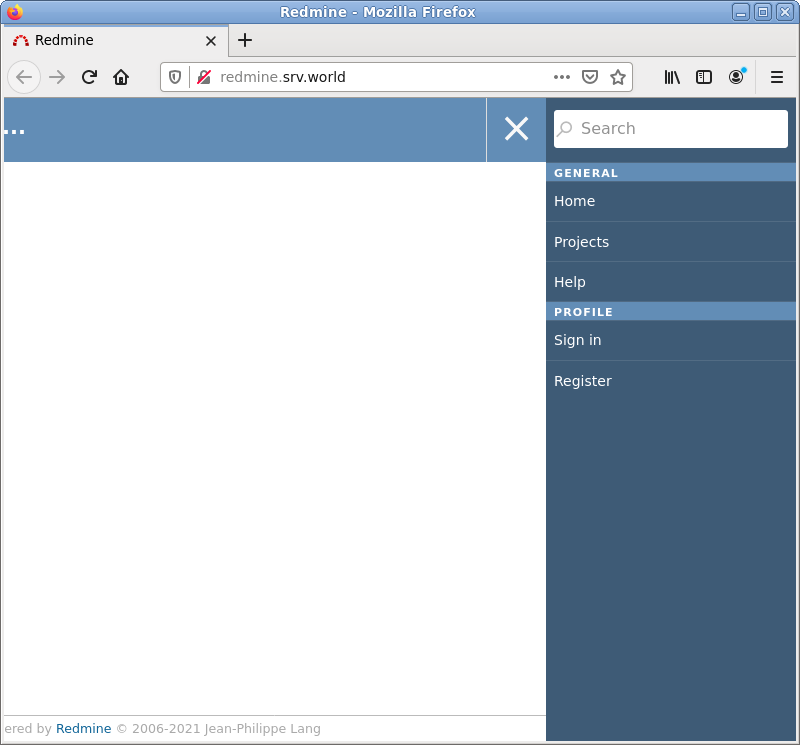
| [9] | バーチャルホストで設定した URL にアクセスすると Redmine のサイトが表示されます。[Sign in] をクリックしてログインページへ移動します。 |
|
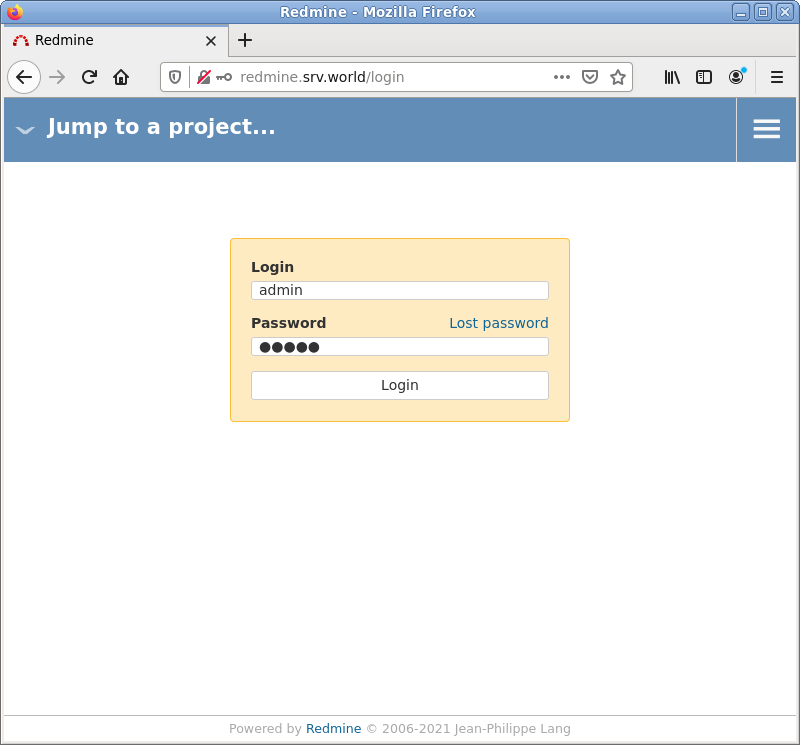
| [10] | ユーザー名/初期パスワード : [admin/admin] で管理者ログインできます。 |
|
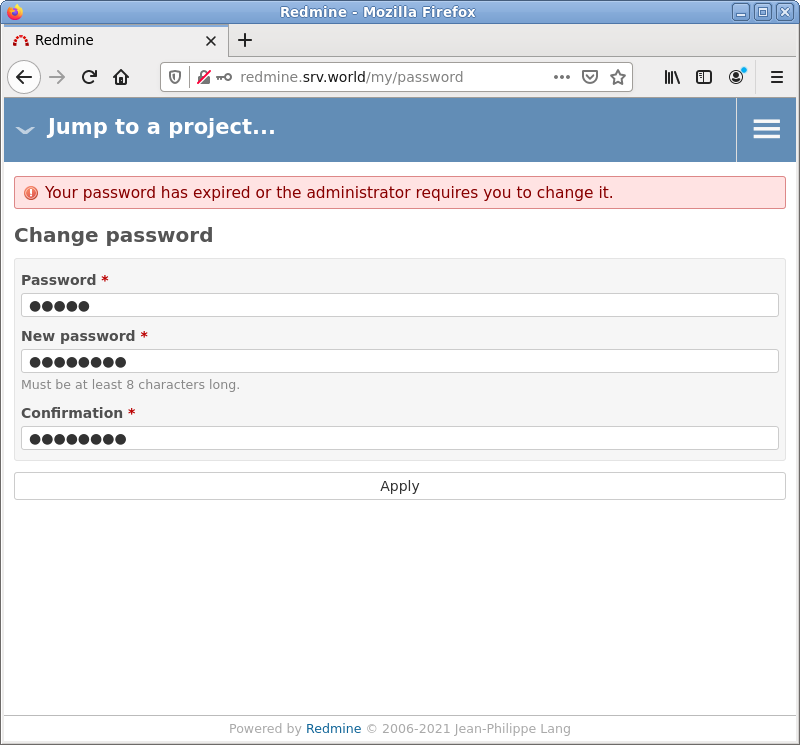
| [11] | 初回ログイン後はパスワードの再設定を求められます。 |
|
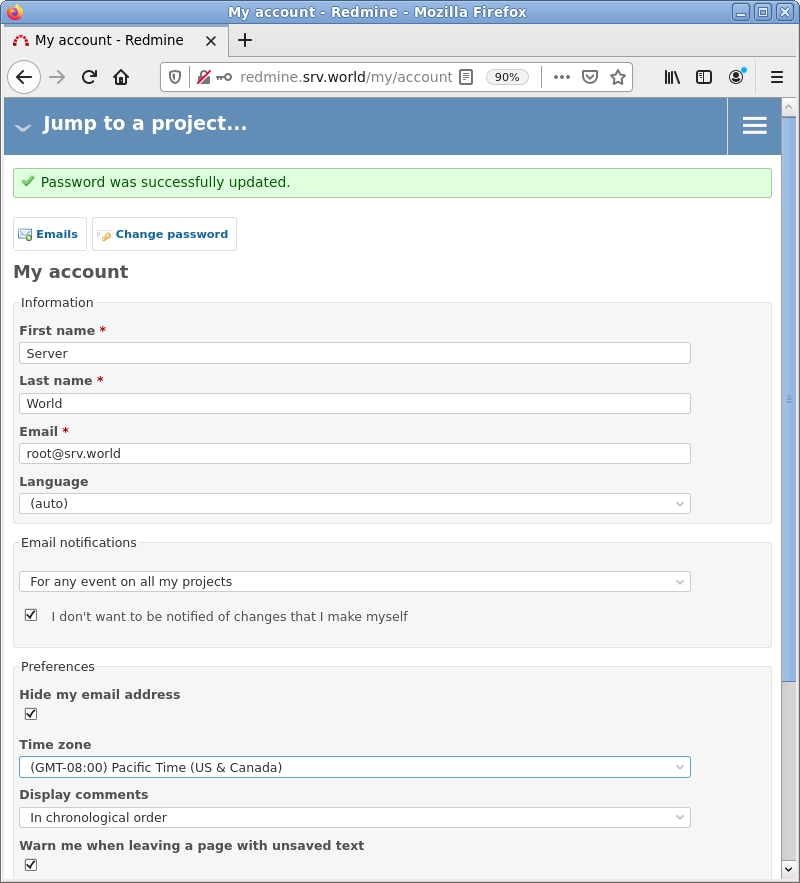
| [12] | パスワードの再設定後は、アカウント情報の設定画面になります。必要な情報を入力して設定します。 |
|
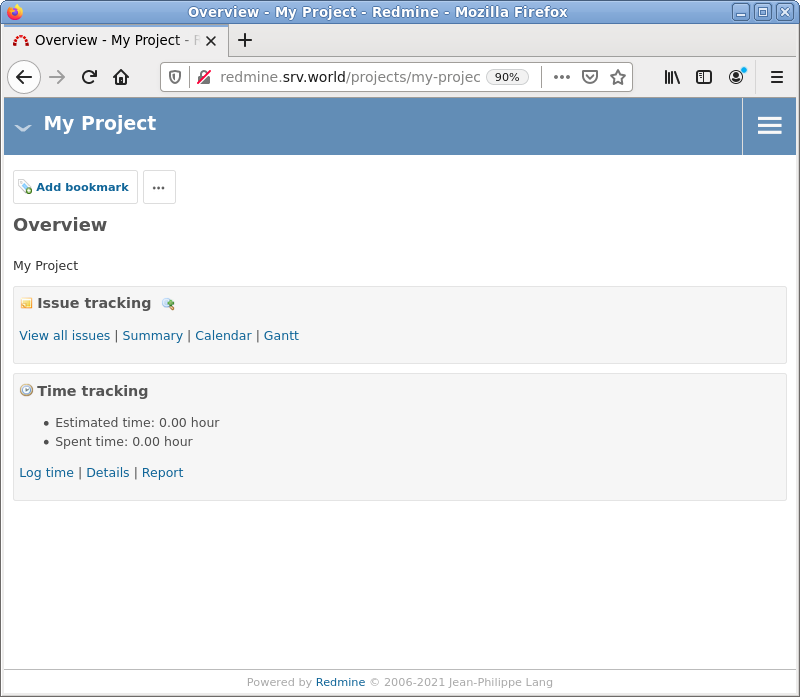
| [13] | 以上で完了です。プロジェクトを作成して Redmine を活用ください。 |
|
関連コンテンツ