NextCloud : インストール2016/07/27 |
|
クラウドストレージサーバー NextCloud をインストールします。
なお、以下は、本稿作成時点で最新の NextCloud 20 のインストールと設定を例示しています。 |
|
| [1] | |
| [2] |
こちらを参考に Apache httpd に SSL/TLS の設定を適用しておきます。
(オンラインミーティングで使用する カメラ/通話 の機能や 画面共有 の機能等は SSL/TLS 必須) |
| [3] | PHP 7.3 をインストールしておきます。 |
|
# SCLo を有効にしてインストール [root@dlp ~]# yum --enablerepo=centos-sclo-rh install rh-php73 rh-php73-php rh-php73-php-pear rh-php73-php-mbstring rh-php73-php-fpm rh-php73-php-pdo rh-php73-php-intl rh-php73-php-gd rh-php73-php-mysqlnd rh-php73-php-opcache rh-php73-php-gmp rh-php73-php-pecl-apcu rh-php73-php-zip rh-php73-php-devel ImageMagick ImageMagick-devel make /opt/rh/rh-php73/root/usr/bin/pecl install phpize imagick [root@dlp ~]# echo 'extension=imagick.so' >> /etc/opt/rh/rh-php73/php.ini
[root@dlp ~]#
vi /etc/opt/rh/rh-php73/php-fpm.d/nextcloud.conf # 新規作成
[nextcloud]
user = apache
group = apache

listen = /opt/rh/rh-php73/root/run/nextcloud.sock
listen.acl_users = apache
listen.allowed_clients = 127.0.0.1

pm = dynamic
pm.max_children = 50
pm.start_servers = 5
pm.min_spare_servers = 5
pm.max_spare_servers = 35

php_value[session.save_handler] = files
php_value[session.save_path]    = /opt/rh/rh-php73/register.content/var/opt/rh/rh-php73/lib/php/session

# 以下はサーバースペックや NextCloud の使用状況に応じて要調整
php_value[max_execution_time] = 3600
php_value[memory_limit] = 2G
php_value[post_max_size] = 2G
php_value[upload_max_filesize] = 2G
php_value[max_input_time] = 3600
php_value[max_input_vars] = 2000
php_value[date.timezone] = Asia/Tokyo

php_value[opcache.enable] = 1
php_value[opcache.memory_consumption] = 128
php_value[opcache.interned_strings_buffer] = 8
php_value[opcache.max_accelerated_files] = 10000
php_value[opcache.revalidate_freq] = 1
php_value[opcache.save_comments] = 1
systemctl enable --now rh-php73-php-fpm |
| [4] | MariaDB 10.3 をインストールしておきます。 |
|
# SCLo を有効にしてインストール [root@dlp ~]# yum --enablerepo=centos-sclo-rh -y install rh-mariadb103-mariadb-server
[root@dlp ~]#
vi /etc/opt/rh/rh-mariadb103/my.cnf.d/charset.cnf # 新規作成 # デフォルトの文字コードを設定 [mysqld] character-set-server = utf8mb4 [client] default-character-set = utf8mb4
[root@dlp ~]#
systemctl enable --now rh-mariadb103-mariadb
# 初期設定 [root@dlp ~]# /opt/rh/rh-mariadb103/root/usr/bin/mysql_secure_installation
|
| [5] | NextCloud 用のユーザーとデータベースを作成しておきます。 |
|
[root@dlp ~]# /opt/rh/rh-mariadb103/root/usr/bin/mysql -u root -p Enter password: Welcome to the MariaDB monitor. Commands end with ; or \g. Your MariaDB connection id is 17 Server version: 10.3.27-MariaDB MariaDB Server Copyright (c) 2000, 2018, Oracle, MariaDB Corporation Ab and others. Type 'help;' or '\h' for help. Type '\c' to clear the current input statement. MariaDB [(none)]> create database nextcloud; Query OK, 1 row affected (0.00 sec) MariaDB [(none)]> grant all privileges on nextcloud.* to nextcloud@'localhost' identified by 'password'; Query OK, 0 rows affected (0.00 sec) MariaDB [(none)]> flush privileges; Query OK, 0 rows affected (0.00 sec) MariaDB [(none)]> exit Bye |
| [6] | Apache httpd に NextCloud サイトの設定をします。 |
|
[root@dlp ~]#
vi /etc/httpd/conf.d/nextcloud.conf
Timeout 3600
ProxyTimeout 3600

Alias /nextcloud "/var/www/nextcloud/"
<Directory "/var/www/nextcloud">
    Options FollowSymLinks
    AllowOverride All
    Require all granted

    <FilesMatch \.(php|phar)$>
        SetHandler "proxy:unix:/opt/rh/rh-php73/root/run/nextcloud.sock|fcgi://localhost"
    </FilesMatch>
</Directory>
wget https://download.nextcloud.com/server/releases/nextcloud-20.0.0.zip -P /var/www/ [root@dlp ~]# unzip /var/www/nextcloud-20.0.0.zip -d /var/www/ [root@dlp ~]# chown -R apache. /var/www/nextcloud [root@dlp ~]# systemctl restart httpd |
| [7] | SELinux を有効にしている場合は、許可ルールの追加が必要です。 |
|
[root@dlp ~]# setsebool -P httpd_can_network_connect on [root@dlp ~]# setsebool -P httpd_unified on [root@dlp ~]# setsebool -P httpd_execmem on
[root@dlp ~]#
vi nextcloud.te # 以下の内容で新規作成
module nextcloud 1.0;

require {
        type configfs_t;
        type httpd_t;
        type httpd_sys_script_t;
        type fuse_device_t;
        type httpd_sys_rw_content_t;
        type kernel_t;
        type lib_t;
        type init_t;
        class file { create unlink write execute execute_no_trans };
        class dir getattr;
        class dir { add_name write read remove_name rmdir getattr setattr mounton };
        class lnk_file unlink;
        class chr_file { open read write };
        class process setrlimit;
        class system module_request;
}

#============= httpd_t ==============
allow httpd_t configfs_t:dir getattr;
allow httpd_t lib_t:dir { add_name remove_name setattr write };
allow httpd_t lib_t:file { create unlink write };

#============= httpd_sys_script_t ==============
allow httpd_sys_script_t fuse_device_t:chr_file { open read write };
allow httpd_sys_script_t httpd_sys_rw_content_t:dir mounton;
allow httpd_sys_script_t httpd_sys_rw_content_t:file { execute execute_no_trans };
allow httpd_sys_script_t lib_t:dir setattr;
allow httpd_sys_script_t self:process setrlimit;
allow httpd_sys_script_t kernel_t:system module_request;

#============= init_t ==============
allow init_t httpd_sys_rw_content_t:dir { read remove_name rmdir write };
allow init_t httpd_sys_rw_content_t:file unlink;
allow init_t httpd_sys_rw_content_t:lnk_file unlink;
checkmodule -m -M -o nextcloud.mod nextcloud.te [root@dlp ~]# semodule_package --outfile nextcloud.pp --module nextcloud.mod [root@dlp ~]# semodule -i nextcloud.pp |
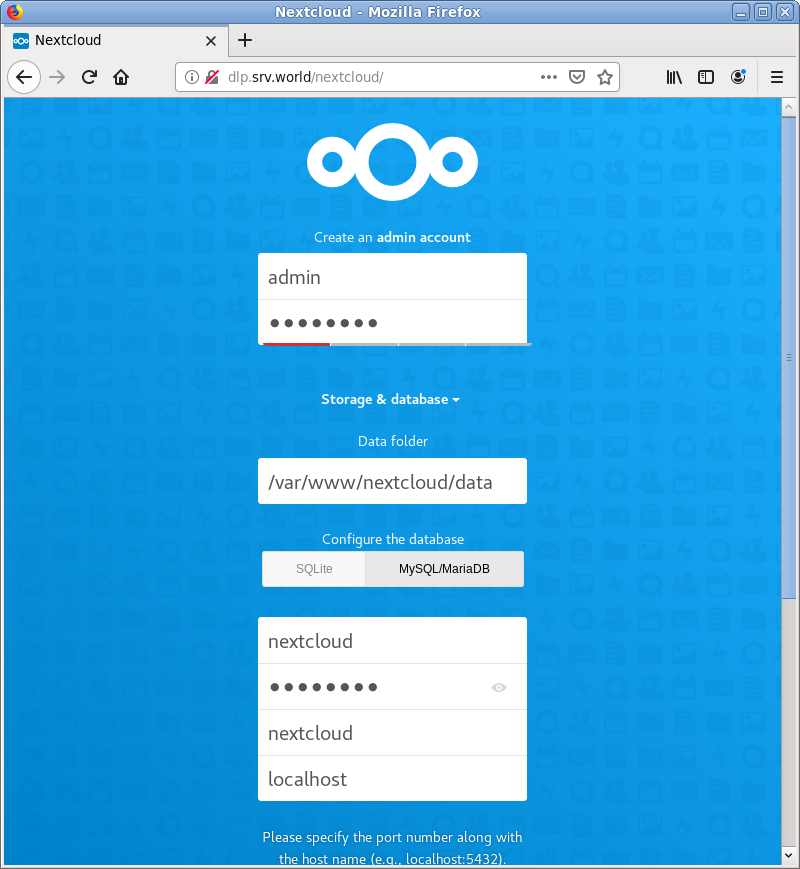
| [8] | 任意のクライアントコンピューターから Webブラウザで [https://(ホスト名または IP アドレス)/nextcloud/] へアクセスすると以下のような画面が表示されます。 管理者アカウントとデータベース接続の設定をします。 任意の管理者ユーザー名とパスワードを入力します。 データベースは [5] で作成した MariaDB データベースを指定します。 入力後、画面下部の [Finish Setup] をクリックします。 なお、以下の画面例は英語表示となっていますが、日本語 OS でアクセスすれば日本語で表示されます。 |
|
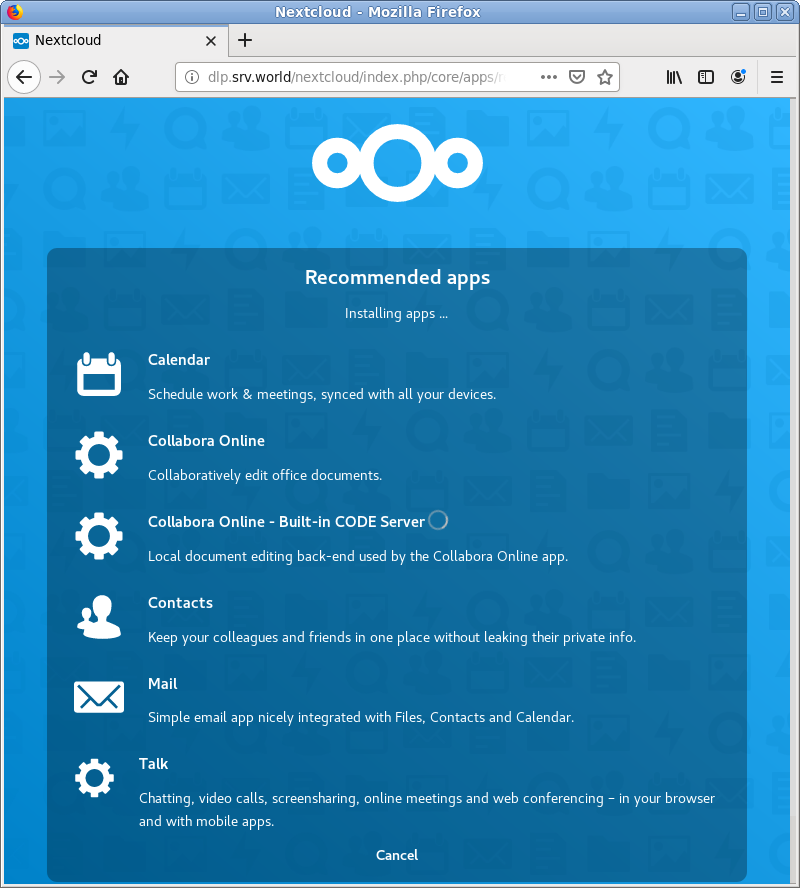
| [9] | NextCloud 推奨のアプリケーションがインストールされます。 |
|
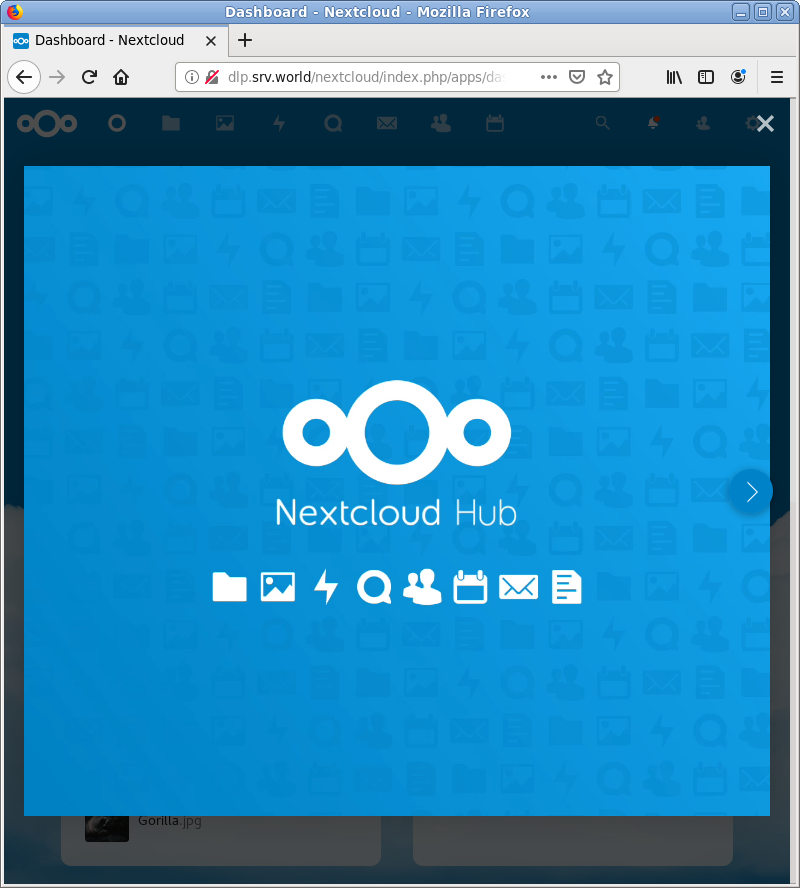
| [10] | NextCloud 推奨のアプリケーションのインストールが完了すると、スタートページが表示されます。 |
|
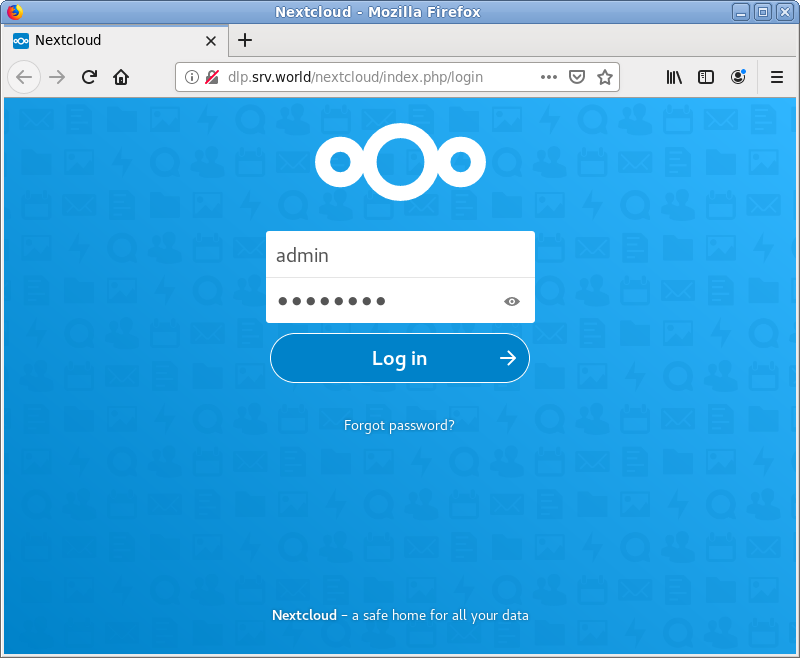
| [11] | セットアップ完了後は [https://(ホスト名 または IP アドレス)/nextcloud/] へアクセスすることで、ログイン画面から利用可能となります。 |
|
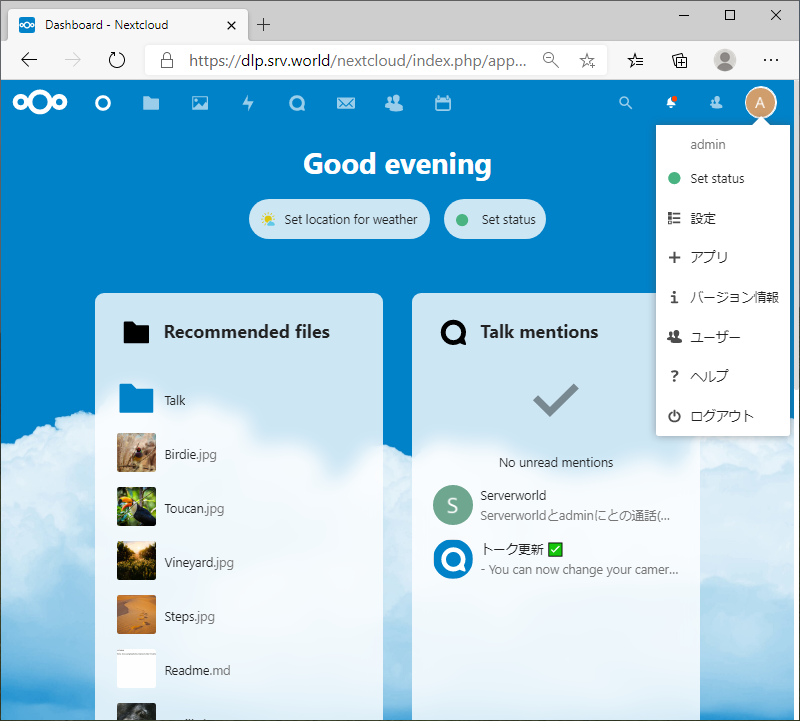
| [12] | 日本語 OS でアクセスすれば自動で日本語表示になります。自動で切り替わらなない場合でも、設定から日本語表示に切り替えることもできます。 |
|
| [13] | 初期セットアップ後、NextCloud 推奨要件であるメモリーキャッシュを有効にしておきます。 |
|
[root@dlp ~]#
vi /var/www/nextcloud/config/config.php ..... ..... # セクション内の最終行に追記 'installed' => true, 'memcache.local' => '\OC\Memcache\APCu', );[root@dlp ~]# systemctl restart httpd rh-php73-php-fpm |
関連コンテンツ