Django インストール2015/08/01 |
|
Python Webアプリケーションフレームワーク Django をインストールします。
|
|
| [1] | 必要なパッケージをインストールしておきます。 |
|
# EPELからインストール [root@www ~]# yum --enablerepo=epel -y install python-virtualenv
|
| [2] | Virtualenv 環境で Django をインストールします。任意の一般ユーザーで実行可能です。 |
|
[cent@www ~]$ virtualenv venv [cent@www ~]$ cd ~/venv [cent@www venv]$ source bin/activate (venv)[cent@www venv]$ pip install django
Downloading/unpacking django
  Downloading Django-1.8.3.tar.gz (7.3MB): 7.3MB downloaded
  Running setup.py egg_info for package django

    warning: no previously-included files matching '__pycache__' found under directory '*'
    warning: no previously-included files matching '*.py[co]' found under directory '*'
Installing collected packages: django
  Running setup.py install for django

    warning: no previously-included files matching '__pycache__' found under directory '*'
    warning: no previously-included files matching '*.py[co]' found under directory '*'
    changing mode of build/scripts-2.7/django-admin.py from 664 to 775
    changing mode of /home/cent/venv/bin/django-admin.py to 775
    Installing django-admin script to /home/cent/venv/bin
Successfully installed django
Cleaning up...
# 上記 warning は気にしなくてよい
(venv)[cent@www venv]$
django-admin --version 1.8.3 # virtualenv から exit (venv)[cent@www venv]$ deactivate [cent@www venv]$ |
| [3] | テストプロジェクトを作成して動作確認します。 |
|
# testproject 作成 (venv)[cent@www venv]$ django-admin startproject testproject (venv)[cent@www venv]$ cd testproject # データベース設定 (デフォルトは SQLite) (venv)[cent@www testproject]$ python manage.py migrate
# 管理者ユーザー作成 (venv)[cent@www testproject]$ python manage.py createsuperuser Username (leave blank to use 'cent'): cent Email address: cent@www.srv.world Password: Password (again): Superuser created successfully. # サーバー起動 (venv)[cent@www testproject]$ python manage.py runserver 0.0.0.0:8000 Performing system checks... System check identified no issues (0 silenced). August 04, 2015 - 08:09:47 Django version 1.8.3, using settings 'testproject.settings' Starting development server at http://0.0.0.0:8000/ Quit the server with CONTROL-C. |
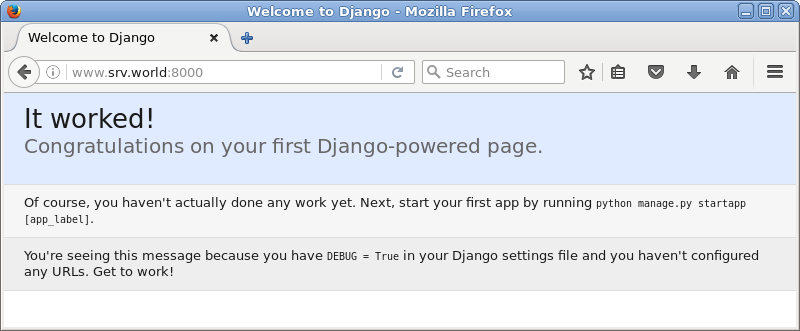
| [4] | 任意のクライアントコンピュータで Webブラウザを起動し、「http://(サーバーのホスト名またはIPアドレス):8000/」にアクセスして、 以下のようなページが表示されれば OK です。 |
|
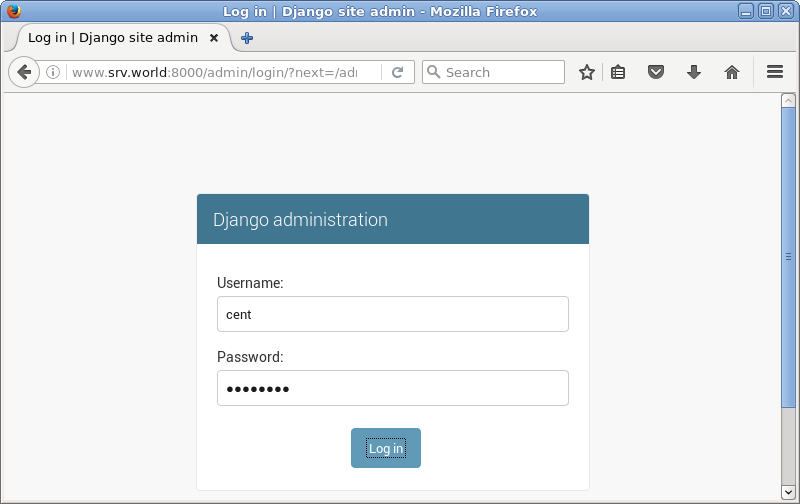
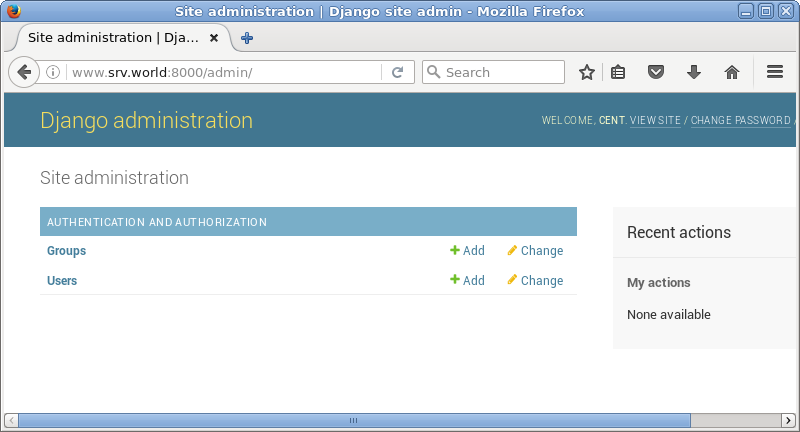
| [5] | 「http://(サーバーのホスト名またはIPアドレス):8000/admin」にアクセスすると、管理用サイトが利用できます。 設定した管理者でログイン可能です。 |
|
|
| [6] | 作成したテストプロジェクトでテストアプリケーションを作成し、動作確認します。 |
|
(venv)[cent@www testproject]$ python manage.py startapp testapp
(venv)[cent@www testproject]$
vi testapp/views.py # 最終行に追記
from django.http import HttpResponse
def main(request):
    html = '<html>\n' \
           '<body>\n' \
           '<div style="width: 100%; font-size: 40px; font-weight: bold; text-align: center;">\n' \
           'Django Test Page\n' \
           '</div>\n' \
           '</body>\n' \
           '</html>\n'
    return HttpResponse(html)
(venv)[cent@www testproject]$
mv testproject/urls.py testproject/urls.py.org (venv)[cent@www testproject]$ vi testproject/urls.py # 新規作成
from django.conf.urls import patterns, url

urlpatterns = patterns('',
    url(r'^testapp/$', 'testapp.views.main'),
)
(venv)[cent@www testproject]$
vi testproject/settings.py # testapp 追記
INSTALLED_APPS = (
    'django.contrib.admin',
    'django.contrib.auth',
    'django.contrib.contenttypes',
    'django.contrib.sessions',
    'django.contrib.messages',
    'django.contrib.staticfiles',
'testapp',
python manage.py runserver 0.0.0.0:8000 |
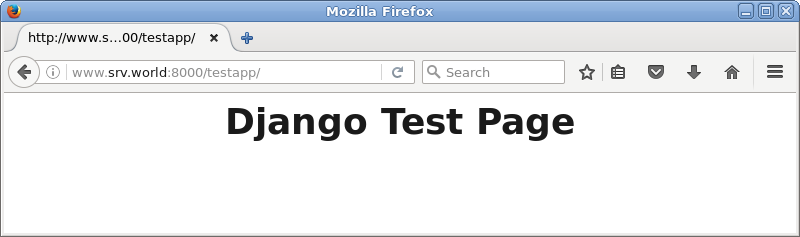
| [7] | 任意のクライアントコンピュータで Webブラウザを起動し、設定した URL「http://(サーバーのホスト名またはIPアドレス):8000/testapp/」にアクセスして、以下のようなページが表示されれば OK です。 |
|
関連コンテンツ