Node.js 6 インストール2017/09/23 |
|
サーバーサイド JavaScript 実行環境 Node.js 6 (LTS) をインストールします。
|
|
| [1] | CentOS SCLo Software Collections からインストール可能です。 なお、他のバージョンがインストールされた状態でも、Software Collections パッケージは別パスにインスールされるため、複数バージョンの共存が可能となっています。 |
|
# SCLoからインストール [root@dlp ~]# yum --enablerepo=centos-sclo-rh -y install rh-nodejs6
|
| [2] | Software Collections パッケージは /opt 配下にインストールされます。 環境変数を読み込んで利用するには以下のように実行します。 |
|
# 環境変数を読み込む [root@dlp ~]# scl enable rh-nodejs6 bash
[root@dlp ~]#
[root@dlp ~]# node -v v6.9.1 which node /opt/rh/rh-nodejs6/root/usr/bin/node |
| [3] | ログイン時に自動的に有効にするには以下のように設定します。 |
|
[root@dlp ~]#
vi /etc/profile.d/rh-nodejs6.sh # 以下の内容で新規作成 #!/bin/bash source /opt/rh/rh-nodejs6/enable export X_SCLS="`scl enable rh-nodejs6 'echo $X_SCLS'`" |
| [4] | テストツールを作成して動作確認します。任意の一般ユーザーで実行可能です。 |
|
[cent@www ~]$
vi helloworld.js
var http = require('http');
http.createServer(function (req, res) {
  res.writeHead(200, {'Content-Type': 'text/plain'});
  res.end('Hello World\n');
}).listen(1337, '127.0.0.1');
console.log('listening on http://127.0.0.1:1337/');
# 実行 [cent@www ~]$ node helloworld.js &
# アクセスして確認 (以下のような応答があれば OK) [cent@www ~]$ curl http://127.0.0.1:1337/ Hello World |
| [5] | Socket.IO をインストールし、WebSocket を利用した簡易チャットツールを作成して、動作確認します。 |
|
[cent@www ~]$
npm install socket.io express
[cent@www ~]$
vi chat.js
var app = require('express')();
var http = require('http').Server(app);
var io = require('socket.io')(http);

app.get('/', function(req, res){
  res.sendFile(__dirname + '/index.html');
});

io.on('connection', function(socket){
  socket.on('chat message', function(msg){
    io.emit('chat message', msg);
  });
});

http.listen(1337, function(){
  console.log('listening on *:1337');
});
[cent@www ~]$
vi index.html
<!DOCTYPE html>
<html>
<head>
<title>WebSocket Chat</title>
</head>
<body>
<form action="">
<input id="sendmsg" autocomplete="off" /><button>Send</button>
</form>
<ul id="messages" style="list-style-type: decimal; font-size: 16px; font-family: Arial;"></ul>
<script src="/socket.io/socket.io.js"></script>
<script src="http://code.jquery.com/jquery.min.js"></script>
<script>
  var socket = io();
  $('form').submit(function(){
    socket.emit('chat message', $('#sendmsg').val());
    $('#sendmsg').val('');
    return false;
  });
  socket.on('chat message', function(msg){
    $('#messages').append($('<li style="margin-bottom: 5px;">').text(msg));
  });
</script>
</body>
</html>
node chat.js listening on *:1337 |
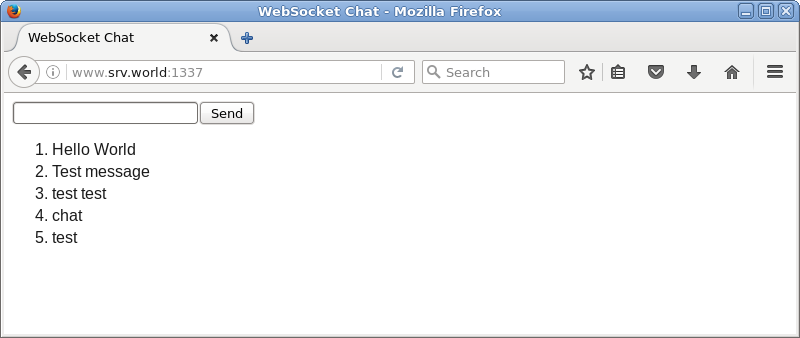
| 任意のクライアントコンピュータで Webブラウザを起動し、[http://(サーバーのホスト名またはIPアドレス):1337/] にアクセスして、動作確認します。 複数クライアント、または ブラウザを複数起動すると、動作が確認しやすいでしょう。 |
|
関連コンテンツ