Nagios インストール2008/08/16 |
| Nagios を導入してサーバーの状態を監視できるようにします。
httpdも必要になりますので、リンク先を参照して入れておいてください。
|
|
| [1] | Nagios のインストールと設定 |
|
[root@ns ~]# yum --enablerepo=dag -y install nagios nagios-plugins # DAGからインストール [root@ns ~]# vi /etc/nagios/nagios.cfg # 52行目:コメント解除 cfg_dir=/etc/nagios/servers [root@ns ~]# vi /etc/httpd/conf.d/nagios.conf # 16行目:変更 ( アクセス許可IP ) Allow from 127.0.0.1 192.168.0. # 33行目:変更 ( アクセス許可IP ) Allow from 127.0.0.1 192.168.0. [root@ns ~]# mkdir /etc/nagios/servers [root@ns ~]# chown nagios. /etc/nagios/servers [root@ns ~]# vi /etc/nagios/objects/contacts.cfg # 35行目:管理者アドレスに変更 webmaster@localhost [root@ns ~]# htpasswd -c /etc/nagios/htpasswd.users nagiosadmin New password: # パスワード設定 Re-type new password: Adding password for user nagios [root@ns ~]# /etc/rc.d/init.d/httpd restart Stopping httpd: [ OK ] Starting httpd: [ OK ] [root@ns ~]# /etc/rc.d/init.d/nagios start Starting nagios: done. [root@ns ~]# chkconfig nagios on
|
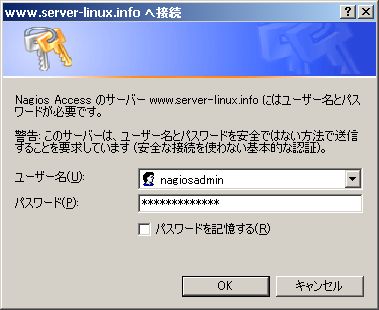
| [2] | ブラウザから「http://(ホスト名)/nagios/」にアクセスします。以下のような画面になるので、 [1]で設定したユーザー名とパスワードを入力しログインします。 |
|
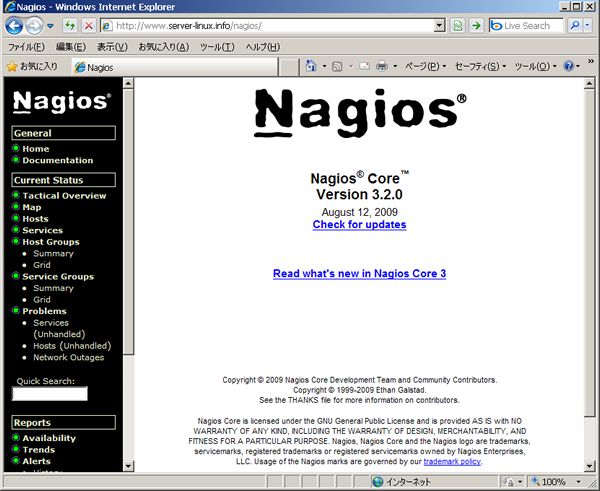
| [3] | 認証に成功すると以下のようなページが表示されサーバーの様々な情報を見ることができます。 |
|
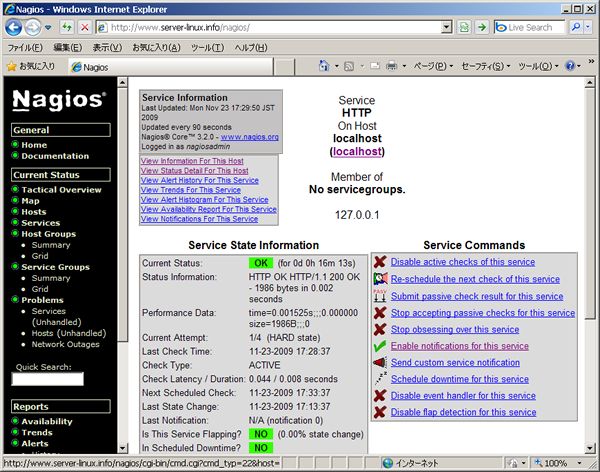
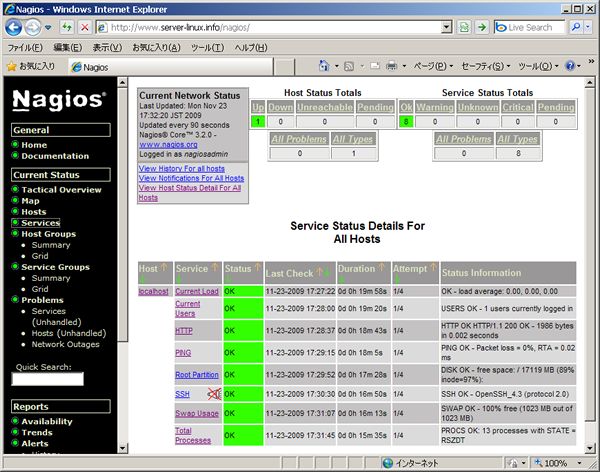
| [4] | 左メニューの「Services」をクリックすると以下の画面になります。「HTTP」と「SSH」の通知オプションが有効になっていないため、 以下のようになっています。ここで有効にしておきます。ベルに×がついているアイコンをクリックします。 |

|
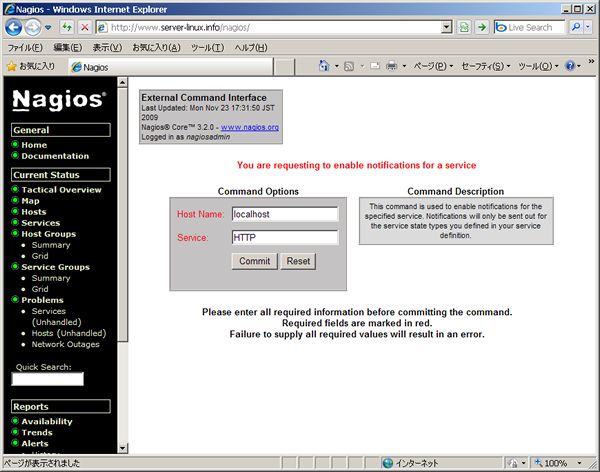
| [5] | 「Enable notifications for this service」をクリックします。 |
|
| [6] | 「Commit」ボタンをクリックします。 |
|
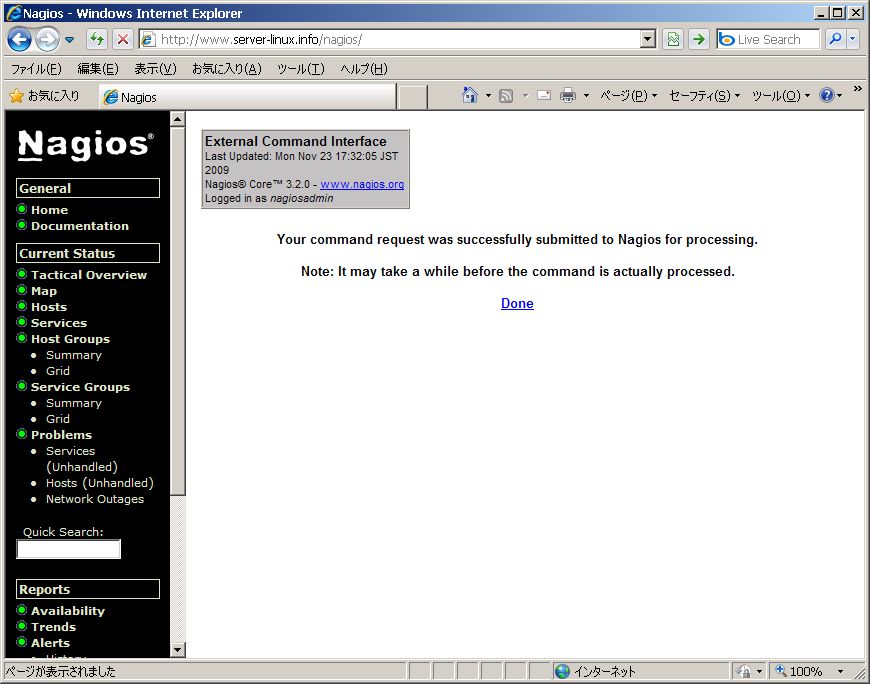
| [7] | 完了です。「Done」をクリックします。 |
|
| [8] | ベルに×がついているアイコンがなくなり通知が有効となりました。SSHも同じ要領で通知有効にしておきます。 |
|
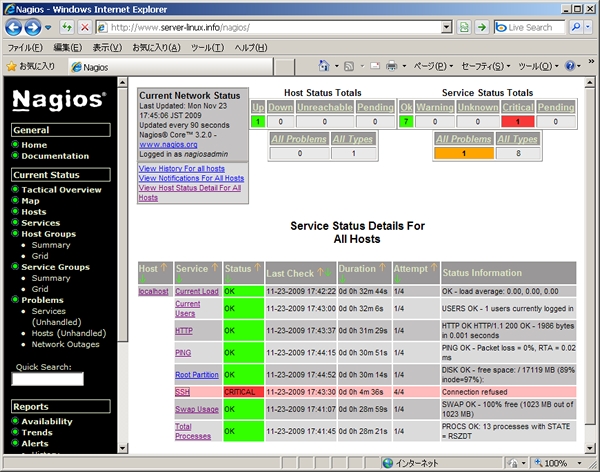
| [9] | 試しにSSHを手動でおとしてみます。いくらか時間が経つと以下のようにステータスが変わります。 |
|
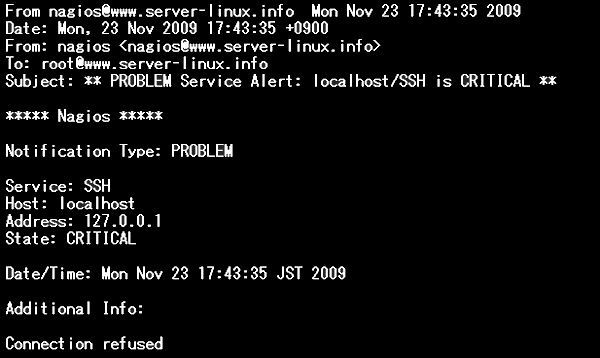
| [10] | メールを確認すると以下のような異常を知らせるメールが届いています。 |
|
関連コンテンツ