Apache2 : mod_wsgi कॉन्फ़िगर करें2024/05/31 |
|
पायथन स्क्रिप्ट को तेज़ बनाने के लिए [mod_wsgi (WSGI : वेब सर्वर गेटवे इंटरफ़ेस)] स्थापित करें। |
|
| [1] | [mod_wsgi] स्थापित करें। |
|
root@www:~# apt -y install libapache2-mod-wsgi-py3
|
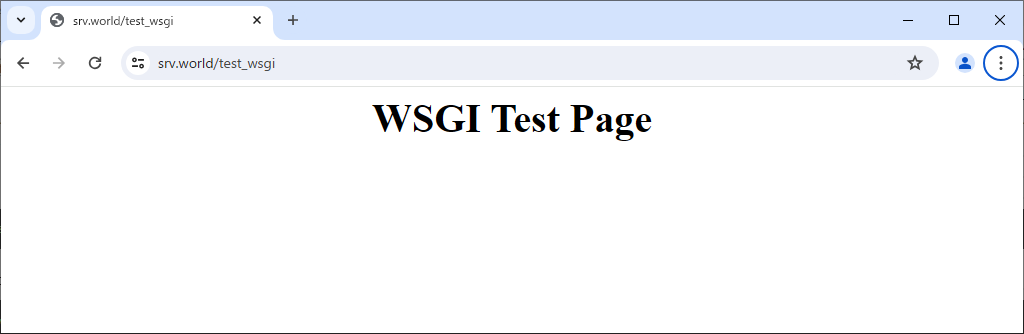
| [2] | उदाहरण के लिए, WSGI को [/var/www/html/test_wsgi.py] से [/test_wsgi] तक पहुंचने में सक्षम होने के लिए कॉन्फ़िगर करें। |
|
root@www:~#
vi /etc/apache2/conf-available/wsgi.conf # नया निर्माण
WSGIScriptAlias /test_wsgi /var/www/html/test_wsgi.py
a2enconf wsgi Enabling conf wsgi. To activate the new configuration, you need to run: systemctl reload apache2root@www:~# systemctl reload apache2
|
| [3] | एक परीक्षण स्क्रिप्ट बनाएं जिसे आपने ऊपर सेट किया है। |
|
root@www:~#
vi /var/www/html/test_wsgi.py # नया निर्माण
def application(environ, start_response):
    status = '200 OK'
    html = '<html>\n' \
           '<body>\n' \
           '<div style="width: 100%; font-size: 40px; font-weight: bold; text-align: center;">\n' \
           'WSGI Test Page\n' \
           '</div>\n' \
           '</body>\n' \
           '</html>\n'.encode("utf-8")
    response_header = [('Content-type','text/html')]
    start_response(status,response_header)
    return [html]
|
|
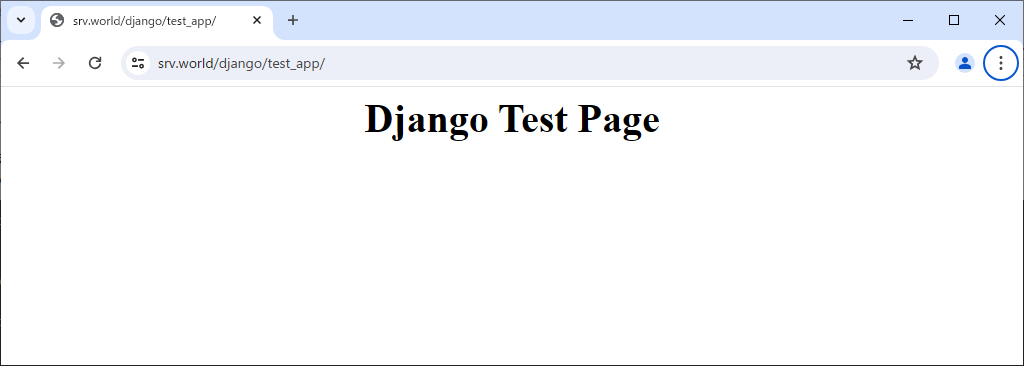
| [4] | Django का उपयोग करने के लिए, निम्नानुसार कॉन्फ़िगर करें। ( Django सेटिंग्स के लिए, यहाँ देखें ) उदाहरण के लिए, [/home/ubuntu/testproject] के अंतर्गत [test_app] को कॉन्फ़िगर करें जिसका स्वामित्व [ubuntu] उपयोगकर्ता के पास है। |
|
root@www:~#
vi /etc/apache2/conf-available/django.conf # नया निर्माण
WSGIDaemonProcess testapp python-path=/home/ubuntu/testproject:/home/ubuntu/django/lib/python3.12/site-packages
WSGIProcessGroup testapp
WSGIScriptAlias /django /home/ubuntu/testproject/testproject/wsgi.py

<Directory /home/ubuntu/testproject>
    Require all granted
</Directory>
a2enconf django Enabling conf django. To activate the new configuration, you need to run: systemctl reload apache2
root@www:~#
systemctl reload apache2
# यदि आप उदाहरण की तरह उपयोगकर्ता निर्देशिका का उपयोग करते हैं, तो उसे निर्देशिका अनुमति बदलने की आवश्यकता है root@www:~# ll -d /home/ubuntu drwx------ 5 ubuntu ubuntu 4096 May 31 04:10 /home/ubuntu/ root@www:~# chmod 711 /home/ubuntu |
|
मिलान सामग्री