File Server : Create DFS NameSpaces2022/02/11 |
|
Create DFS NameSpaces.
It's possible to set multiple servers' shared folder under a root shared folder with DFS NameSpace.
This example is based on the Active Directory Domain environment like follows.
                                   |
+----------------------+           |           +----------------------+
|  [ fd3s.srv.world ]  |10.0.0.100 | 10.0.0.101|  [ rx-7.srv.world ]  |
|   Active Directory   +-----------+-----------+     File Server #1   |
|                      |           |           |     DFS NameSpace    |
+----------------------+           |           +----------------------+
                                   |
                                   |           +----------------------+
                                   | 10.0.0.102|  [ rx-8.srv.world ]  |
                                   +-----------+     File Server #2   |
                                               |                      |
                                               +----------------------+
|
| [1] | Run PowerShell with Admin Privilege and Configure. |
Windows PowerShell Copyright (C) Microsoft Corporation. All rights reserved. # create a root folder for DFS Namespace share PS C:\Users\serverworld> mkdir D:\DFSRoots\Share # set smbshare for DFS Namespace PS C:\Users\serverworld> New-SmbShare -Name "DFSShare" –Path "D:\DFSRoots\Share" -FullAccess "Everyone" Name ScopeName Path Description ---- --------- ---- ----------- DFSShare * D:\DFSRoots\Share # create DFS namespace # -Path (path of share) # -Type (Standalone | DomainV1 | DomainV2) # -TargetPath (target share path : the one created above) PS C:\Users\serverworld> New-DfsnRoot -Path "\\srv.world\DFSShare" -Type DomainV2 -TargetPath "\\rx-7\DFSShare" Path Type Properties TimeToLiveSec State Description ---- ---- ---------- ------------- ----- ----------- \\srv.world\DFSShare Domain V2 300 Online # confirm settings PS C:\Users\serverworld> Get-DfsnRoot -Path "\\srv.world\DFSShare" | Format-List Path : \\srv.world\DFSShare Description : Type : Domain V2 State : Online Flags : TimeToLiveSec : 300 |
|
File Server : Create DFS NameSpaces (GUI)
|
|
On GUI configuration, set like follows.
|
|
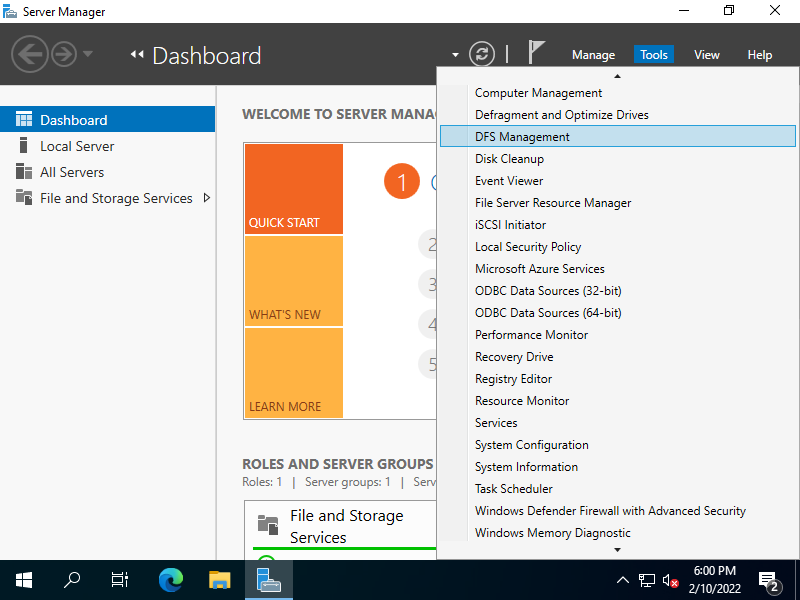
| [2] | Run [Start] - [Server Manager] - [Tools] - [DFS Management]. |
|
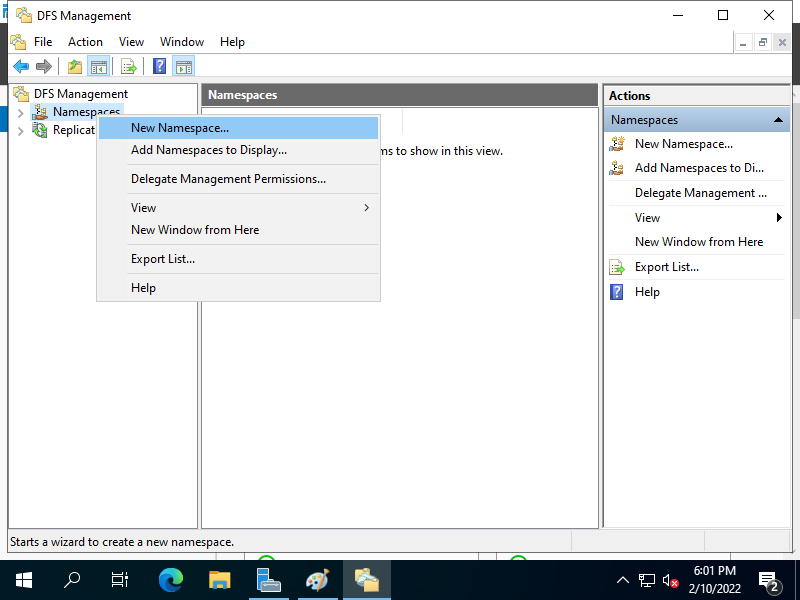
| [3] | Right click the [Namespaces] on the left pane and open the [New Namespaces] on the menu. |
|
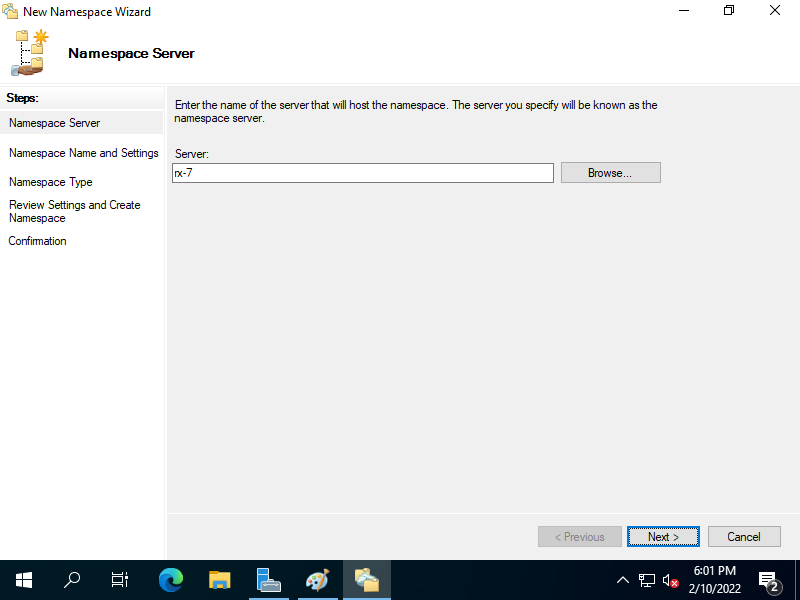
| [4] | Set server's hostname you'd like to set DFS Namespaces and click [Next] button. |
|
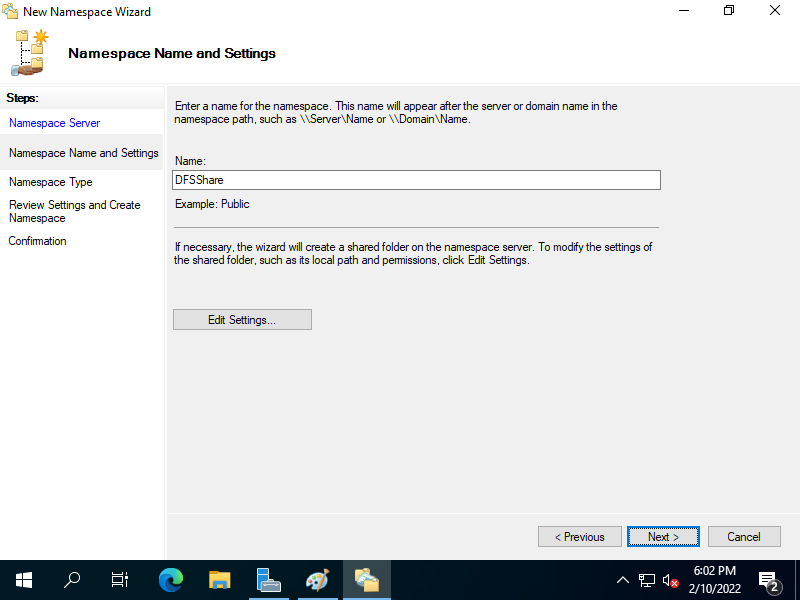
| [5] | Set share name for DFS Namespaces. |
|
| [6] | Select Domain-based or Standalone type. It selects Domain-based on this example. For [Enable Windows 2008 mode], if you don't have specific requirements, generally Check the box to enable it. |
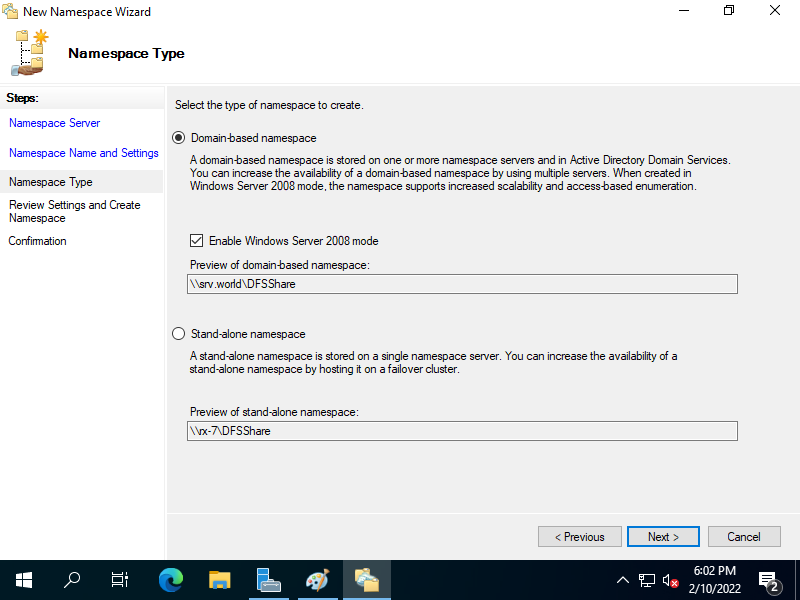
|
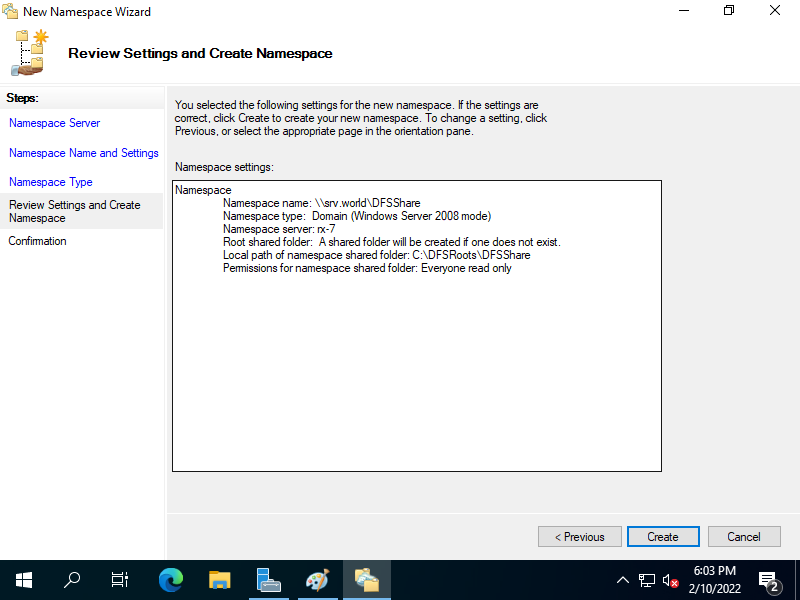
| [7] | Click [Create] button. |
|
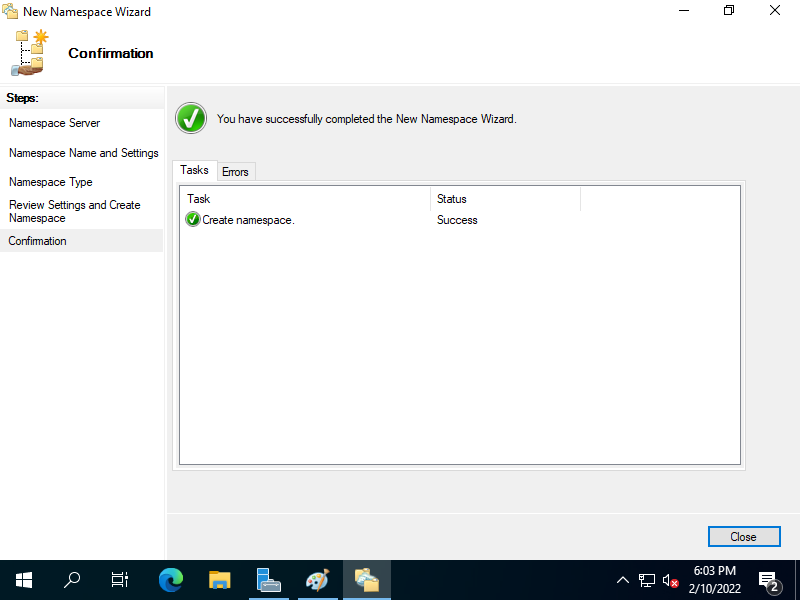
| [8] | After successfully creation, Click [Close] button. |
|
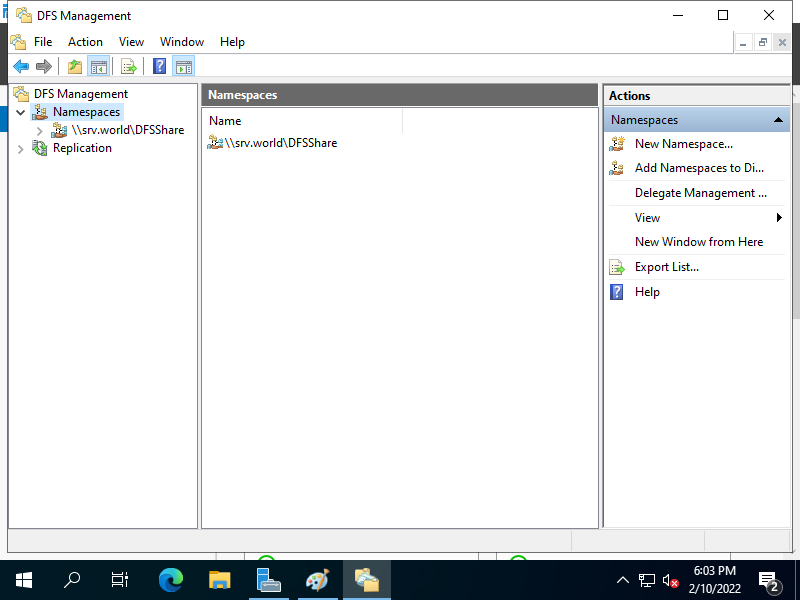
| [9] | Created Namespaces are listed under the [Namespaces] section. |
|
Matched Content