Windows PowerShell
Copyright (C) Microsoft Corporation. All rights reserved.
# mount Windows ISO image
PS C:\Users\Administrator> Mount-DiskImage D:\Win10_20H2_v2_English_x64.iso
Attached : True
BlockSize : 0
DevicePath : \\.\CDROM0
FileSize : 6221846528
ImagePath : D:\Win10_20H2_v2_English_x64.iso
LogicalSectorSize : 2048
Number : 0
Size : 6221846528
StorageType : 1
PSComputerName :
PS C:\Users\Administrator> Get-Volume
DriveLetter FriendlyName FileSystemType DriveType HealthStatus OperationalStatus SizeRemaining Size
----------- ------------ -------------- --------- ------------ ----------------- ------------- ----
System Reserved NTFS Fixed Healthy OK 114.54 MB 549 MB
C NTFS Fixed Healthy OK 64.62 GB 79.46 GB
E CCCOMA_X64FRE_EN-US_DV9 Unknown CD-ROM Healthy OK 0 B 5.79 GB
D New Volume NTFS Fixed Healthy OK 74 GB 79.98 GB
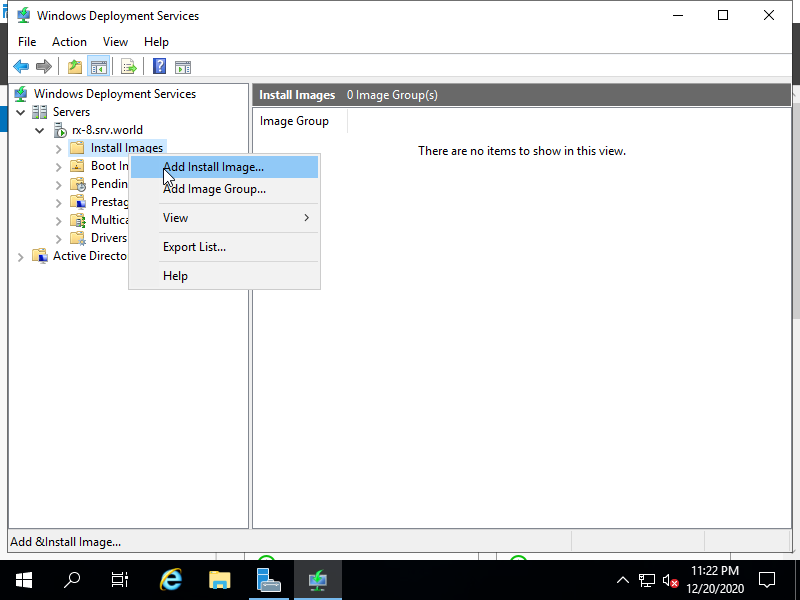
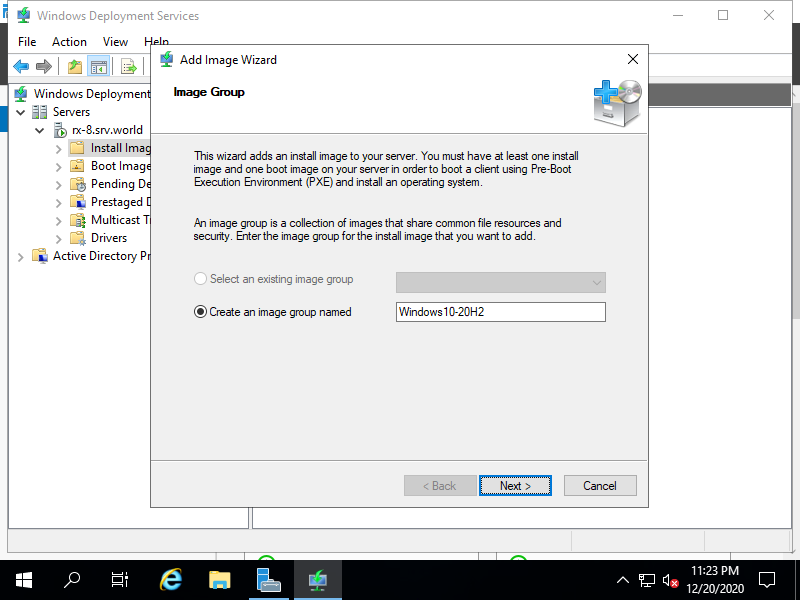
# create an intallation group (any name you like)
PS C:\Users\Administrator> New-WdsInstallImageGroup -Name "Windows10-20H2"
Name : Windows10-20H2
ImageFormat : Empty
Security : O:BAG:S-1-5-21-1203246854-208111442-61972326-513D:(A;OICI;FA;;;SY)(A;OICI;FA;;;BA)(A;OICI;0x1200a9;;;A
U)(A;OICI;FA;;;S-1-5-80-1688844526-3235337491-1375791646-891369040-3692469510)
PSComputerName :
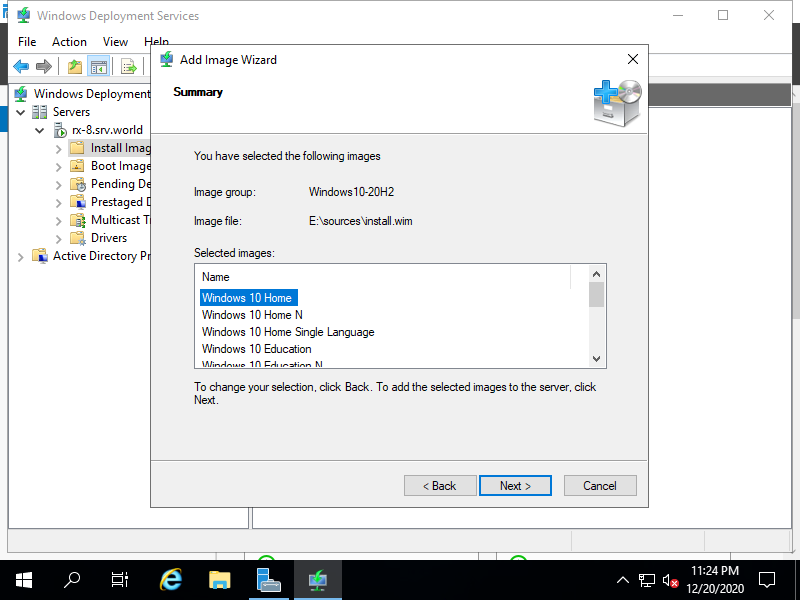
# confirm image names in the disk
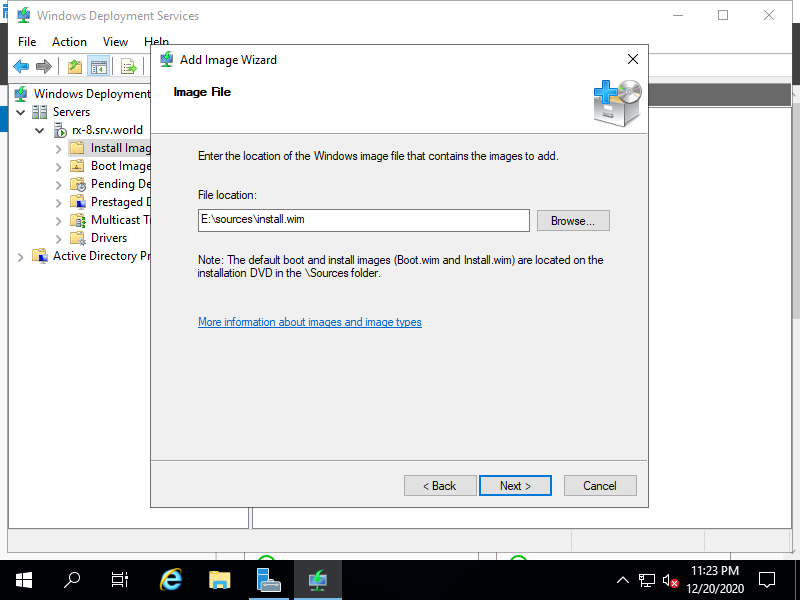
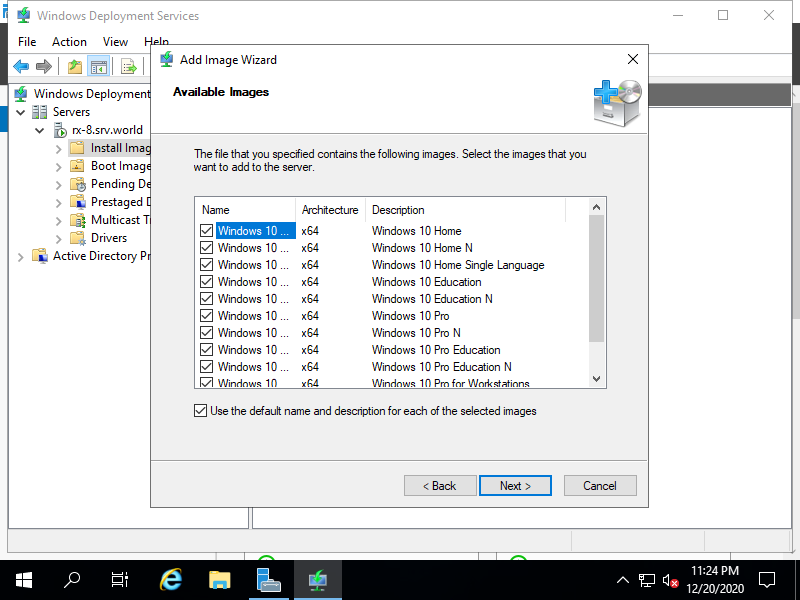
# by default, install image is located at [sources\install.wim]
PS C:\Users\Administrator> Get-WindowsImage -imagePath "E:\sources\install.wim" | select Imagename
ImageName
---------
Windows 10 Home
Windows 10 Home N
Windows 10 Home Single Language
Windows 10 Education
Windows 10 Education N
Windows 10 Pro
Windows 10 Pro N
Windows 10 Pro Education
Windows 10 Pro Education N
Windows 10 Pro for Workstations
Windows 10 Pro N for Workstations
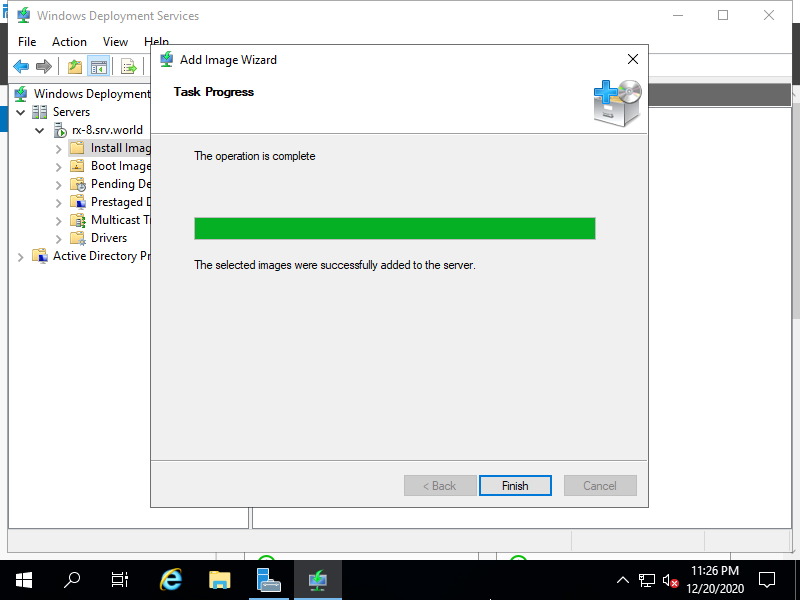
# specify an install image and import it
PS C:\Users\Administrator> Import-WdsInstallImage -ImageGroup "Windows10-20H2" -Path "E:\sources\install.wim" -ImageName "Windows 10 Pro"
Hal : acpiapic
Id : {C262B291-7237-4860-9C38-E951CFE34428}
Index : 1
Languages : {en-US}
LastModificationTime : 12/17/2020 11:21:08 PM
Name : Windows 10 Pro
PriorityDefaulted : True
ProductFamily : Terminal Server
ProductName : Microsoft® Windows® Operating System
ServicePackLevel : 0
Size : 15720710878
SupportsDriverInjection : False
SystemRoot : WINDOWS
Version : 10.0.19041
Compression : Lzx
DependentFiles : {\\rx-7.srv.world\REMINST\Images\Windows10-20H2\install.wim,
\\rx-7.srv.world\REMINST\Images\Windows10-20H2\res.rwm}
Format : Wim
ImageGroup : Windows10-20H2
PartitionStyle : Unknown
Security : O:BAG:SYD:(A;;FA;;;SY)(A;;FA;;;BA)(A;;0x1200a9;;;AU)(A;;FA;;;S-1-5-80-1688844526-3235337491-1
375791646-891369040-3692469510)
Staged : True
UnattendFilePresent : False
PSComputerName :
ImageName : Windows 10 Pro
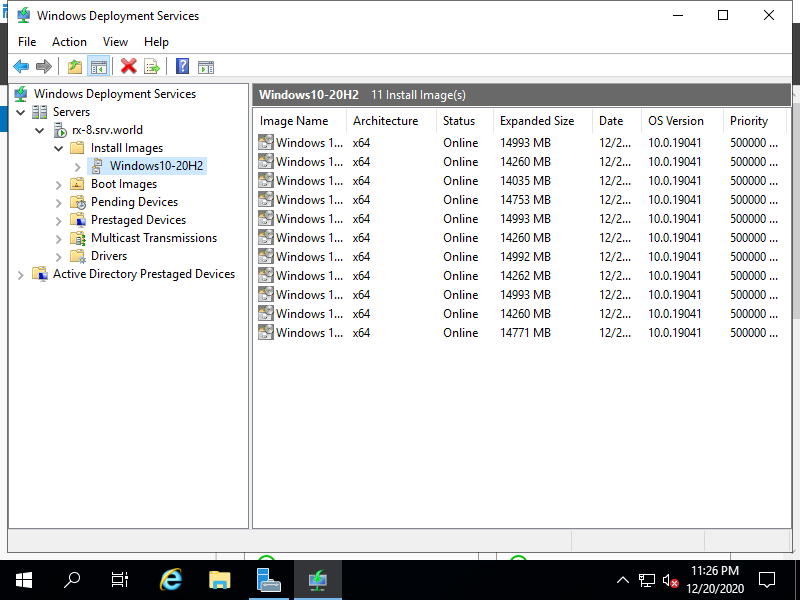
# confirm
PS C:\Users\Administrator> Get-WdsInstallImage
Architecture : X64
CreationTime : 11/18/2020 7:01:10 PM
DefaultLanguage : en-US
Description : Windows 10 Pro
DisplayOrder : 500000
Enabled : True
FileName : install.wim
Hal : acpiapic
Id : {C262B291-7237-4860-9C38-E951CFE34428}
Index : 1
Languages : {en-US}
LastModificationTime : 12/17/2020 11:21:08 PM
Name : Windows 10 Pro
PriorityDefaulted : True
ProductFamily : Terminal Server
ProductName : Microsoft® Windows® Operating System
ServicePackLevel : 0
Size : 15720710878
Security : O:BAG:SYD:(A;;FA;;;SY)(A;;FA;;;BA)(A;;0x1200a9;;;AU)(A;;FA;;;S-1-5-80-1688844526-3235337491-1
375791646-891369040-3692469510)
Staged : True
UnattendFilePresent : False
PSComputerName :
ImageName : Windows 10 Pro
|