SQL Server 2019 : AlwaysOn Availability Groups #22021/01/29 |
|
Configure AlwaysOn Availability Groups.
This example is based on the environment with 2 SQL Servers like follows.
(possible to configure with more than 3 SQL Servers)
                                   |
+----------------------+           |           +----------------------+
|  [      AD DS     ]  |10.0.0.100 | 10.0.0.109|  [  iSCSI Target  ]  |
|    fd3s.srv.world    +-----------+-----------+    tgt01.srv.world   |
|                      |           |           |                      |
+----------------------+           |           +----------------------+
                                   |
+----------------------+           |           +----------------------+
|  [ SQL Server #1 ]   |10.0.0.101 | 10.0.0.102|  [ SQL Server #2 ]   |
|    rx-7.srv.world    +-----------+-----------+    rx-8.srv.world    |
|                      |                       |                      |
+----------------------+                       +----------------------+
|
| [1] | |
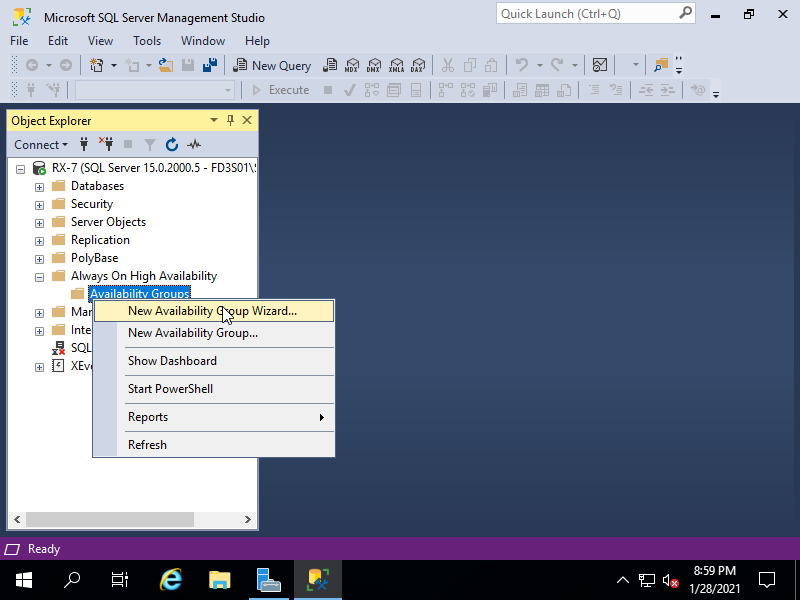
| [2] | Logon with the SQL Server logon account and run SQL Server Management Studio (SSMS) to connect to the primary node. Next, right click [Always On High Availability] - [Availability Groups] to open the menu, then click [New Availability Group Wizard]. |
|
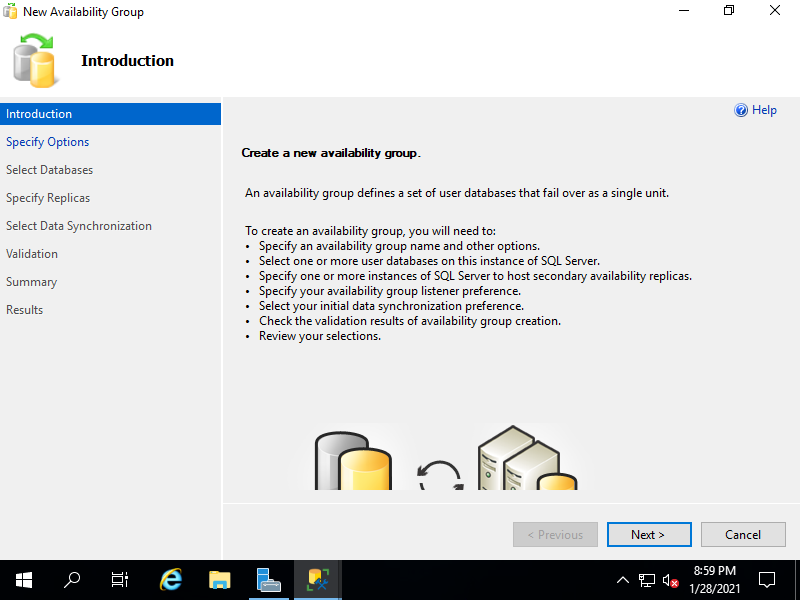
| [3] | Click [Next] button. |
|
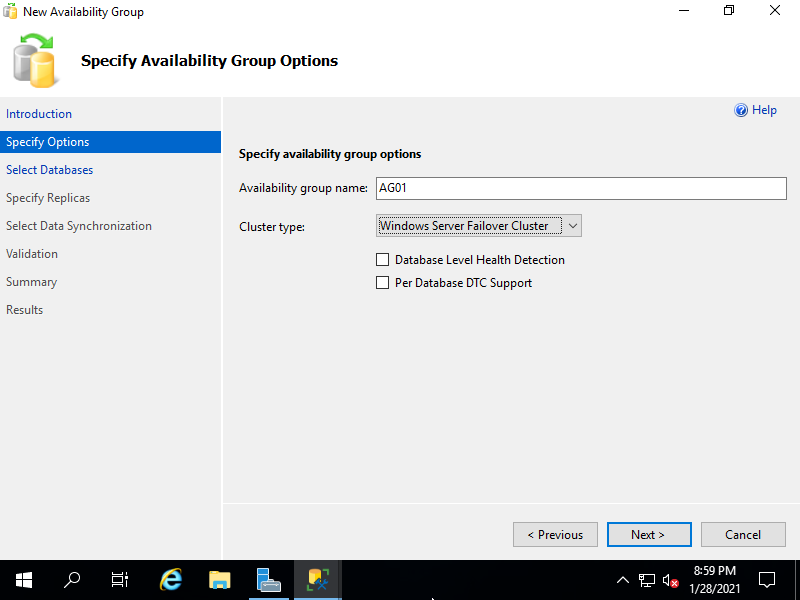
| [4] | Input any name you like on [Availability group name] and proceed to next. |
|
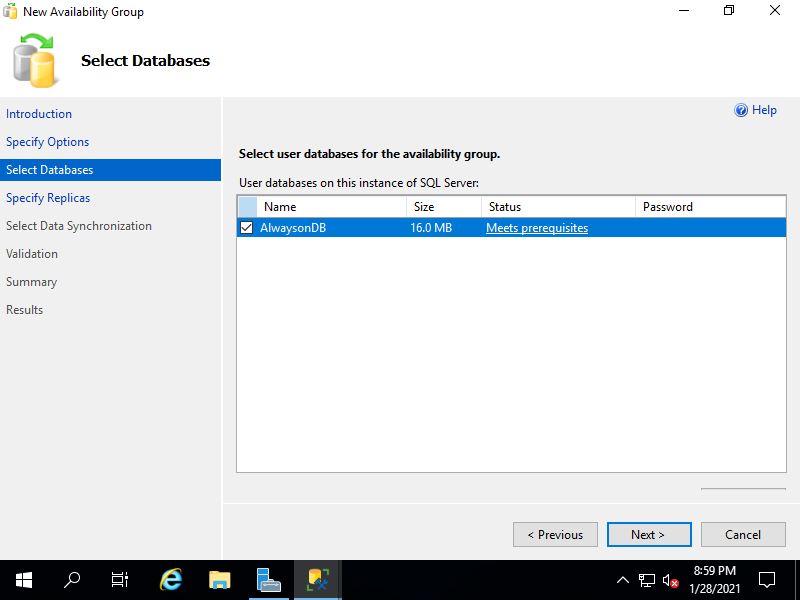
| [5] | Select databases for Alwayson availability group. |
|
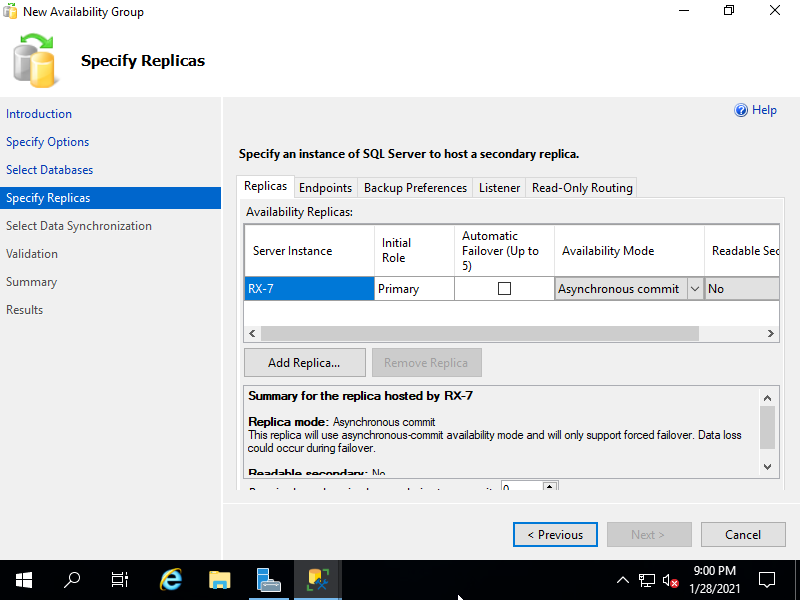
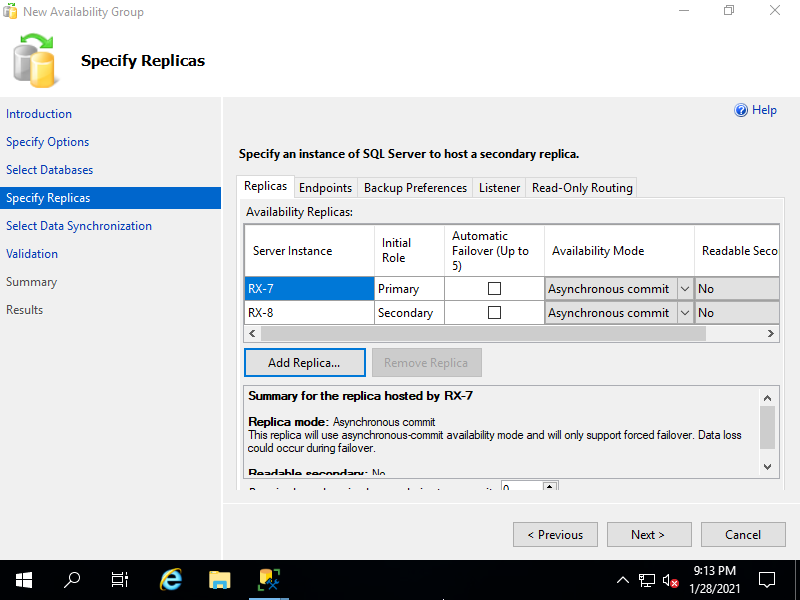
| [6] | Specify replicas. Click [Add Replica] button and specify replica Hosts. |
|
| [7] | After adding all replicas, move to the [Listener] tab. |
|
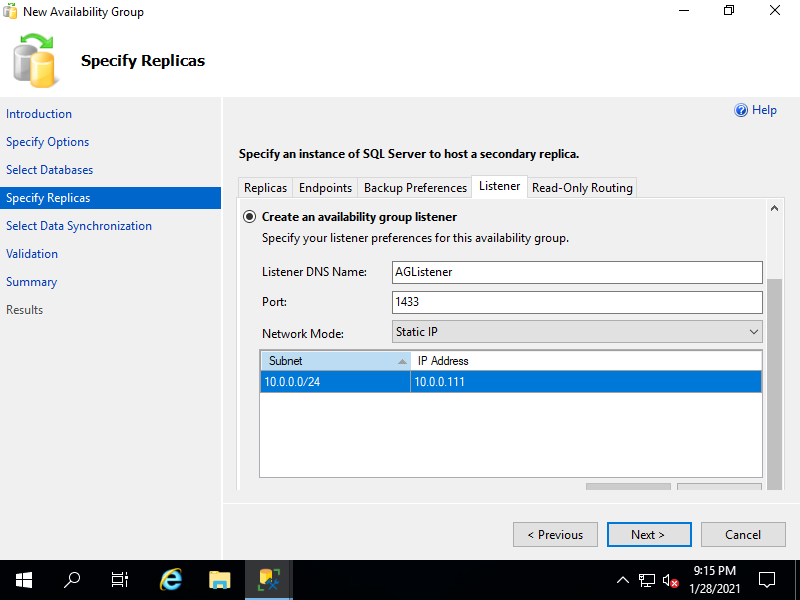
| [8] | Input any listener name you like on [Listener DNS Name] and also input a listening port on [Port] field. Furthermore, set an IP address for the listener. |
|
| [9] | Select data synchronization preference. It selects [Automatic seeding] on this example. |

|
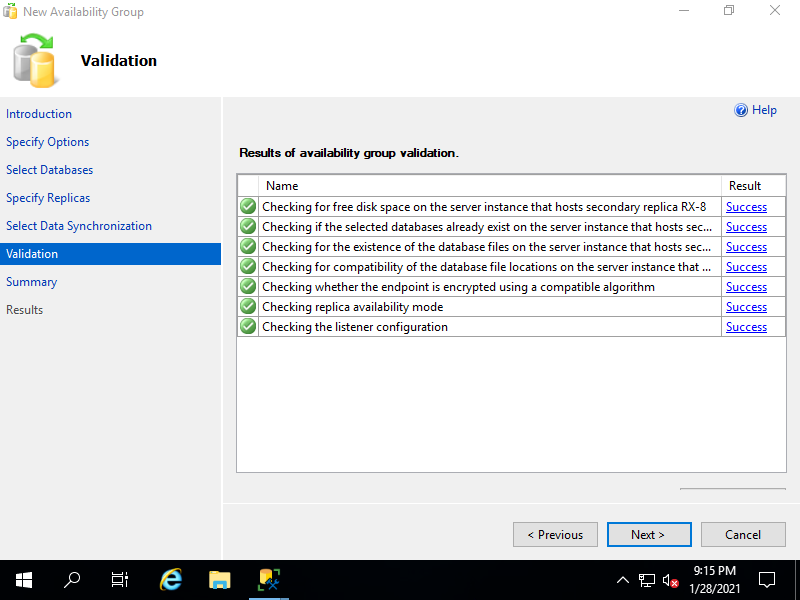
| [10] | The validation actions run before applying settings. That's OK if all are [Success]. |
|
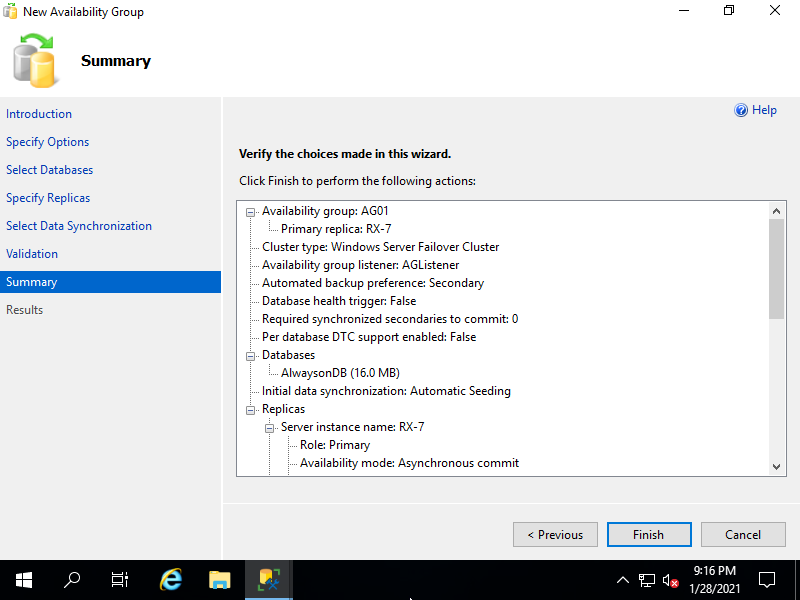
| [11] | Confirm summary of settings and if that's OK, click [Finish] button to apply settings. |
|
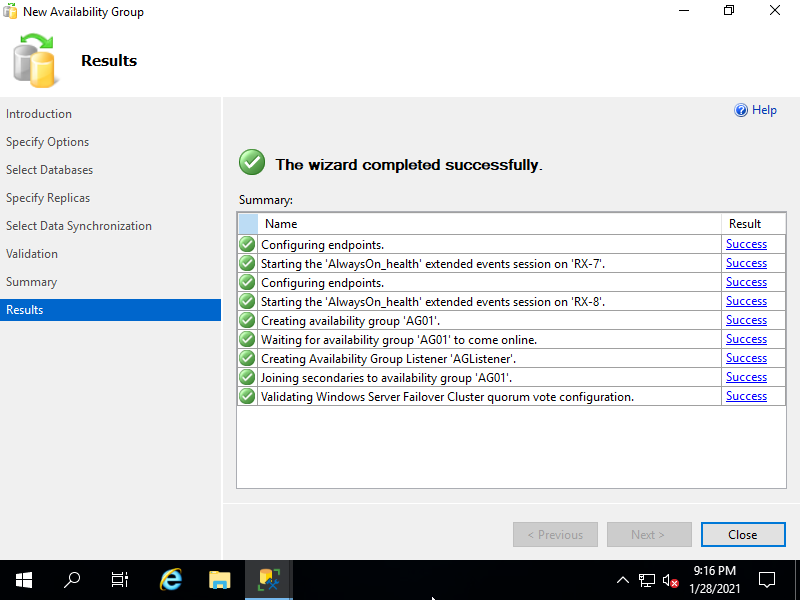
| [12] | After finishing successfully, click [Close] button. |
|
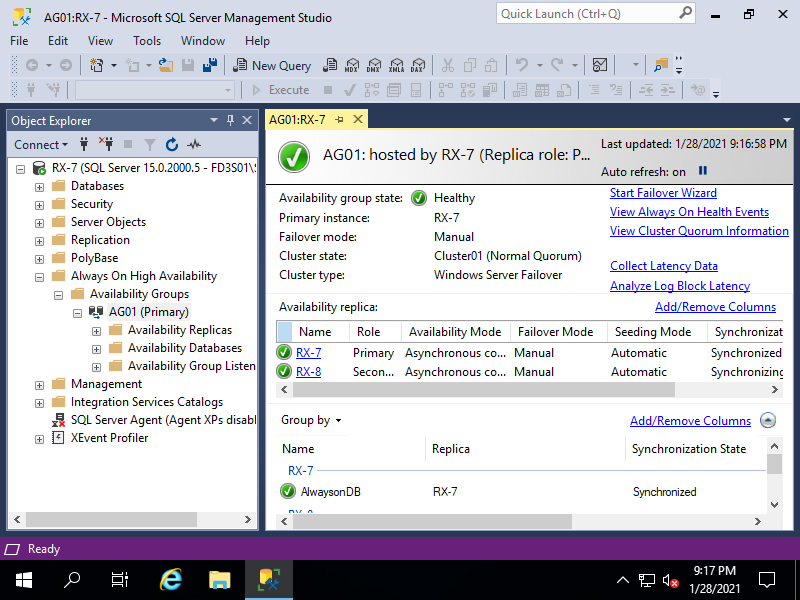
| [13] | It's possbile to see the status of Availability group on SSMS. |
|
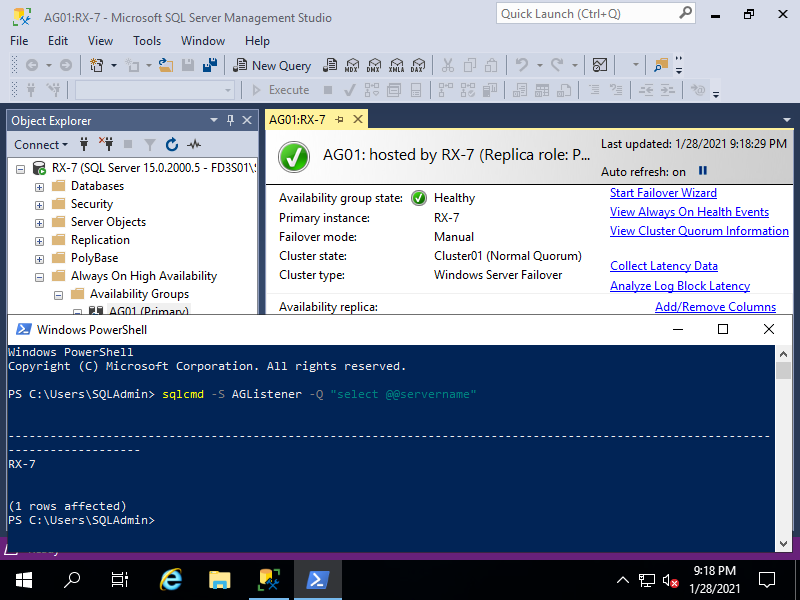
| [14] | Access to the listener to verify to connect to SQL Server. |
|
Matched Content