SQL Server 2019 : AlwaysOn Availability Groups #12021/01/29 |
|
Configure AlwaysOn Availability Groups.
This example is based on the environment with 2 SQL Servers like follows.
(possible to configure with more than 3 SQL Servers)
                                   |
+----------------------+           |           +----------------------+
|  [      AD DS     ]  |10.0.0.100 | 10.0.0.109|  [  iSCSI Target  ]  |
|    fd3s.srv.world    +-----------+-----------+    tgt01.srv.world   |
|                      |           |           |                      |
+----------------------+           |           +----------------------+
                                   |
+----------------------+           |           +----------------------+
|  [ SQL Server #1 ]   |10.0.0.101 | 10.0.0.102|  [ SQL Server #2 ]   |
|    rx-7.srv.world    +-----------+-----------+    rx-8.srv.world    |
|                      |                       |                      |
+----------------------+                       +----------------------+
|
| [1] | |
| [2] |
Create a domain user account on AD DS for SQL Server, refer to here.
Also add the user in [Domain Admins] group. It creates [SQLAdmin] user on this example. |
| [3] |
Install SQL Server with standalone mode on all Nodes you plan to configure AlwaysOn Availability Groups.
|
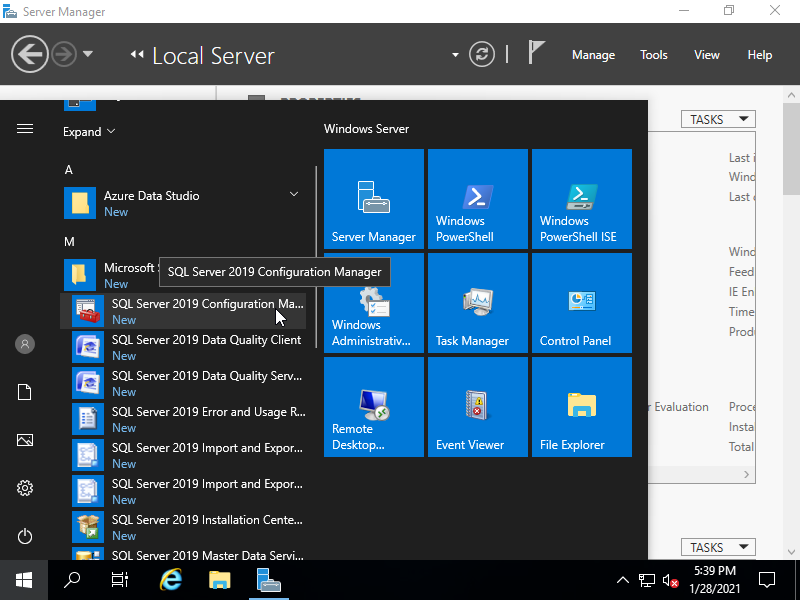
| [4] | Change settings like following all sections on all Nodes you plan to configure AlwaysOn Availability Groups. Run [SQL Server 2019 Configuration manager]. |
|
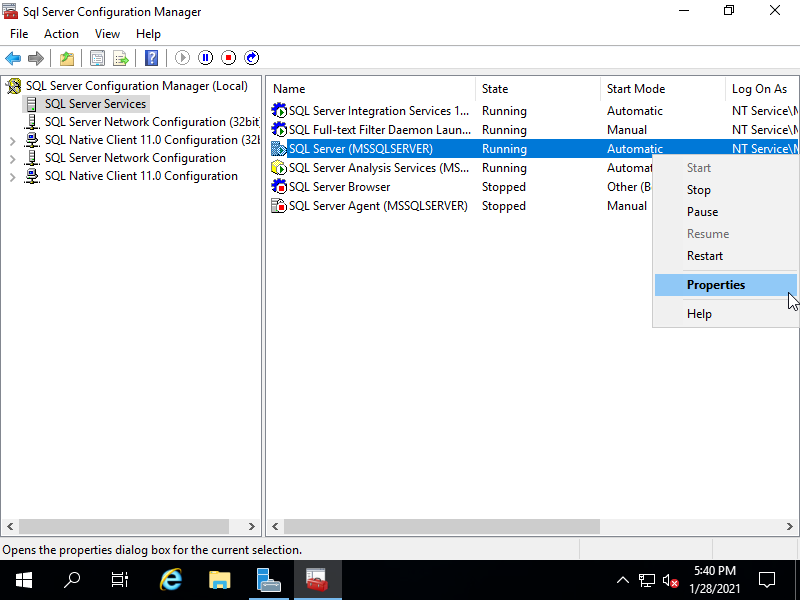
| [5] | Select [SQL Server Services] on the left pane and right click [SQL Server (***)] on the right pane to open [Properties]. |
|
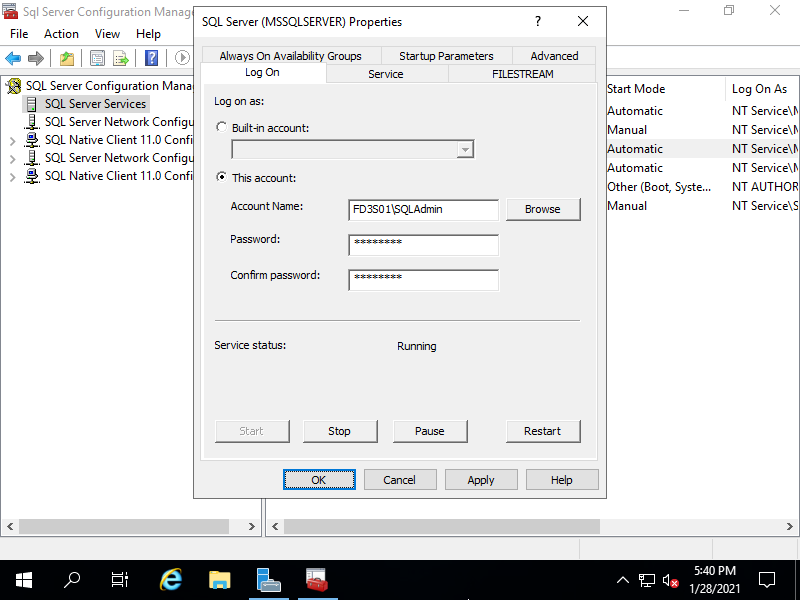
| [6] | Change logon user to the AD user you created on [2]. Next, move to the [Alwayson Availability Groups] tab. |
|
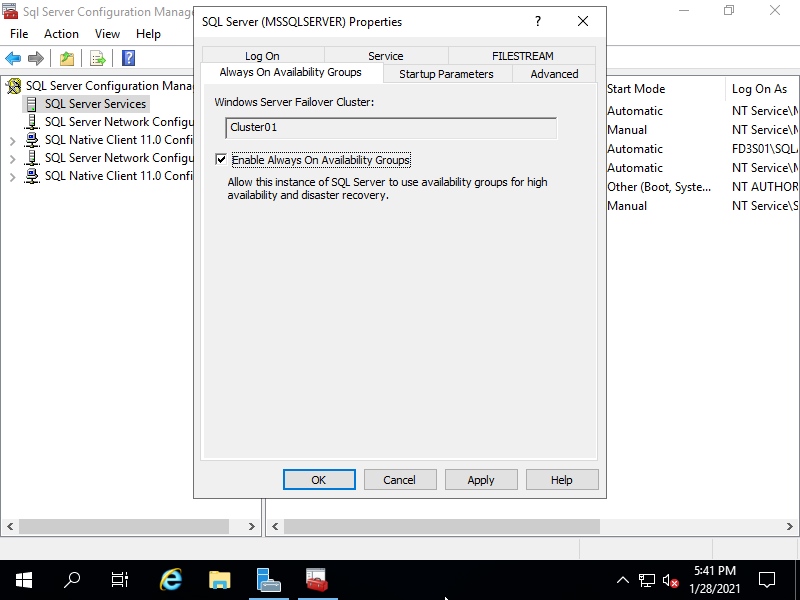
| [7] | Check a box [Alwayson Availability Groups] and apply settings. After changing, restart SQL Server service. |
|
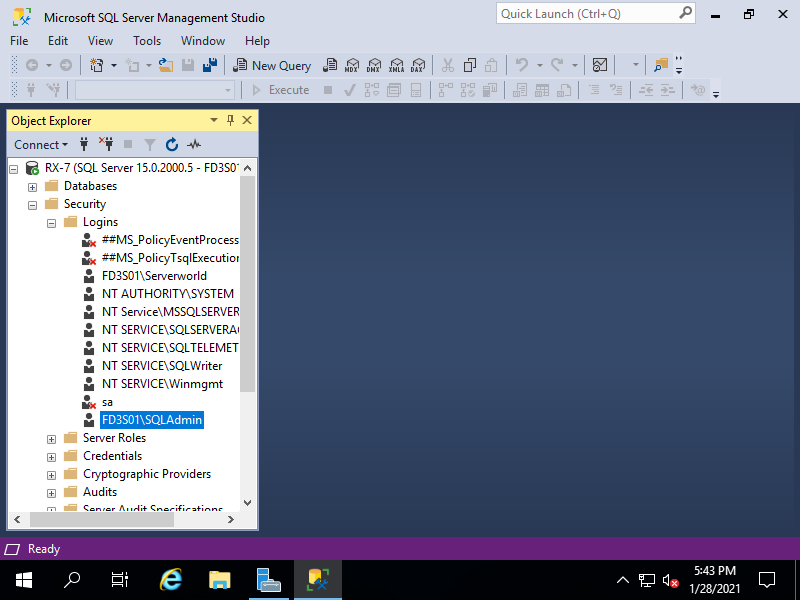
| [8] | Add the AD user account you created on [2] to the SQL Server login. Run SQL Server Management Studio (SSMS) and add the user on [Security] - [Logins] like follows. |
|
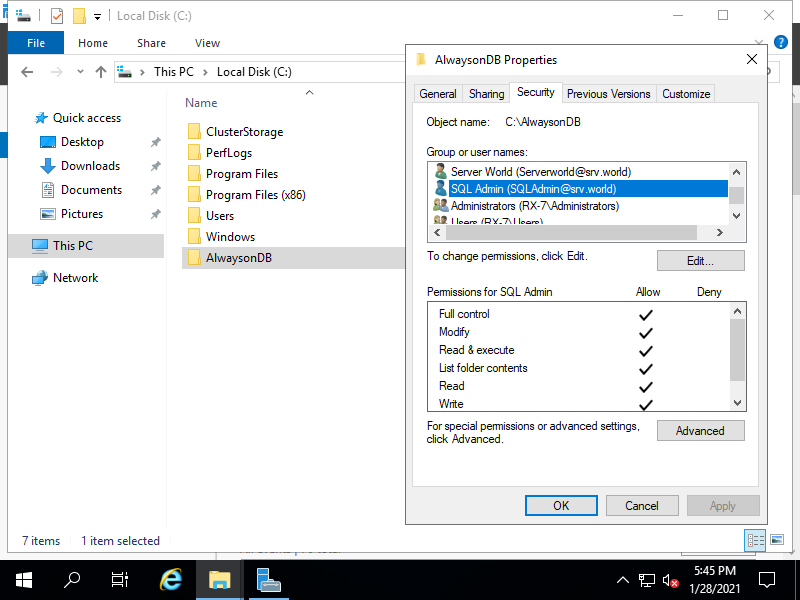
| [9] | Create a folder for the database of AlwaysOn Availability Groups on the same Path on all Nodes and also add full control permission to
the SQL Server logon user. It creates [C:\AlwaysonDB] on this example like follows. |
|
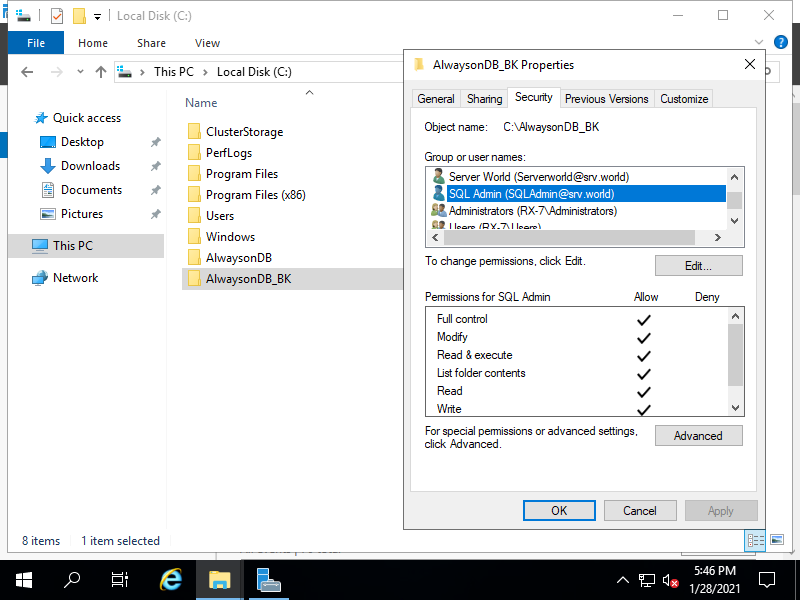
| [10] | Create a folder for the backup of database of AlwaysOn Availability Groups and also add full control permission to
the SQL Server logon user. It creates [C:\AlwaysonDB_BK] on this example like follows. |
|
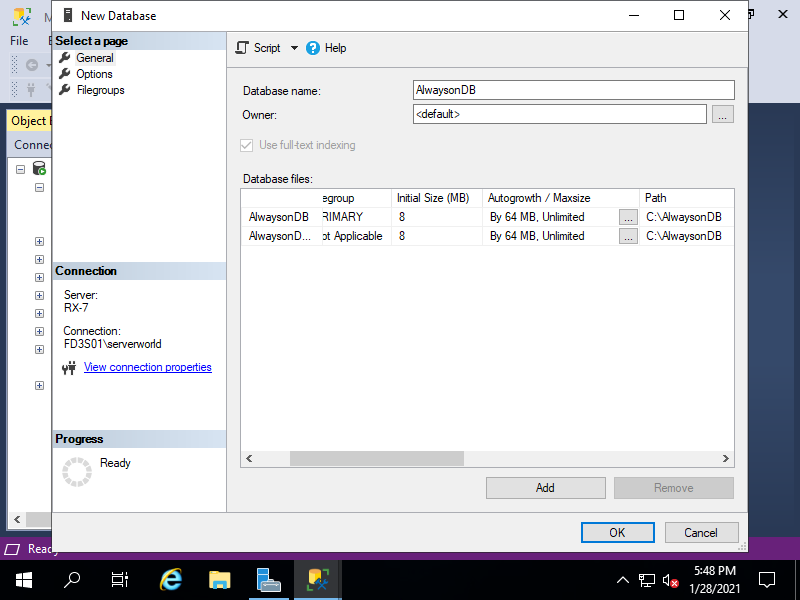
| [11] | Create a database of AlwaysOn Availability Groups with specifying the database folder you created on [9]. It's OK to create it only on primary Node. It creates [AlwaysonDB] database on this example like follows. |
|
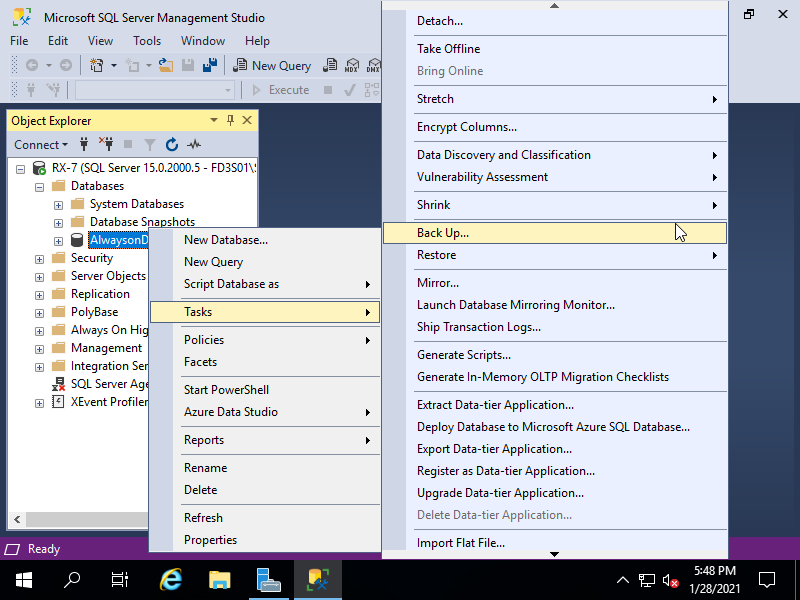
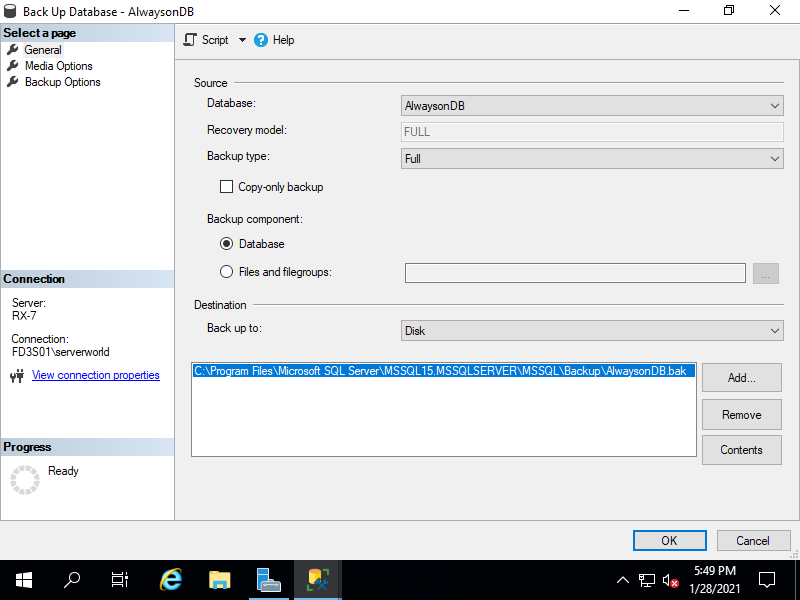
| [12] | Take a backup of the database for AlwaysOn Availability Groups. Run SQL Server Management Studio (SSMS) and right click the target database to open the menu, then click [Tasks] - [Back Up]. |
|
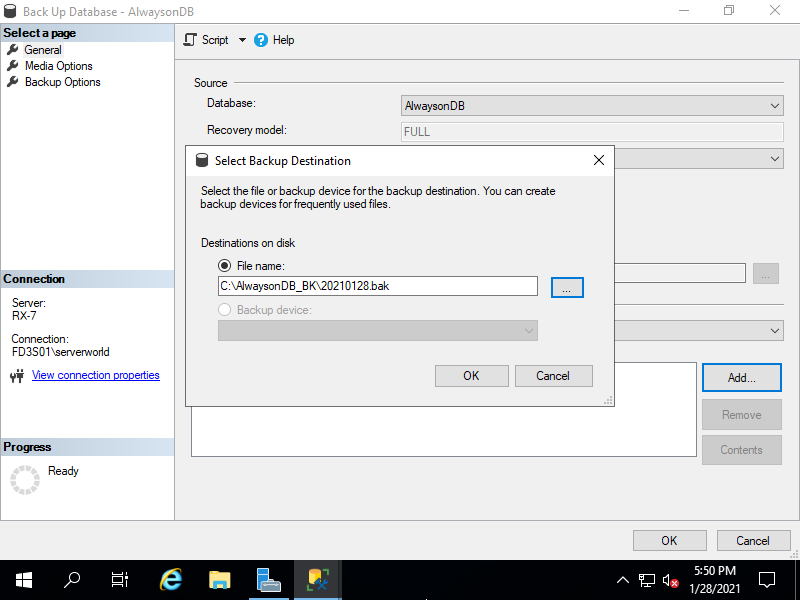
| [13] | Click [Remove] button on lower-right tp remove default backup folder, next, click [Add] button to specify backup folder path you created on [10]. |
|
| [14] | Input any backup file name and Click [OK]. |
|
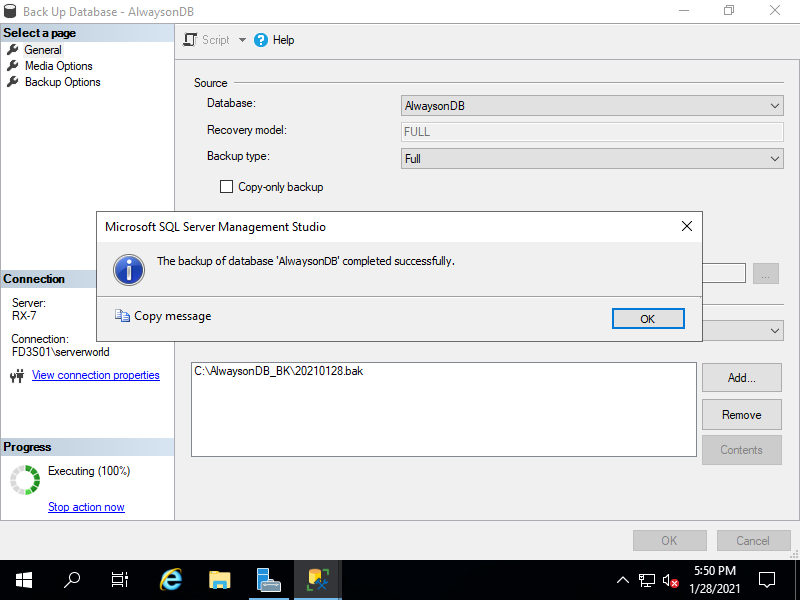
| [15] | It's OK if taking backup has been finished successfully. Next, Proceed to the settings of AlwaysOn Availability Groups #2. |
|
Matched Content