SQL Server 2019 : Install2020/01/30 |
|
Install SQL Server 2019 with stand-alone installation.
On this example, it is based on that download ISO media for SQL Server 2019 installation like here
before installing SQL Server.
|
|
| [1] | Run PowerShell with Admin Privilege and Install SQL Server from ISO media. |
Windows PowerShell Copyright (C) Microsoft Corporation. All rights reserved. # mount ISO media PS C:\Users\Administrator> Mount-DiskImage C:\Users\Administrator\SQLServer2019-x64-ENU.iso Attached : True BlockSize : 0 DevicePath : \\.\CDROM0 FileSize : 1426722816 ImagePath : C:\Users\Administrator\SQLServer2019-x64-ENU.iso LogicalSectorSize : 2048 Number : 0 Size : 1426722816 StorageType : 1 PSComputerName : # confirm where drive ISO mounted PS C:\Users\Administrator> Get-Volume DriveLetter FriendlyName FileSystemType DriveType HealthStatus OperationalStatus SizeRemaining Size ----------- ------------ -------------- --------- ------------ ----------------- ------------- ---- C NTFS Fixed Healthy OK 62.86 GB 79.4 GB FAT32 Fixed Healthy OK 69.19 MB 95 MB Recovery NTFS Fixed Healthy OK 100.1 MB 499 MB D SqlSetup_x64_ENU Unknown CD-ROM Healthy OK 0 B 1.33 GB PS C:\Users\Administrator> cd D:\ PS D:\> ls Directory: D:\ Mode LastWriteTime Length Name ---- ------------- ------ ---- d----- 9/24/2019 8:51 PM 1033_ENU_LP d----- 9/24/2019 9:28 PM Tools d----- 9/24/2019 8:15 PM redist d----- 9/24/2019 7:09 PM resources d----- 9/24/2019 10:32 PM x64 --r--- 9/24/2019 7:32 PM 784 MediaInfo.xml --r--- 9/24/2019 7:32 PM 220776 SqlSetupBootstrapper.dll --r--- 9/24/2019 7:32 PM 45 autorun.inf --r--- 9/24/2019 7:32 PM 126784 setup.exe --r--- 9/24/2019 7:32 PM 486 setup.exe.config # run installation # [/FEATURES=***] : features you'd like to install # ⇒ example below specifies Database, Analysis, Integration services and admin tools # [/ASSYSADMINACCOUNTS=***] : specify admin credential for Analysis Services # ⇒ example below specifies local Administrator account # for other accounts below, those are default accounts (possible change if you need) PS D:\> .\setup.exe /ACTION=install /IACCEPTSQLSERVERLICENSETERMS /QUIET /FEATURES="SQL,AS,IS,Tools" /INSTANCENAME="MSSQLSERVER" /SQLSVCACCOUNT="NT Service\MSSQLSERVER" /SQLSYSADMINACCOUNTS="Builtin\Administrators" /AGTSVCACCOUNT="NT Service\SQLSERVERAGENT" /ASSVCACCOUNT="NT Service\MSSQLServerOLAPService" /ASSYSADMINACCOUNTS="rx-7\Administrator" /ISSVCAccount="NT Service\MsDtsServer150" Microsoft (R) SQL Server 2019 15.00.2000.05 Copyright (c) 2019 Microsoft. All rights reserved. SQL Server 2019 transmits information about your installation experience, as well as other usage and performance data, to Microsoft to help improve the product. To learn more about SQL Server 2019 data processing and privacy controls, please see the Privacy Statement. # restart to apply changes PS D:\> Restart-Computer -Force |
|
SQL Server 2019 : Install (GUI)
|
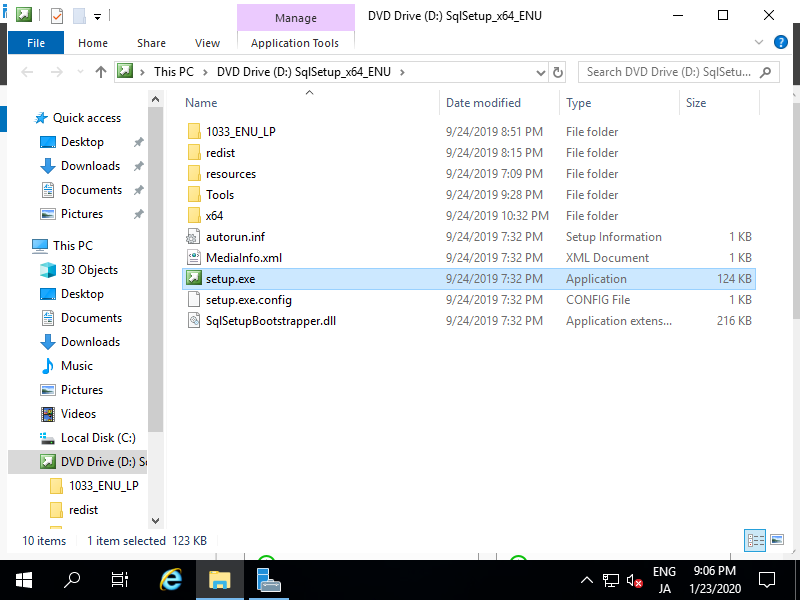
| [2] | Mount ISO media and move to the drive, then Click [setup.exe]. |
|
| [3] | Click [Installation] on the left pane and click [New SQL Server stand-alone installation ***] on the top of right pane. |

|
| [4] | Select an Edition of SQL Server you'd like to install. |

|
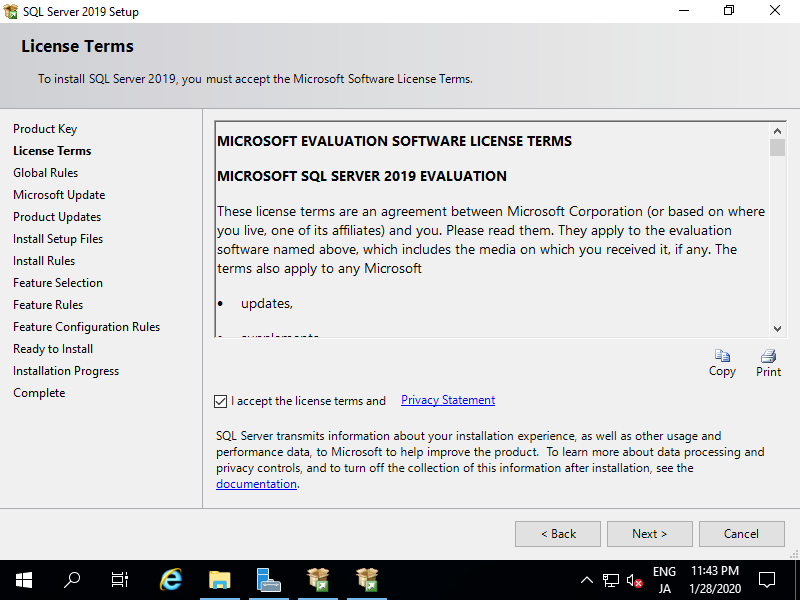
| [5] | Read License terms well and check a box [I accept the license terms] to agree with it. |
|
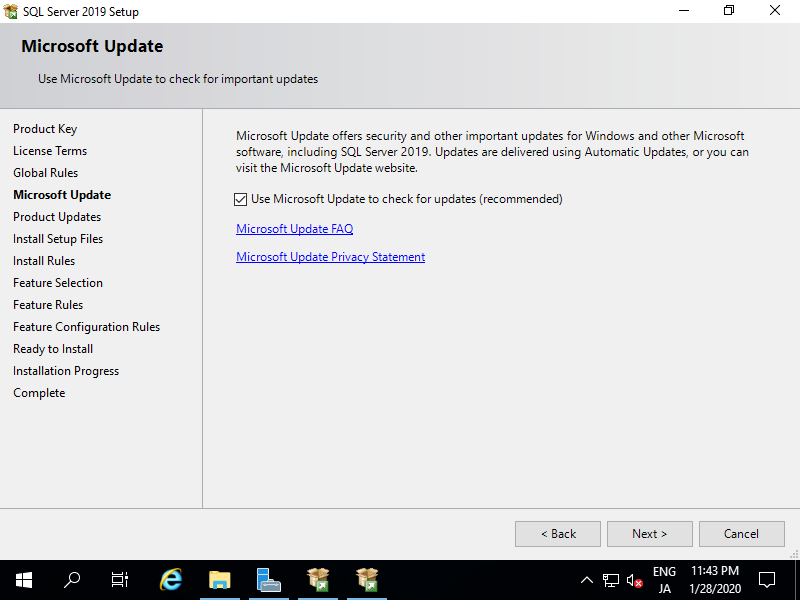
| [6] | Select to check important update or not. |
|
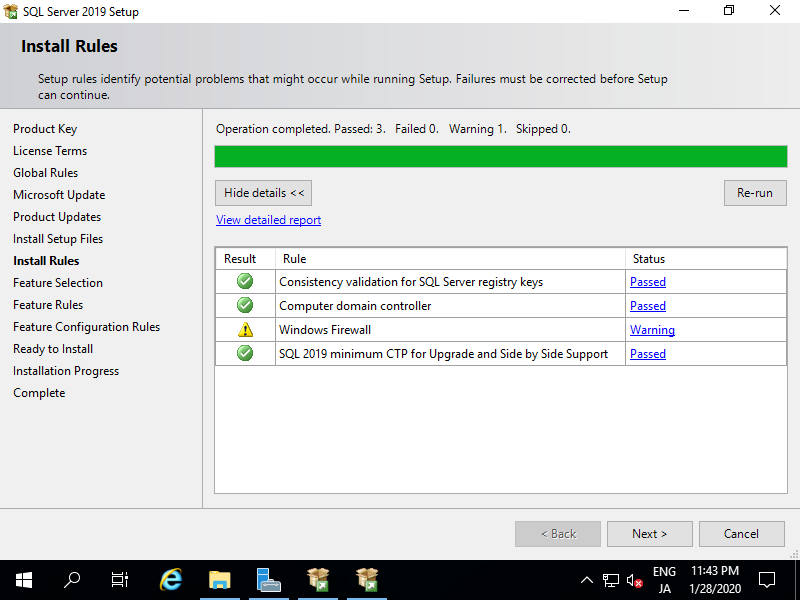
| [7] | Setup rules indetify potential ploblems. Check the result and improve if ploblems are detected. For the warning of Windows firewall, it's possbile to configure later for SQL Server, so it's OK to proceed. |
|
| [8] | This is the section of selecting features you'd like to install. On this example, it selects mostly all features except [Machine Learning] and [PolyBase Query Service for External Data]. For [Machine Learning] and [PolyBase Query Service for External Data], those are installed with [Python], [Java], [Microsoft R] for dependency. |

|
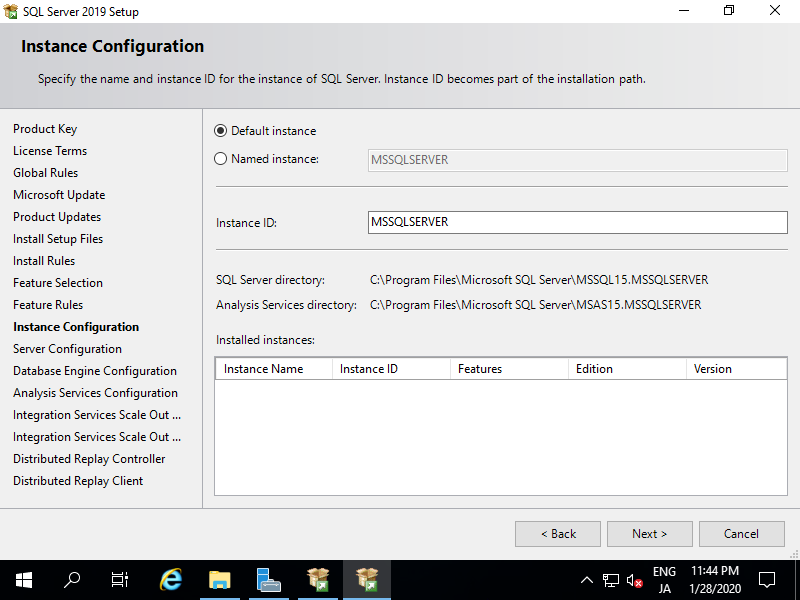
| [9] | This is the section of Instance Configuration. Select [Default Instance] or [Named Instance]. (Keep default on this example) |
|
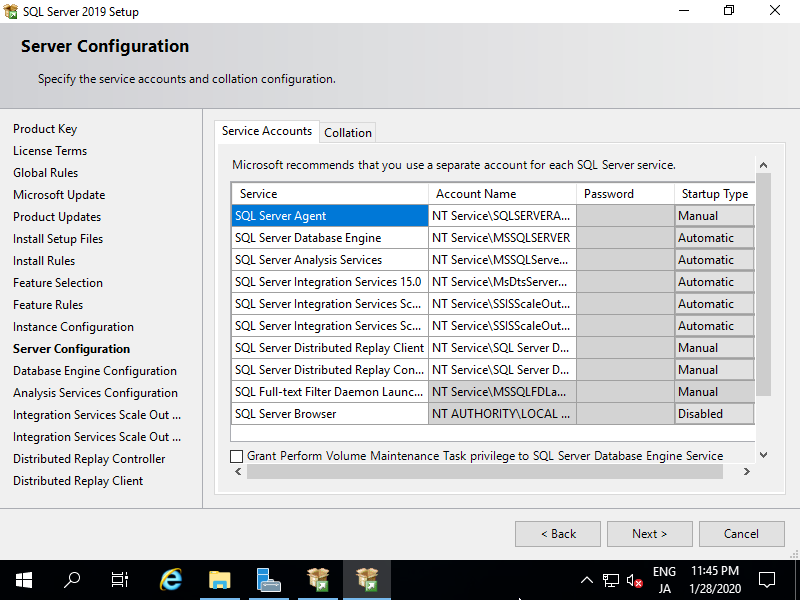
| [10] | This is the section of Service Accounts Configuration. Change them for your requirements. (Keep default on this example) |
|
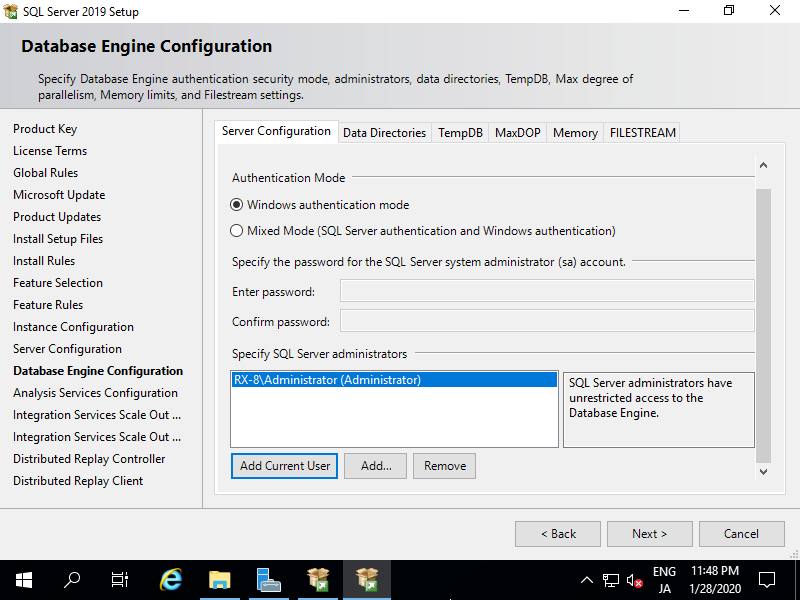
| [11] | This is the section of Database Configuration. Select Authentication Mode and specify SQL Server administration account. If that's OK, move to [Data Directories] tab. |
|
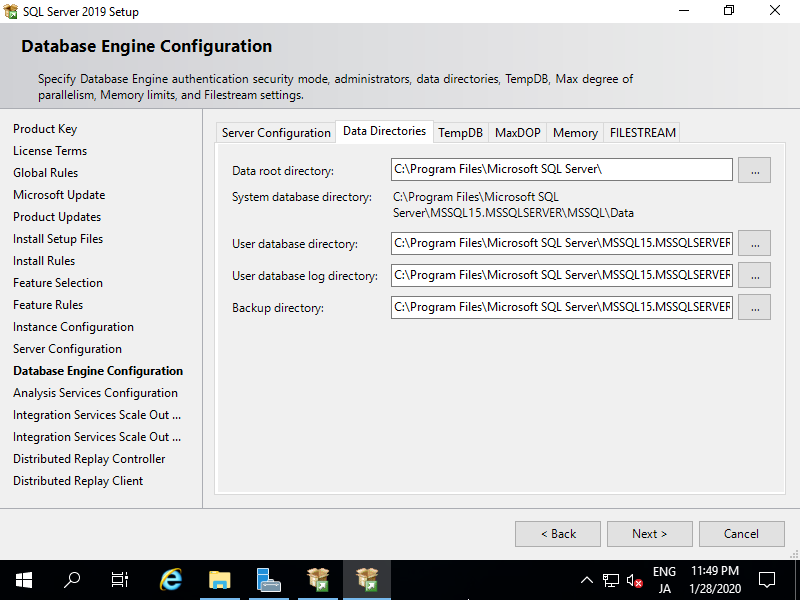
| [12] | This is the section of Data Directories Settings. Change them for your requirements. (Keep default on this example) If that's OK all, move to [TempDB] tab. |
|
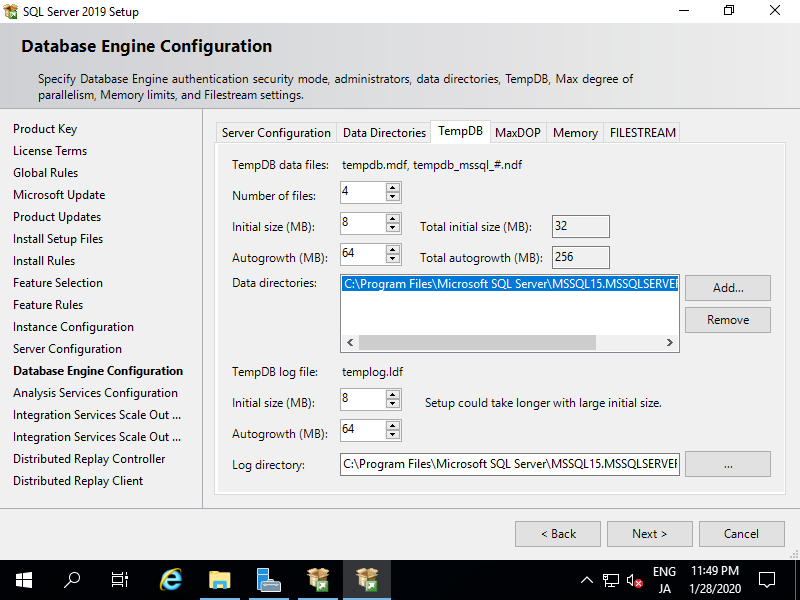
| [13] | This is the section of TempDB Settings. Change them for your requirements. (Keep default on this example) If that's OK all, move to [MaxDOP] tab. |
|
| [14] | This is the section of MaxDOP Settings. Change them for your requirements. (Keep default on this example) If that's OK all, move to [Memory] tab. |

|
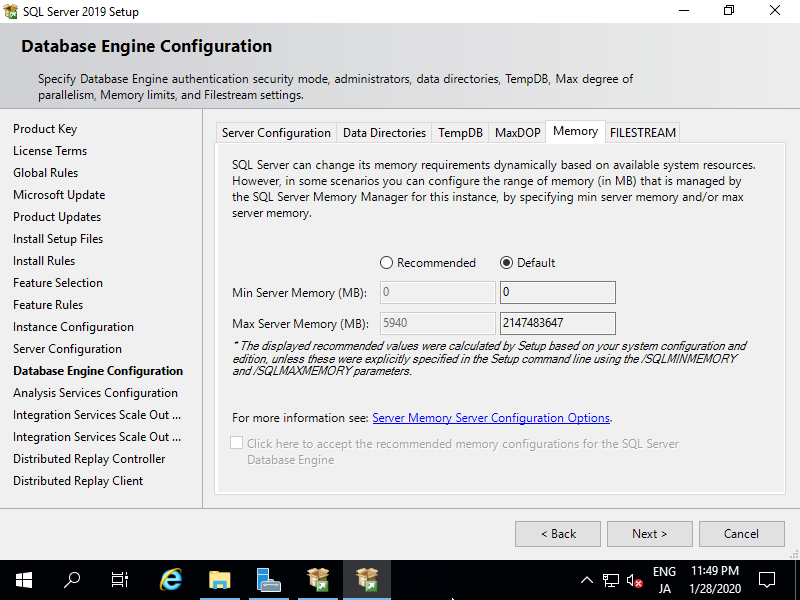
| [15] | This is the section of Memory Settings. Change them for your requirements. (Keep default on this example) If that's OK all, move to [FILESTREAM] tab. |
|
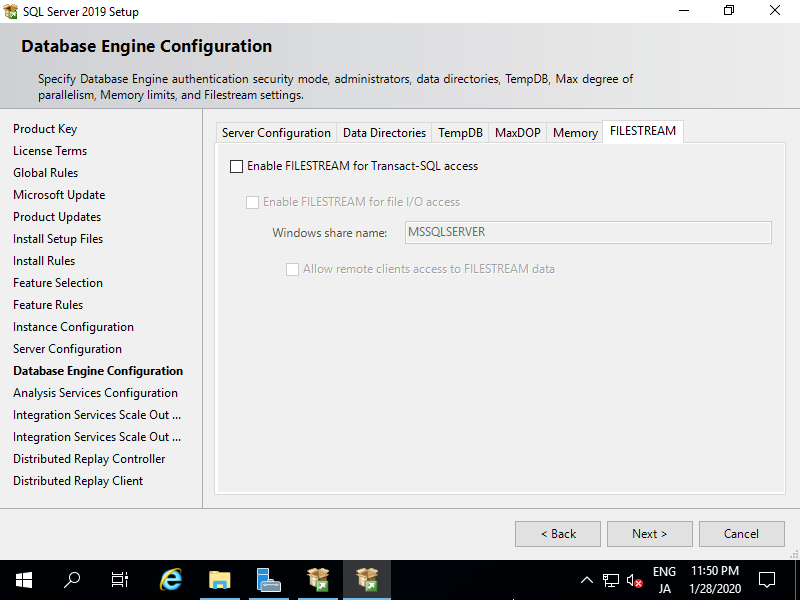
| [16] | This is the section of FILESTREAM Settings. Change them for your requirements. (Keep default on this example) If that's OK all, Proceed to next. |
|
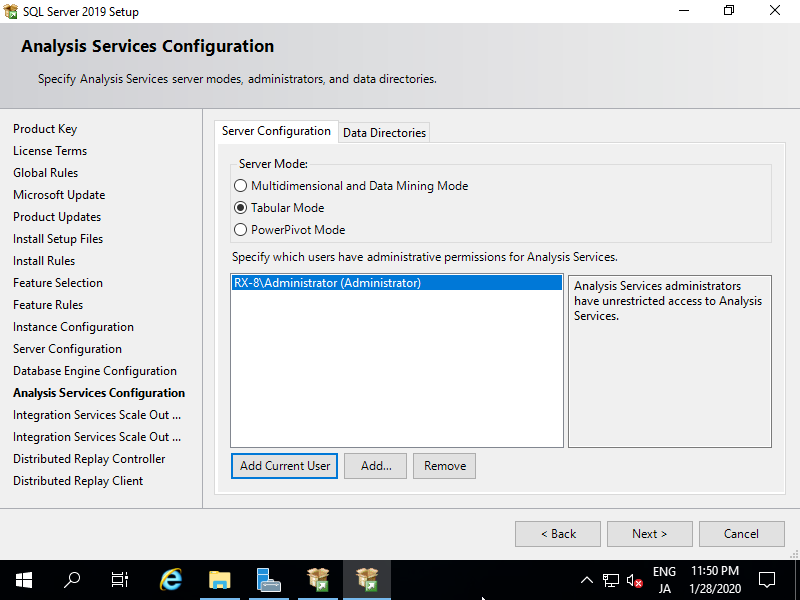
| [17] | This is the section of Analysys Services Configurations. Specify Administration Account of Analysys Services. |
|
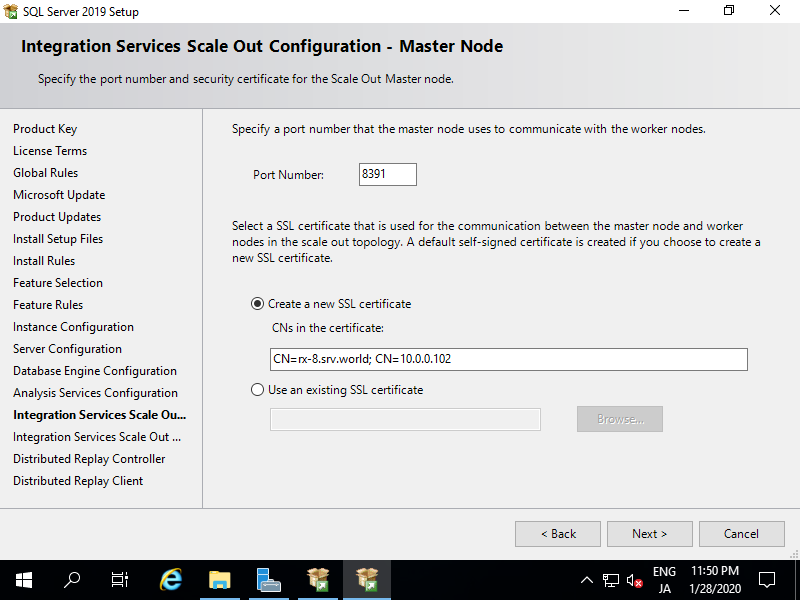
| [18] | This is the section of Integration Services Scale out (Master Node) Configurations. Change them for your requirements. (Keep default on this example) If that's OK all, Proceed to next. |
|
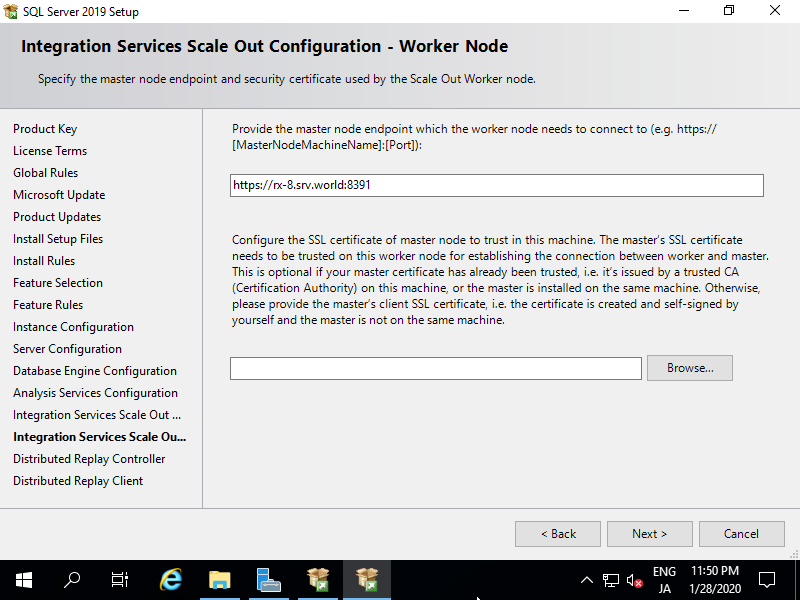
| [19] | This is the section of Integration Services Scale out (Worker Node) Configurations. Change them for your requirements. (Keep default on this example) If that's OK all, Proceed to next. |
|
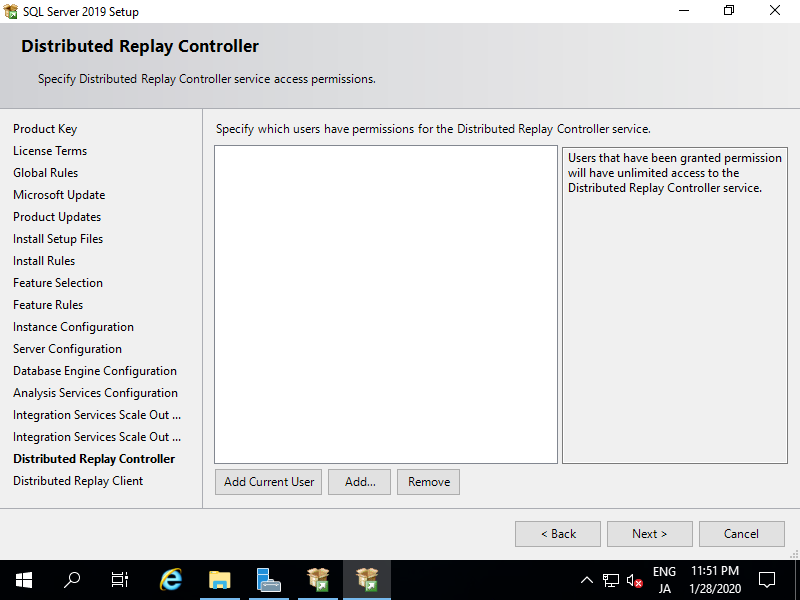
| [20] | This is the section of Distributed Relay Controller Configurations. Change them for your requirements. (Keep default on this example) If that's OK all, Proceed to next. |
|
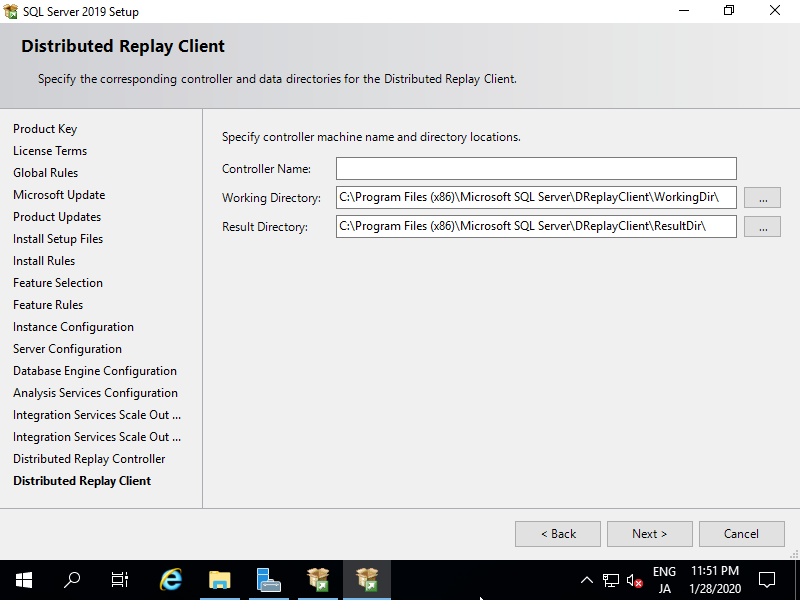
| [21] | This is the section of Distributed Relay Client Configurations. Change them for your requirements. (Keep default on this example) If that's OK all, Proceed to next. |
|
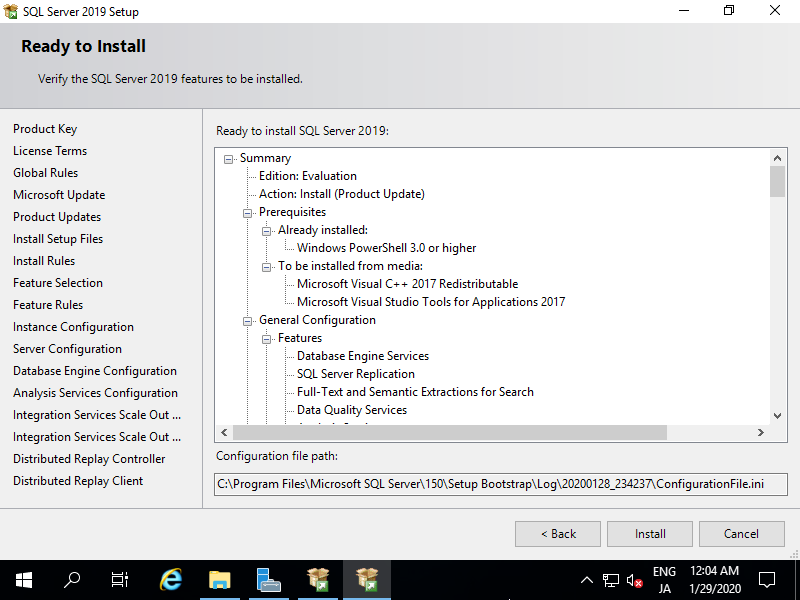
| [22] | Verify selection of features and it it's OK, Click [Install] button. |
|
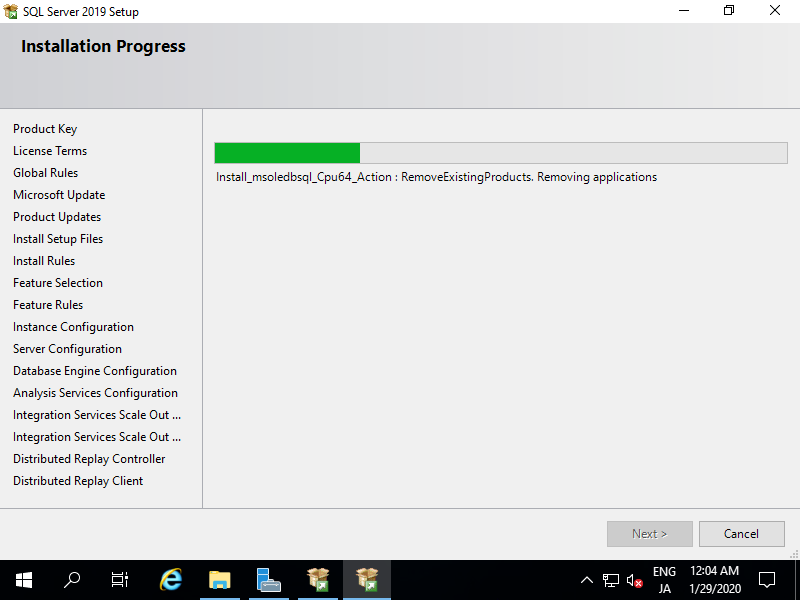
| [23] | Installation Starts. |
|
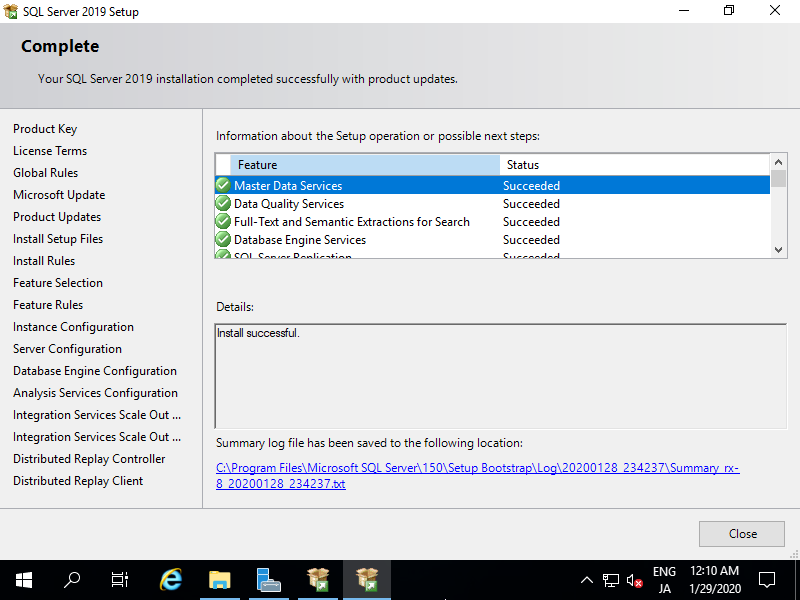
| [24] | After finishing Installation, Click [Close] button to complete. |
|
Matched Content