Hyper-V : Install2019/04/10 |
|
Install Hyper-V to build Virtualization Environment.
System requirements are like follows.
1. x64(64bit) Computer, and CPU has Intel XD bit (Execute Disable bit) or AMD NX bit (No-Execute bit) feature.
2. Possible to enable Intel XD bit or AMD NX bit on BIOS setting and it is now enabled.
On CUI installation, set like follows.
|
|
| [1] | Run PowerShell with Admin Privilege and Install Hyper-V. |
Windows PowerShell Copyright (C) Microsoft Corporation. All rights reserved. # install Hyper-V with admin tools PS C:\Users\Administrator> Install-WindowsFeature Hyper-V -IncludeManagementTools Success Restart Needed Exit Code Feature Result ------- -------------- --------- -------------- True Yes SuccessRest... {Hyper-V, Windows PowerShell 用 Hyper-V ... WARNING: You must restart this server to finish the installation process. # restart computer to apply changes PS C:\Users\Administrator> Restart-Computer -Force |
|
Hyper-V : Install (GUI)
|
|
On GUI installation, set like follows.
|
|
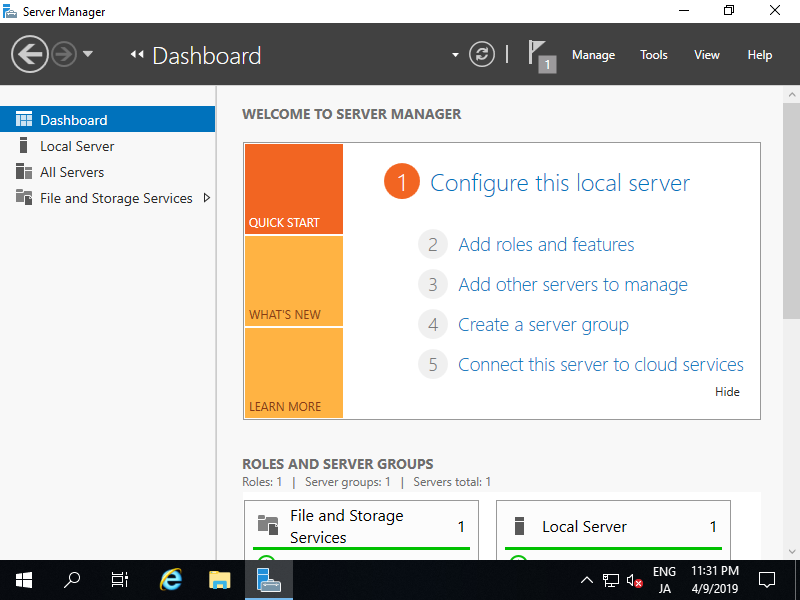
| [2] | Run [Server Manager] and click [Add roles and features]. |
|
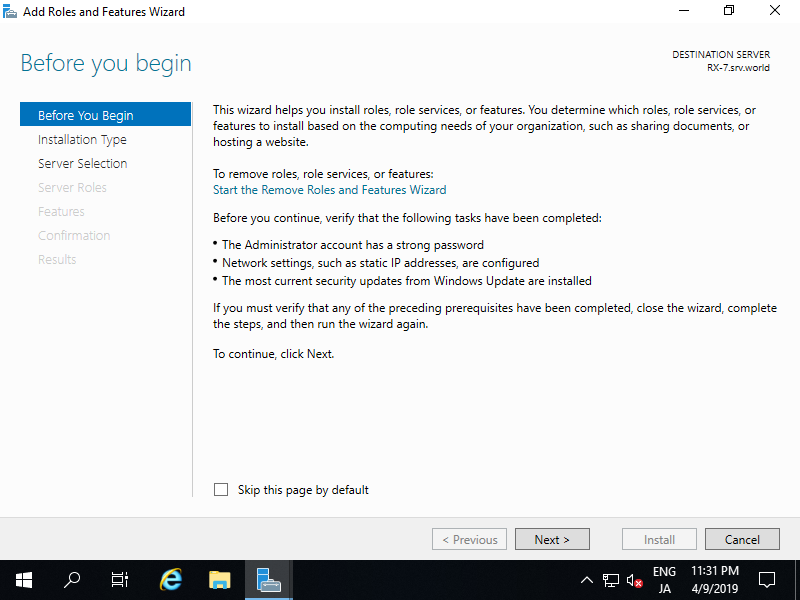
| [3] | Click [Next] button. |
|
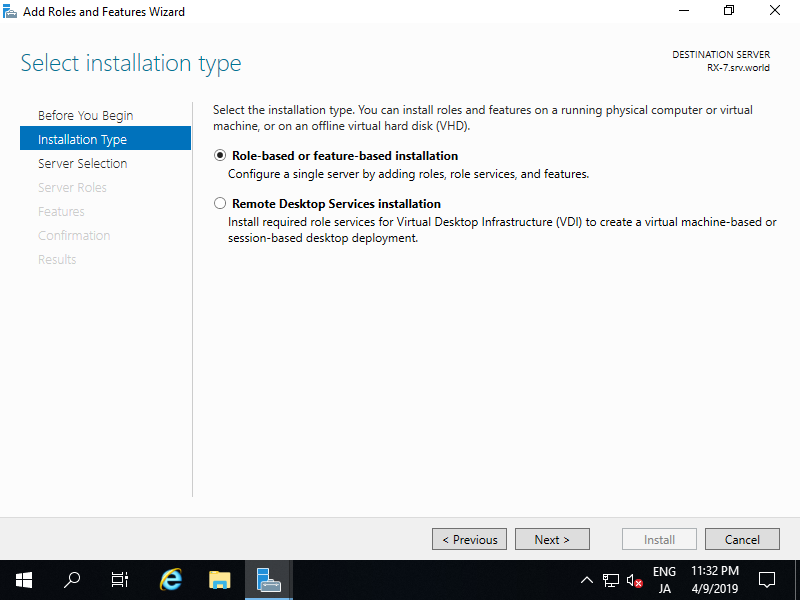
| [4] | Select [Role-based or feature-based installation]. |
|
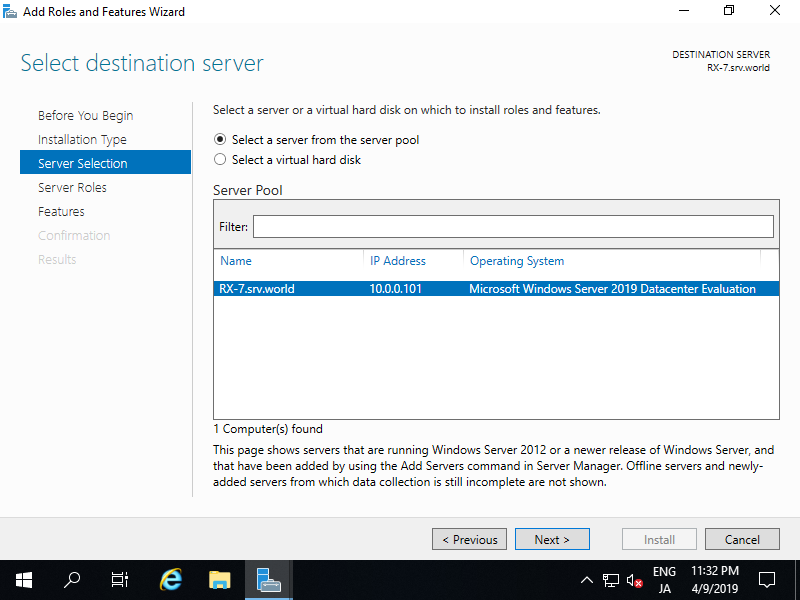
| [5] | Select a Host which you'd like to add services. |
|
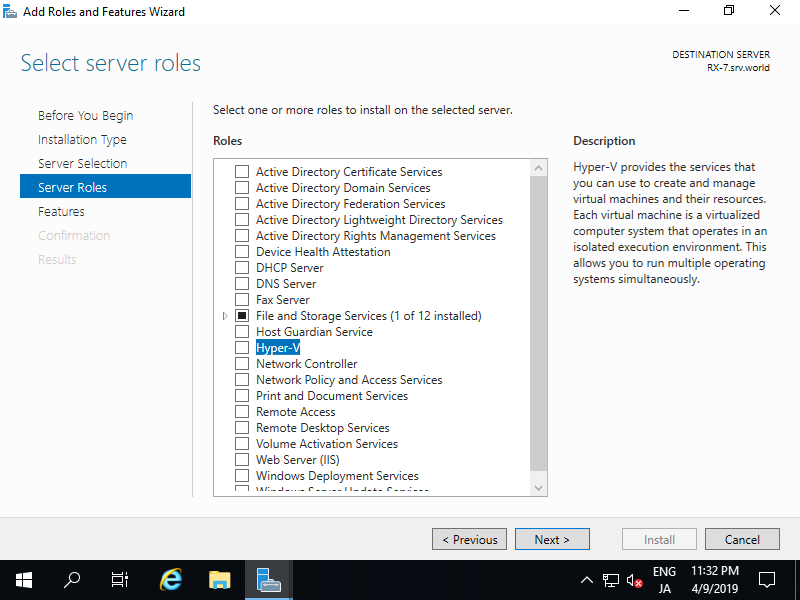
| [6] | Check a box [Hyper-V]. |
|
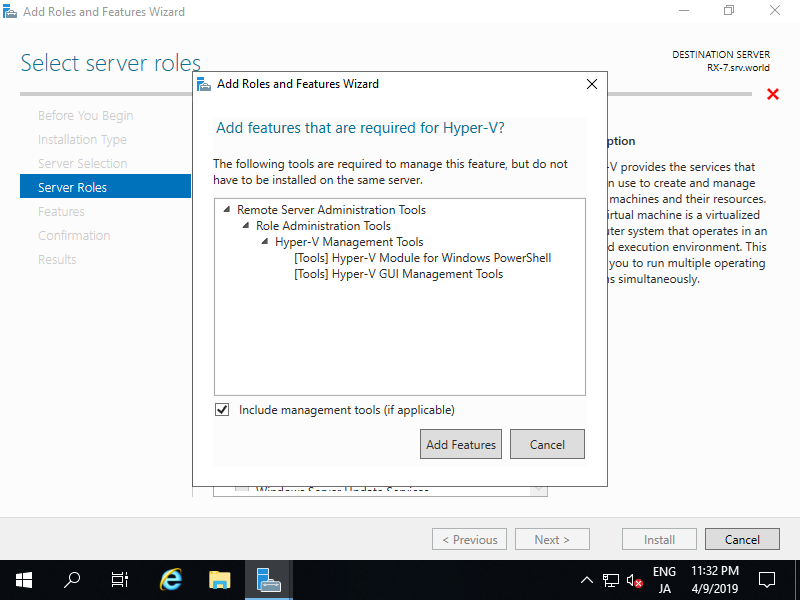
| [7] | Addtional features are required to add Hyper-V. Click [Add Features] button and proceed to Next. |
|
| [8] | Click [Next] button. |
|
| [9] | Click [Next] button. |
|
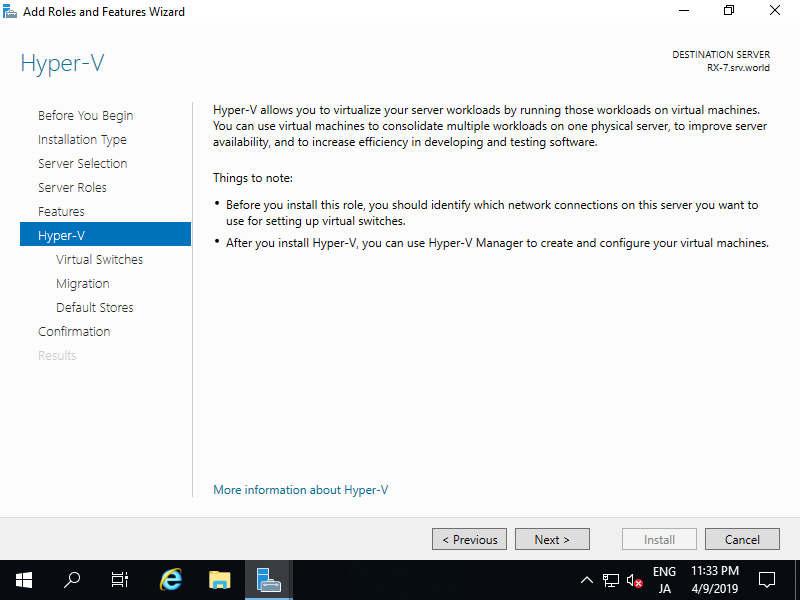
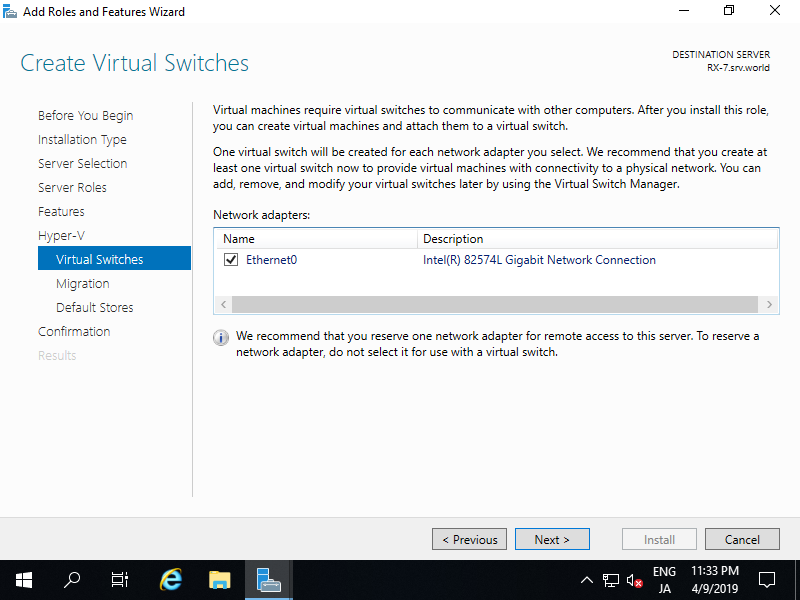
| [10] | This is the section to create Virtual Switches. Select a Network adapter for it. |
|
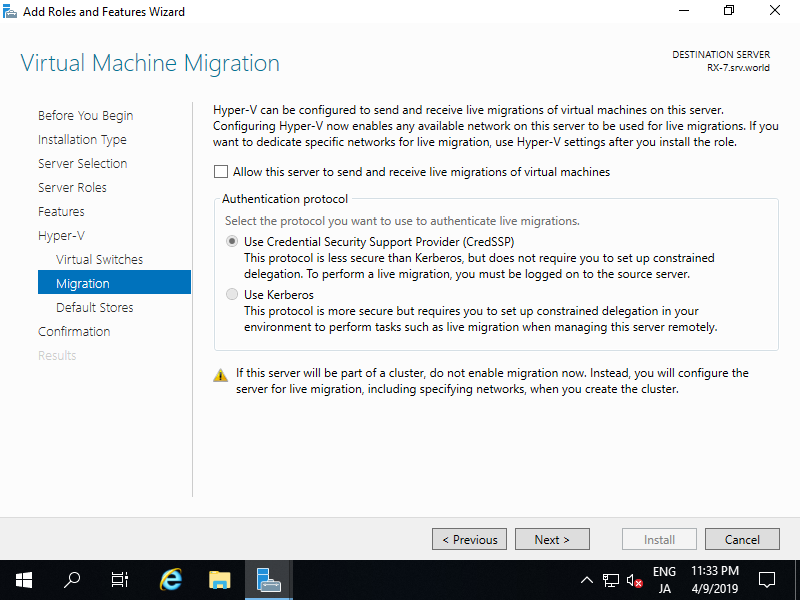
| [11] | This is the section for Migration for Virtula Machines. On this example, keep default and proceed Next. |
|
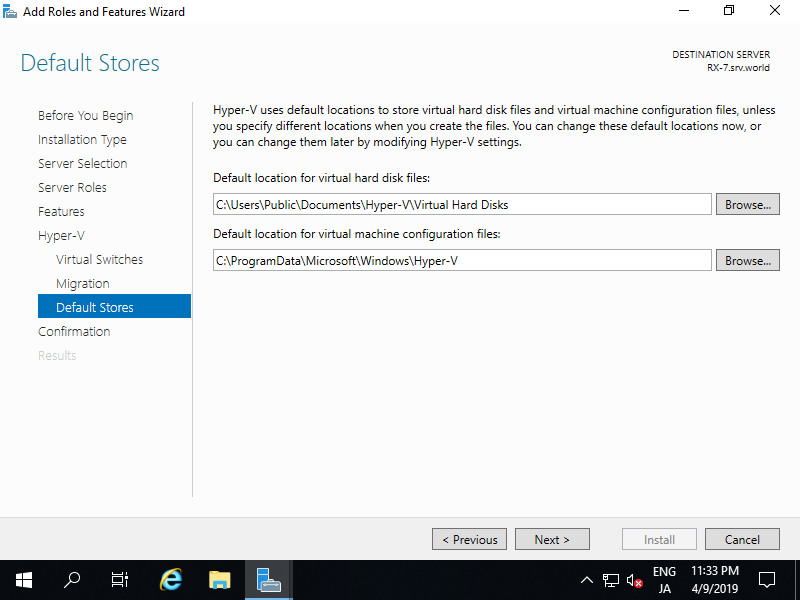
| [12] | This is the section to specify the location of Virtual Machines' configuration. On this example, keep default and proceed Next. |
|
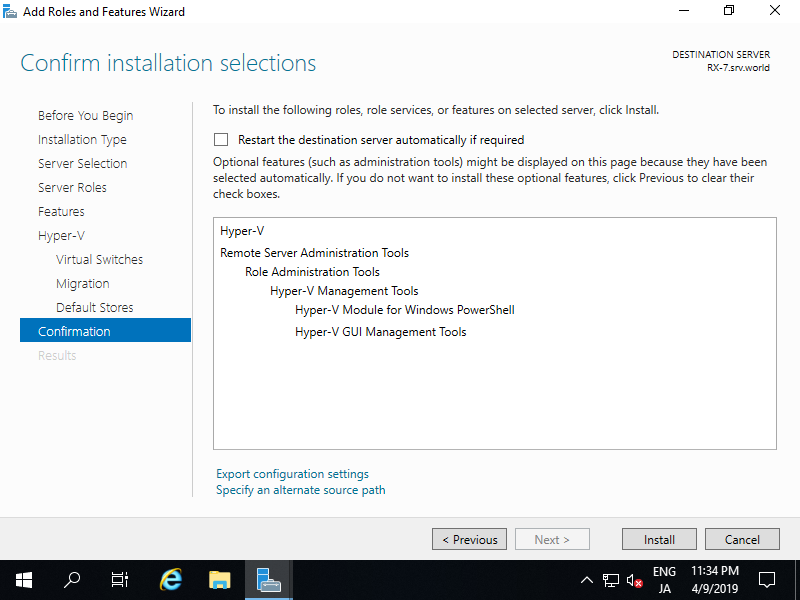
| [13] | Click [Install] button to begin installation. |
|
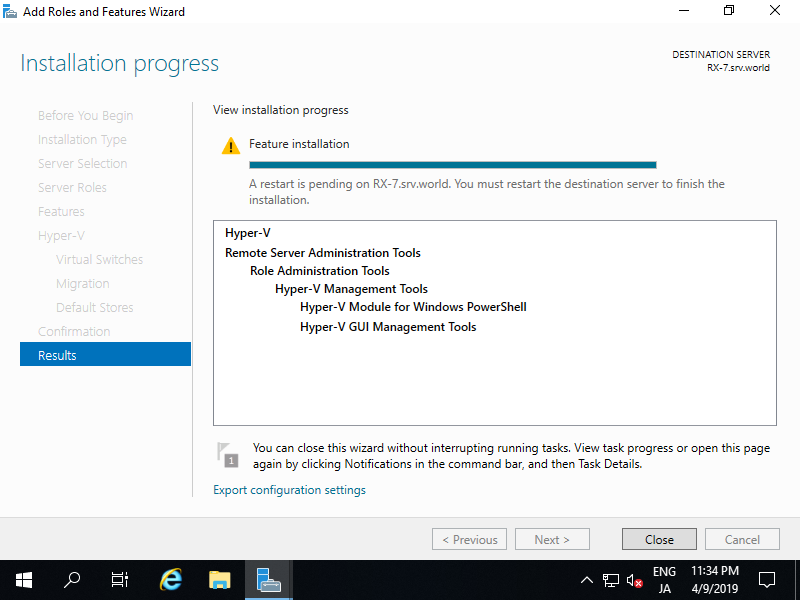
| [14] | After finishing installation, Click [Close] button and restart Computer. |
|
Matched Content