DNS Server : Configure Stub Zone2019/03/21 |
|
Configure Stub Zone, that has only SOA, NS, Glue Records.
This example is based on the environment like follows.
                                   |
+----------------------+           |           +----------------------+
|  [   DNS Server   ]  |10.0.0.101 | 10.0.0.110|  [   DNS Server  ]   |
|     rx-7.srv.world   +-----------+-----------+    rx-8.srv.world    |
|                      |                       |      (Stub Zone)     |
+----------------------+                       +----------------------+
|
|
On CUI configuration, Run PowerShell with Admin Privilege and Configure like follows.
|
|
| [1] | By default, Name-Servers that are added in each Zone setting on DNS Master Host are the allowed Hosts to be transfered Zone files. So Add DNS Stub Host on Name-Server setting on DNS Master Host first. |
Windows PowerShell Copyright (C) Microsoft Corporation. All rights reserved. # add [rx-8.srv.world] host as name-server in [srv.world] zone PS C:\Users\Administrator> Add-DnsServerResourceRecord -Name "@" -NS -ZoneName "srv.world" -NameServer "rx-8.srv.world" -PassThru HostName RecordType Type Timestamp TimeToLive RecordData -------- ---------- ---- --------- ---------- ---------- @ NS 2 0 01:00:00 rx-8.srv.world. PS C:\Users\Administrator> Get-DnsServerResourceRecord -ZoneName "srv.world" | Format-Table -AutoSize -Wrap # NS record has beed added HostName RecordType Type Timestamp TimeToLive RecordData -------- ---------- ---- --------- ---------- ---------- @ NS 2 0 01:00:00 rx-7.srv.world. @ NS 2 0 01:00:00 rx-8.srv.world. @ SOA 6 0 01:00:00 [7][rx-7.srv.world.][hostmaster.srv.world.] rx-7 A 1 0 01:00:00 10.0.0.101 rx-8 A 1 0 01:00:00 10.0.0.110 |
| [2] | On DNS Stub Host, Configure Stub Zone. Before it, Install DNS Server feature on Stub Host, too. |
Windows PowerShell Copyright (C) Microsoft Corporation. All rights reserved. # add stub zone of [srv.world] PS C:\Users\Administrator> Add-DnsServerStubZone -Name "srv.world" -MasterServers "10.0.0.101" -ZoneFile "srv.world.dns" -PassThru ZoneName ZoneType IsAutoCreated IsDsIntegrated IsReverseLookupZone IsSigned -------- -------- ------------- -------------- ------------------- -------- srv.world Stub False False False PS C:\Users\Administrator> Get-DnsServerZone # stub zone has beed added ZoneName ZoneType IsAutoCreated IsDsIntegrated IsReverseLookupZone IsSigned -------- -------- ------------- -------------- ------------------- -------- 0.in-addr.arpa Primary True False True False 127.in-addr.arpa Primary True False True False 255.in-addr.arpa Primary True False True False srv.world Stub False False False TrustAnchors Primary False False False False |
|
DNS Server : Configure Stub Zone (GUI)
|
|
On GUI configuration, set like follows.
|
|
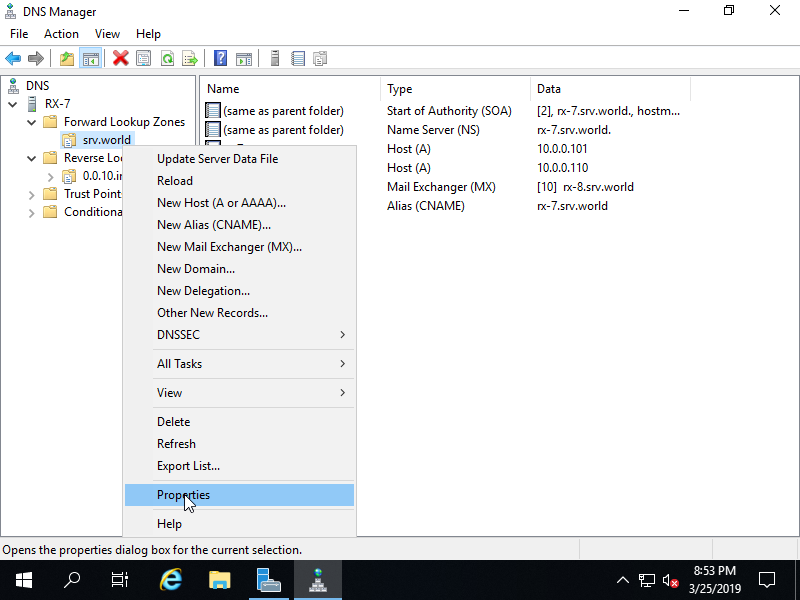
| [3] | Configure on DNS Master Host. Run Server Manager and select [Tools] - [DNS], next right-click the zone name you'd like to add stub zone and select [Properties]. |
|
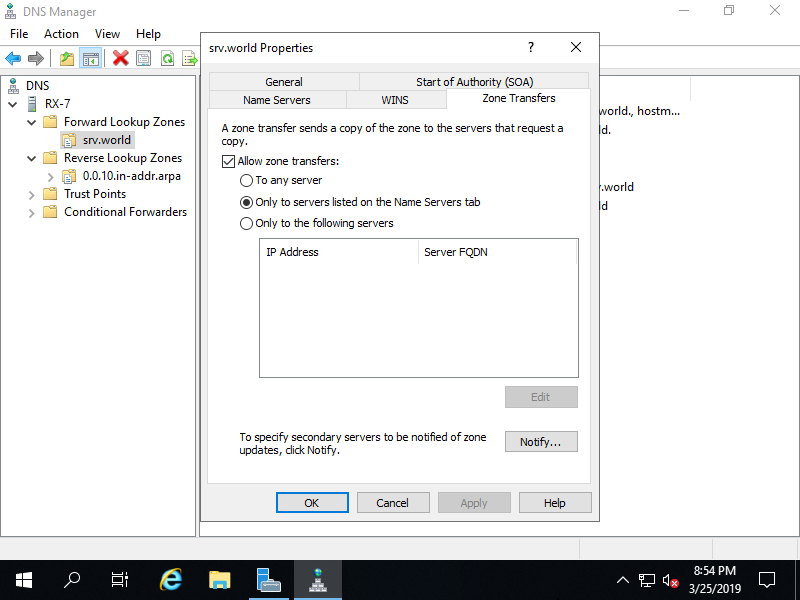
| [4] | Move to [Zone Transfers] tab, then it's possible to see the setting like follows. Move to [Name Servers] tab. |
|
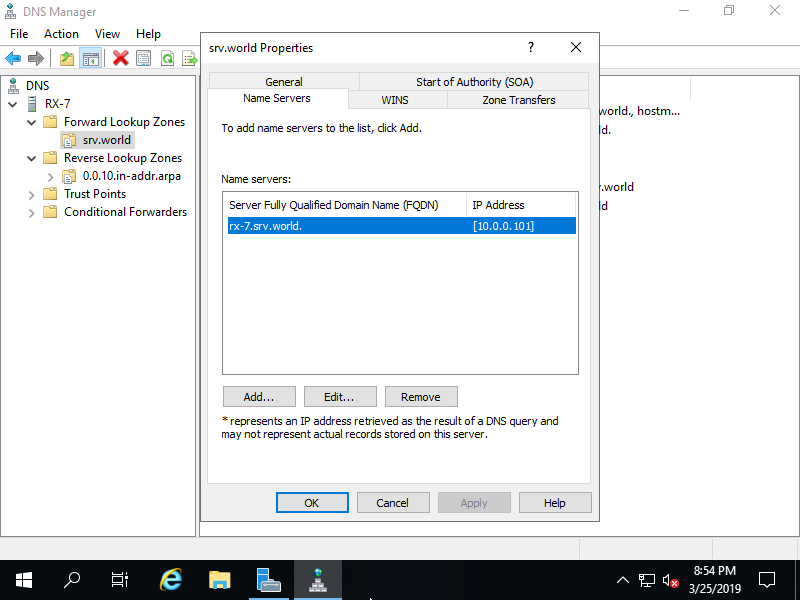
| [5] | Click [Add] button. |
|
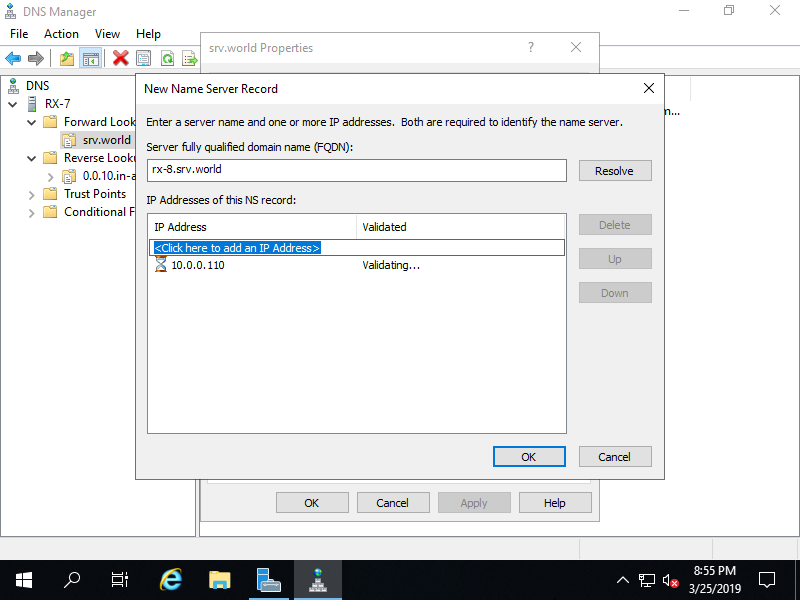
| [6] | Input Hostname and IP address of Stub Server and Click [OK]. |
|
| [7] | Name Server has been added. next, Move to DNS Stub Host. |
|
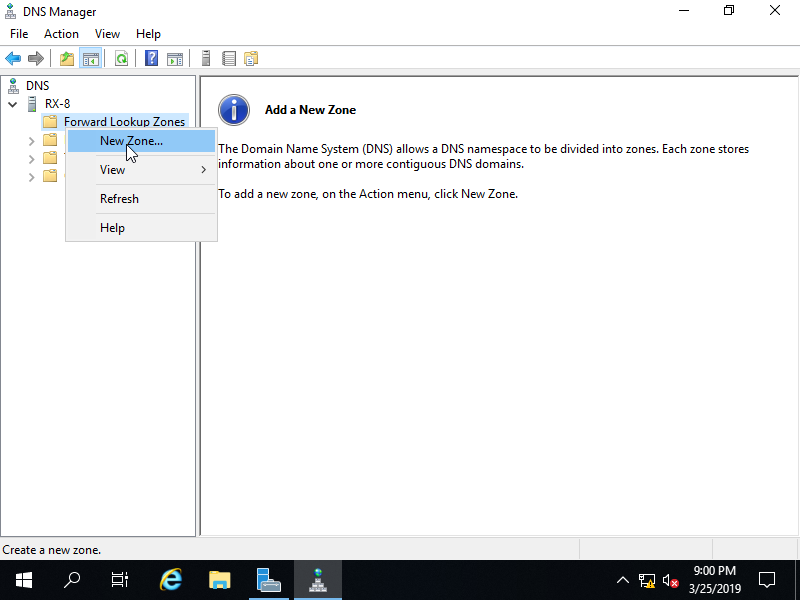
| [8] | On DNS Stub Host, Run Server Manager and select [Tools] - [DNS], next right-click the zone you'd like to add stub zone and select [New Zone...]. |
|
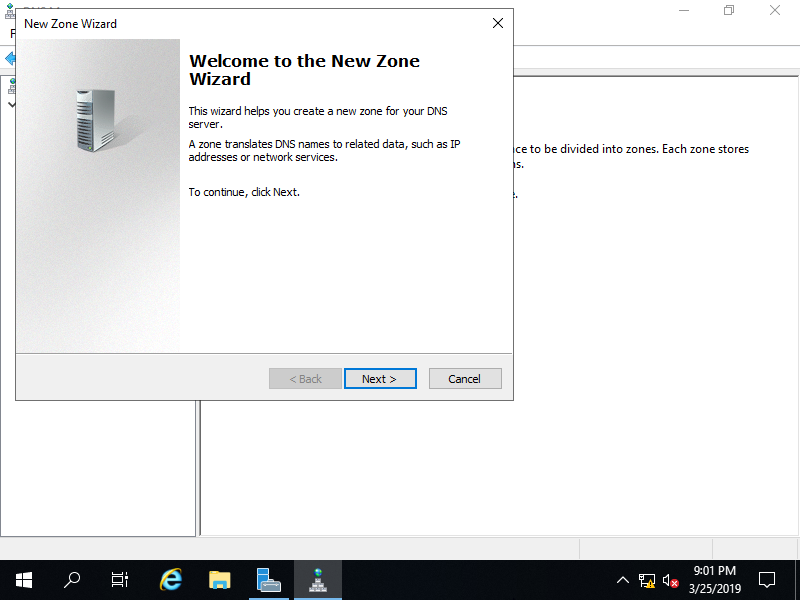
| [9] | Click [Next] button. |
|
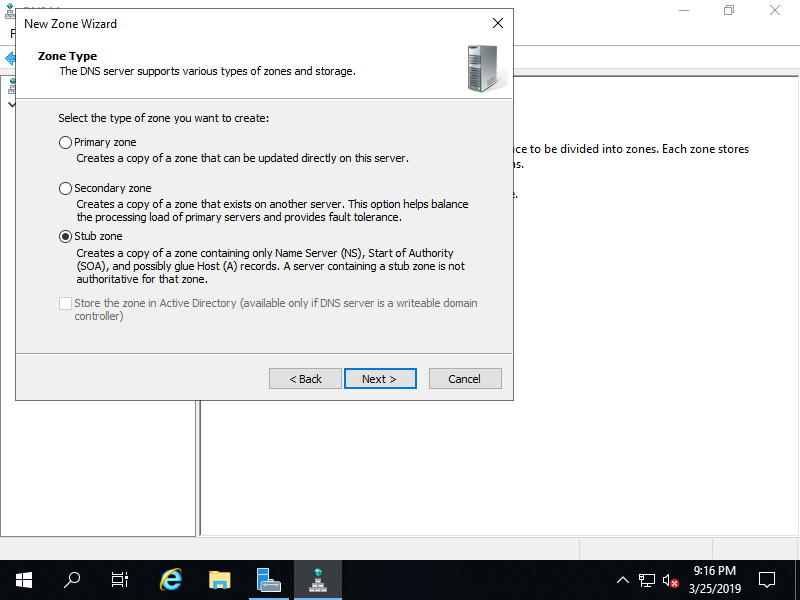
| [10] | Check a Box [Secondary zone] and go [Next]. |
|
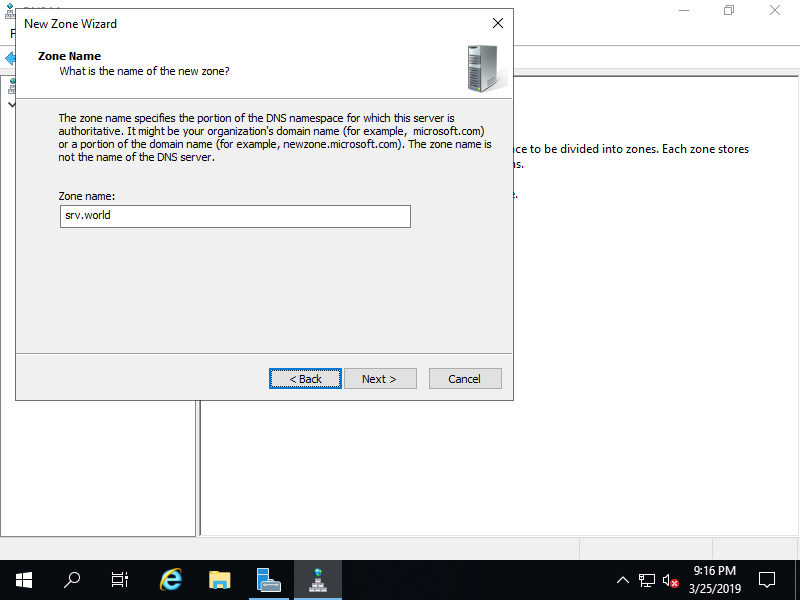
| [11] | Input a zone name you'd like to add stub zone and go [Next]. |
|
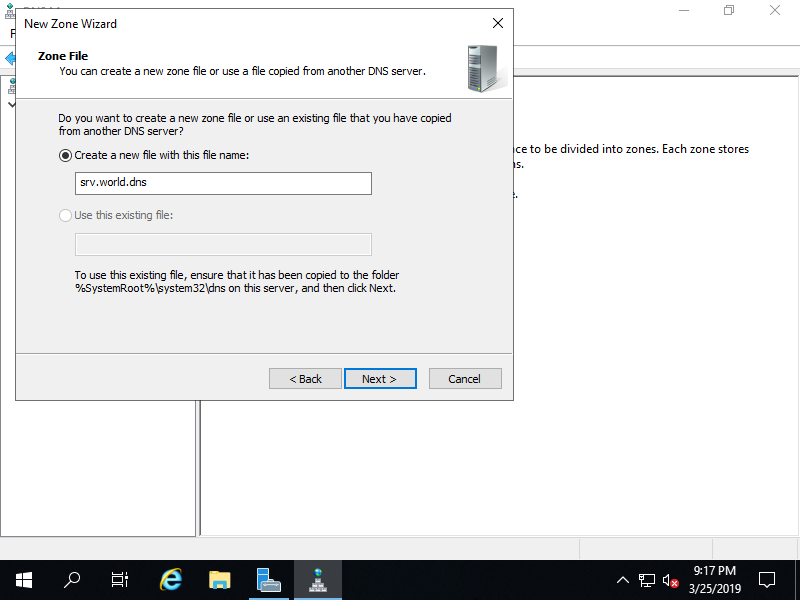
| [12] | Specify zone-file name and go [Next]. |
|
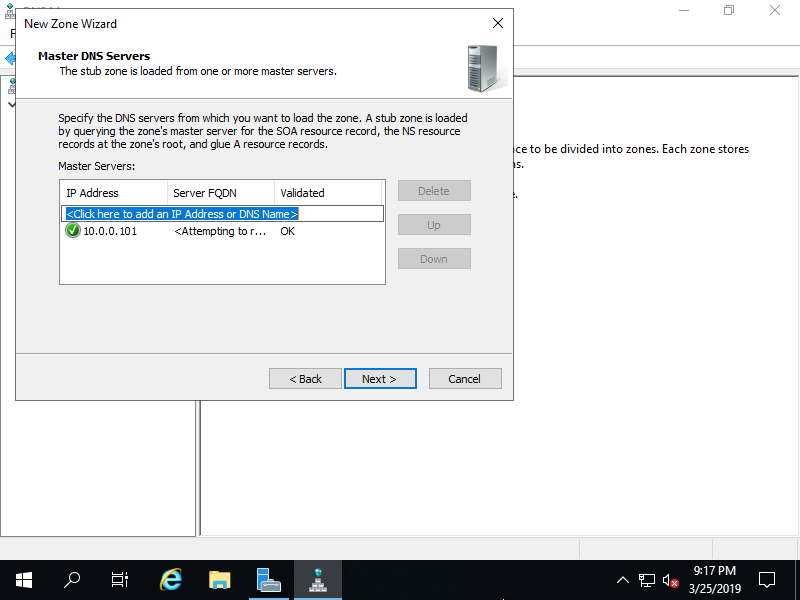
| [13] | Input DNS Master Host's IP address and go [Next]. |
|
| [14] | Click [Finish] button. |

|
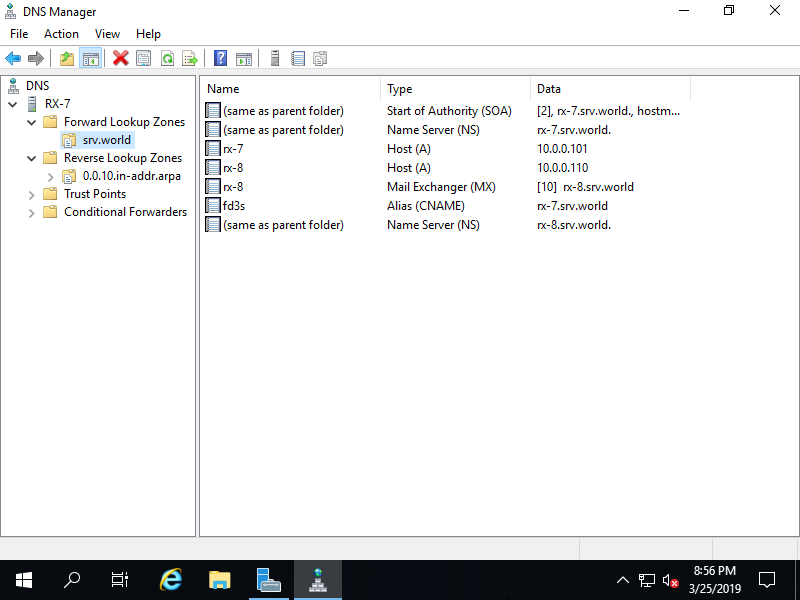
| [15] | Zone files are transfered and configured as Stub Zone. |

|
Matched Content