Windows PowerShell
Copyright (C) Microsoft Corporation. All rights reserved.
# confirm disks
PS C:\Users\Administrator> Get-WBDisk
DiskName : QEMU HARDDISK
DiskNumber : 0
DiskId : 19669e83-445c-4294-81e5-686ed7a9f2d3
TotalSpace : 85899345920
FreeSpace : 85882569216
Volumes : {}
ContainsBackup : False
BackupVolumeId : 00000000-0000-0000-0000-000000000000
Properties : ValidTarget
DiskName : QEMU HARDDISK
DiskNumber : 1
DiskId : 85c09990-6b13-4046-8dc3-fd2947f61f49
TotalSpace : 85899345920
FreeSpace : 67590418944
Volumes : {EFI System Partition, Local disk (C:)}
ContainsBackup : False
BackupVolumeId : 00000000-0000-0000-0000-000000000000
Properties : ContainsOemPartition, ContainsCriticalVolume
# set disks to a disk object
PS C:\Users\Administrator> $Disks = Get-WBDisk
# set empty backup policy object
PS C:\Users\Administrator> $Policy = New-WBPolicy
# add current system state to the backup policy
PS C:\Users\Administrator> Add-WBSystemState -Policy $Policy
# add baremetal revovery to the backup policy
PS C:\Users\Administrator> Add-WBBareMetalRecovery -Policy $Policy
# add source files/folders/volumes to take backup to the backup policy
# example follows specifies C dirive all
PS C:\Users\Administrator> New-WBFileSpec -FileSpec "C:" | Add-WBFileSpec -Policy $Policy
# set Volume Shadow Copy Service (VSS) option to the backup policy
PS C:\Users\Administrator> Set-WBVssBackupOptions -Policy $Policy -VssCopyBackup
# set backup tagret Path
# example below specifies local disk
# specify a disk from the result of [Get-WBDisk]
PS C:\Users\Administrator> $BackupLocation = New-WBBackupTarget -Disk $Disks[0]
# add backup tagret to the backup policy
PS C:\Users\Administrator> Add-WBBackupTarget -Policy $Policy -Target $BackupLocation
Label :
WBDisk : QEMU HARDDISK
WBVolume :
Path :
TargetType : Disk
InheritAcl : False
PreserveExistingBackup : False
# confirm configured backup policy
PS C:\Users\Administrator> $Policy
Schedule :
BackupTargets : {QEMU HARDDISK}
VolumesToBackup :
FilesSpecsToBackup : {C:*}
FilesSpecsToExclude : {}
ComponentsToBackup :
BMR : True
SystemState : True
OverwriteOldFormatVhd : False
VssBackupOptions : VssCopyBackup
# set schedule for backup policy
# for multiple schedule, specify times with comma separated
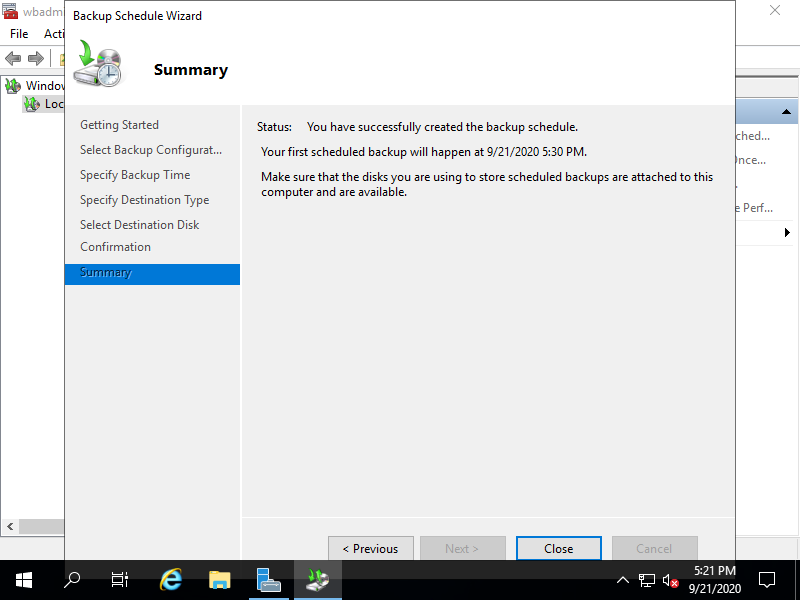
PS C:\Users\Administrator> Set-WBSchedule -Policy $Policy -Schedule 01:30
Friday, September 18, 2020 1:30:00 AM
# set backup policy
PS C:\Users\Administrator> Set-WBPolicy -Policy $Policy
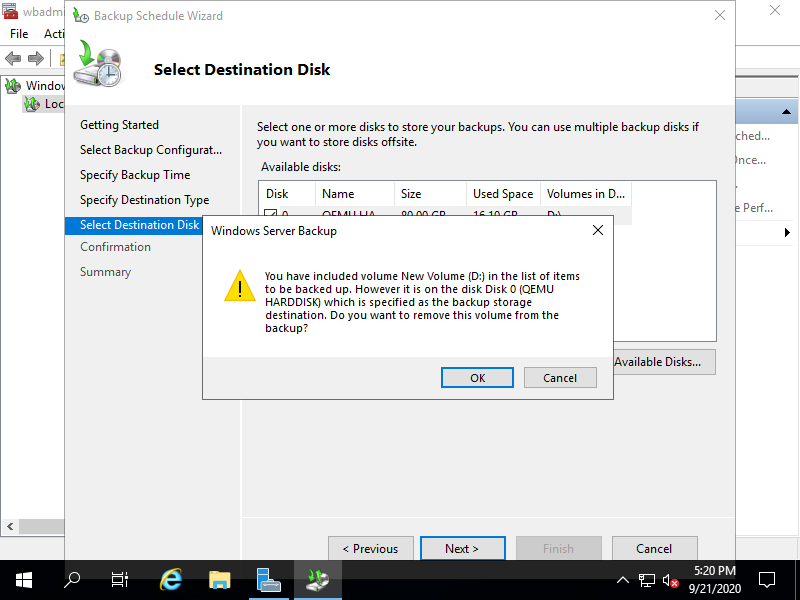
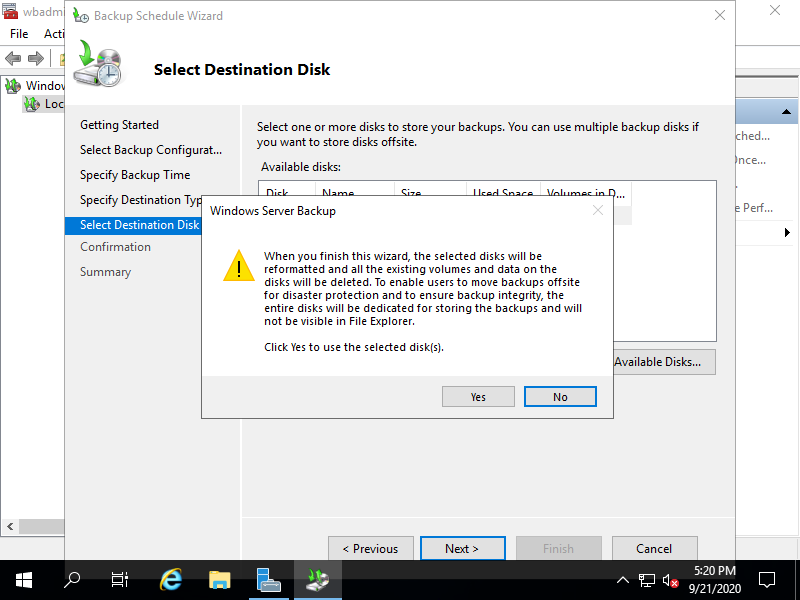
Warning
Do you want to format the backup storage disk QEMU HARDDISK?
[Y] Yes [A] Yes to All [N] No [L] No to All [S] Suspend [?] Help (default is "Y"): Y
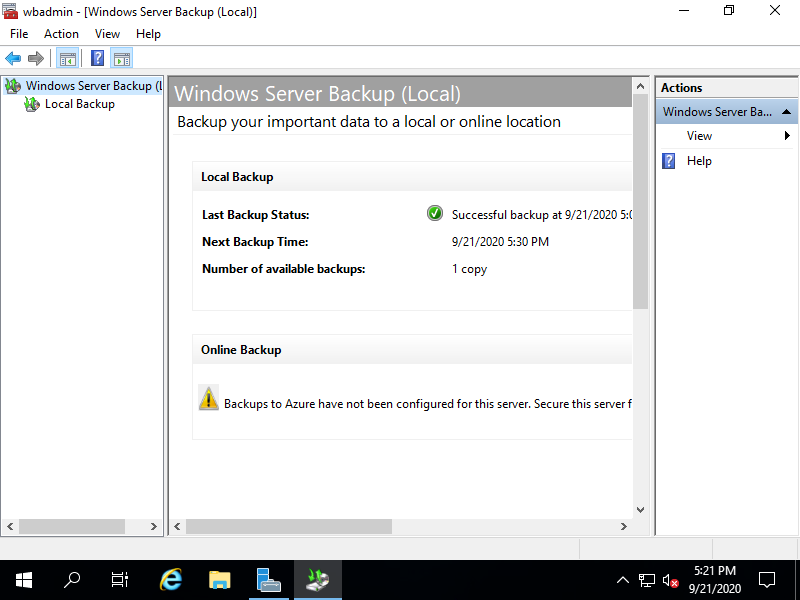
# confirm configured backup policy
PS C:\Users\Administrator> Get-WBPolicy
Schedule : {9/18/2020 1:30:00 AM}
BackupTargets : {rx-7 9/18/2020 1:16:11 AM Disk01}
VolumesToBackup : {EFI System Partition, Recovery, Local disk (C:)}
FilesSpecsToBackup : {}
FilesSpecsToExclude : {}
ComponentsToBackup : {}
BMR : True
SystemState : True
OverwriteOldFormatVhd : False
VssBackupOptions : VssCopyBackup
|