Configure NTP Client2017/01/11 |
|
Configure NTP Client
|
|
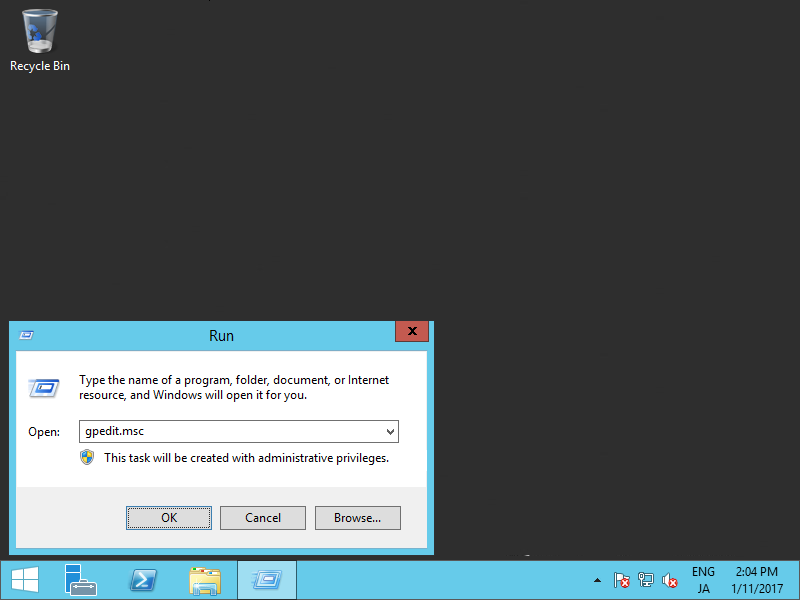
| [1] | Right-click Windows icon and open [run] and input "gpedit.msc" like follows. |
|
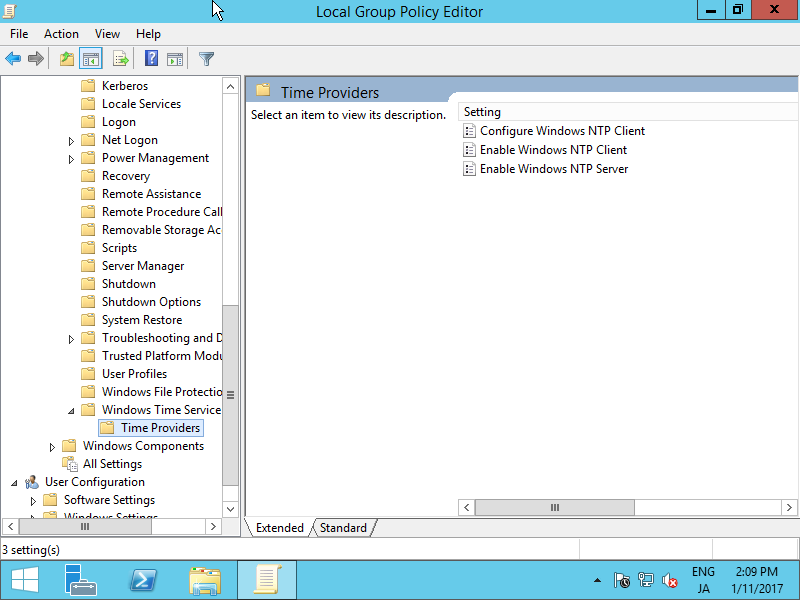
| [2] | Select [Administrative template] - [System] - [Windows Time Service] [Time Providers] on the left Pane, and Open [Enable Windows NTP Client] on the right Pane. |
|
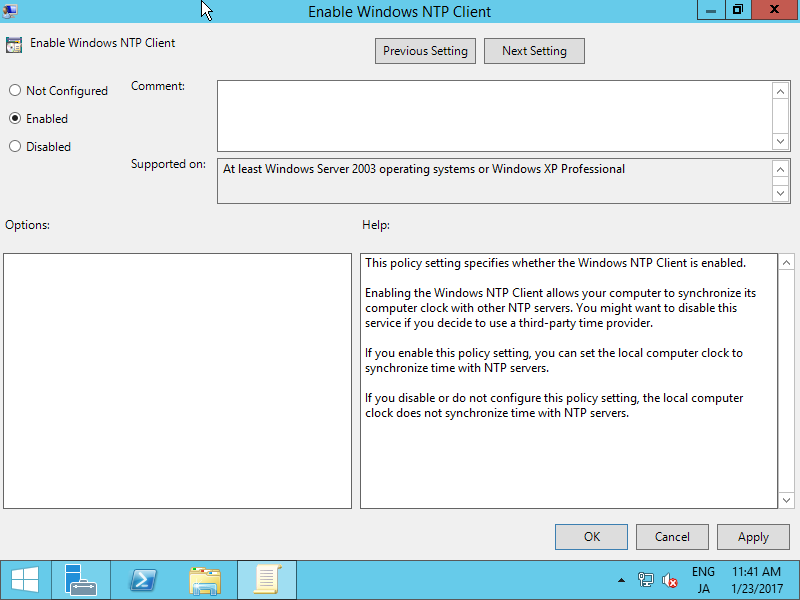
| [3] | Check a box [Enabled] which is upper-left like follows. |
|
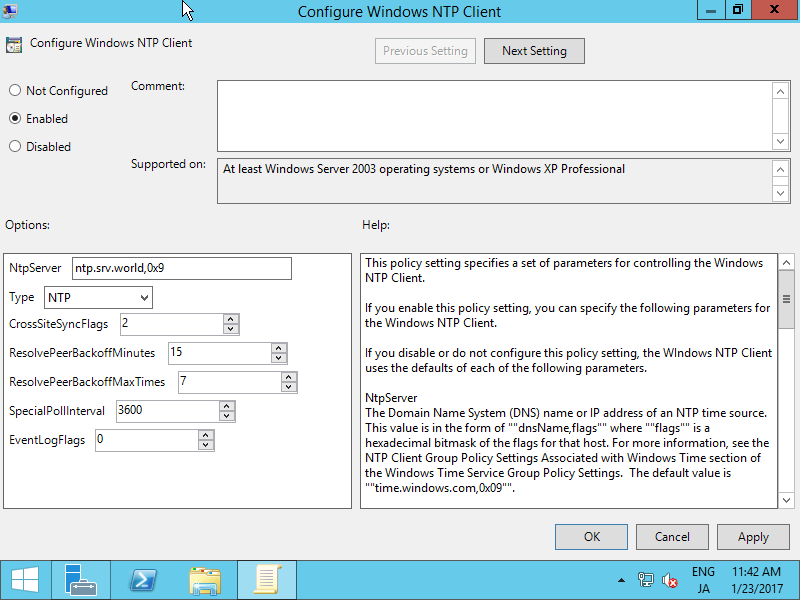
| [4] | Click to open [Configure Windows NTP Client] on the right Pane. |
|
|
| [5] |
Check a box [Enabled] which is upper-left and change values for your environment.
[NtpServer] ⇒ Hostname or IP address of your NTP Server.
The value [0x9] is generally OK to keep default. [0x9] means [0x01] + [0x08]. They mean like follows.
0x01 SpecialInterval
For [Type] section, It's OK to keep default [NT5DS] if your computer is in a Domain, but if not, change to [NTP].0x02 UseAsFallbackOnly 0x04 SymmetricActive 0x08 NTP request in Client mode For [SpecialPollInterval], set interval to sync time. |
|
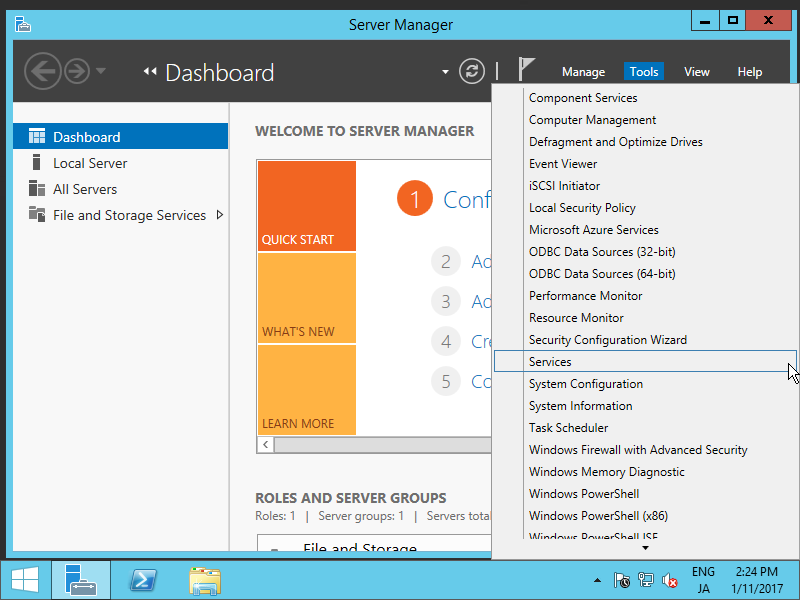
| [6] | Open [Server Manager] - [Tools] - [Services]. |
|
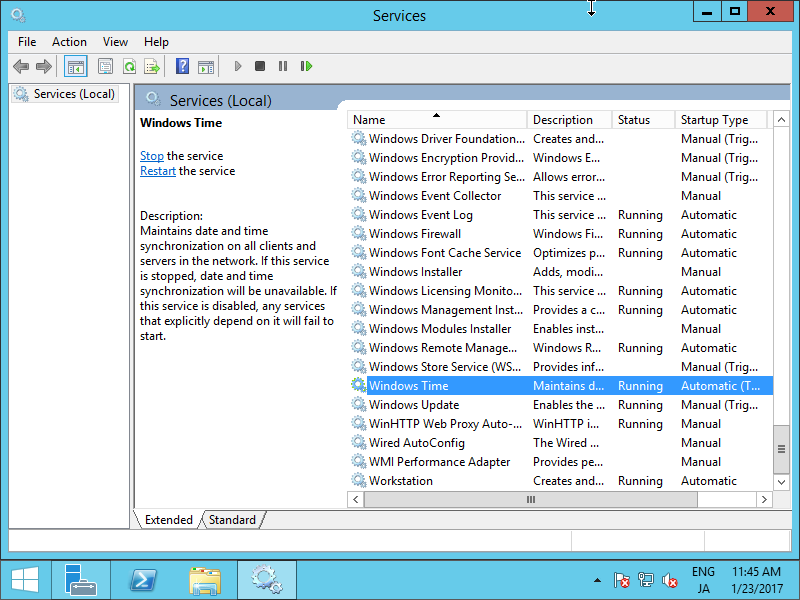
| [7] | Select [Windows Time] Service and click [Start the service] or [Restart the service]. Furthermore, Change [Startup type] to [Automatic] if it is not the value. |
|
Matched Content