Zabbix 6.0 : Configure Zabbix Proxy2022/08/12 |
|
Configure Zabbix Proxy to reduce workload on Zabbix Server or
to collect data from hosts which they can not communicate with Zabbix Server directly.
This example is based on the environment like follows.
* dlp.srv.world [Zabbix Server (10.0.0.30)] * prox.srv.world [Zabbix Proxy (10.0.0.34, 192.168.0.34)] * node02.srv.world [Zabbix Agent (192.168.0.52)] |
|
| [1] | |
| [2] | Install Zabbix Proxy. |
|
root@prox:~# wget https://repo.zabbix.com/zabbix/6.0/ubuntu/pool/main/z/zabbix-release/zabbix-release_6.0-3+ubuntu22.04_all.deb root@prox:~# dpkg -i zabbix-release_6.0-3+ubuntu22.04_all.deb Selecting previously unselected package zabbix-release. (Reading database ... 75317 files and directories currently installed.) Preparing to unpack zabbix-release_6.0-3+ubuntu22.04_all.deb ... Unpacking zabbix-release (1:6.0-3+ubuntu22.04) ... Setting up zabbix-release (1:6.0-3+ubuntu22.04) ...root@prox:~# apt update root@prox:~# apt -y install zabbix-proxy-mysql zabbix-sql-scripts |
| [3] | Create a database for Zabbix Proxy. |
|
root@prox:~# mysql Welcome to the MariaDB monitor. Commands end with ; or \g. Your MariaDB connection id is 37 Server version: 10.6.7-MariaDB-2ubuntu1.1 Ubuntu 22.04 Copyright (c) 2000, 2018, Oracle, MariaDB Corporation Ab and others. Type 'help;' or '\h' for help. Type '\c' to clear the current input statement. MariaDB [(none)]> create database zabbix_proxy character set utf8mb4 collate utf8mb4_bin; Query OK, 1 row affected (0.00 sec) # replace the [password] to any password you like MariaDB [(none)]> grant all privileges on zabbix_proxy.* to zabbix@'localhost' identified by 'password'; Query OK, 0 rows affected (0.00 sec) MariaDB [(none)]> flush privileges; Query OK, 0 rows affected (0.00 sec) MariaDB [(none)]> exit Byeroot@prox:~# cat /usr/share/doc/zabbix-sql-scripts/mysql/proxy.sql | mysql -uzabbix -p zabbix_proxy Enter password: # the password you set above for [zabbix] user
|
| [4] | Configure Zabbix Proxy. |
|
root@prox:~#
vi /etc/zabbix/zabbix_proxy.conf # line 14 : add proxy mode # 0 = active mode, 1 = passive mode ProxyMode=1 # line 32 : specify Zabbix server Server=10.0.0.30 # line 42 : specify Zabbix Proxy hostname Hostname=prox.srv.world # line 158 : specify DB host DBHost=localhost # line 171 : specify DB name DBName=zabbix_proxy # line 186 : specify DB user DBUser=zabbix # line 195 : add DB user's password DBPassword=passwordroot@prox:~# systemctl start zabbix-proxy root@prox:~# systemctl enable zabbix-proxy
|
| [5] |
For the settings of Zabbix Agent node, refer to here.
Replace Zabbix server address to Zabbix Proxy address on the settings of the link. |
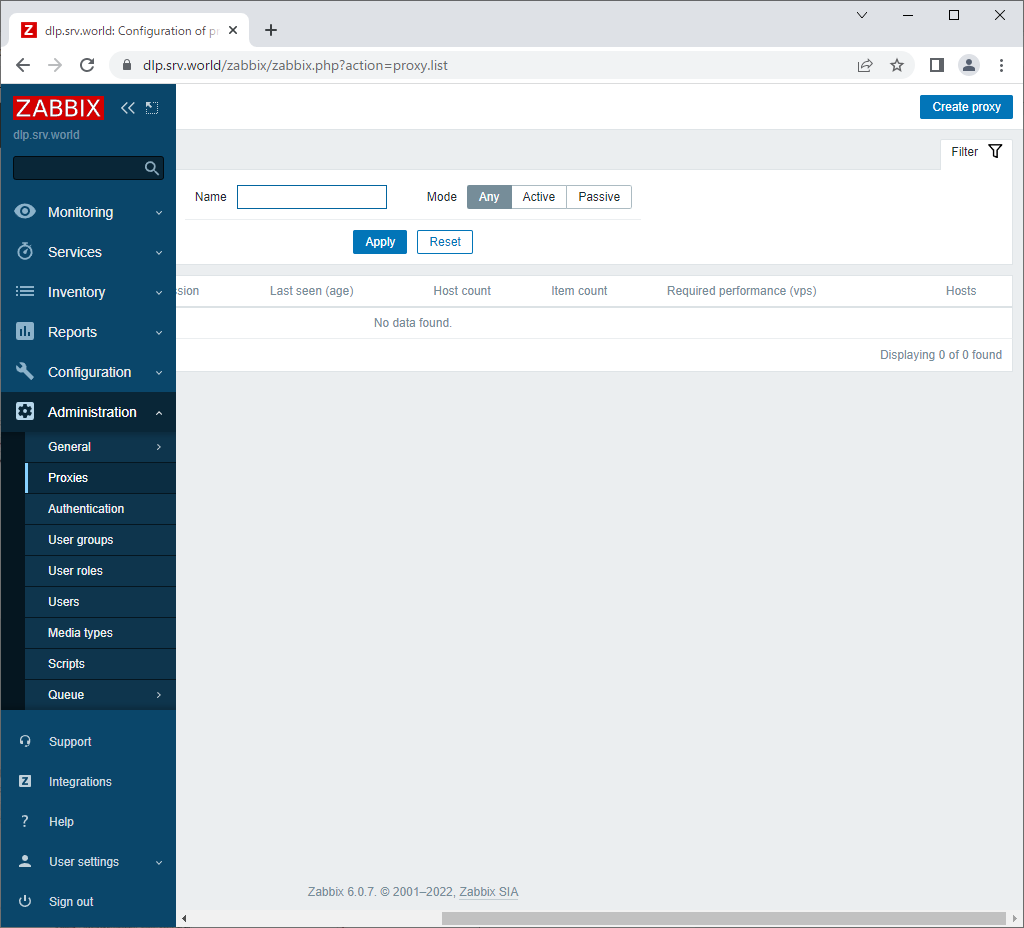
| [6] | Login to Zabbix admin site with admin user and click [Administration] - [Proxies] on the left pane, and then click Create Proxy] button on the upper-right. |
|
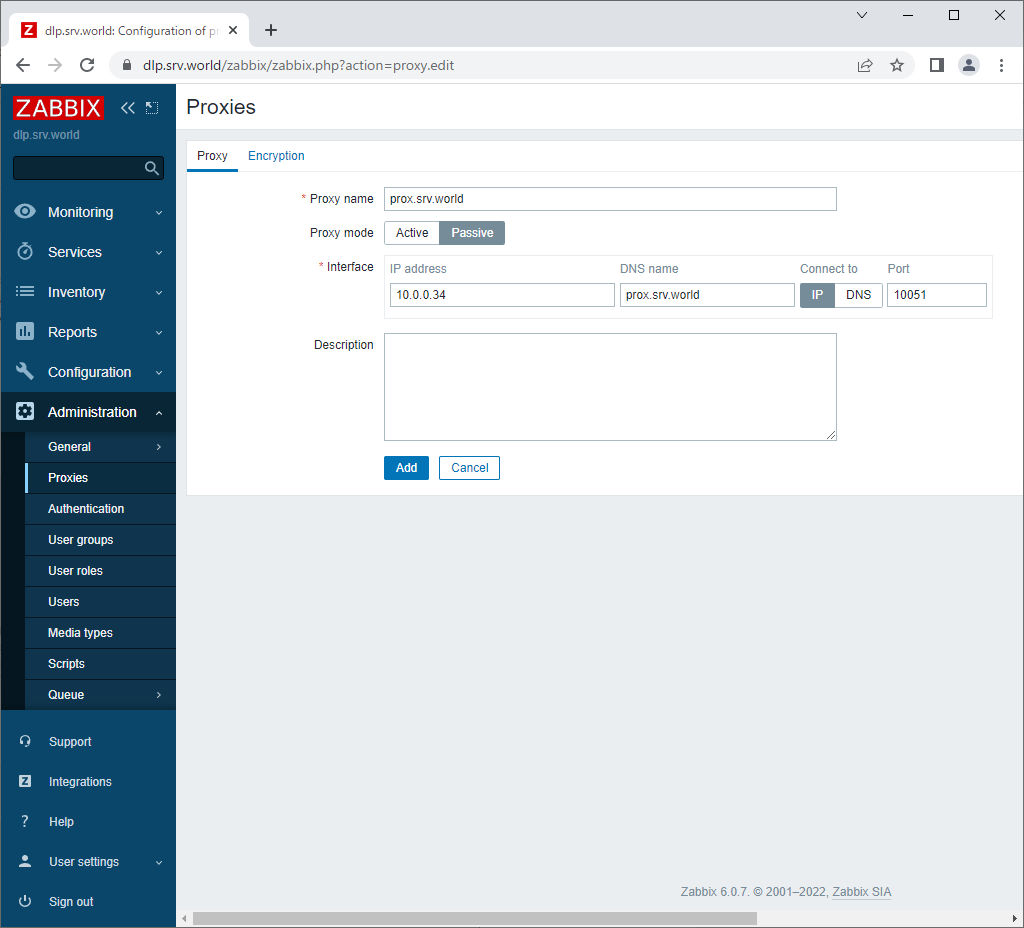
| [7] | Input Zabbix Proxy parameters and click [Add] button. |
|
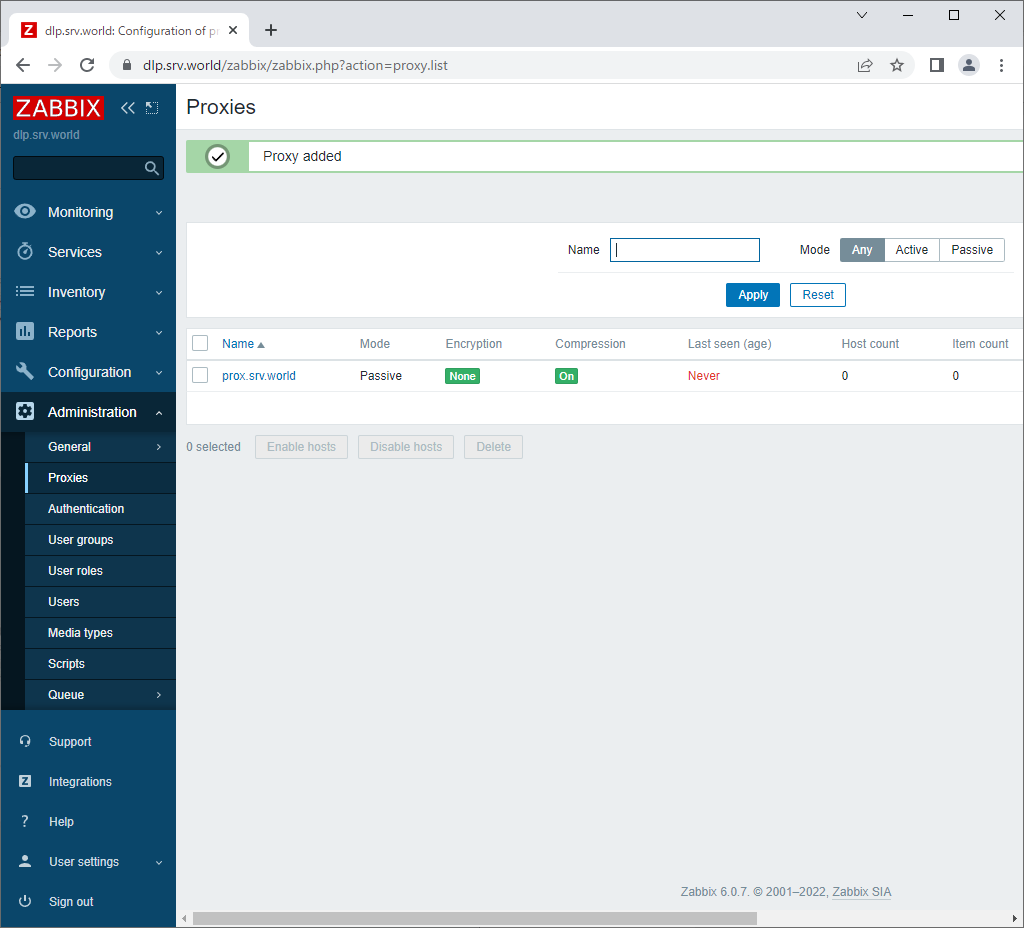
| [8] | If successfully added, following screen is shown. |
|
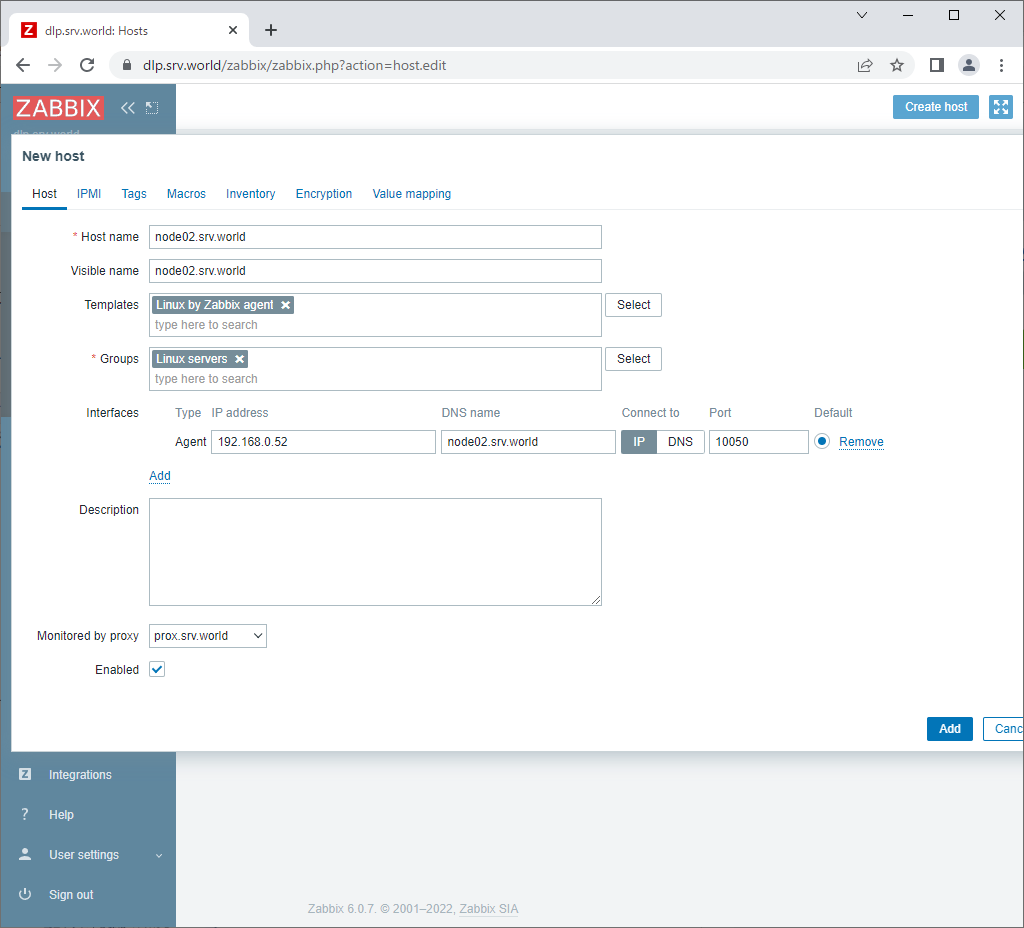
| [9] | Add a new Zabbix Agent node. Input basic parameters as with common. For different point from normal Agent node, specify Zabbix Proxy on [Monitored by proxy] section. |
|
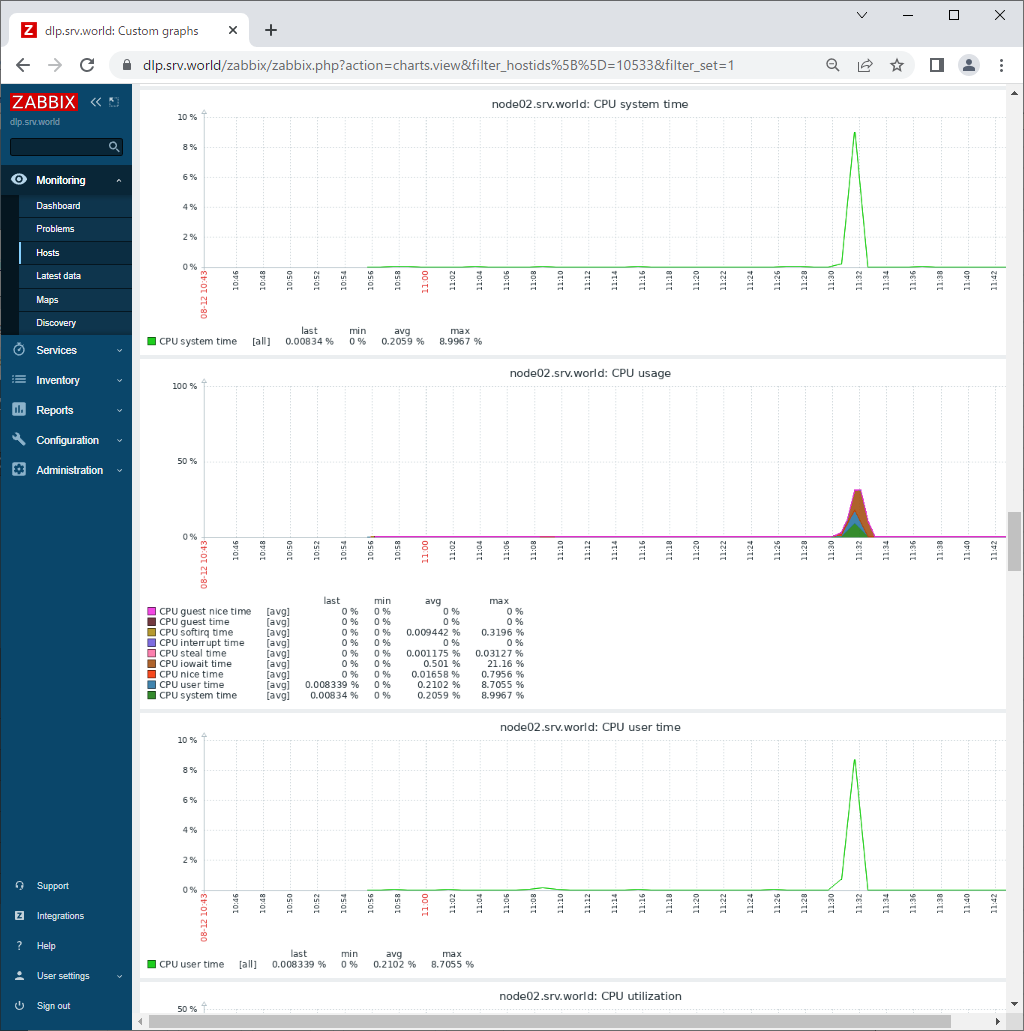
| [10] | After few minutes, monitoring data are collected like follows if settings are OK. |

|
|
Matched Content