Redmine : Install2022/11/04 |
|
Install Redmine which is the Project Management Tool.
|
|
| [1] | |
| [2] | |
| [3] | |
| [4] | |
| [5] | Install other required packages. |
|
root@dlp:~# apt -y install ruby-dev postgresql-server-dev-all libxslt1-dev libxml2-dev libpq-dev libcurl4-openssl-dev zlib1g-dev apache2-dev gcc g++ make patch imagemagick |
| [6] | Create a user and database for Redmine on PostgreSQL. |
|
# set any password for [password] section root@dlp:~# su - postgres postgres@dlp:~$ createuser redmine postgres@dlp:~$ createdb redmine -O redmine postgres@dlp:~$ psql -c "alter user redmine with password 'password'" ALTER ROLE |
| [7] | Download and install Redmine. Make sure the latest version on the site below. ⇒ http://www.redmine.org/projects/redmine/wiki/Download |
|
root@dlp:~# curl -O https://www.redmine.org/releases/redmine-5.0.3.tar.gz root@dlp:~# tar zxvf redmine-5.0.3.tar.gz root@dlp:~# mv redmine-5.0.3 /var/www/redmine root@dlp:~# cd /var/www/redmine
root@dlp:/var/www/redmine#
vi config/database.yml # create new production: adapter: postgresql # database name database: redmine host: localhost # database user username: redmine # database user' password password: password encoding: utf8
root@dlp:/var/www/redmine#
vi config/configuration.yml # create new (SMTP settings)
production:
  email_delivery:
    delivery_method: :smtp
    smtp_settings:
      address: "localhost"
      port: 25
      domain: 'dlp.srv.world'
# install bundler root@dlp:/var/www/redmine# gem install bundler # install Gems for Redmine root@dlp:/var/www/redmine# bundle config set --local without 'development test mysql sqlite' root@dlp:/var/www/redmine# bundle install # generate keys root@dlp:/var/www/redmine# bundle exec rake generate_secret_token # generate tables root@dlp:/var/www/redmine# bundle exec rake db:migrate RAILS_ENV=production # install Passenger root@dlp:/var/www/redmine# gem install passenger # install modules for Apache2 root@dlp:/var/www/redmine# passenger-install-apache2-module
Welcome to the Phusion Passenger Apache 2 module installer, v5.3.7.

This installer will guide you through the entire installation process. It
shouldn't take more than 3 minutes in total.

Here's what you can expect from the installation process:

 1. The Apache 2 module will be installed for you.
 2. You'll learn how to configure Apache.
 3. You'll learn how to deploy a Ruby on Rails application.

Don't worry if anything goes wrong. This installer will advise you on how to
solve any problems.

Press Enter to continue, or Ctrl-C to abort.
1

.....
.....

--------------------------------------------
Almost there!

Please edit your Apache configuration file, and add these lines:

   LoadModule passenger_module /var/lib/gems/3.0.0/gems/passenger-6.0.15/buildout/apache2/mod_passenger.so
   <IfModule mod_passenger.c>
     PassengerRoot /var/lib/gems/3.0.0/gems/passenger-6.0.15
     PassengerDefaultRuby /usr/bin/ruby3.0
   </IfModule>

After you restart Apache, you are ready to deploy any number of web
applications on Apache, with a minimum amount of configuration!

Press ENTER when you are done editing.

.....
.....

Deploying a web application

To learn how to deploy a web app on Passenger, please follow the deployment
guide:

  https://www.phusionpassenger.com/library/deploy/apache/deploy/

Enjoy Phusion Passenger, a product of Phusion® (www.phusion.nl) :-)
https://www.phusionpassenger.com

Passenger is a registered trademark of Phusion Holding B.V.
|
| [8] | Configure Apache2 to run Passenger. |
|
root@dlp:/var/www/redmine#
vi /etc/apache2/conf-available/passenger.conf # create new
LoadModule passenger_module /var/lib/gems/3.0.0/gems/passenger-6.0.15/buildout/apache2/mod_passenger.so
PassengerRoot /var/lib/gems/3.0.0/gems/passenger-6.0.15
PassengerDefaultRuby /usr/bin/ruby3.0
SetEnv LD_LIBRARY_PATH /usr/lib64

<VirtualHost *:80>
    ServerName redmine.srv.world
    DocumentRoot /var/www/redmine/public
</VirtualHost>

<Directory "/var/www/redmine/public">
    Options FollowSymLinks
    AllowOverride All
</Directory>
chown -R www-data. /var/www/redmine root@dlp:/var/www/redmine# a2enconf passenger root@dlp:/var/www/redmine# systemctl reload apache2 |
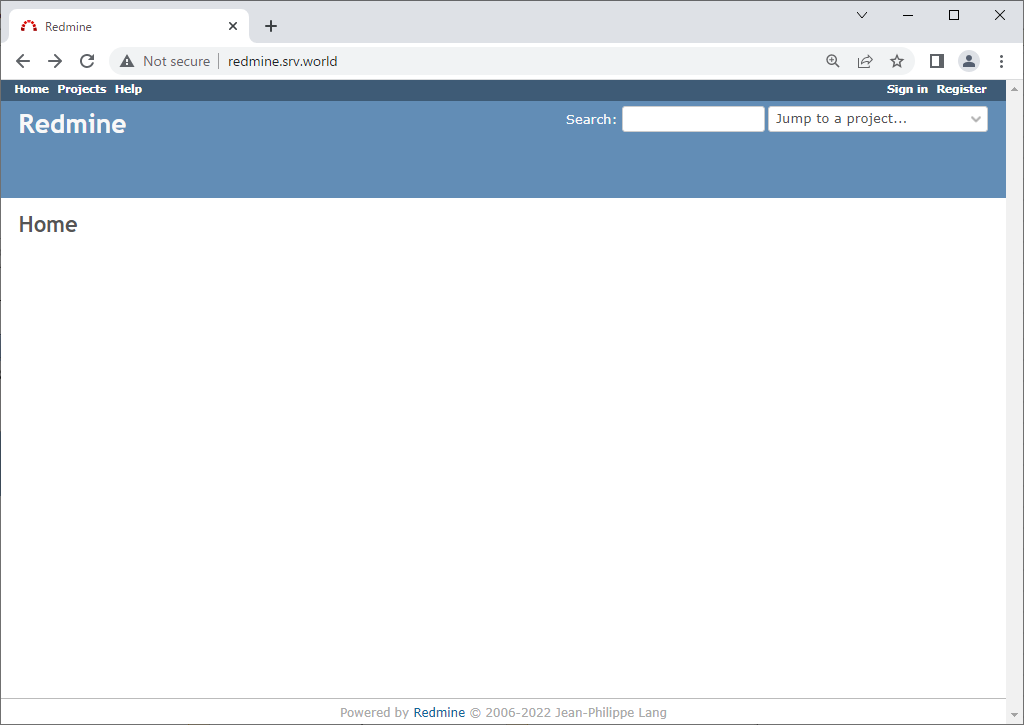
| [9] | Access to the URL you configured on Apache2, then Redmine's index site is shown like follows. Click [Sing in] link. |
|
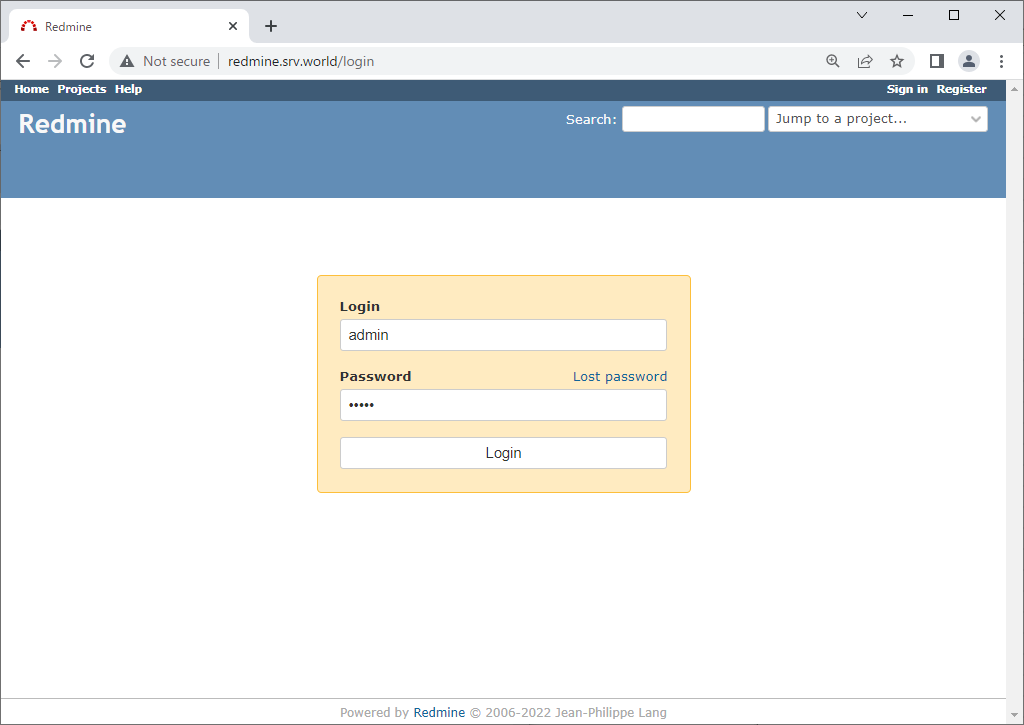
| [10] | Login with the initial username/password [admin/admin]. |
|
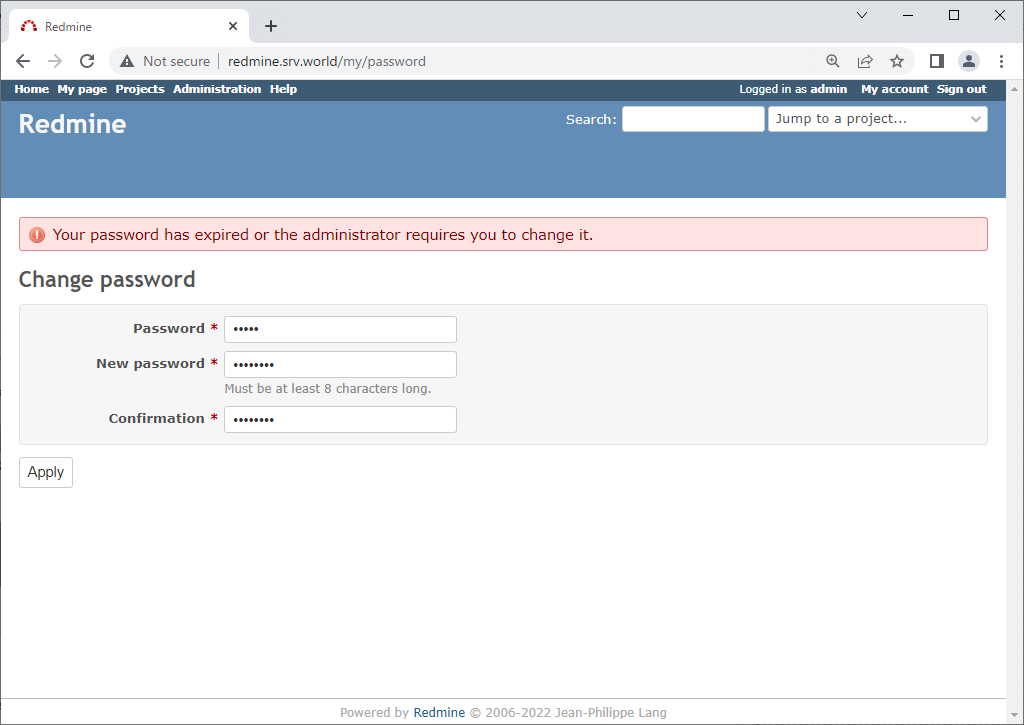
| [11] | After initial login, changing password is required. |
|
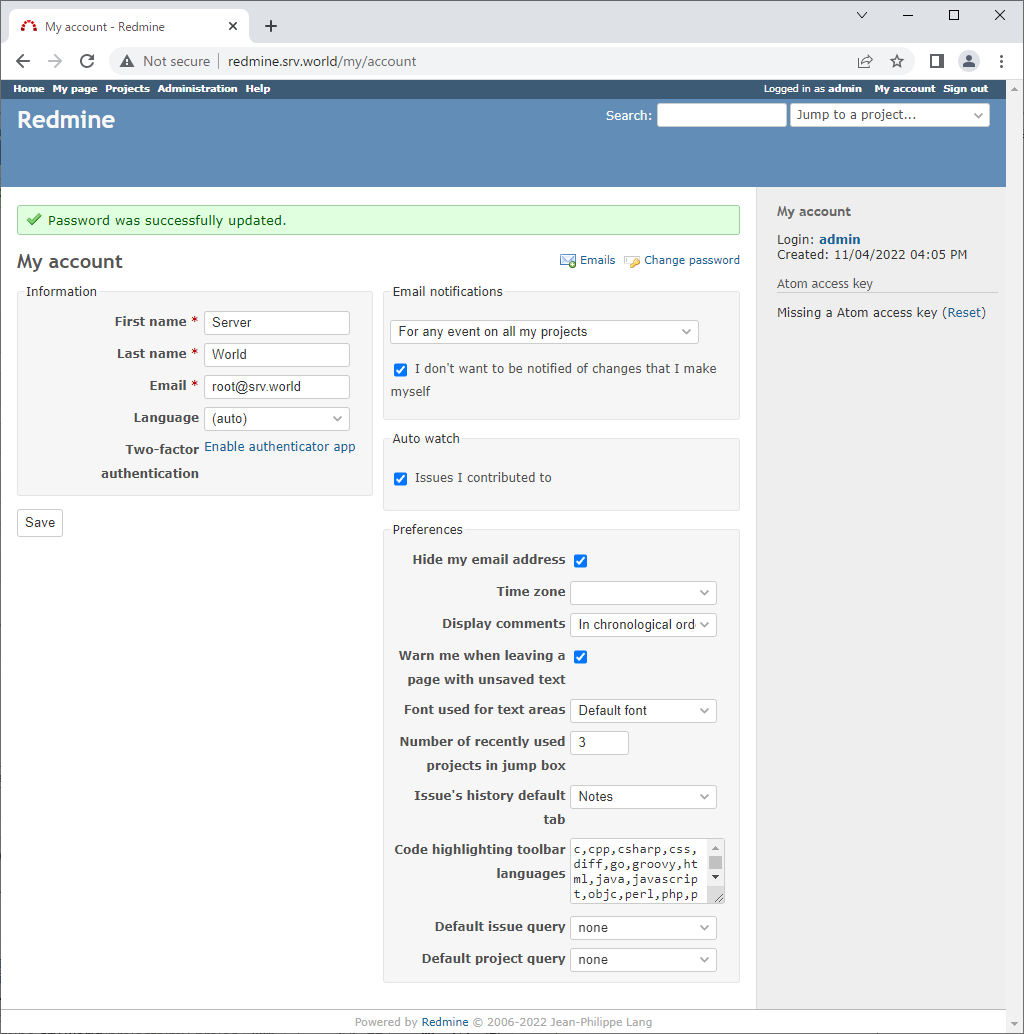
| [12] | After changing password, setting of account information is required, input them. |
|
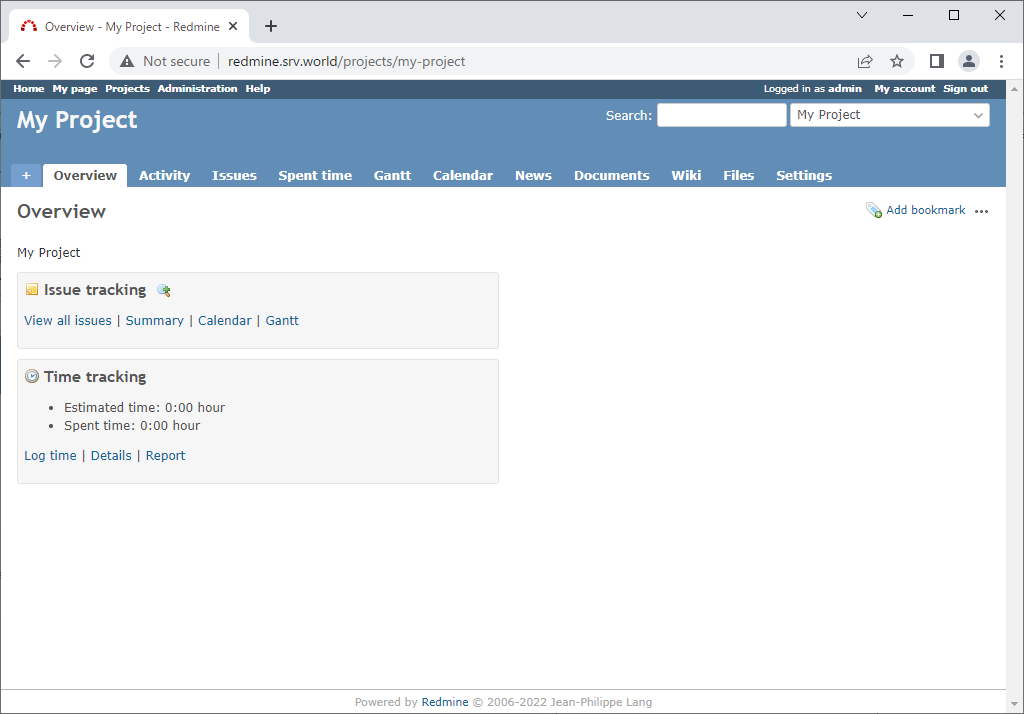
| [13] | That's OK, Create Projects and use Redmine. |
|
Matched Content