RabbitMQ : Configure Cluster2022/09/13 |
|
Configure RabbitMQ Cluster.
It shows to configure 2 RabbitMQ Servers on this example. |
|
| [1] | |
| [2] | Configure clustering on a Node. |
|
# put the same cookie on all nodes root@node02:~# ssh node01.srv.world 'cat /var/lib/rabbitmq/.erlang.cookie' > /var/lib/rabbitmq/.erlang.cookie root@node02:~# systemctl restart rabbitmq-server
# stop application and reset root@node02:~# rabbitmqctl stop_app Stopping rabbit application on node rabbit@node02 ... root@node02:~# rabbitmqctl reset Resetting node rabbit@node02 ... # join in cluster # specify only hostname, not with FQDN root@node02:~# rabbitmqctl join_cluster rabbit@node01 Clustering node rabbit@node02 with rabbit@node01 # start application root@node02:~# rabbitmqctl start_app Starting node rabbit@node02 ... completed with 3 plugins. # show status root@node02:~# rabbitmqctl cluster_status Cluster status of node rabbit@node02 ... Basics Cluster name: rabbit@node02 Disk Nodes rabbit@node01 rabbit@node02 Running Nodes rabbit@node01 rabbit@node02 Versions rabbit@node01: RabbitMQ 3.9.13 on Erlang 24.2.1 rabbit@node02: RabbitMQ 3.9.13 on Erlang 24.2.1 Maintenance status Node: rabbit@node01, status: not under maintenance Node: rabbit@node02, status: not under maintenance Alarms (none) Network Partitions (none) Listeners Node: rabbit@node01, interface: [::], port: 25672, protocol: clustering, purpose: inter-node and CLI tool communication Node: rabbit@node01, interface: [::], port: 5672, protocol: amqp, purpose: AMQP 0-9-1 and AMQP 1.0 Node: rabbit@node02, interface: [::], port: 25672, protocol: clustering, purpose: inter-node and CLI tool communication Node: rabbit@node02, interface: [::], port: 5672, protocol: amqp, purpose: AMQP 0-9-1 and AMQP 1.0 Feature flags Flag: implicit_default_bindings, state: enabled Flag: maintenance_mode_status, state: enabled Flag: quorum_queue, state: enabled Flag: stream_queue, state: enabled Flag: user_limits, state: enabled Flag: virtual_host_metadata, state: enabled |
| [3] | Configure Queue sync setting. If [rabbitmqadmin] command is not found, install it, refer to here. This example shows to configure that Queue is synced on all Nodes. There are some modes to sync among Nodes, refer details to official site below. ⇒ https://www.rabbitmq.com/ha.html |
|
# add Queue for sync [root@node01 ~]# rabbitmqadmin declare queue name=shared_queue queue declared # set sync policy # rabbitmqctl set_policy [policy name(any name you like)] [Queue] [Mode] [root@node01 ~]# rabbitmqctl set_policy ha-policy "shared_queue" '{"ha-mode":"all"}' Setting policy "ha-policy" for pattern "shared_queue" to "{"ha-mode":"all"}" with priority "0" for vhost "/" ... # show status [root@node01 ~]# rabbitmqadmin list queues name node policy slave_nodes state synchronised_slave_nodes +--------------+---------------+-----------+---------------+---------+--------------------------+ | name | node | policy | slave_nodes | state | synchronised_slave_nodes | +--------------+---------------+-----------+---------------+---------+--------------------------+ | shared_queue | rabbit@node01 | ha-policy | rabbit@node02 | running | rabbit@node02 | +--------------+---------------+-----------+---------------+---------+--------------------------+ |
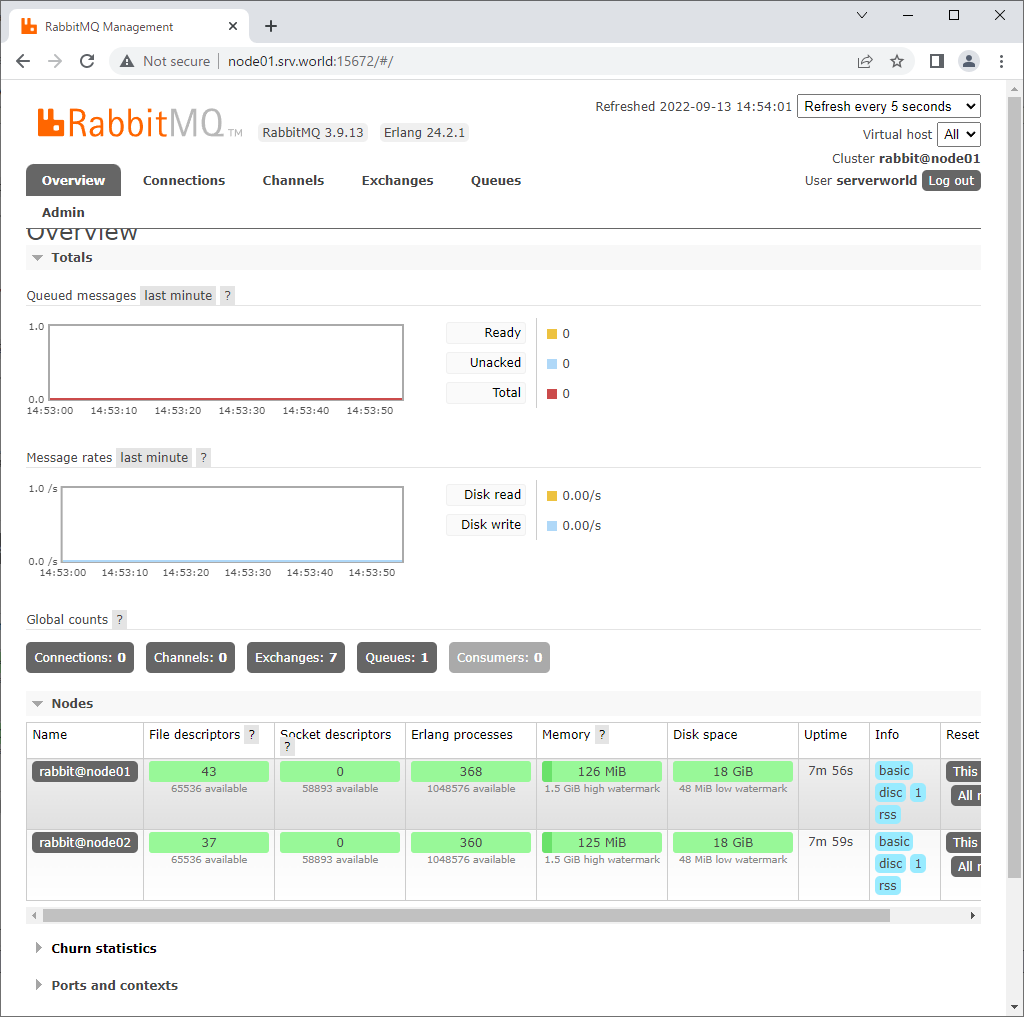
| [4] | To Enable management Plugin on all Nodes, it's possible to see each Node's status like follows. |
|
Matched Content