OpenStack Antelope : Configure Horizon2023/03/24 |
|
Configure OpenStack Dashboard Service (Horizon).
It's possible to control OpenStack on Web GUI to set Dashboard. |
|
| [1] | Install Horizon. |
|
root@dlp ~(keystone)# apt -y install openstack-dashboard
|
| [2] | Configure Horizon. |
|
root@dlp ~(keystone)#
vi /etc/openstack-dashboard/local_settings.py # line 99 : change Memcache server
CACHES = {
    'default': {
        'BACKEND': 'django.core.cache.backends.memcached.MemcachedCache',
        'LOCATION': '10.0.0.30:11211',
    },
}
# line 113 : add SESSION_ENGINE = "django.contrib.sessions.backends.cache" # line 126 : set Openstack Host # line 127 : comment out and add a line to specify URL of Keystone Host OPENSTACK_HOST = " dlp.srv.world "# OPENSTACK_KEYSTONE_URL = "http://%s/identity/v3" % OPENSTACK_HOSTOPENSTACK_KEYSTONE_URL = "https://dlp.srv.world:5000/v3"
# line 131 : set your timezone TIME_ZONE = " Asia/Tokyo "
# add to the end
OPENSTACK_KEYSTONE_MULTIDOMAIN_SUPPORT = True
OPENSTACK_KEYSTONE_DEFAULT_DOMAIN = 'Default'
# set [True] below if you are using self signed certificate
OPENSTACK_SSL_NO_VERIFY = False
root@dlp ~(keystone)#
vi /etc/apache2/sites-available/default-ssl.conf # line 32,33 : change to your certificate SSLCertificateFile /etc/letsencrypt/live/dlp.srv.world/cert.pem SSLCertificateKeyFile /etc/letsencrypt/live/dlp.srv.world/privkey.pem # line 42 : uncomment and specify your chain file SSLCertificateChainFile /etc/letsencrypt/live/dlp.srv.world/chain.pem
root@dlp ~(keystone)#
root@dlp ~(keystone)# a2enmod ssl root@dlp ~(keystone)# a2ensite default-ssl
systemctl restart apache2 nova-api
|
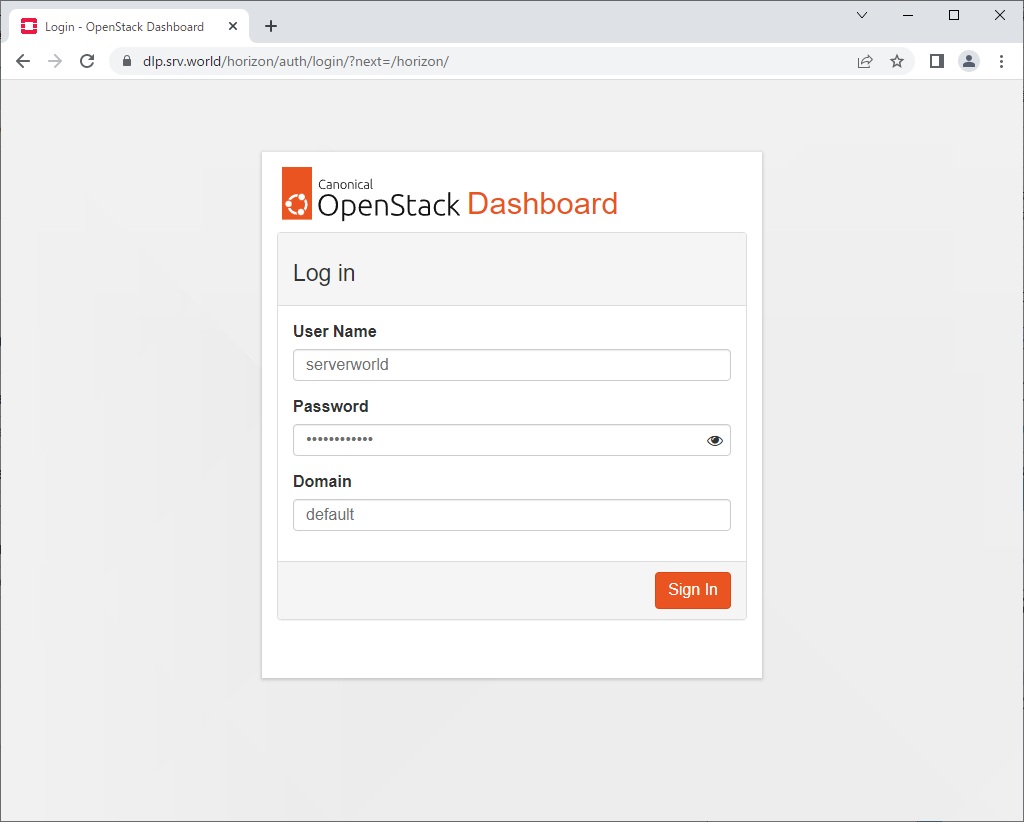
| [3] |
Access to the URL below with any web browser.
After accessing, following screen is displayed, then you can login with a user in Keystone.⇒ https://(Dashboard server's hostname - the same name registered in certificate)/horizon/ It's possible to use all features if you login with [admin] user when you set it on keystone bootstrap. If you login with a common user, it's possible to use or manage own instances. |
|
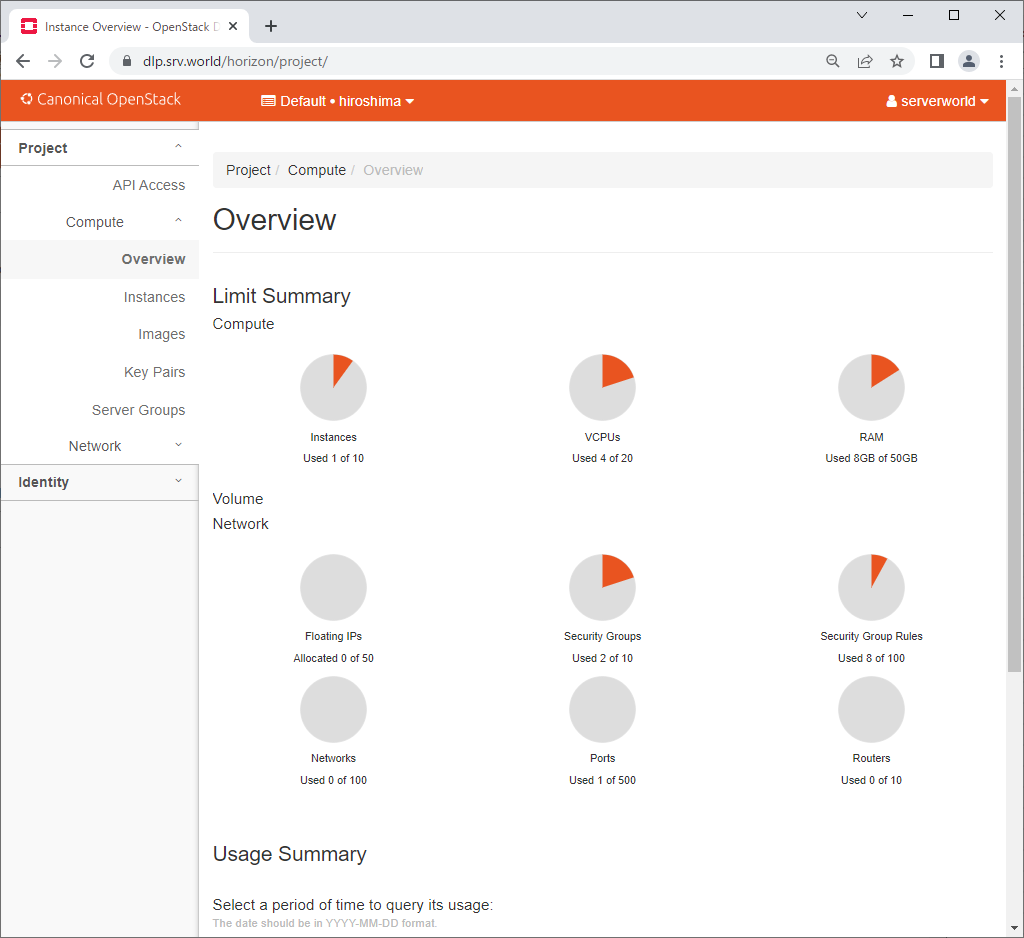
| [4] | After login successfully, following screen is displayed (with common user). You can control Openstack on this Dashboard. |
|
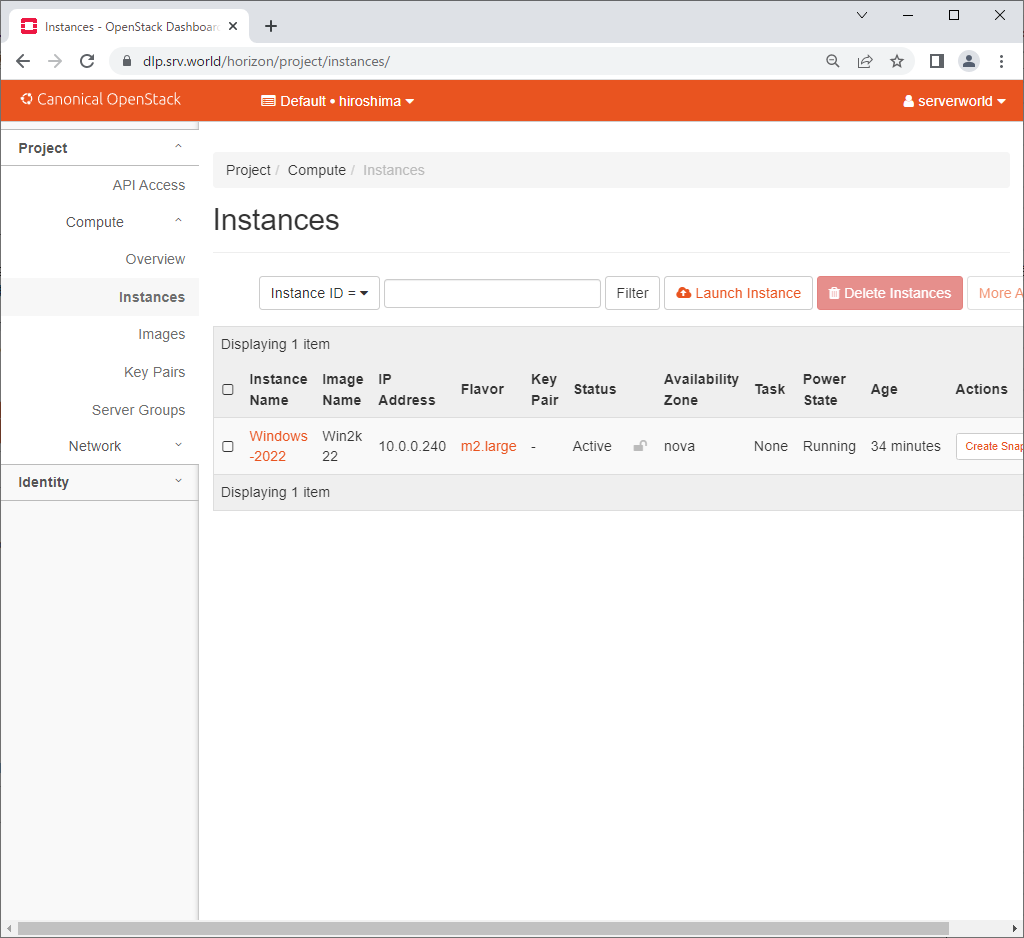
| [5] | To confirm own instances, Click [Instances] on the left pane, then they are displayed on the right. It's possible to confirm details of instance to click an instance name. |
|
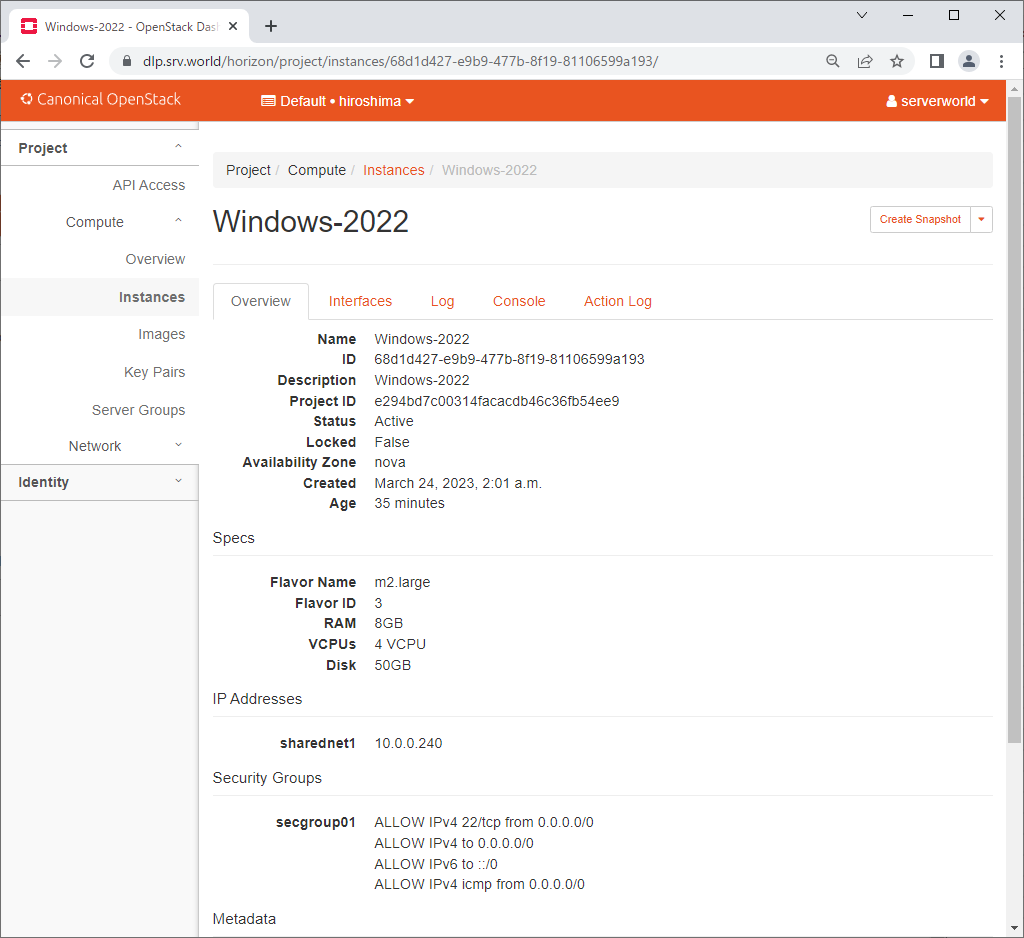
| [6] | The details of instance is displayed. To Click [Console] tab, it's possible to access to instance console. |
|
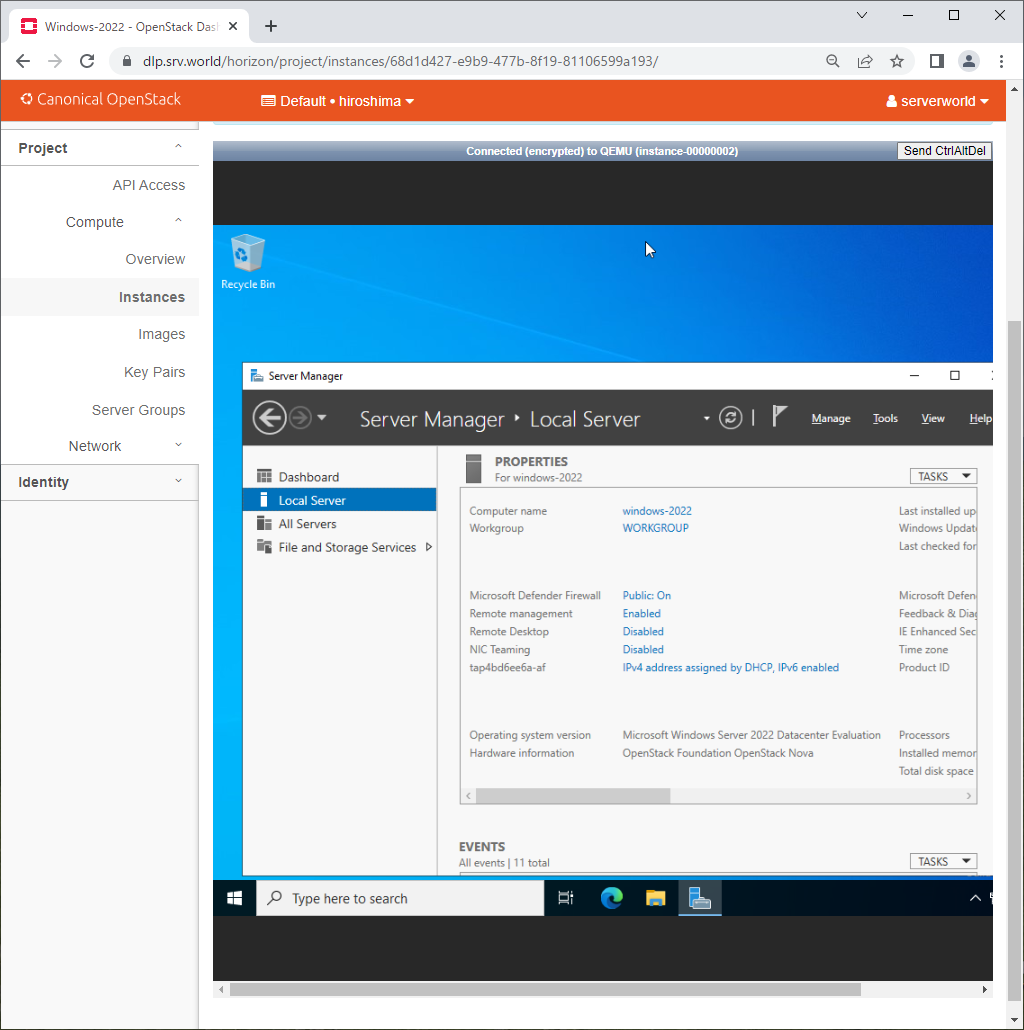
| [7] | On instance console, it's possible to operate instance on Dashboard web. |
|
Matched Content