Kubernetes : Enable Dashboard2022/11/03 |
|
Enable Dashboard to manage Kubernetes Cluster on Web UI.
This example is based on the environment like follows.
-----------+---------------------------+--------------------------+------------
           |                           |                          |
       eth0|10.0.0.25              eth0|10.0.0.71             eth0|10.0.0.72
+----------+-----------+   +-----------+-----------+   +-----------+-----------+
|  [ ctrl.srv.world ]  |   |  [snode01.srv.world]  |   |  [snode02.srv.world]  |
|     Control Plane    |   |      Worker Node      |   |      Worker Node      |
+----------------------+   +-----------------------+   +-----------------------+
|
| [1] | Enable Dashboard on Control Plane Node. |
|
root@ctrl:~# kubectl apply -f https://raw.githubusercontent.com/kubernetes/dashboard/v2.7.0/aio/deploy/recommended.yaml namespace/kubernetes-dashboard created serviceaccount/kubernetes-dashboard created service/kubernetes-dashboard created secret/kubernetes-dashboard-certs created secret/kubernetes-dashboard-csrf created secret/kubernetes-dashboard-key-holder created configmap/kubernetes-dashboard-settings created role.rbac.authorization.k8s.io/kubernetes-dashboard created clusterrole.rbac.authorization.k8s.io/kubernetes-dashboard created rolebinding.rbac.authorization.k8s.io/kubernetes-dashboard created clusterrolebinding.rbac.authorization.k8s.io/kubernetes-dashboard created deployment.apps/kubernetes-dashboard created service/dashboard-metrics-scraper created deployment.apps/dashboard-metrics-scraper created |
| [2] | Add an account for Dashboard management. |
|
root@ctrl:~#
kubectl create serviceaccount -n kubernetes-dashboard admin-user serviceaccount/admin-user created
root@ctrl:~#
vi rbac.yml # create new apiVersion: rbac.authorization.k8s.io/v1 kind: ClusterRoleBinding metadata: name: admin-user roleRef: apiGroup: rbac.authorization.k8s.io kind: ClusterRole name: cluster-admin subjects: - kind: ServiceAccount name: admin-user namespace: kubernetes-dashboard
root@ctrl:~#
kubectl apply -f rbac.yml clusterrolebinding.rbac.authorization.k8s.io/admin-user created # get security token of the account above
root@ctrl:~#
kubectl -n kubernetes-dashboard create token admin-user eyJhbGciOiJSUzI1NiIsImtpZCI6I..... # run kube-proxy root@ctrl:~# kubectl proxy Starting to serve on 127.0.0.1:8001 # if access from other client hosts, set port-forwarding root@ctrl:~# kubectl port-forward -n kubernetes-dashboard service/kubernetes-dashboard --address 0.0.0.0 10443:443 Forwarding from 0.0.0.0:10443 -> 8443 |
| [3] |
If you run [kubectl proxy], access to the URL below with an Web browser on Localhost.
⇒ http://localhost:8001/api/v1/namespaces/kubernetes-dashboard/services/https:kubernetes-dashboard:/proxy/
If you set port-forwarding, access to the URL below on a client computer in your local network.
⇒ https://(Control Plane Node Hostname or IP address):(setting port)/
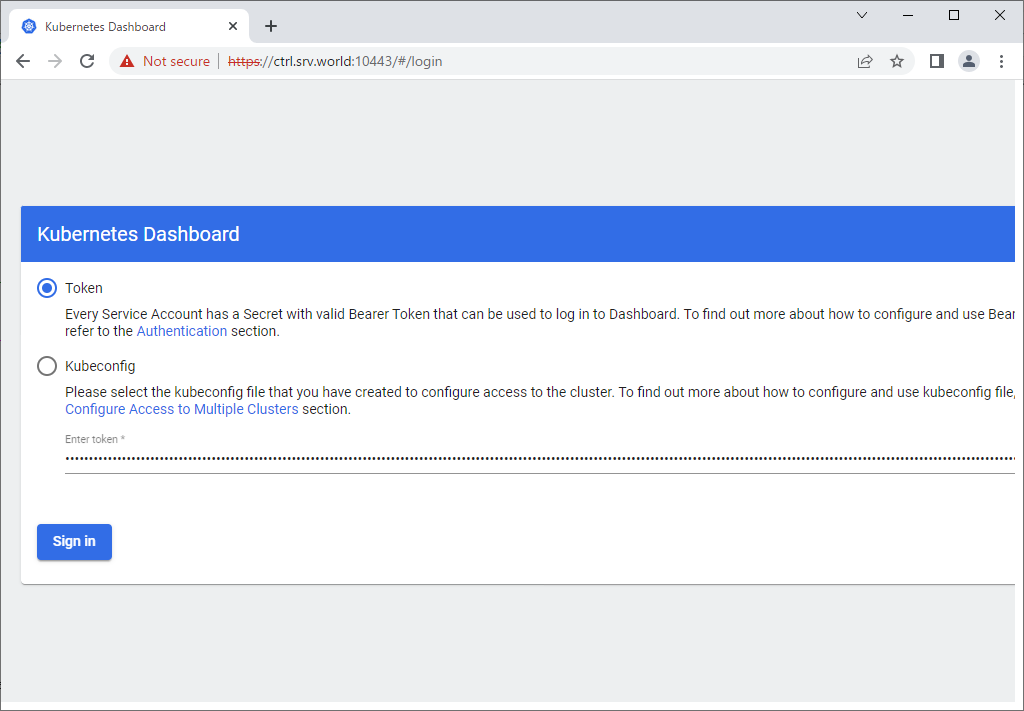
After displaying following form, Copy and paste the security token you got on [2] to [Enter token] section and Click [Sing In] button.
|
|
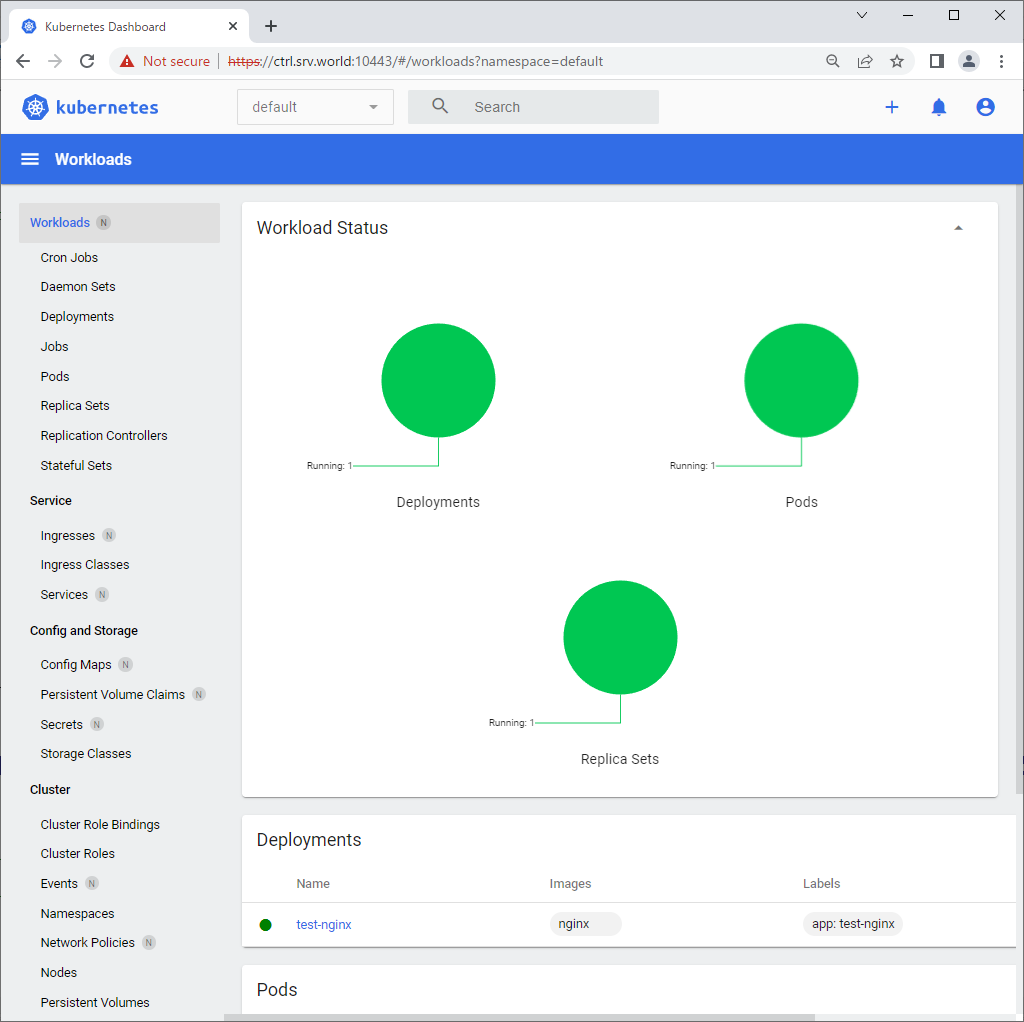
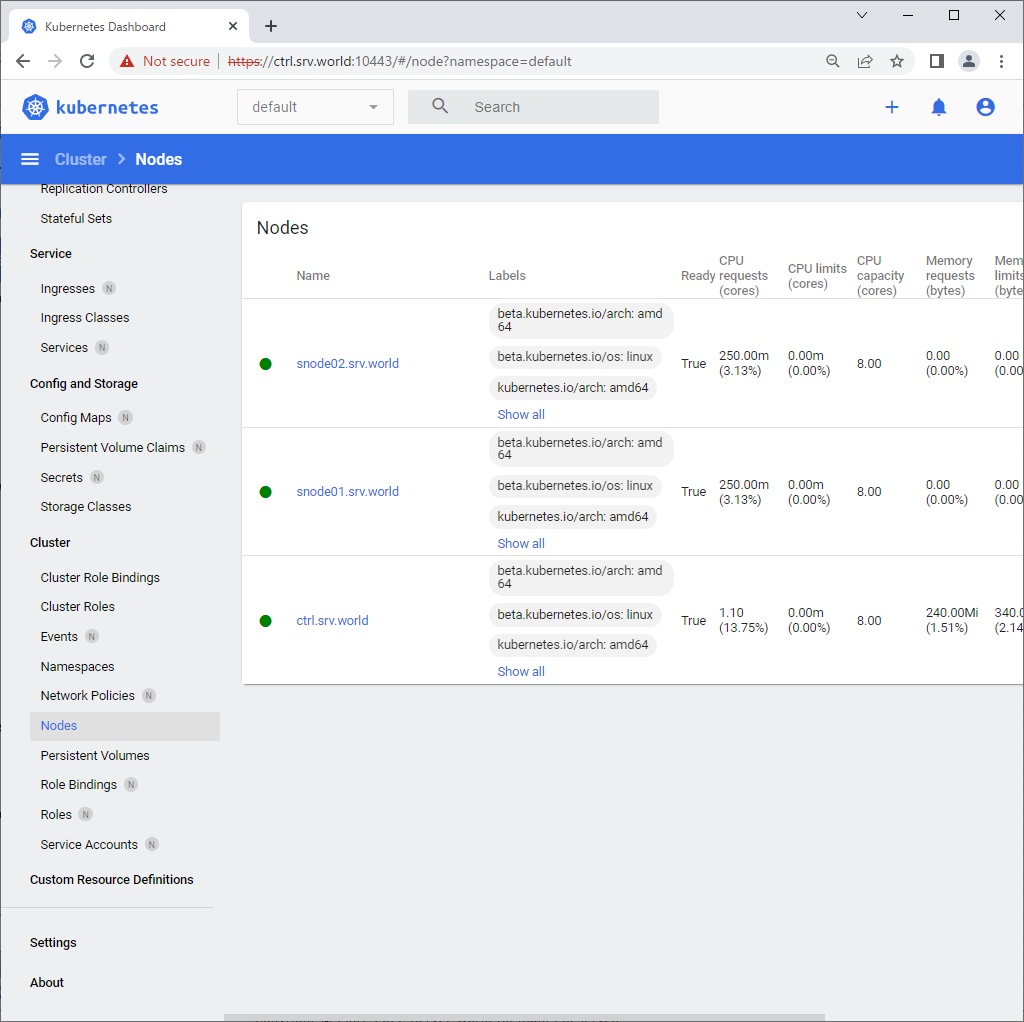
| [4] | After authentication successfully passed, Kubernetes Cluster Dashboard is displayed. |
|
|
Matched Content