Apache2 : WebDAV Setting2018/06/08 |
|
This is the example to configure WebDAV with SSL connection.
|
|
| [1] | |
| [2] | For example, Create a directory [webdav] and it makes possible to connect to WebDAV directory only by SSL. |
|
root@www:~#
root@www:~# apt -y install apache2-utils mkdir /home/webdav root@www:~# chown www-data. /home/webdav root@www:~# chmod 770 /home/webdav
root@www:~#
vi /etc/apache2/sites-available/webdav.conf
Alias /webdav /home/webdav
<Location /webdav>
    DAV On
    SSLRequireSSL
    Options None
    AuthType Basic
    AuthName WebDAV
    AuthUserFile /etc/apache2/.htpasswd
    Require valid-user
</Location>
a2enmod dav* Enabling module dav. Considering dependency dav for dav_fs: Module dav already enabled Enabling module dav_fs. Enabling module dav_lock. To activate the new configuration, you need to run: systemctl restart apache2root@www:~# a2ensite webdav Enabling site webdav. To activate the new configuration, you need to run: systemctl reload apache2
root@www:~#
systemctl restart apache2
# add a user : create a new file with "-c" ("-c" is needed only for the initial registration) root@www:~# htpasswd -c /etc/apache2/.htpasswd ubuntu New password: # set password Re-type new password: Adding password for user ubuntu |
| [3] |
Configure WebDAV client on client computer. This example is for the case on Windows 10.
On this example, Use [CarotDAV] as a WebDAV Client.
It's possible to download [CarotDAV] for free from following site. ⇒ http://www.rei.to/carotdav_en.html |
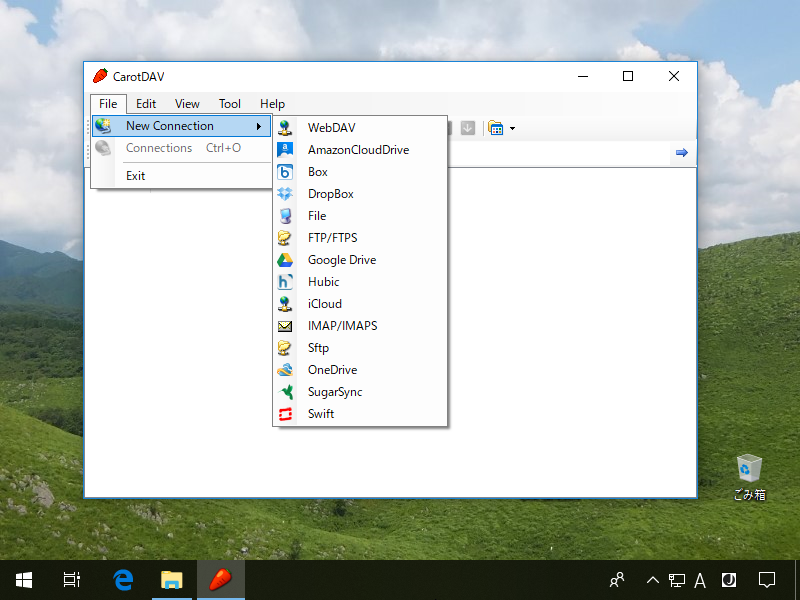
| [4] | After installing [CarotDAV], Start it, then following window is shown. Select [File] - [New Connection] - [WebDav] to proceed. |
|
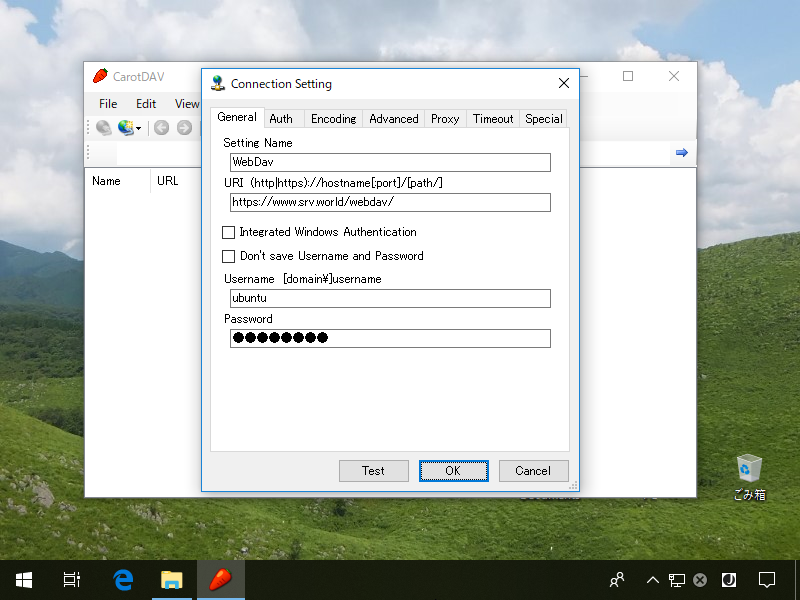
| [5] | Input any name in [Setting Name] field and input [server name/webdav directory] in [URI] field and input user name and password like follows. |
|
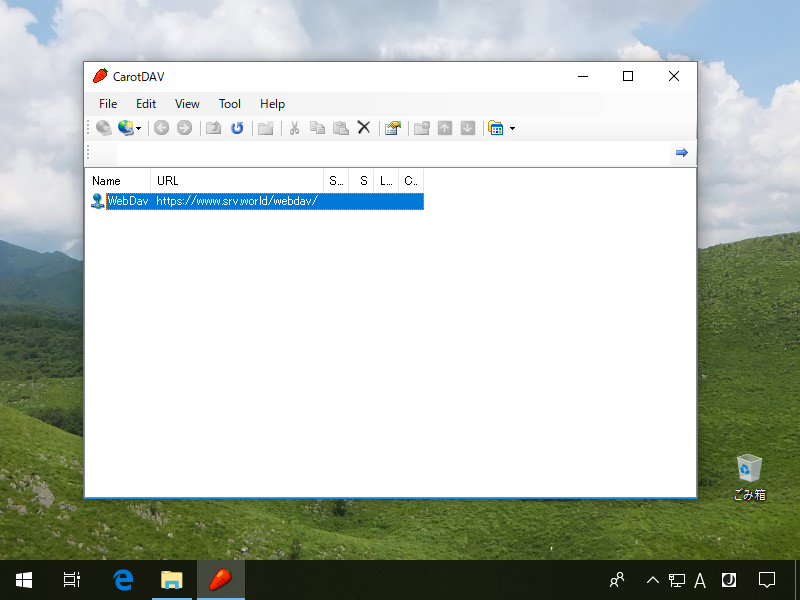
| [6] | The configuration is added like follows, double-click it to connect to the server. |
|
| [7] | Just accessed. |

|
Matched Content