Ubuntu 17.04 : Install2017/04/13 |
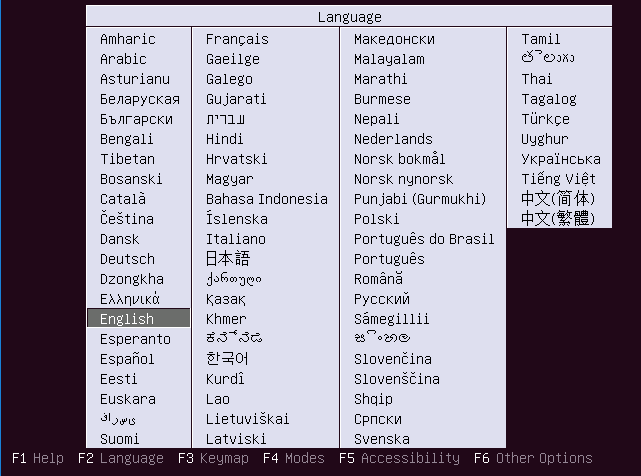
| [1] | Insert a disk for installation of Ubuntu 17.04 and reboot your computer. Next, Choose your language and go next. |
|
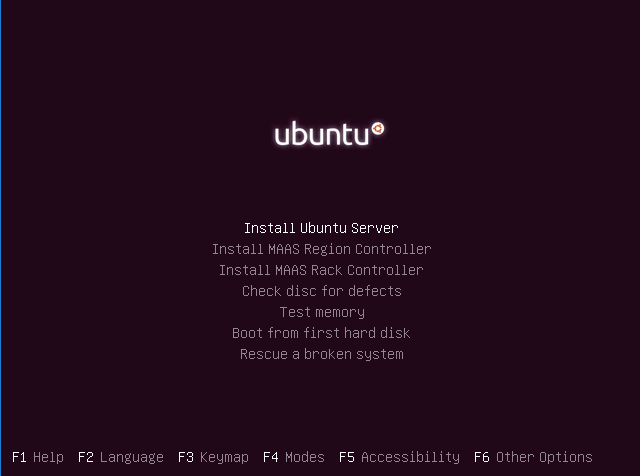
| [2] | Push Enter key to start installation. |
|
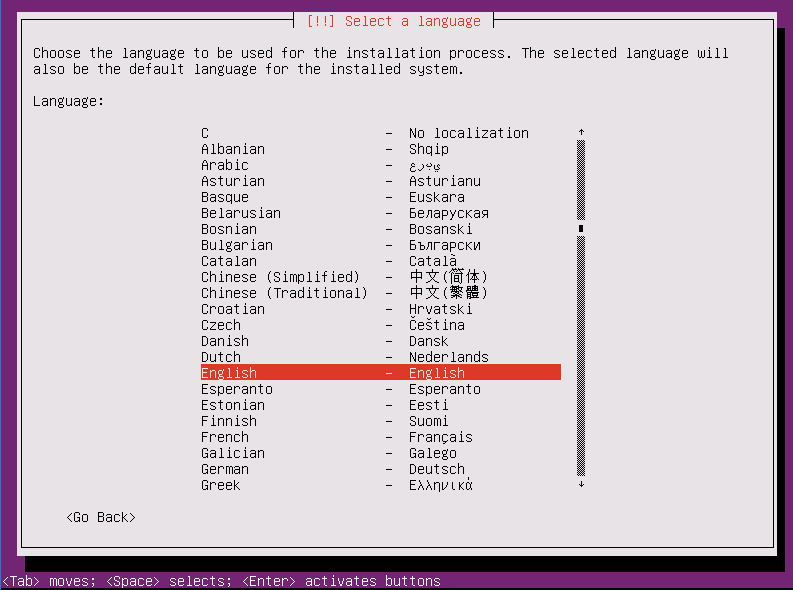
| [3] | Select the language which is used during the installation. |
|
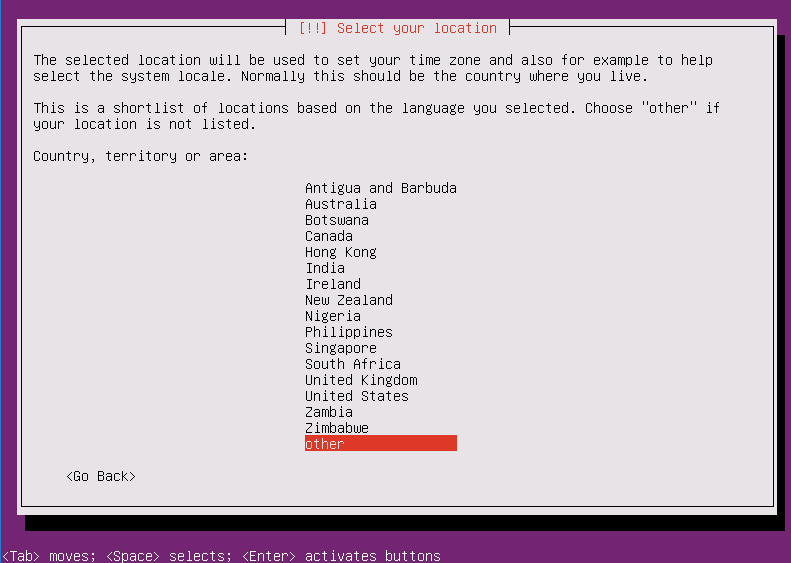
| [4] | Select your country for TimeZone. |
|
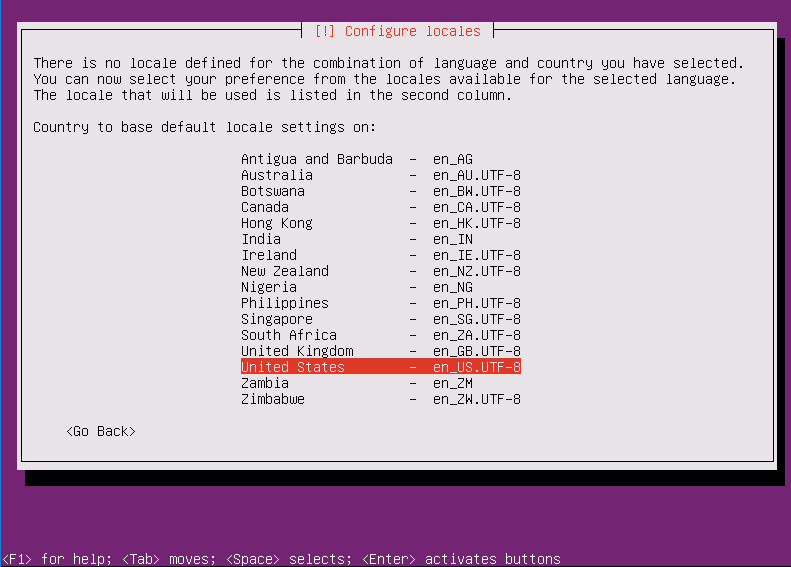
| [5] | Select your locale. The selected locale will be the default locale of the System. |
|
| [6] | Configure keyboard layout. Select Yes or No to detect your keyboard automatically. |

|
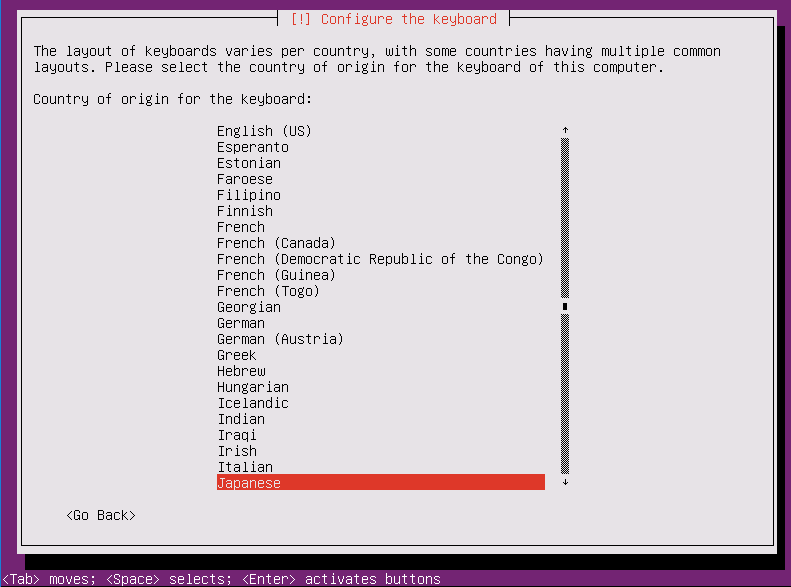
| [7] | If you selected [No] on previous section, Select the keyboard type manually on this section. |
|
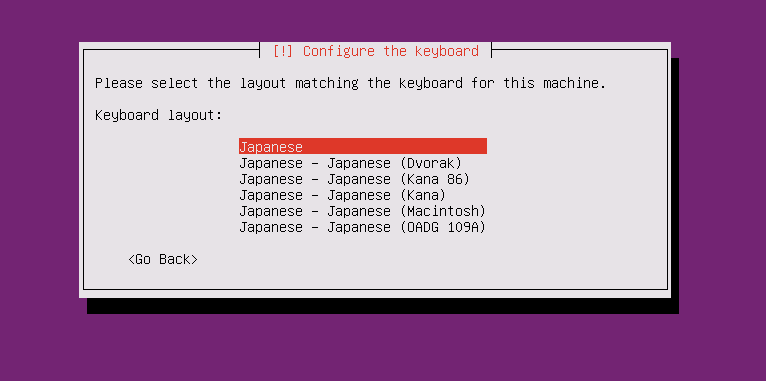
| [8] | If you selected [No] on previous section, Select the keyboard layout manually on this section. |
|
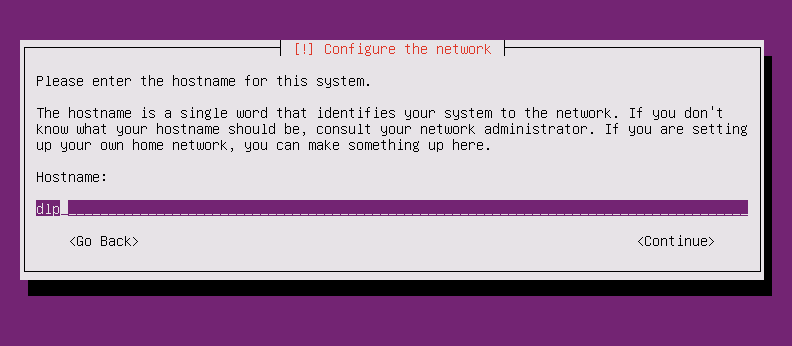
| [9] | Set your server's hostname you'd like to set. |
|
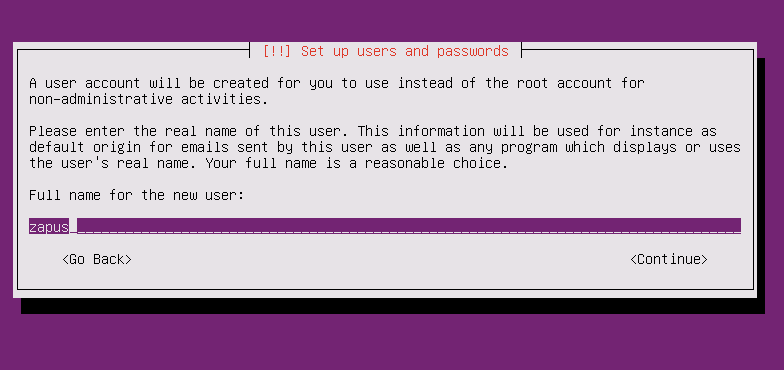
| [10] | Set a user account. The user set on here will be administrative user by default. |
|
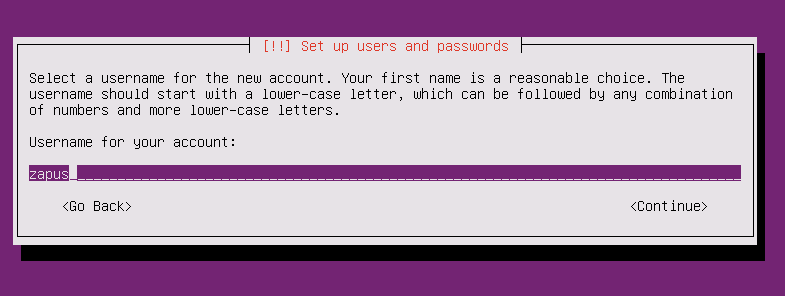
| [11] | Input a username used on the system. |
|
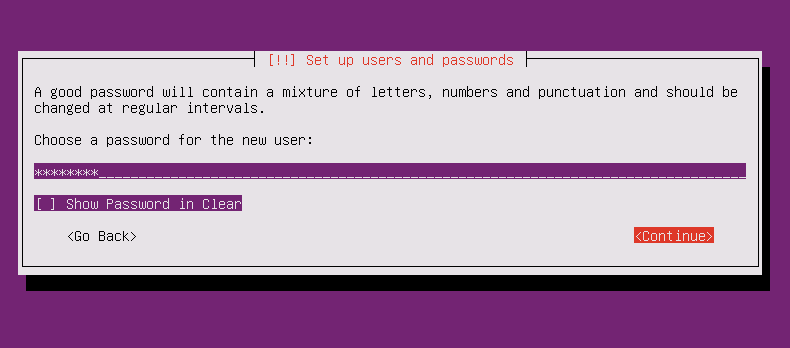
| [12] | Set the user's password. |
|
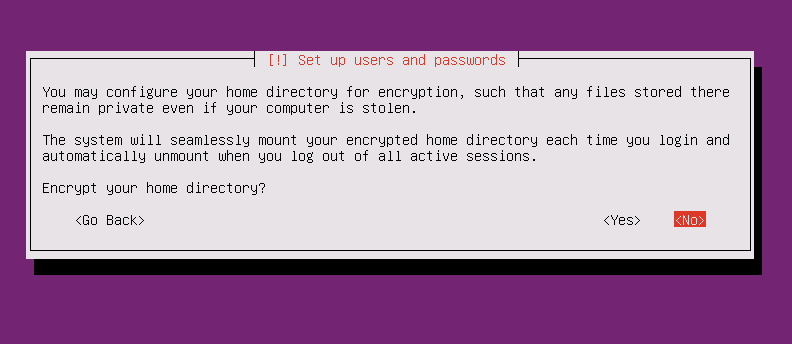
| [13] | If you'd like to encrypt home directory, answer [Yes]. |
|
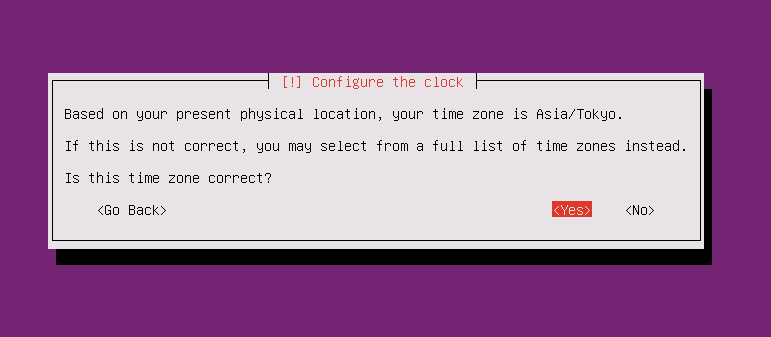
| [14] | Make sure the TimeZone is correct. |
|
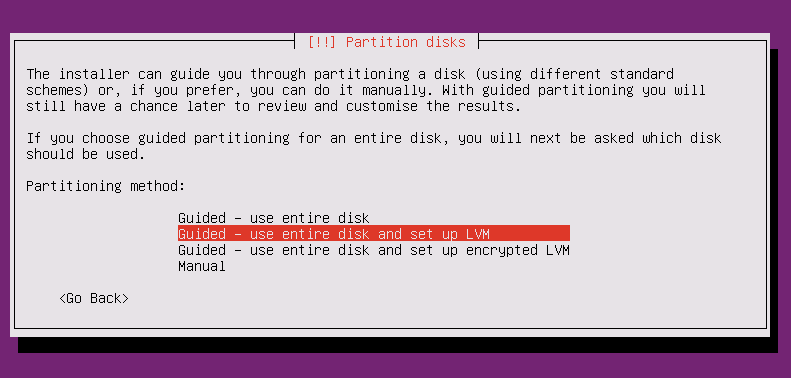
| [15] | This is the section for configuring partitions. This example shows to select "Guided (LVM)" like follows. |
|
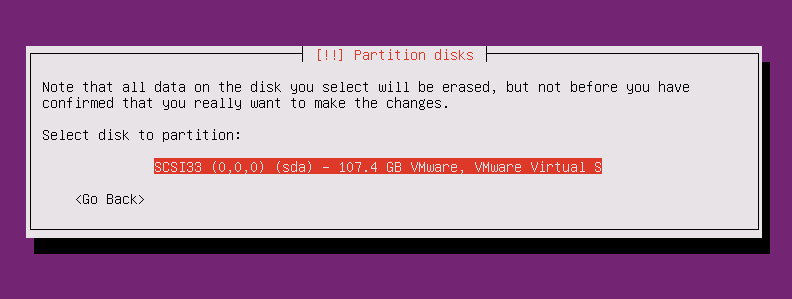
| [16] | Select a disk to create partitions. |
|
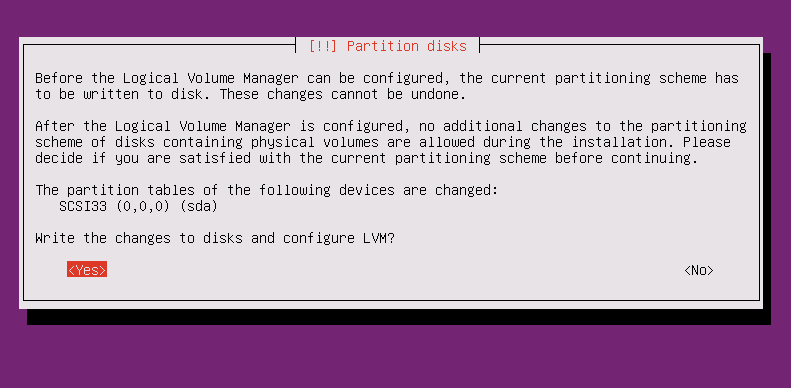
| [17] | If it's OK all, answer [Yes]. |
|
| [18] | Enter the size of disk that you'd like to set for LVM volume group. |

|
| [19] | It's completed to configure partitions. If it's OK, answer [Yes]. |
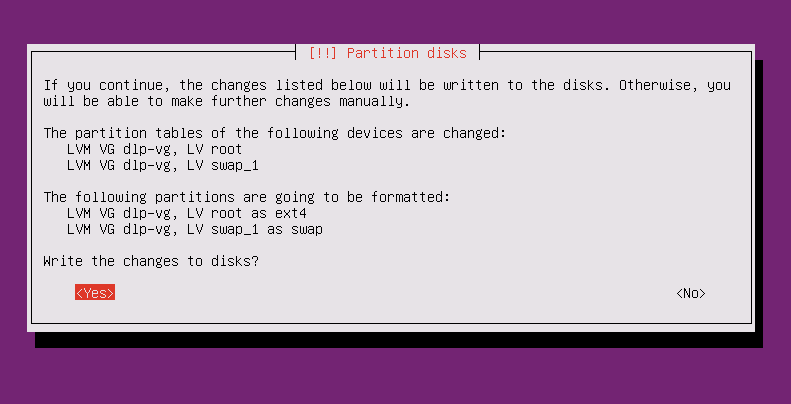
|
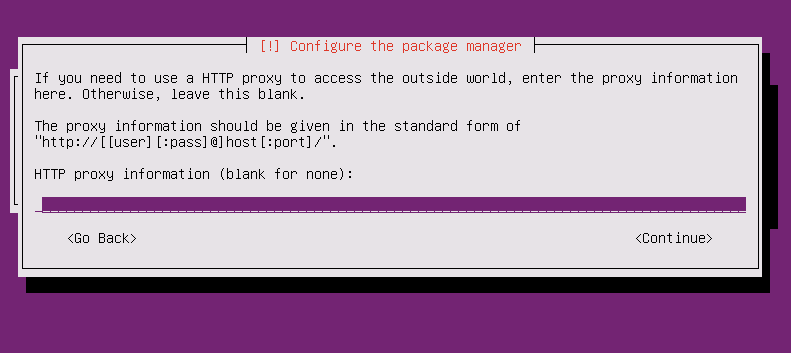
| [20] | Set Proxy if you use it. If not, Continue with empty. |
|
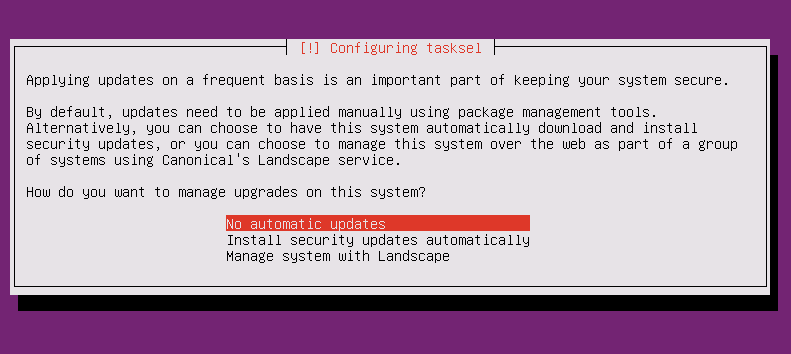
| [21] | Select if you set automatical update. automatical update is convenience but sometimes it causes troubles, so if you use this server as a Mission Critical Server, Don't use automatical update, it's better to update by manually after verification. |
|
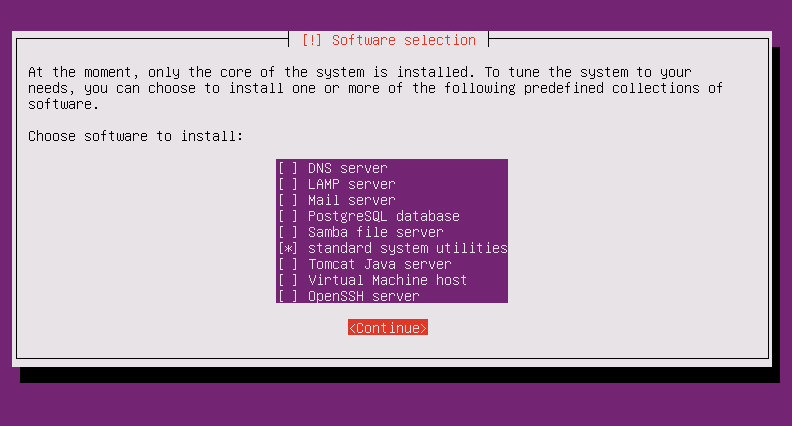
| [22] | Select softwares to install. This example shows to select only [Standard system utilities]. |
|
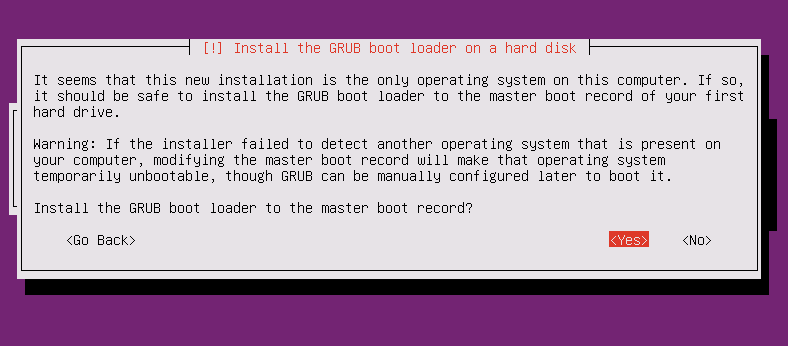
| [23] | Answer [Yes] if you'd like to install Grub on MBR. |
|
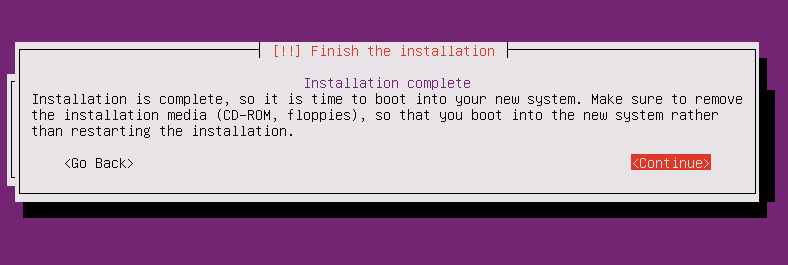
| [24] | Installation completed. Remove the disk and Continue. Then system will reboot. |
|
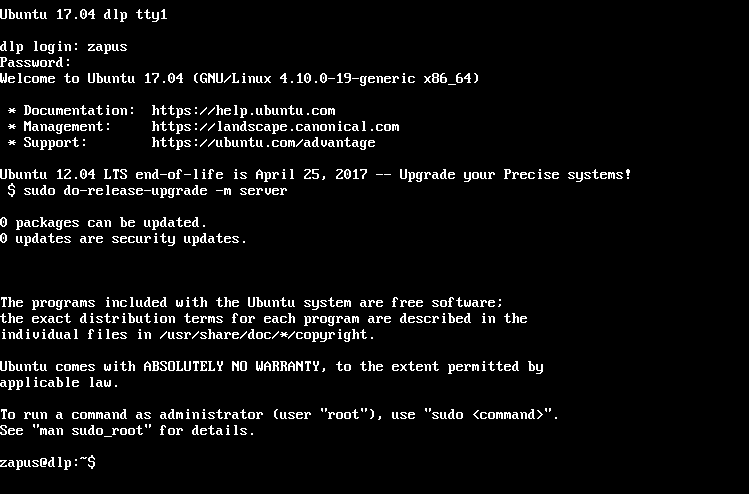
| [25] | The system boots and show the login prompt like below. Login with a user you set in installation. |
|
Matched Content