Configure WebDAV2010/07/24 |
| Here is the example to configure WebDAV. |
|
| [1] | For example, Make a directory [security] that owner is 'apache', group is 'security', and it makes possible to connect to WebDAV directory only by SSL. |
|
root@www05:~# aptitude -y install libapache2-mod-encoding root@www05:~# mkdir /home/security root@www05:~# chown www-data. /home/security root@www05:~# chmod 770 /home/security root@www05:~# vi /etc/apache2/conf.d/webdav.conf
Alias /share /home/security <Location /share> DAV On SSLRequireSSL Options None AuthType Basic AuthName WebDAV AuthUserFile /etc/apache2/conf.d/.htpasswd <LimitExcept GET OPTIONS> Order allow,deny Allow from 10.0.0. # IP address you allow Require valid-user </LimitExcept> </Location> root@www05:~# vi /etc/apache2/mods-available/encoding.conf # create this if you'd like to show japanese fonts
EncodingEngine on SetServerEncoding UTF-8 DefaultClientEncoding UTF-8 CP932 EUCJP-MS AddClientEncoding "Microsoft .* DAV 1.1" ASCII CP932 UTF-8 AddClientEncoding "Microsoft .* DAV" UTF-8 CP932 AddClientEncoding "(Microsoft .* DAV $)" UTF-8 CP932 AddClientEncoding "(Microsoft .* DAV 1.1)" CP932 UTF-8 AddClientEncoding "Microsoft-WebDAV*" UTF-8 CP932 AddClientEncoding "RMA/*" CP932 AddClientEncoding "xdwin9x/" CP932 AddClientEncoding "cadaver/" UTF-8 EUCJP-MS AddClientEncoding "Mozilla/" EUCJP-MS root@www05:~# a2enmod dav* encoding Enabling module dav. Considering dependency dav for dav_fs: Module dav already enabled Enabling module dav_fs. Enabling module dav_lock. Enabling module encoding. Run '/etc/init.d/apache2 restart' to activate new configuration! root@www05:~# htpasswd -c /etc/apache2/conf.d/.htpasswd lucid New password: # set password Re-type new password: # verify Adding password for user lucid root@www05:~# /etc/init.d/apache2 restart * Restarting web server apache2 ... waiting ...done. |
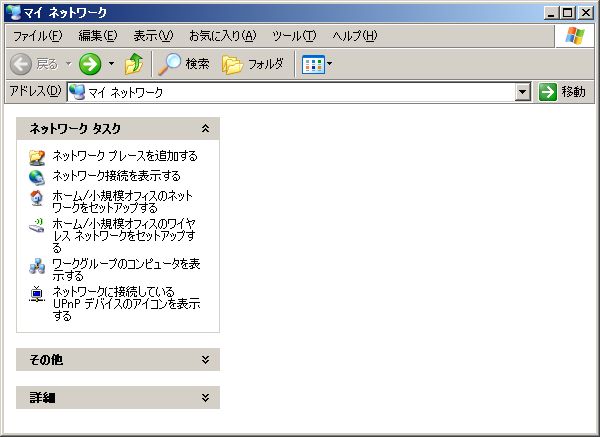
| [2] | It's a config on client PC (Windows XP). |
| (1) | Open 'My Network Places' and Click 'Add a network place'. |
|
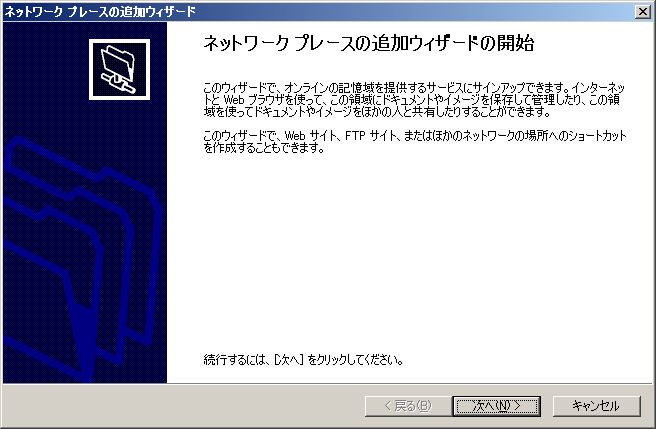
| (2) | Click 'Next' |
|
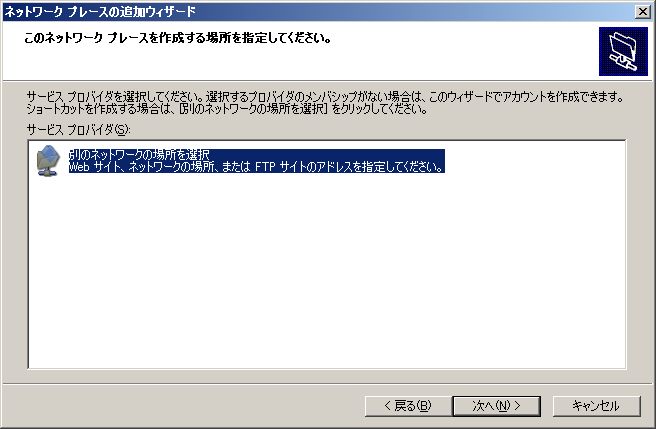
| (3) | Click 'Next' |
|
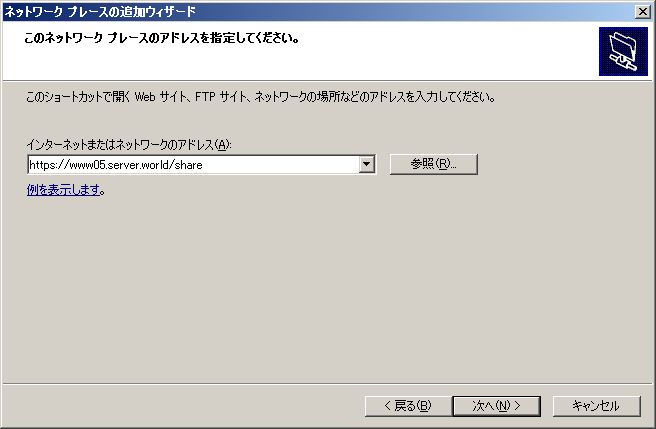
| (4) | Specify network address of shared folder. |
|
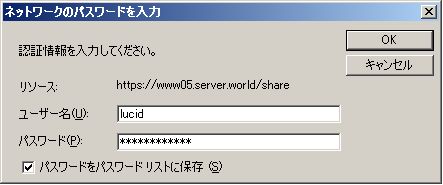
| (5) | Input user name and password you set with htpasswd |
|
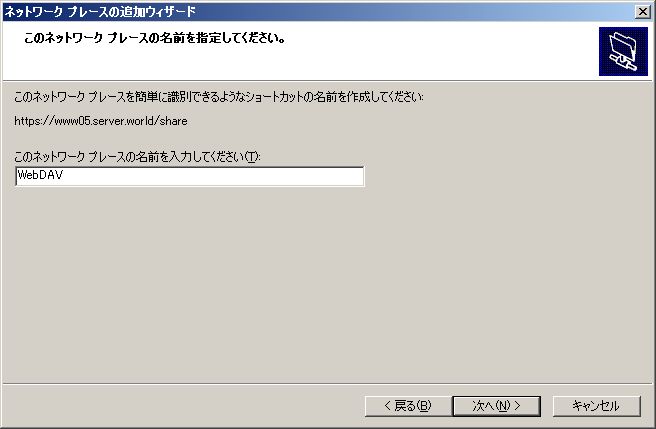
| (6) | Input any name of shared folder you like. |
|
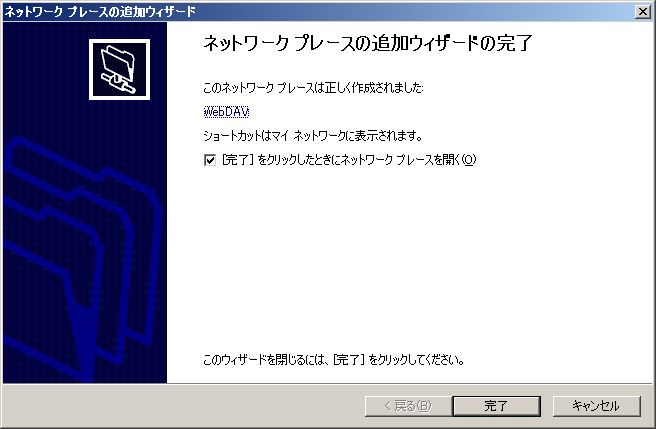
| (7) | Click 'Finish' and go next. |
|
| (8) | Input user name and password again. |
|
|
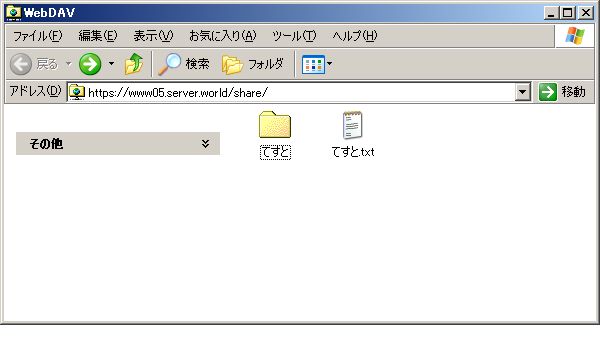
| (9) | Done to access. |
|
Matched Content