Install SUSE Linux Enterprise 11 SP42015/11/25 |
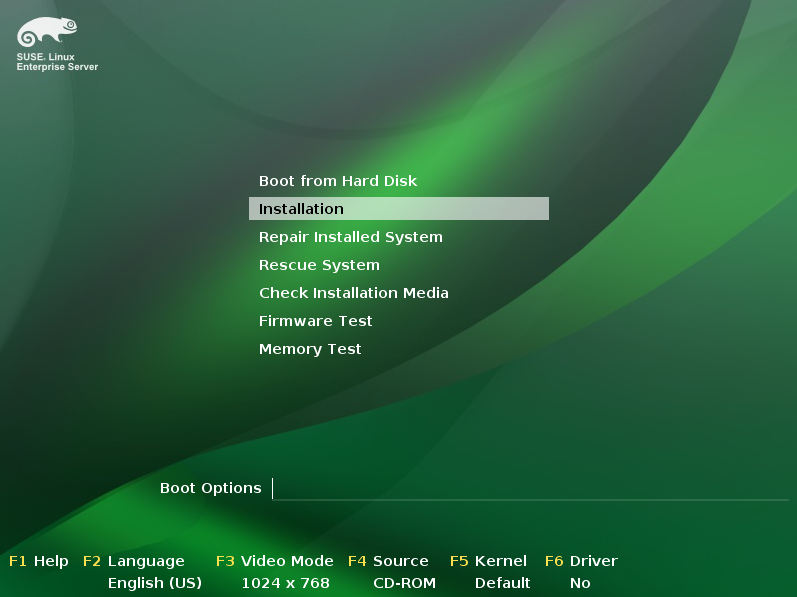
| [1] | Insert installation media in CD/DVD drive and restart your computer. Follwoing screen is shown and Click "Installation" to do it. |
|
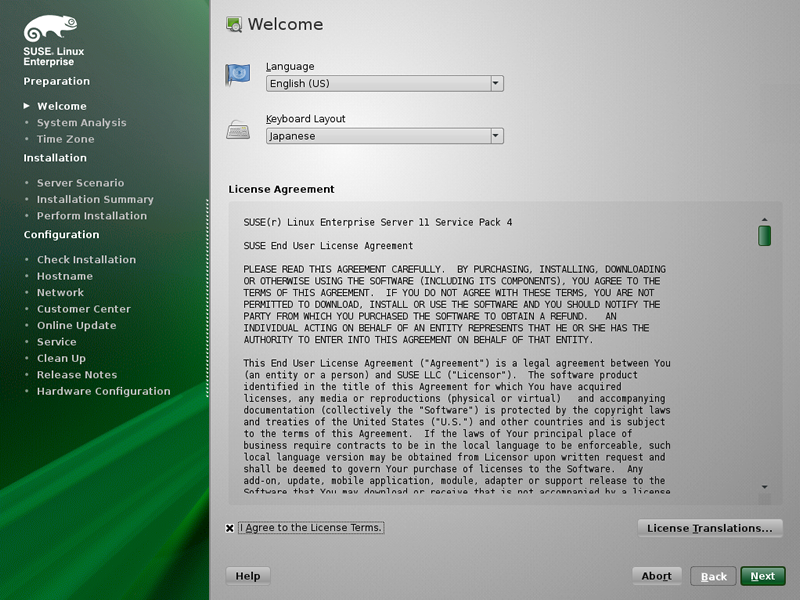
| [2] | Select your language and keyboard layouts. And also check a box "I Agree to the Lisence Terms" to proceed next. |
|
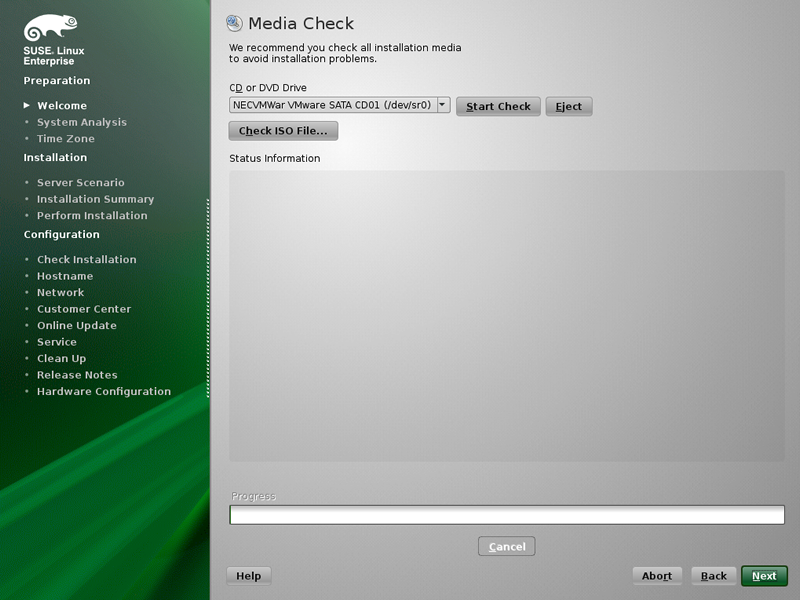
| [3] | This is the section for checking installation media. It's OK to skip it. |
|
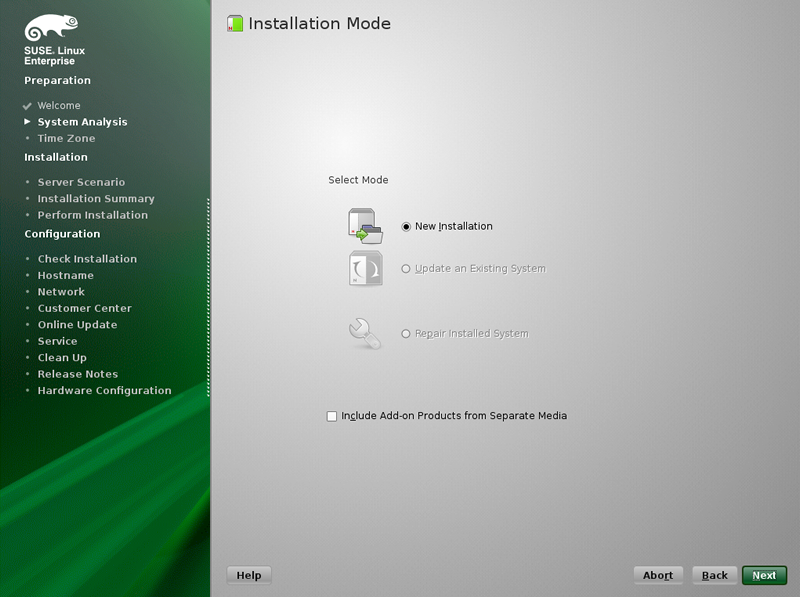
| [4] | Select installation type. If new, select "New Installation". |
|
| [5] | Select your time-zone. |

|
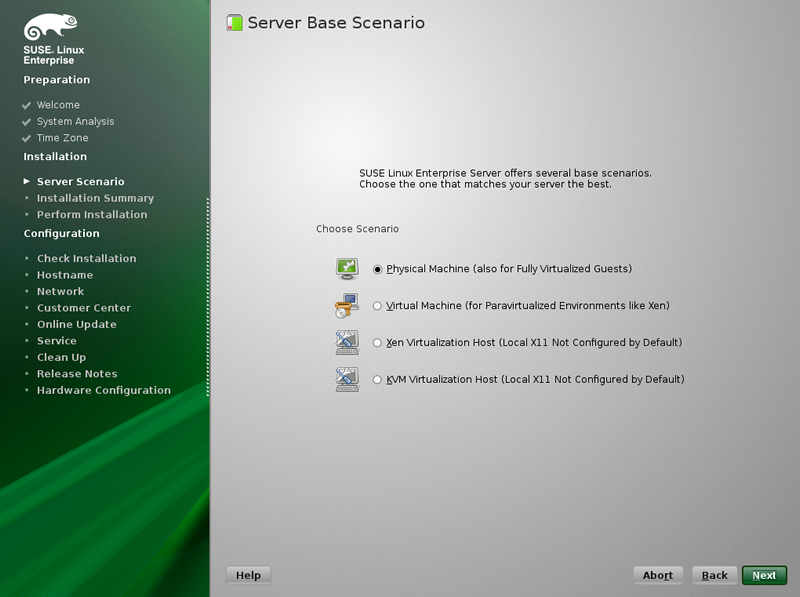
| [6] | Select how you configure the base system. This example selects "Physical machine". |
|
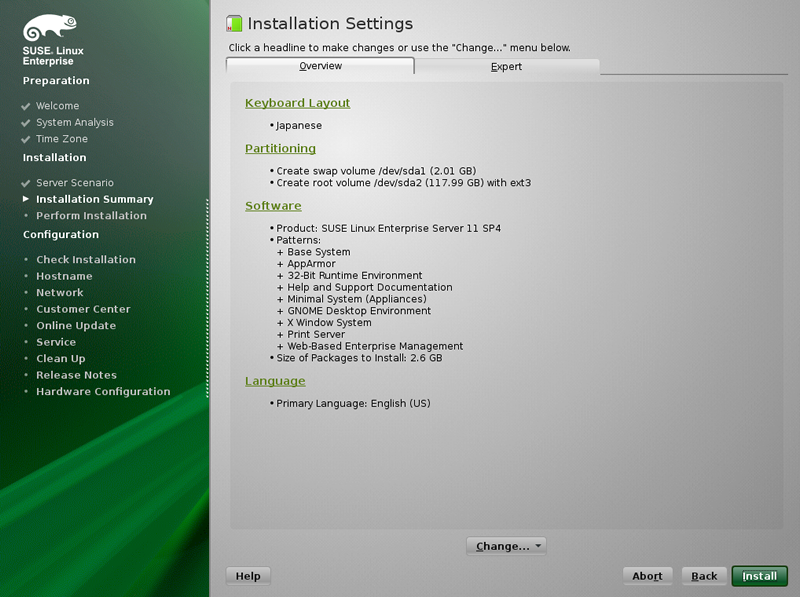
| [7] | This is the overview of Installation settings. Make sure them and proceed next or change them again if need. |
|
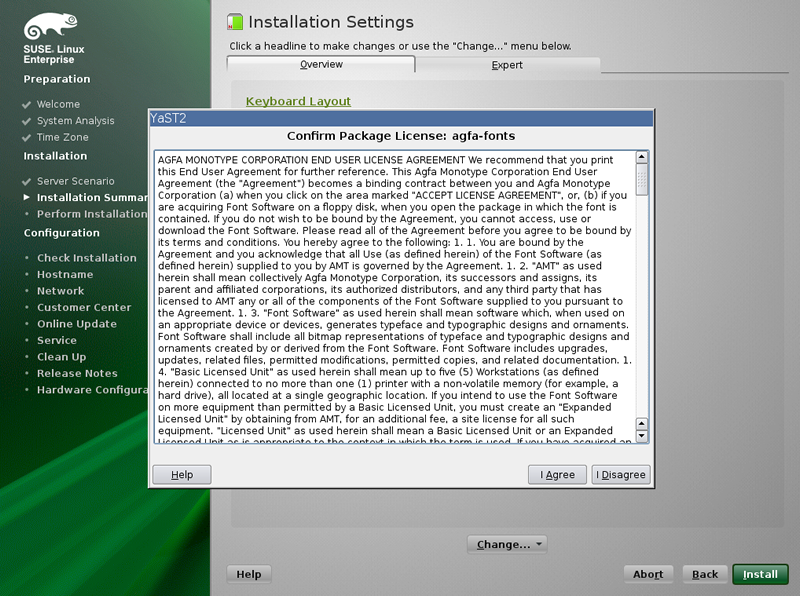
| [8] | Click "I Agree" to proceed next. |
|
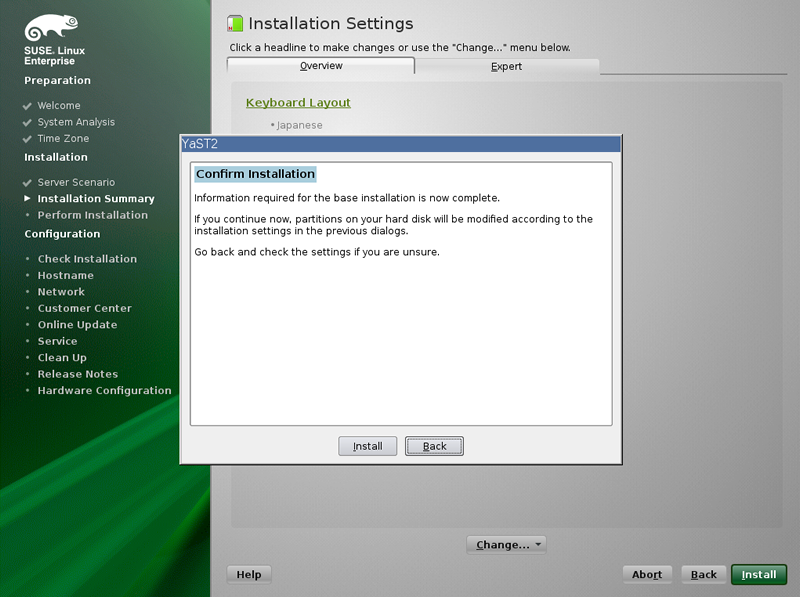
| [9] | Click "Install" to proceed next. |
|
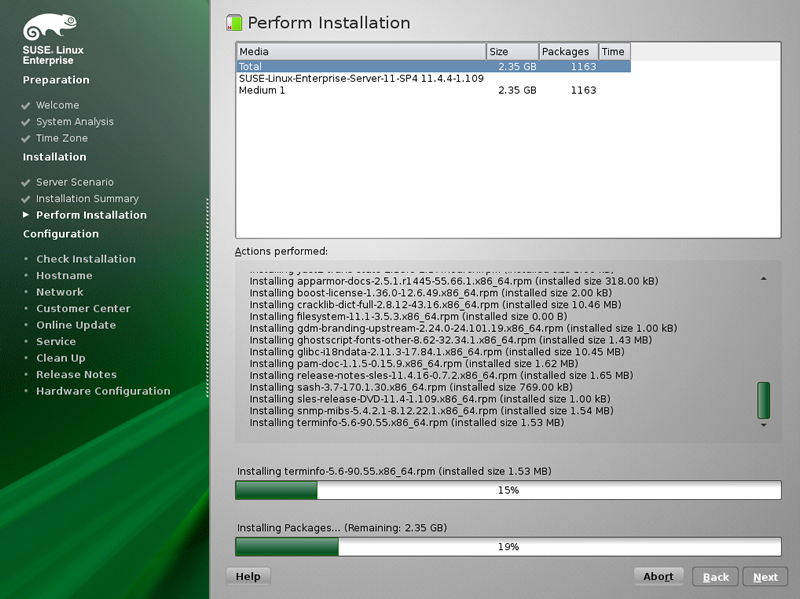
| [10] | Installation starts. |
|
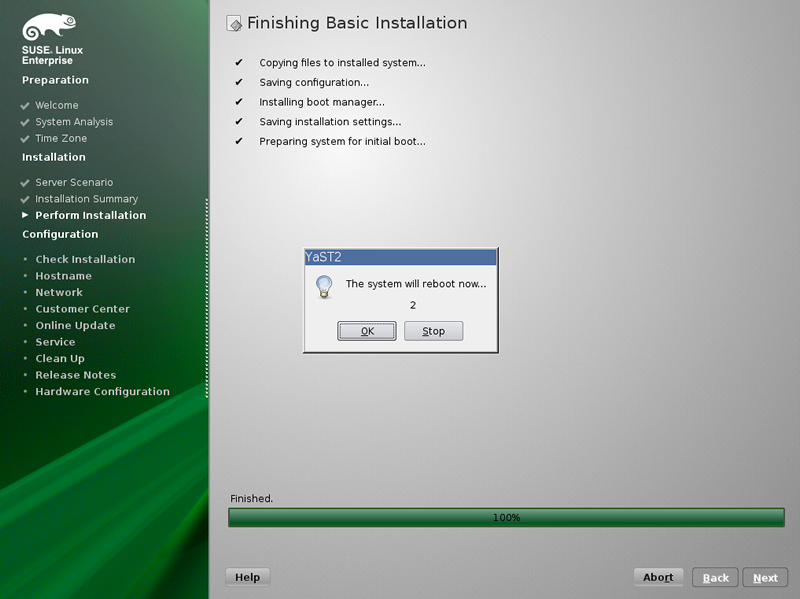
| [11] | After finishing installation, Click "OK" to restart Computer. |
|
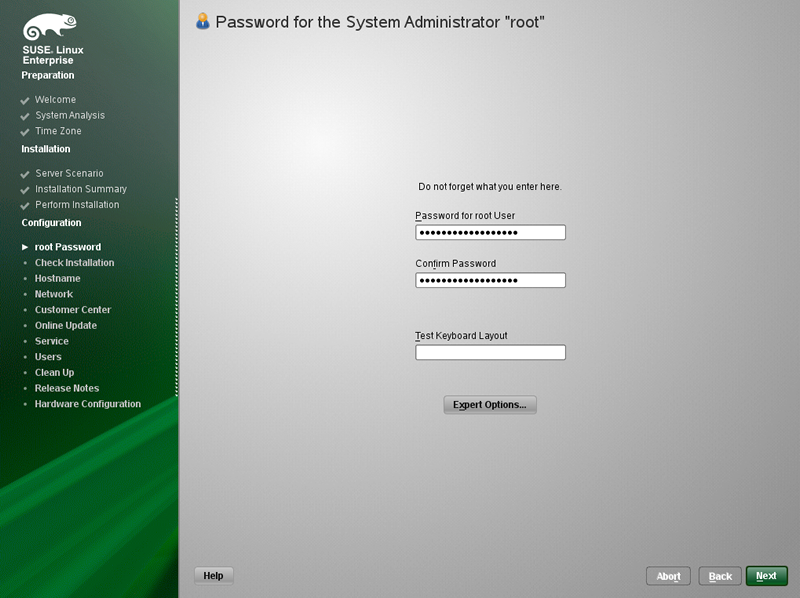
| [12] | After restarting computer, it needs to configure initial settings like follows. First, set root password, Do not set simple password. |
|
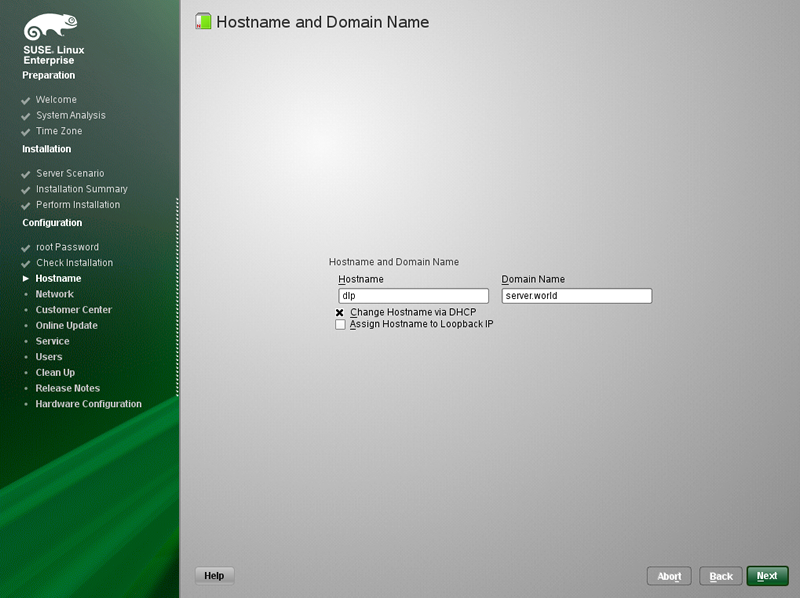
| [13] | Set Hostname and Domain name. |
|
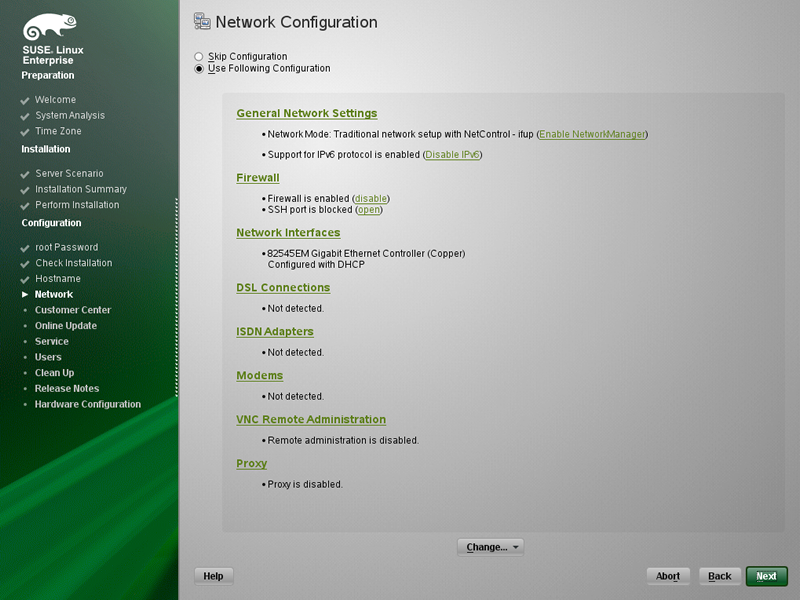
| [14] | Configure networking, Set it for your environment. |
|
| [15] | Click "Next" to proceed. |
|
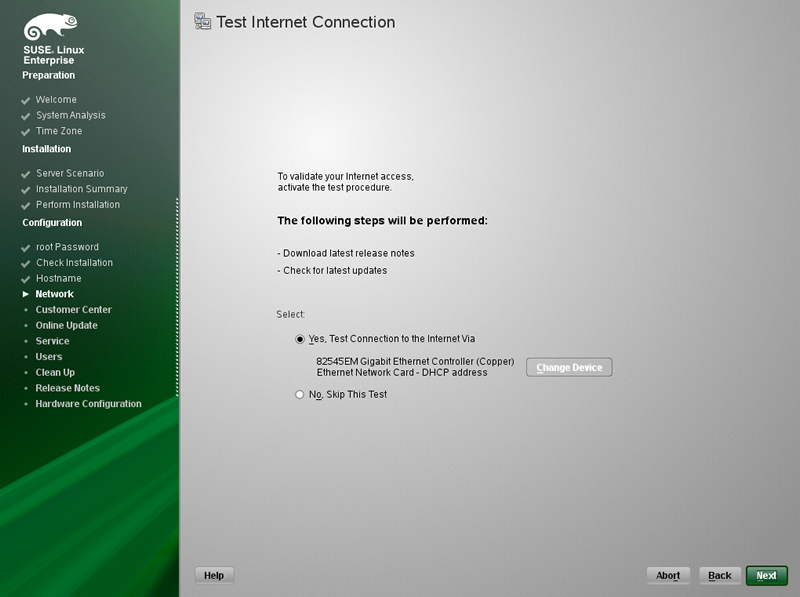
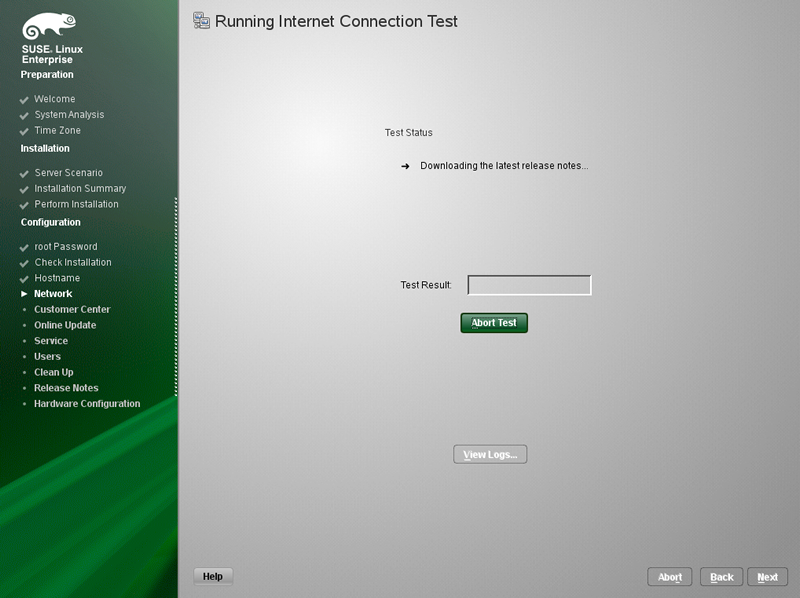
| [16] | Network connection Test is performed. |
|
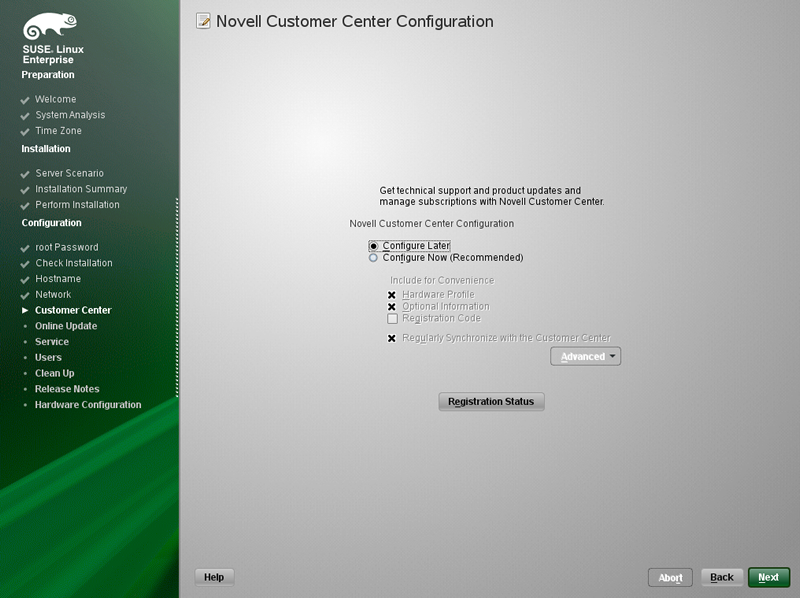
| [17] | This is System registration section to SUSE network. It's possible to skip this section to select "Configure Later" because you can register later in anytime. |
|
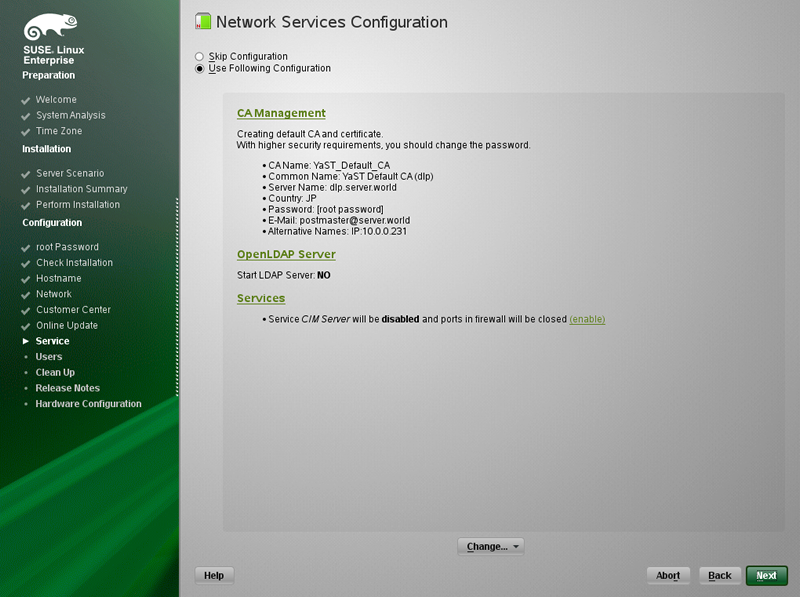
| [18] | Configure networking, Set it for your environment. |
|
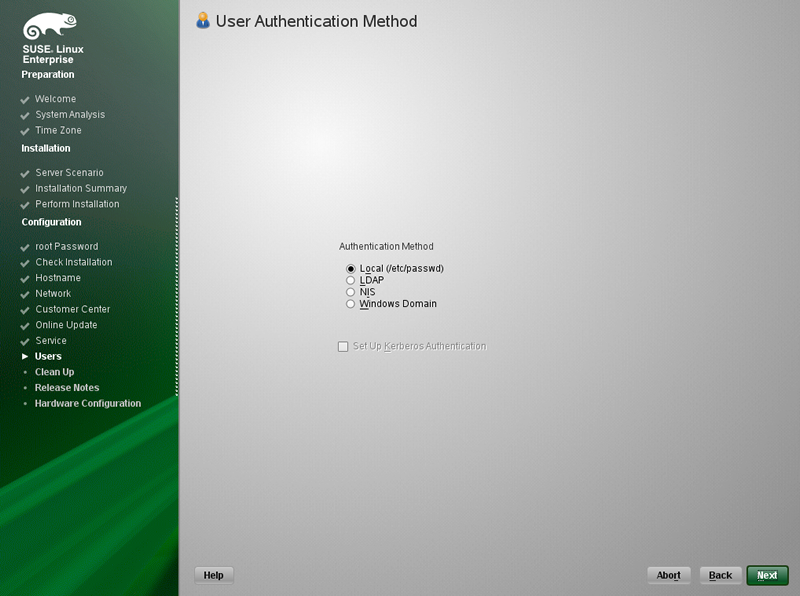
| [19] | Configure authentication method. Select it. |
|
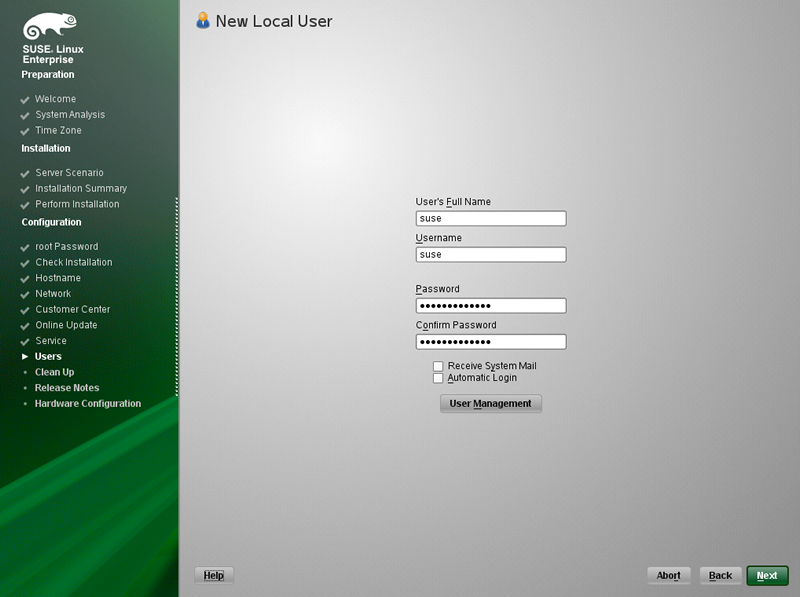
| [20] | Add common user account. |
|
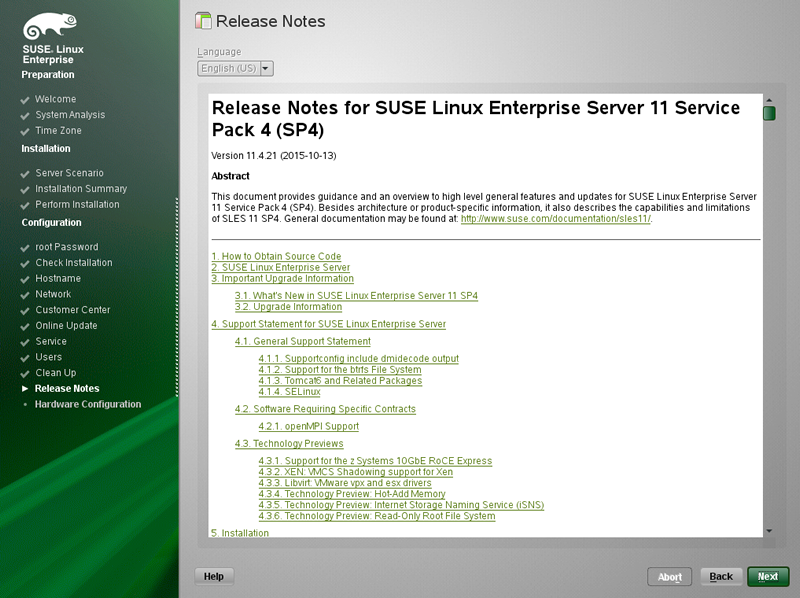
| [21] | SLES 11 SP4 release note is displayed, Click "Next" to proceed. |
|
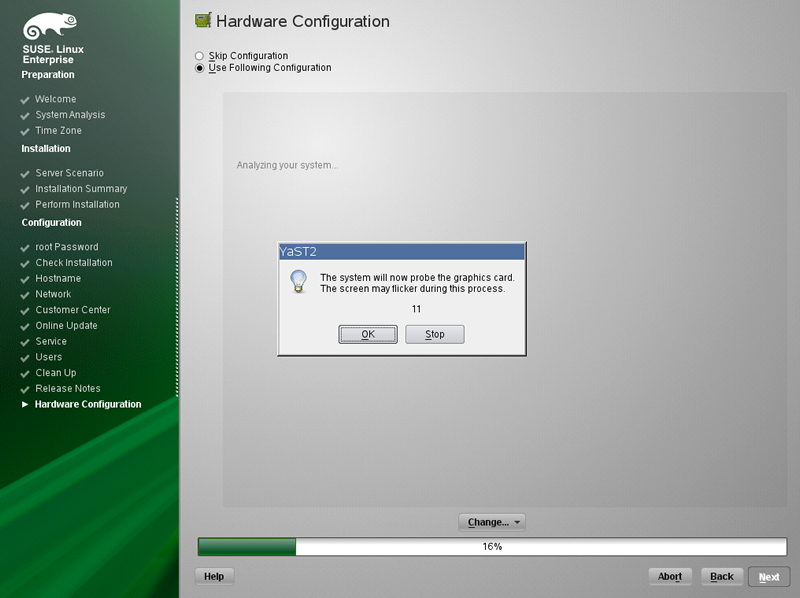
| [22] | Click "OK" to proceed next. |
|
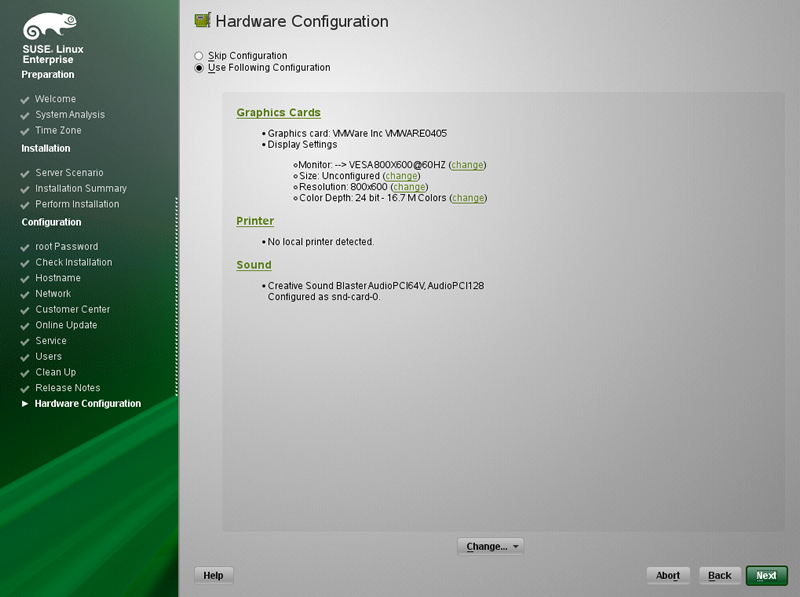
| [23] | Click "Next" to proceed next. |
|
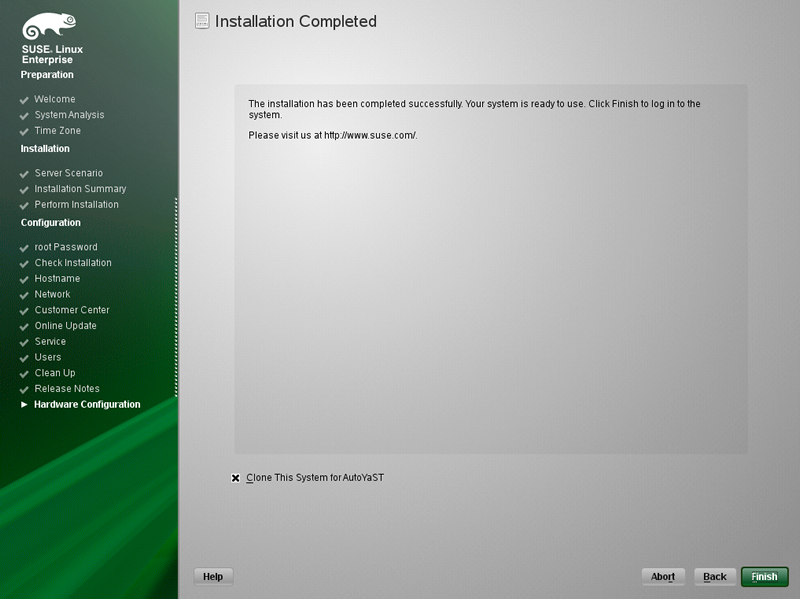
| [24] | Installation finished. Click "Finish" to restart computer. |
|
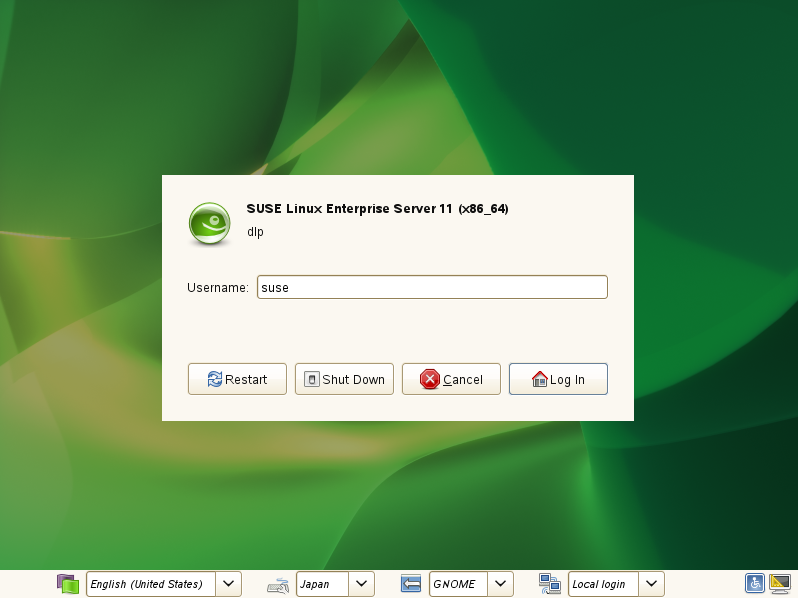
| [25] | After restarting System, login prompt is displayed like follows, input username you just added. |
|
| [26] | Input password of the user above to authenticate. |
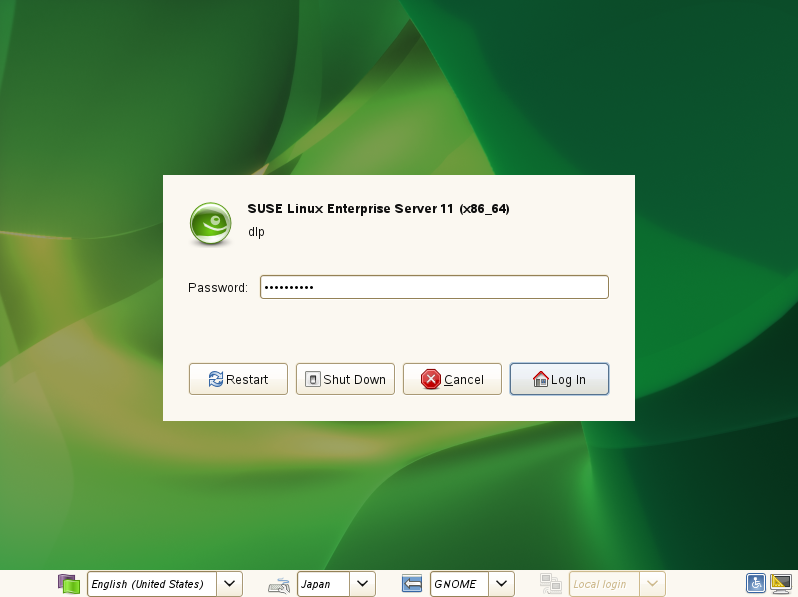
|
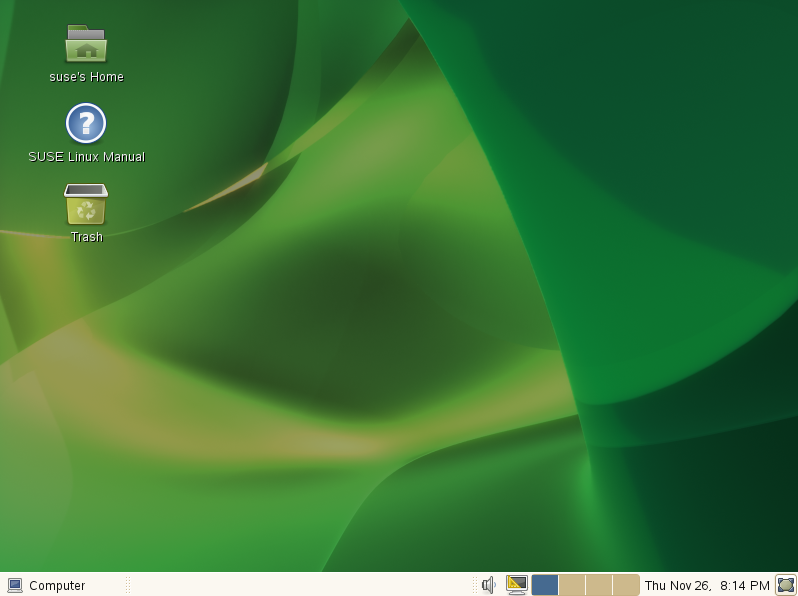
| [27] | Just logined. The installation of SUSE Linux Enterprise 11 SP4 completeed. |
|
Matched Content