Syncthing : Synchronize Files / Directories2025/07/25 |
|
Copy files or directories from one location to an another localtion by [Syncthing]. This example is based on the environment like follows.+----------------------+ | +----------------------+ | dlp.srv.world |10.0.0.30 | 10.0.0.51| node01.srv.world | | +----------+----------+ | | | <-------------> | | +----------------------+ sync +----------------------+ |
| [1] | Install Syncthing on all hosts. |
|
# install from EPEL [root@dlp ~]# dnf --enablerepo=epel -y install syncthing python3-bcrypt
|
| [2] | Configure Syncthing with any user on all hosts. |
|
# generate password [rocky@dlp ~]$ python3 -c 'import bcrypt, getpass; print(bcrypt.hashpw(getpass.getpass().encode(), bcrypt.gensalt()).decode())' Password: $2b$12$Q8D/.....
[rocky@dlp ~]$
vi ~/.local/state/syncthing/config.xml
    # line 54 : change like follows
    <gui enabled="true" tls="true" debugging="false" sendBasicAuthPrompt="false">
        # change to the address this server listens
        <address>10.0.0.30:8384</address>
        # set admin user (any name you like) and generated password
        <user>serverworld</user>
        <password>$2b$12$Q8D/.....</password>
        <apikey>cFdXMg.....</apikey>

        # line 95 : delete the line blow
        <unackedNotificationID>authenticationUserAndPassword</unackedNotificationID>
[rocky@dlp ~]$ systemctl --user start syncthing |
| [3] | If Firewalld is running, allow ports for services. |
|
[root@dlp ~]# firewall-cmd --add-port=8384/tcp success [root@dlp ~]# firewall-cmd --runtime-to-permanent success |
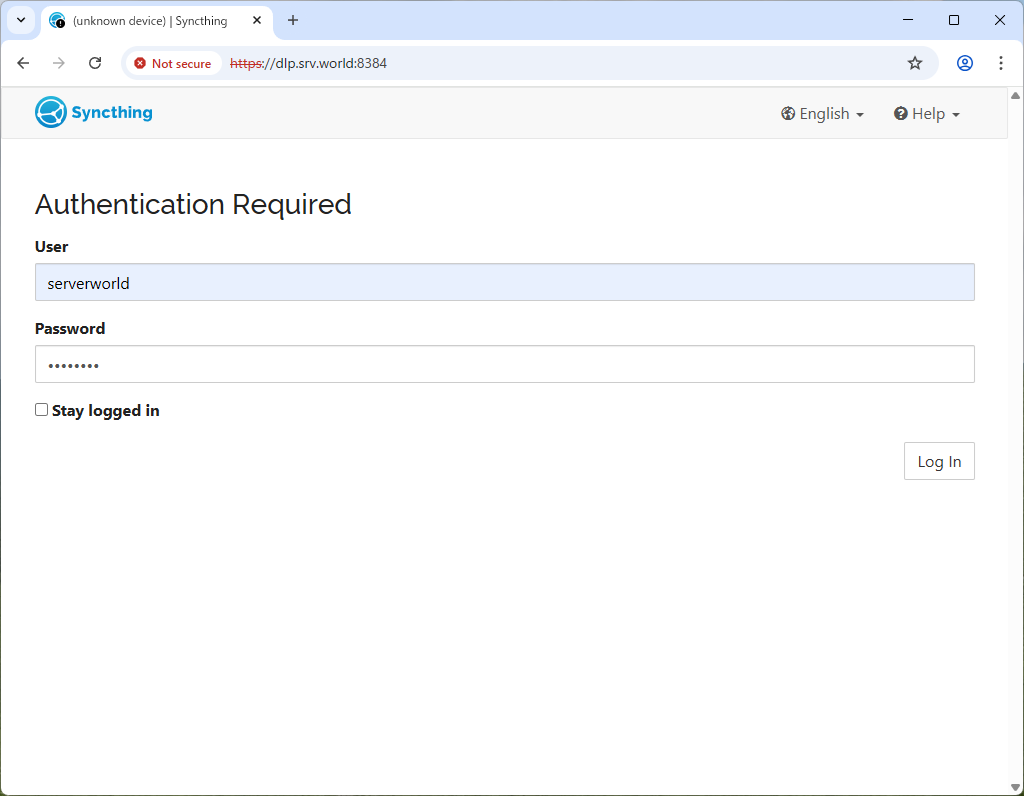
| [4] | On any client computer, go to the configured address of one of your Syncthing hosts and log in with the admin user you configured. |
|
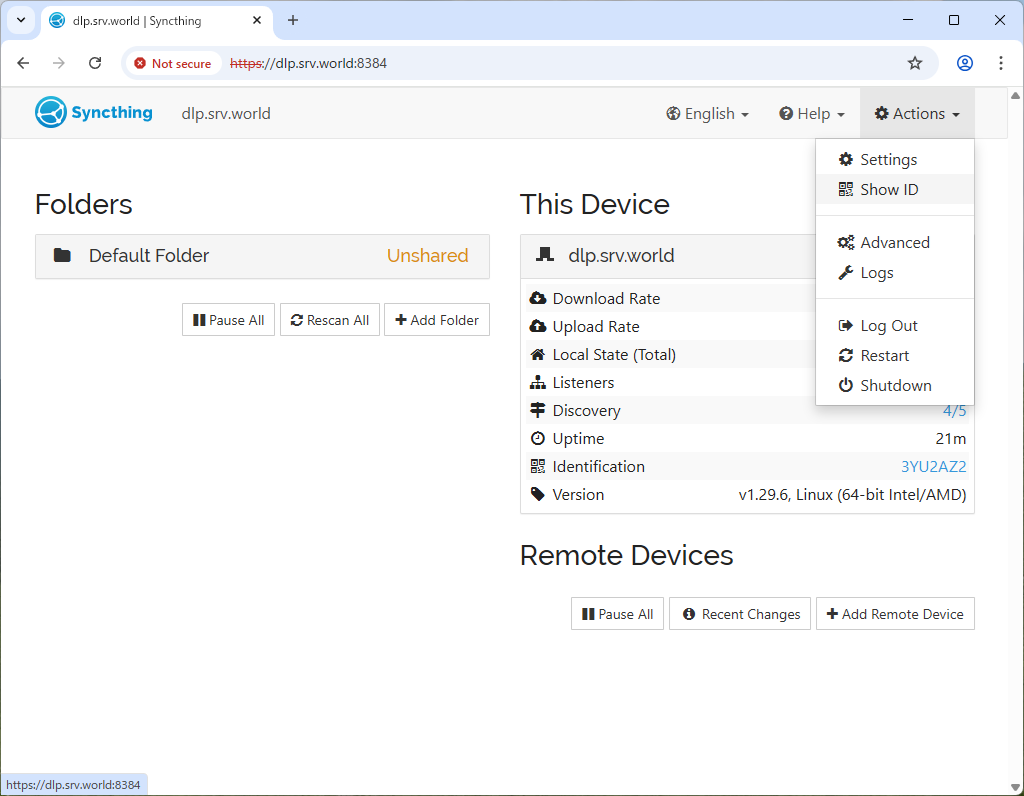
| [5] | Click [Actions] - [Show ID]. |
|
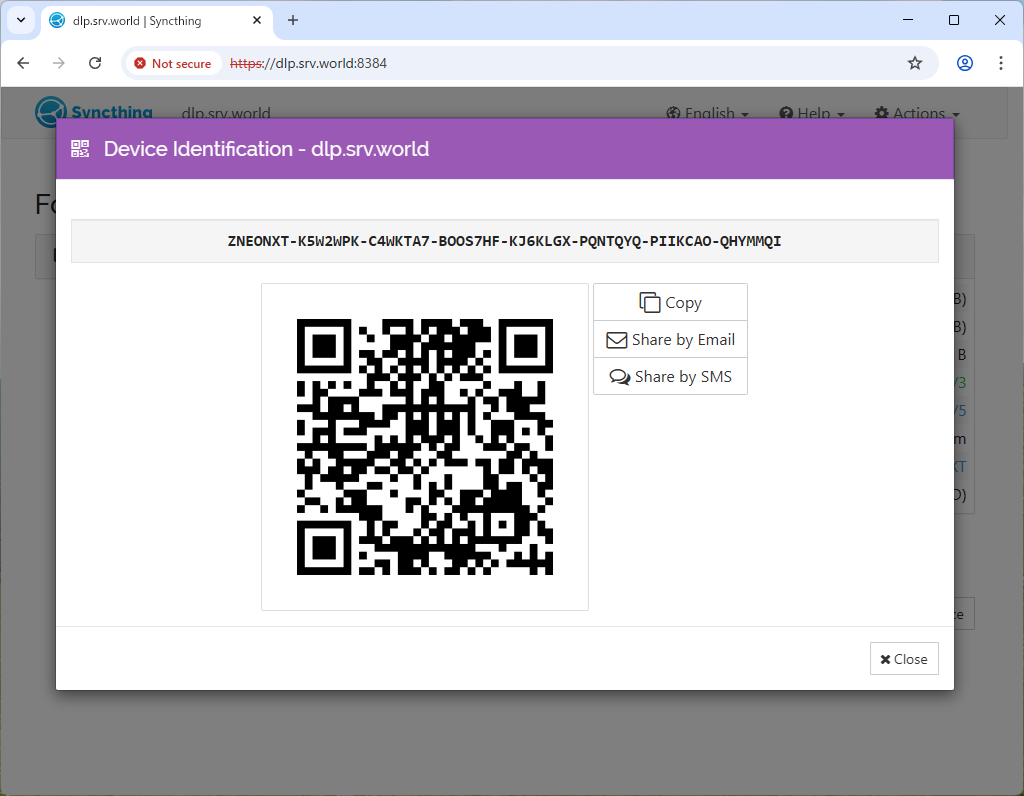
| [6] | Copy the connection ID that is displayed. |
|
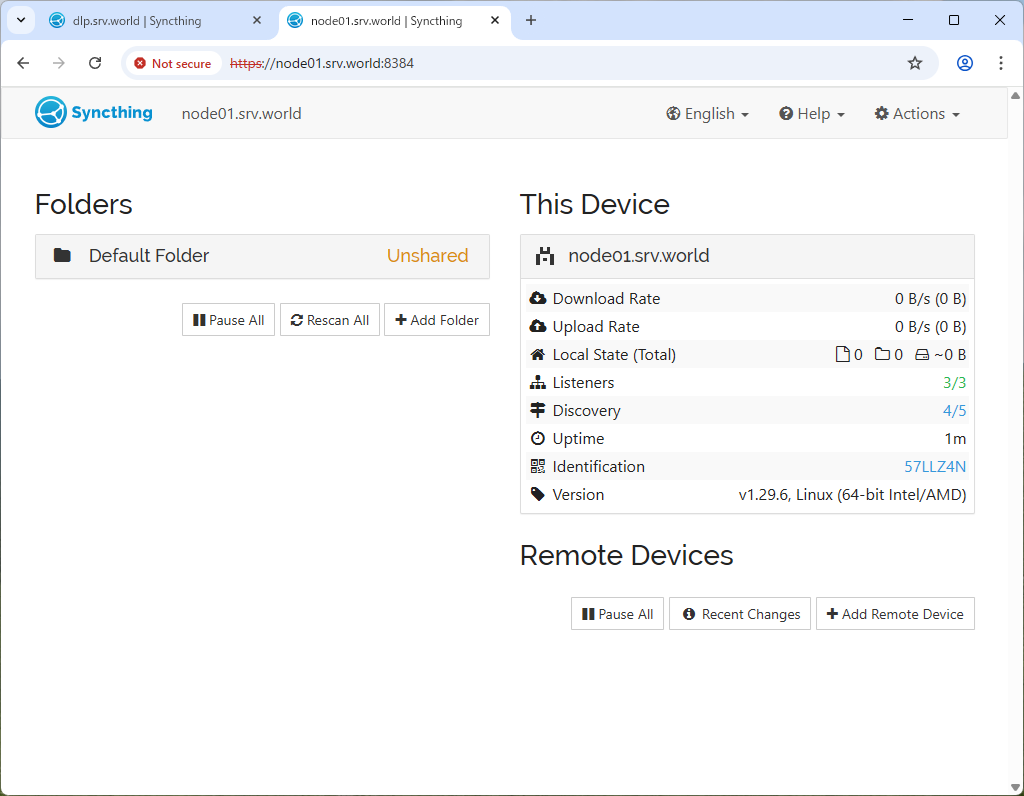
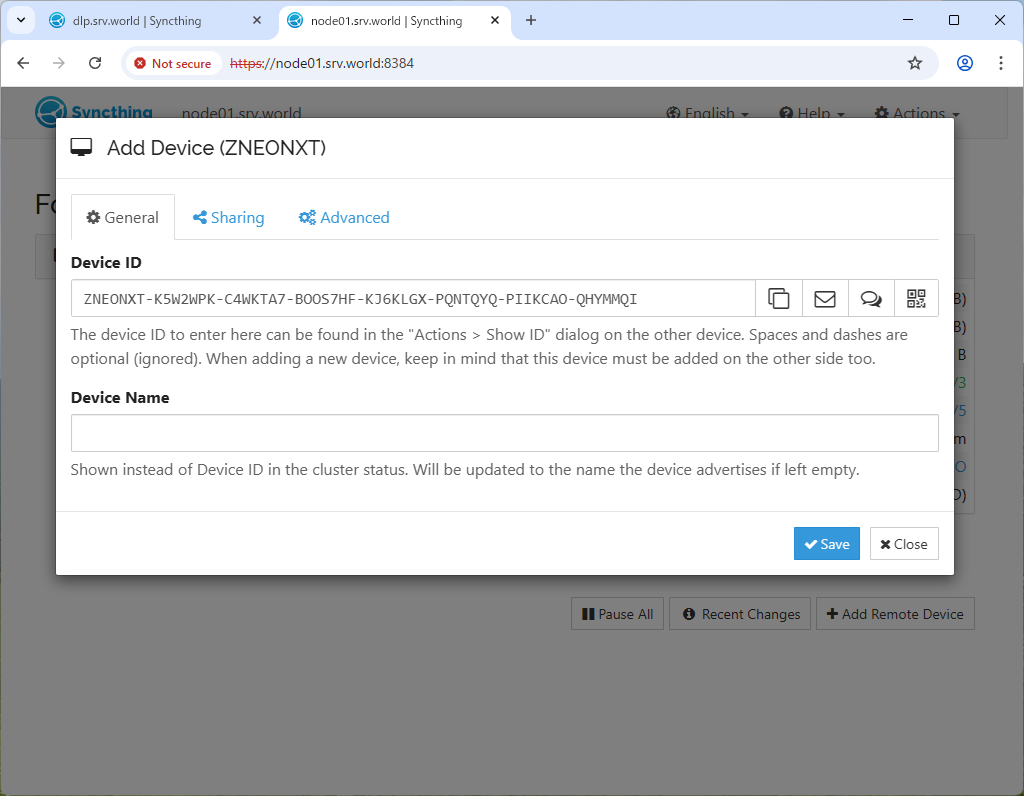
| [7] | Log in to the other Syncthing host and click [Add Remote Device] in the bottom right. |
|
| [8] | In the [Device ID] field, enter the connection ID displayed on the other host, and in the [Device Name] field, enter the name of the host to be synchronized (any name), and click the [Save] button. |
|
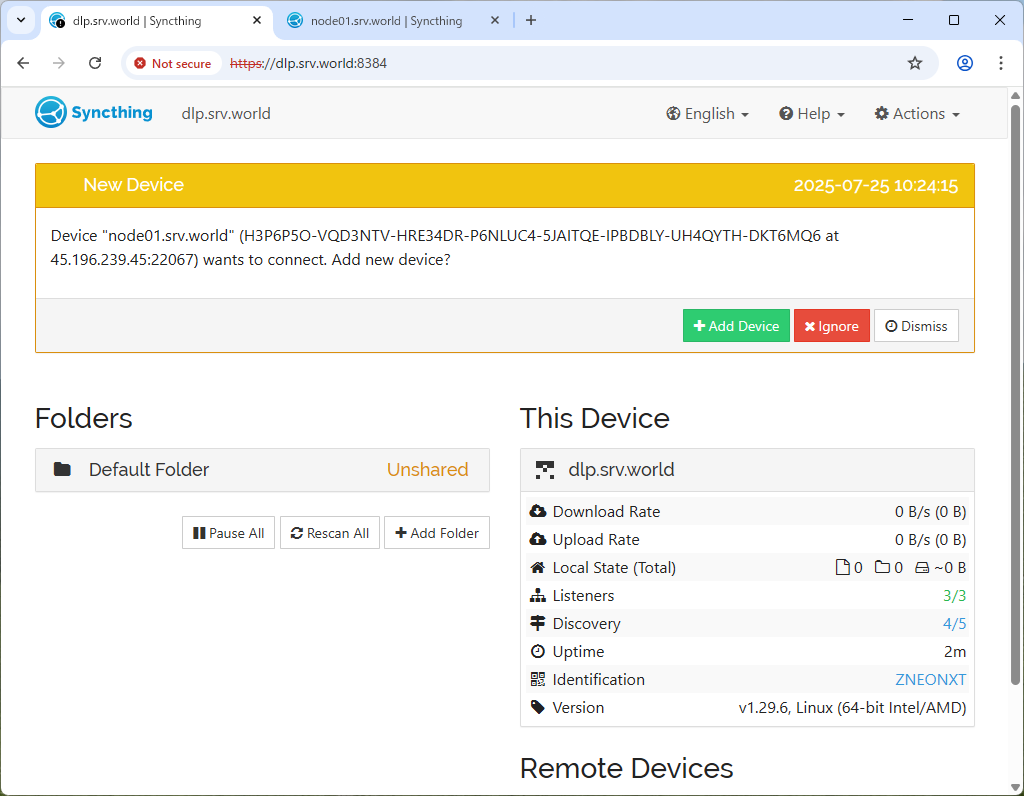
| [9] | When you return to the host for which you confirmed the connection ID,
a message will appear indicating that a connection request has been made. Click [Add Device] to add the host to which you want to connect. |
|
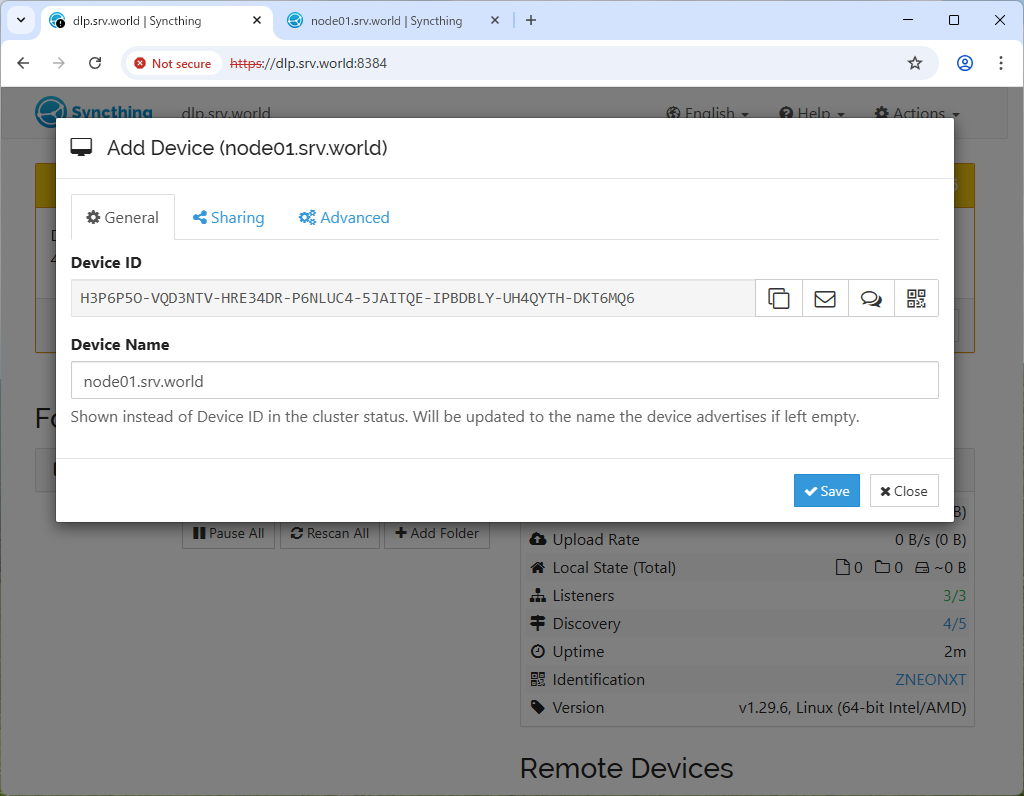
| [10] | You will see the host that has requested a connection. Now go to the [Sharing] tab. |
|
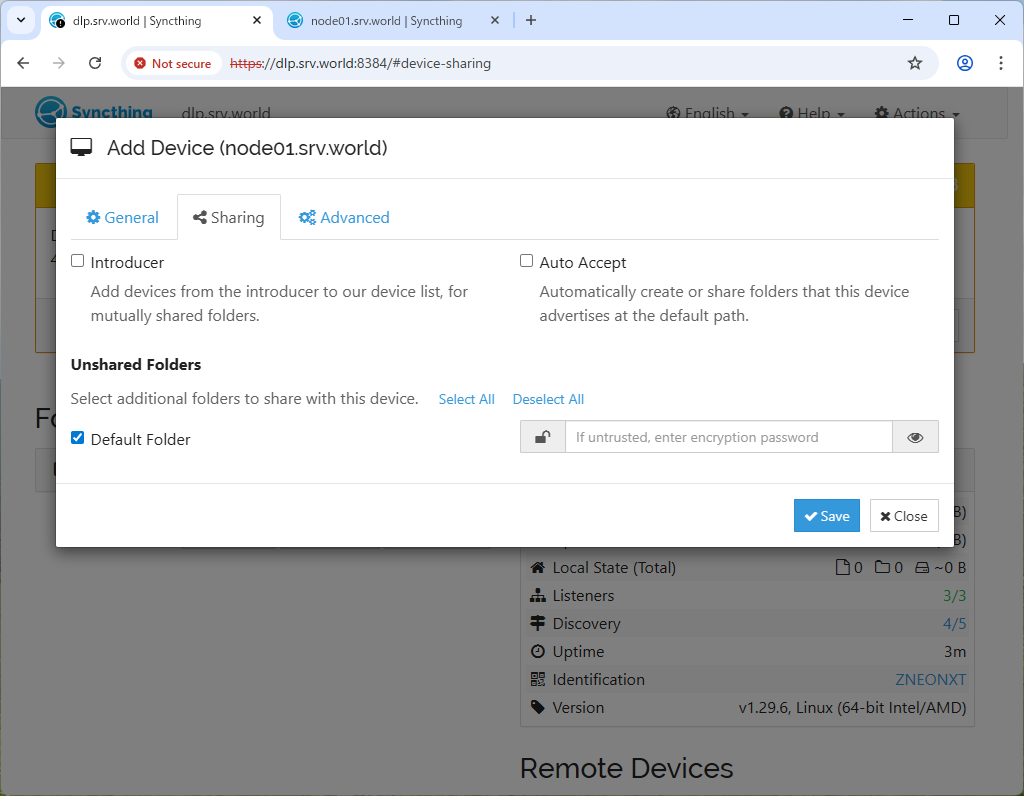
| [11] | Check the host that requested the connection to synchronize the default folder [/home/(username)/Sync] and click the [Save] button. |
|
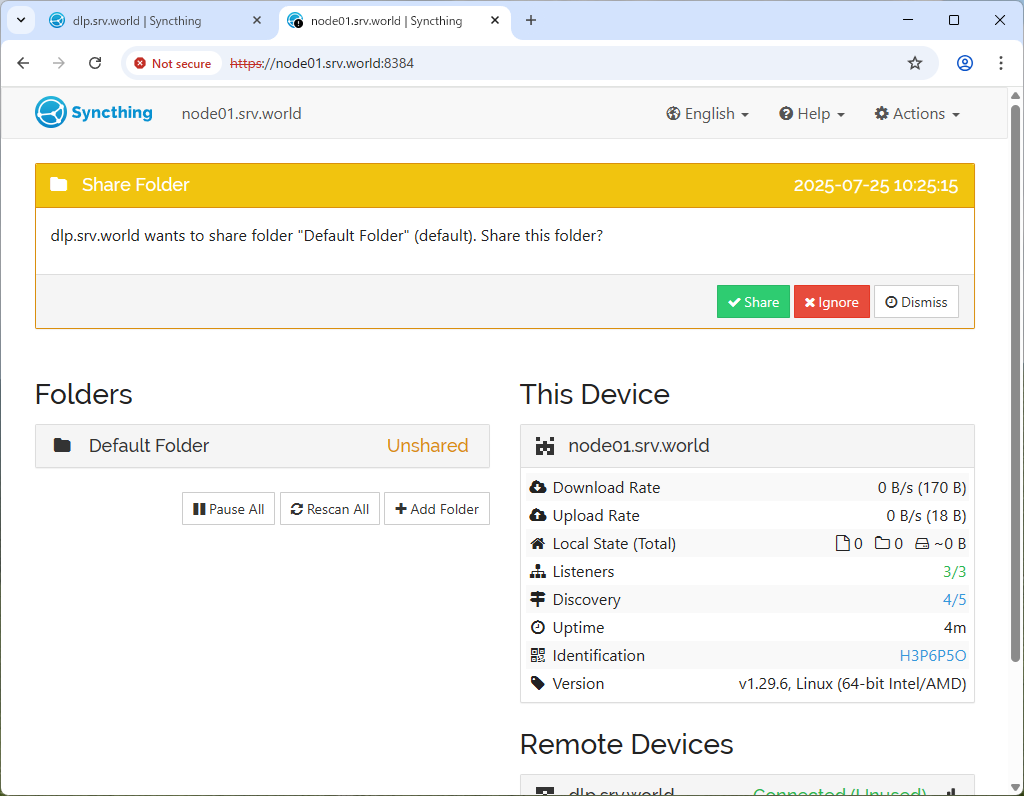
| [12] | When you return to the host that made the connection request,
a message will appear indicating that a synchronization request has been made. Click [Share] to add the folder to be synchronized. |
|
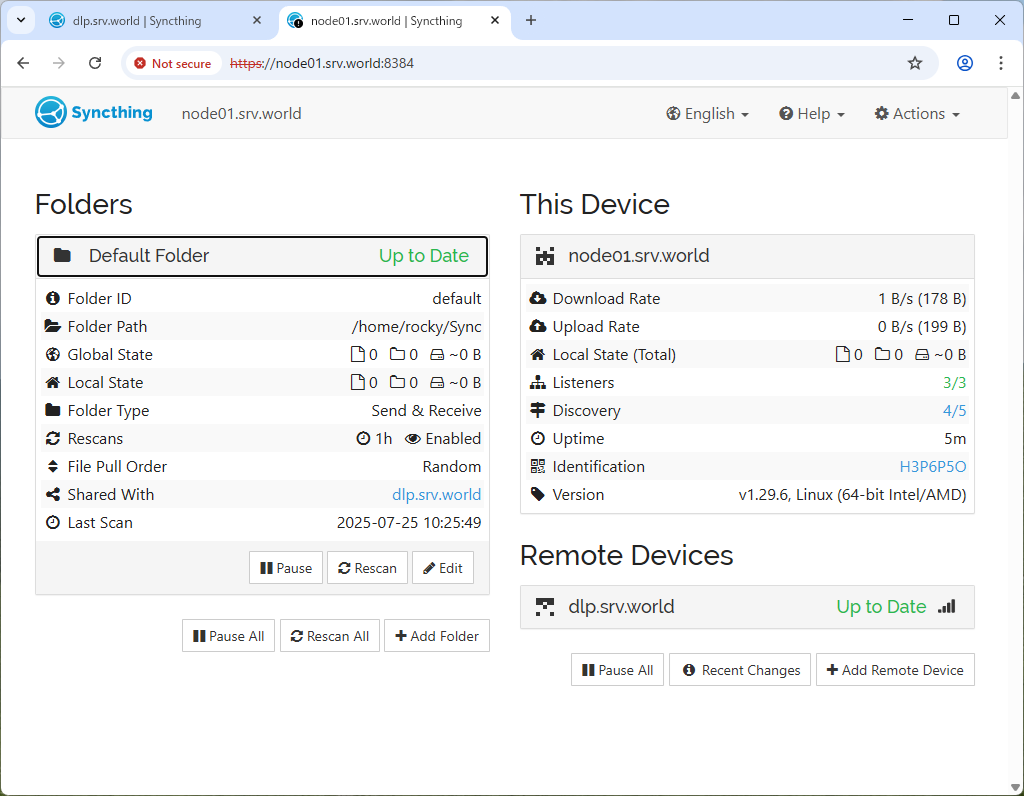
| [13] | Now that the synchronization setup is complete, add or remove files on both hosts to verify that they are syncing properly. |
|
Matched Content