Install Red Hat Enterprise Linux 82019/05/08 |
|
Install Red Hat Enterprise Linux 8 ( released on May 7 2019, supported untill May 2029 ).
Before installation, you need to get Installation DVD or ISO image from RedHat.
|
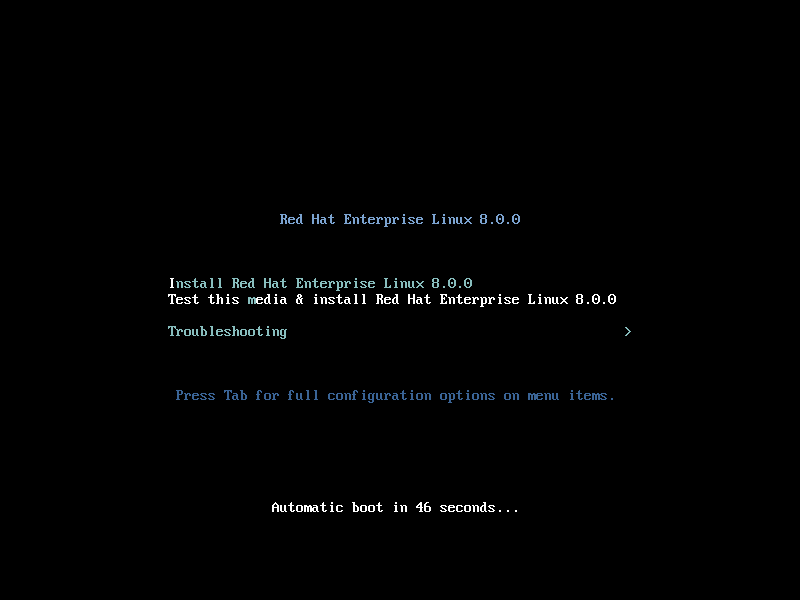
| [1] | Set Installation DVD and start Computer, then RHEL 8 Installaer starts. Push Enter key to proceed to next step. |
|
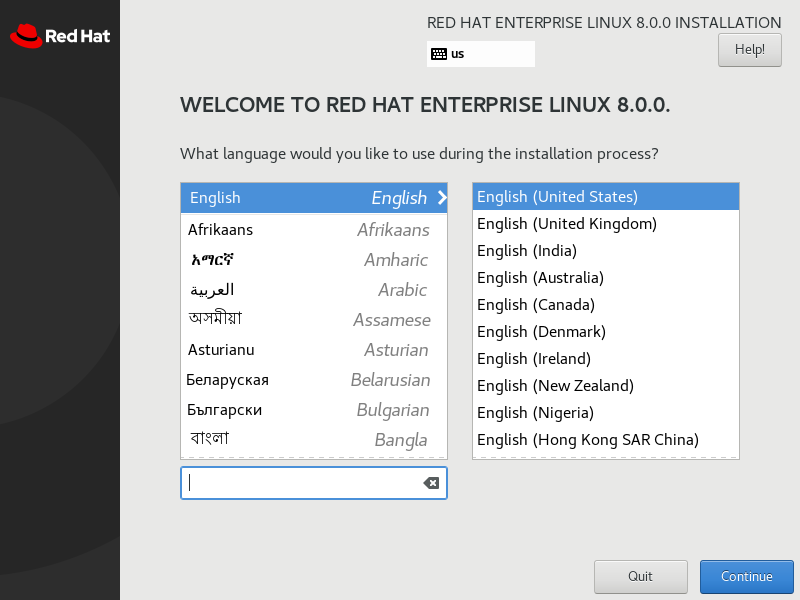
| [2] | Select the language you'd like to use during the installation. |
|
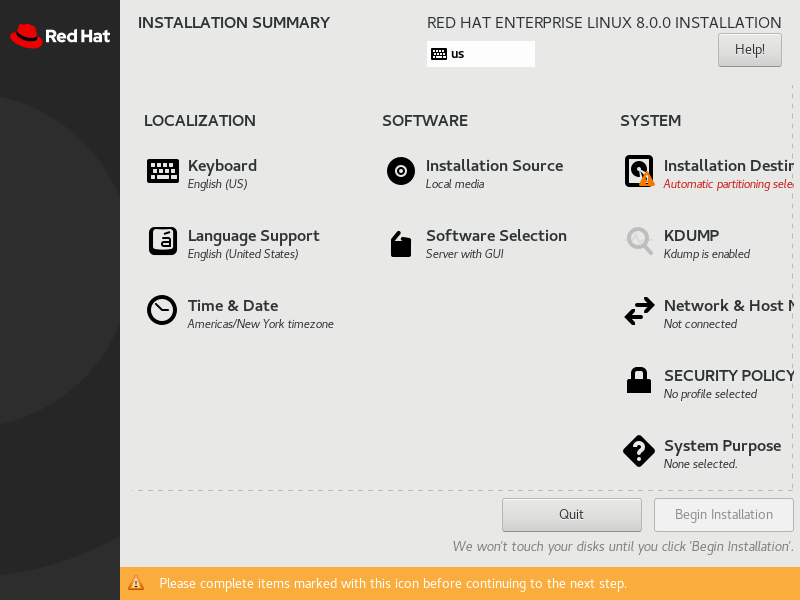
| [3] | This is the default screen for some basic configuration. First, set Keymap, click [Keyboard] icon. |
|
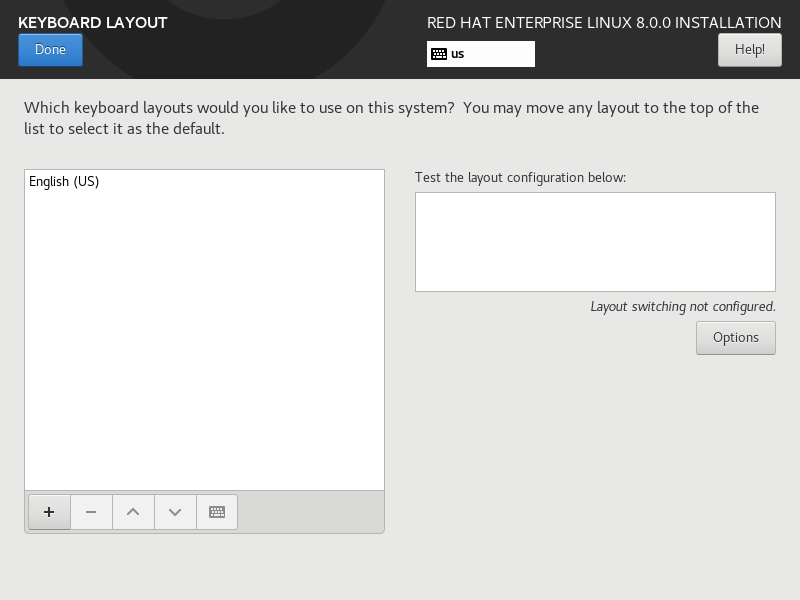
| [4] | Click [+] button on under-left. |
|
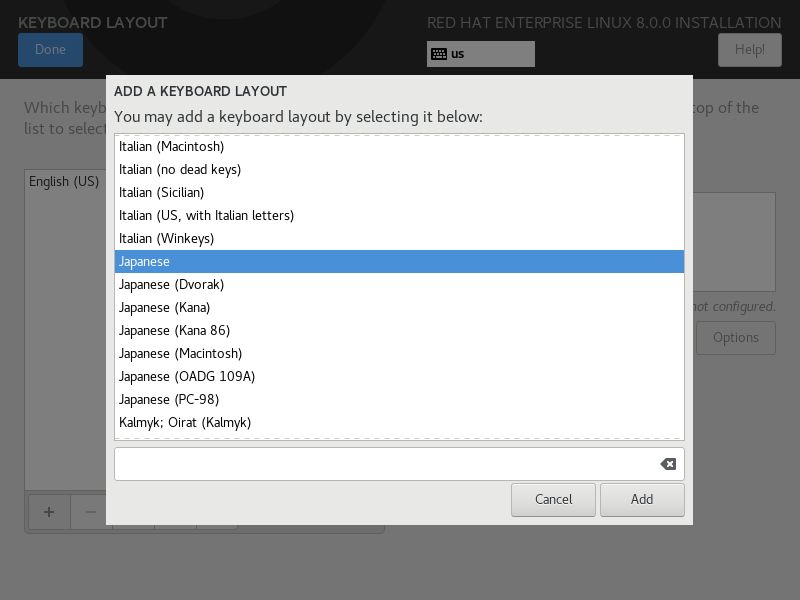
| [5] | Select your keyboard type on the list and click [Add] button. |
|
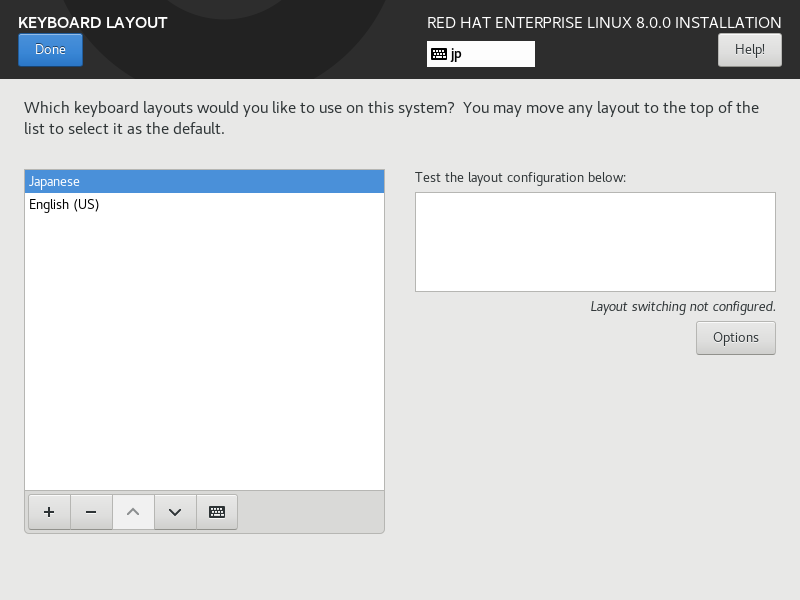
| [6] | After adding keyboard layout, send up your keyboard on the top for 1st priority like follows and Click [Done] button which is upper left to finish. |
|
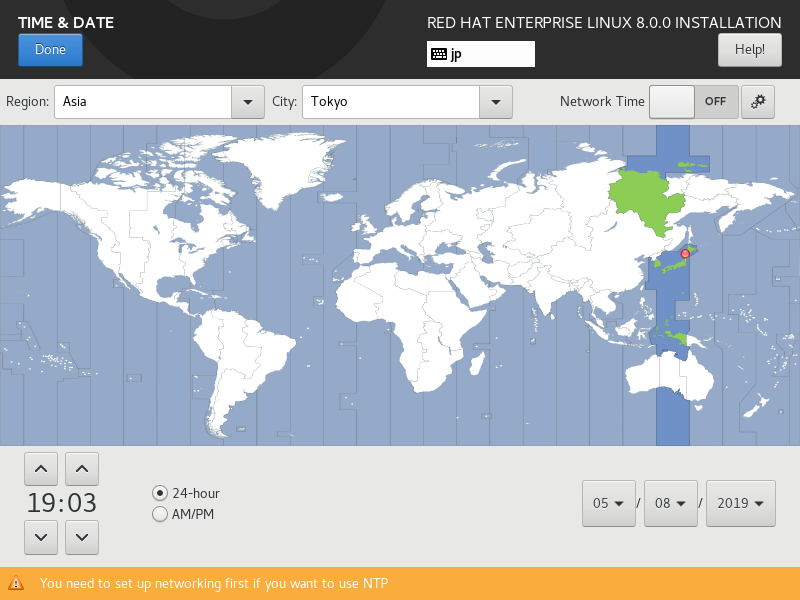
| [7] | Back to the default screen of [3], next, set timezone, click [Time & Date] icon and Click a point on the map you'd like to set your timezone and push [Done] button which is on the upper left. |
|
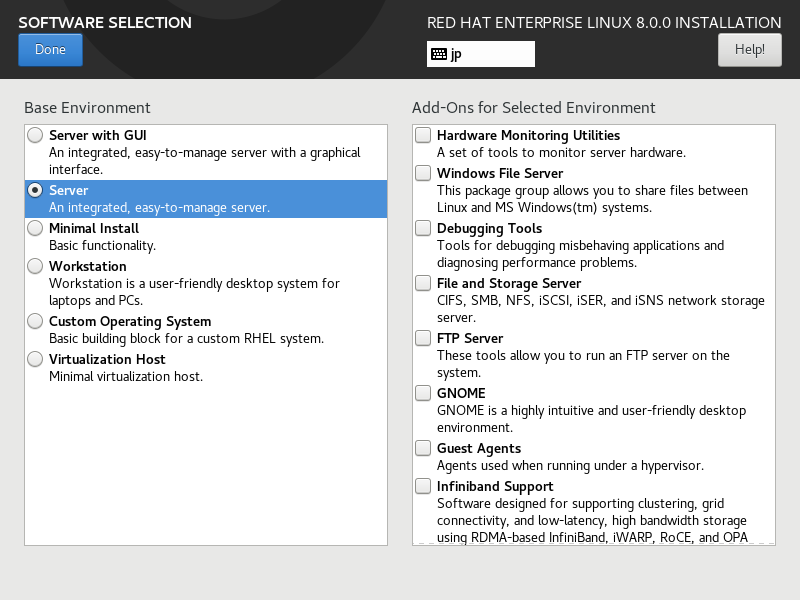
| [8] | Back to the default screen of [3], next, Set software selection to install. Click [Software Selection] icon, then following screen is shown. Select the base environment you'd like to install. (On this example, selected [Server]) |
|
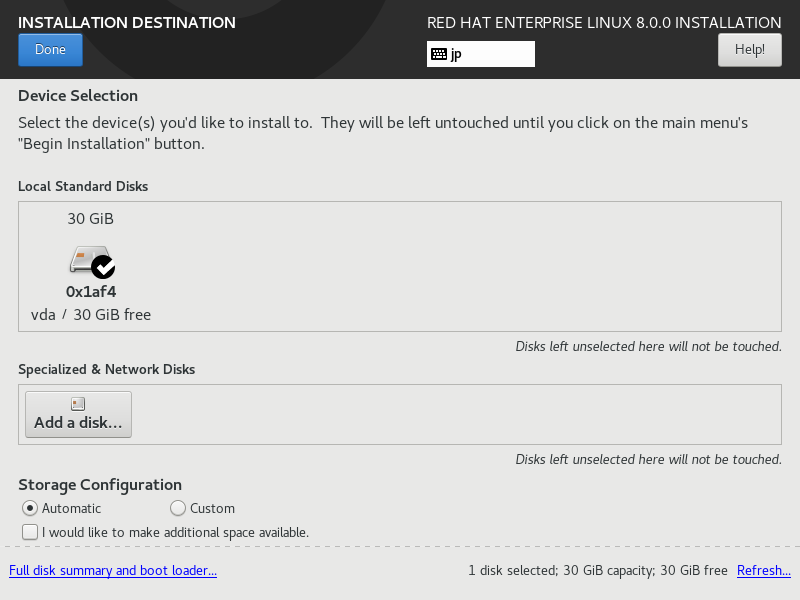
| [9] | Back to the default screen of [3], next, Click [Installation Destination], then following screen is shown. If some HDDs are attached on your computer, select installation destination disk. Furthermore, if you'd like to edit the partition layouts manually, select [I will configure partitioning], if you select [Automatically configure partitioning], partitioning are automatically done. If it's OK all, click [Done] button which is upper-left to finish this section. |
|
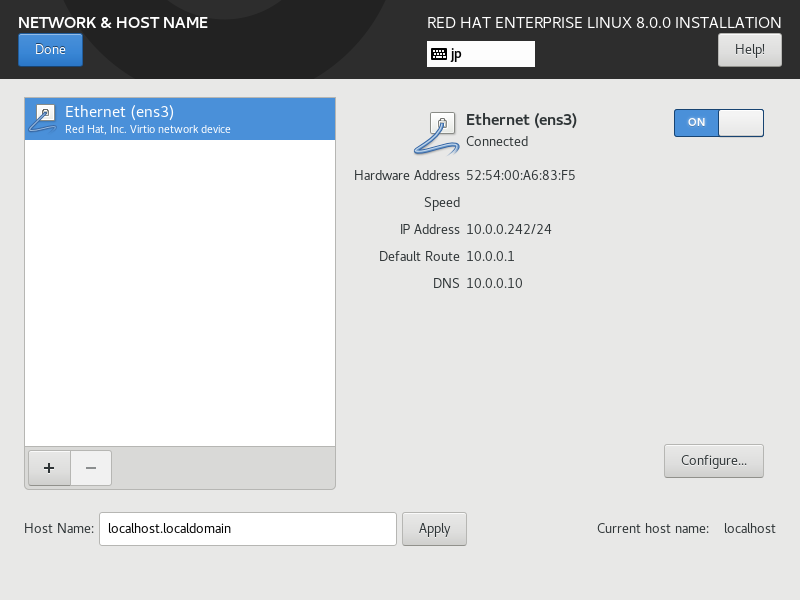
| [10] | Back to the default screen of [3], next, Click [Network & Hostname], then following screen is shown. By default, Networking is disabled but if you'd like to enable during installation, turn to [ON]. Also it's possible to set Hostname on this section. |
|
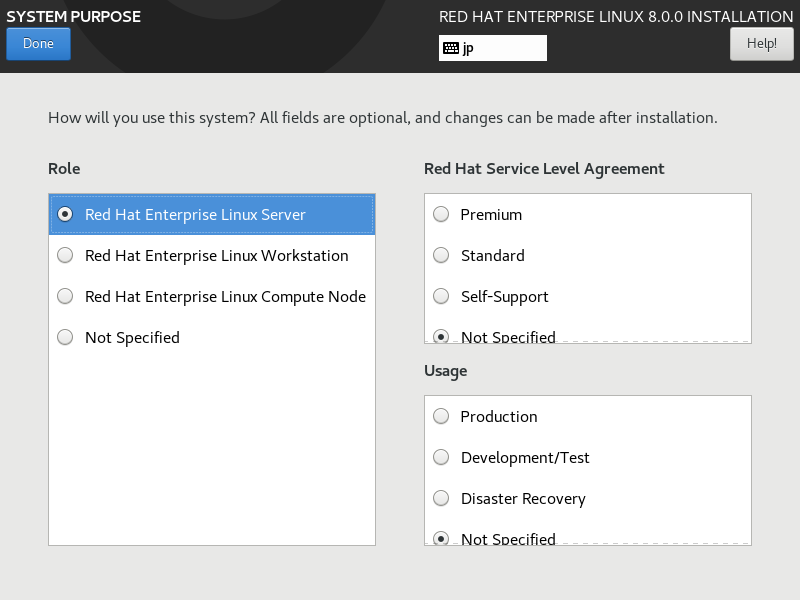
| [11] | Back to the default screen of [3], next, Click [System Purpose] icon, then following screen is shown. Select appropriate purpose of your System on the list. |
|
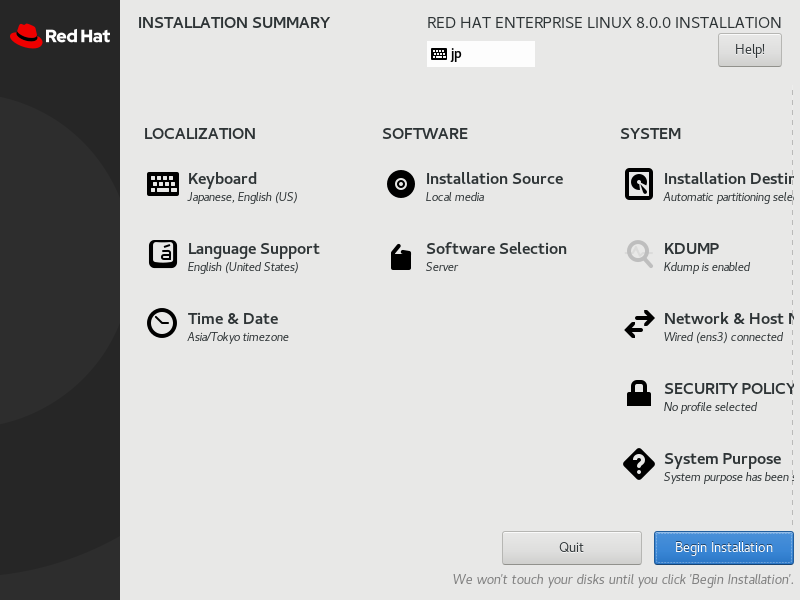
| [12] | If that's OK all, click [Begin Installation] and proceed to next. |
|
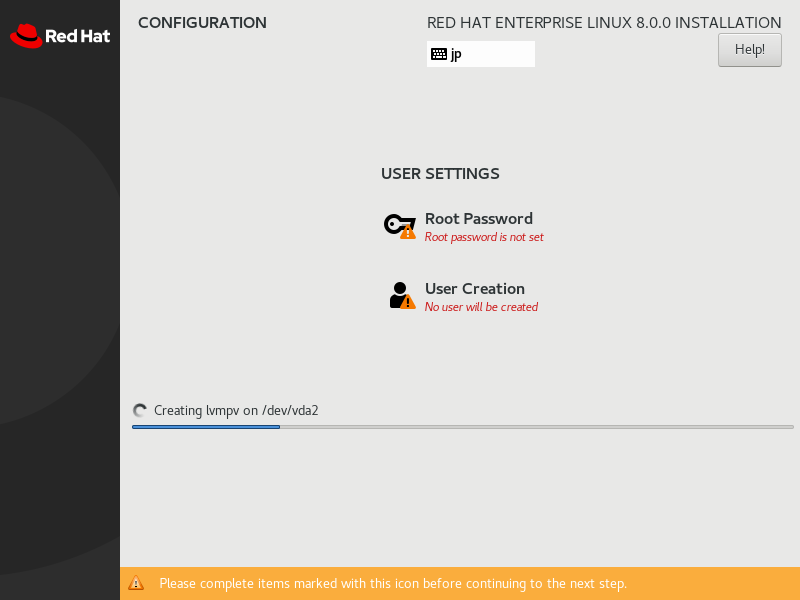
| [13] | Installation starts and required to set root password and to create a common user. Click the each icon and move to configuration. |
|
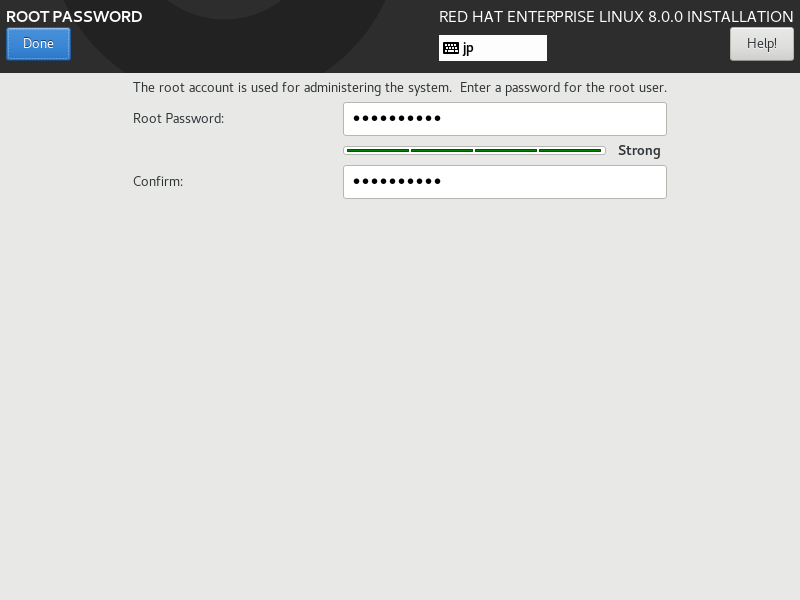
| [14] | On the root password settings, input any password you like and click [Done] button to finish as follows. |
|
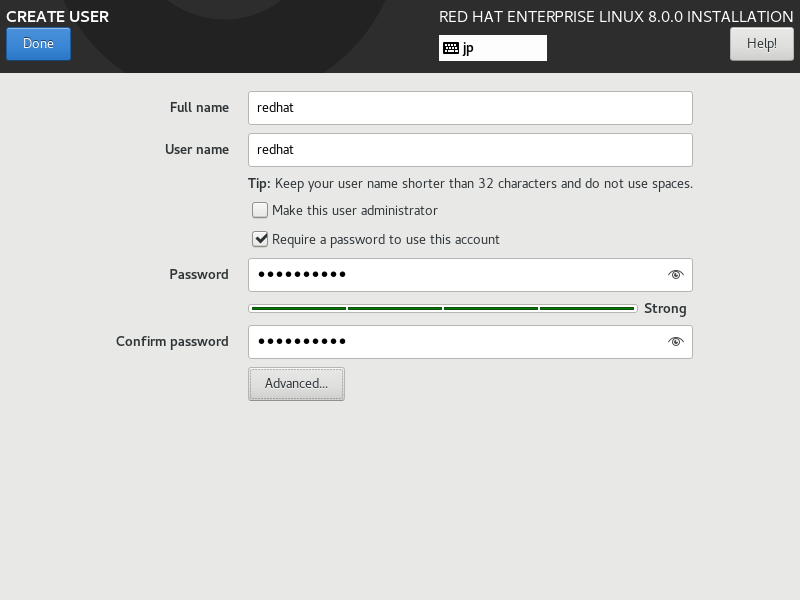
| [15] | On the common user settings, input any username and password you like and click [Done] button to finish as follows. |
|
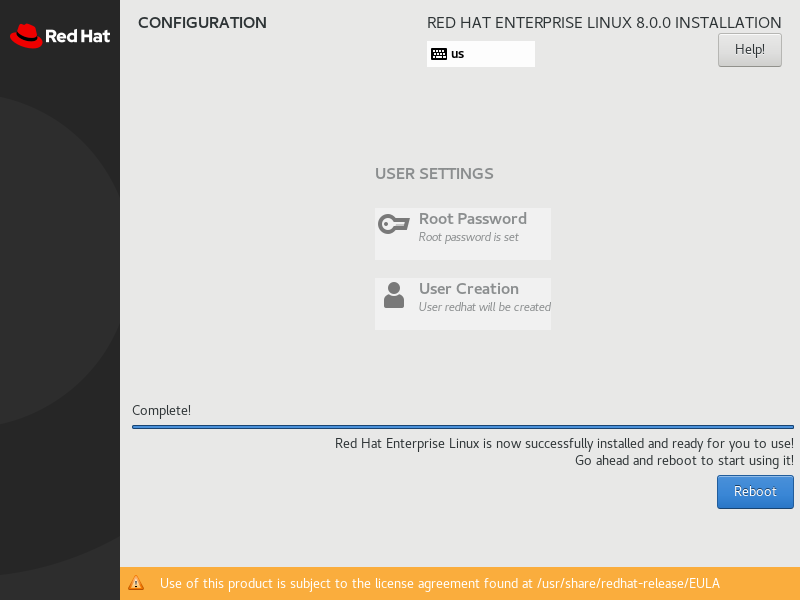
| [16] | Click [Reboot] in the lower right after finishing installation. |
|
| [17] |
After finishing Installation and restarting computer, then login prompt is shown like follows.
Login with root user account or the common user account you added during Installation. If possbile logined normally, your REHL 8 Installation has just completed.
After initial login, To assgin valid subscription to your System,
then you can connect to Redhat network. To connect to RedHat network, you can update your System or install additional applications.
|
Red Hat Enterprise Linux 8.0 (Ootpa) Kernel 4.18.0-80.el8.x86_64 on an x86_64 Activate the web console with: systemctl enable --now cockpit.socket localhost login: |
Matched Content