Create Virtual Machines2023/03/10 |
|
Create Virtual Machines.
|
|
| [1] | To create on shell access, configure like follows. The example below creates a Virtual Machine of CentOS Stream 9. |
|
# create a VM # vim-cmd vmsvc/createdummyvm [any VM name] [Path of Datastore for VM related files] [root@ctrl:~] vim-cmd vmsvc/createdummyvm "CentOS_Stream_9" /vmfs/volumes/datastore1 6 vim-cmd vmsvc/getallvms Vmid Name File Guest OS Version Annotation 6 CentOS_Stream_9 [datastore1] CentOS_Stream_9/CentOS_Stream_9.vmx otherGuest vmx-19[root@ctrl:~] esxcli network vswitch standard portgroup list Name Virtual Switch Active Clients VLAN ID ------------------ -------------- -------------- ------- Management Network vSwitch0 1 0 VM Network vSwitch0 0 0[root@ctrl:~] ll /vmfs/volumes/datastore1/ISO total 15962240 drwxr-xr-x 1 root root 73728 Mar 10 01:00 . drwxr-xr-t 1 root root 73728 Mar 10 02:00 .. -rwxr-xr-x 1 root root 9326034944 Mar 10 01:01 CentOS-Stream-9-latest-x86_64-dvd1.iso -rwxr-xr-x 1 root root 5550831616 Mar 9 04:28 Win2022_EN-US_20348.169.210806-2348.fe.iso -rw-r--r-- 1 root root 1466714112 Mar 9 07:23 ubuntu-22.04-live-server-amd64.iso # extend virtual storage for VM # * example below sets 30G [root@ctrl:~] vmkfstools -X 30g /vmfs/volumes/datastore1/CentOS_Stream_9/CentOS_Stream_9.vmdk Grow: 100% done. # set parameters for VM # numvcpus : number of virtual CPU # memSize : memory size # ethernet0.networkName : port group that VM connects # sata0:0.fileName : path of installation ISO image # guestOS : type of guest OS # CentOS Stream9 = centos9-64 # RHEL 9 = rhel9-64 # Ubuntu (All ver) = ubuntu-64 # Windows 2022 = windows2019srvnext-64 # Windows 11 = windows11-64 [root@ctrl:~] sed -i -e '/^guestOS /d' /vmfs/volumes/datastore1/CentOS_Stream_9/CentOS_Stream_9.vmx [root@ctrl:~] cat >> /vmfs/volumes/datastore1/CentOS_Stream_9/CentOS_Stream_9.vmx <<'EOF' numvcpus = "2" memSize = "4096" guestOS = "centos9-64" ethernet0.virtualDev = "vmxnet3" ethernet0.networkName = "VM Network" ethernet0.addressType = "generated" ethernet0.wakeOnPcktRcv = "FALSE" ethernet0.uptCompatibility = "TRUE" ethernet0.present = "TRUE" sata0.present = "TRUE" sata0:0.present = "TRUE" sata0:0.deviceType = "cdrom-image" sata0:0.fileName = "/vmfs/volumes/datastore1/ISO/CentOS-Stream-9-latest-x86_64-dvd1.iso" EOF # reload settings [root@ctrl:~] vim-cmd vmsvc/reload 6
# power on [root@ctrl:~] vim-cmd vmsvc/power.on 6 Powering on VM:
[root@ctrl:~]
vim-cmd vmsvc/power.getstate 6 Retrieved runtime info Powered on # * after booting VM, connect to it via VMware Host Client or VMware Remote Console # * ESXi 7 and later, integrated VNC server has been removed |
|
To create on VMware Host Client, configure like follows.
|
|
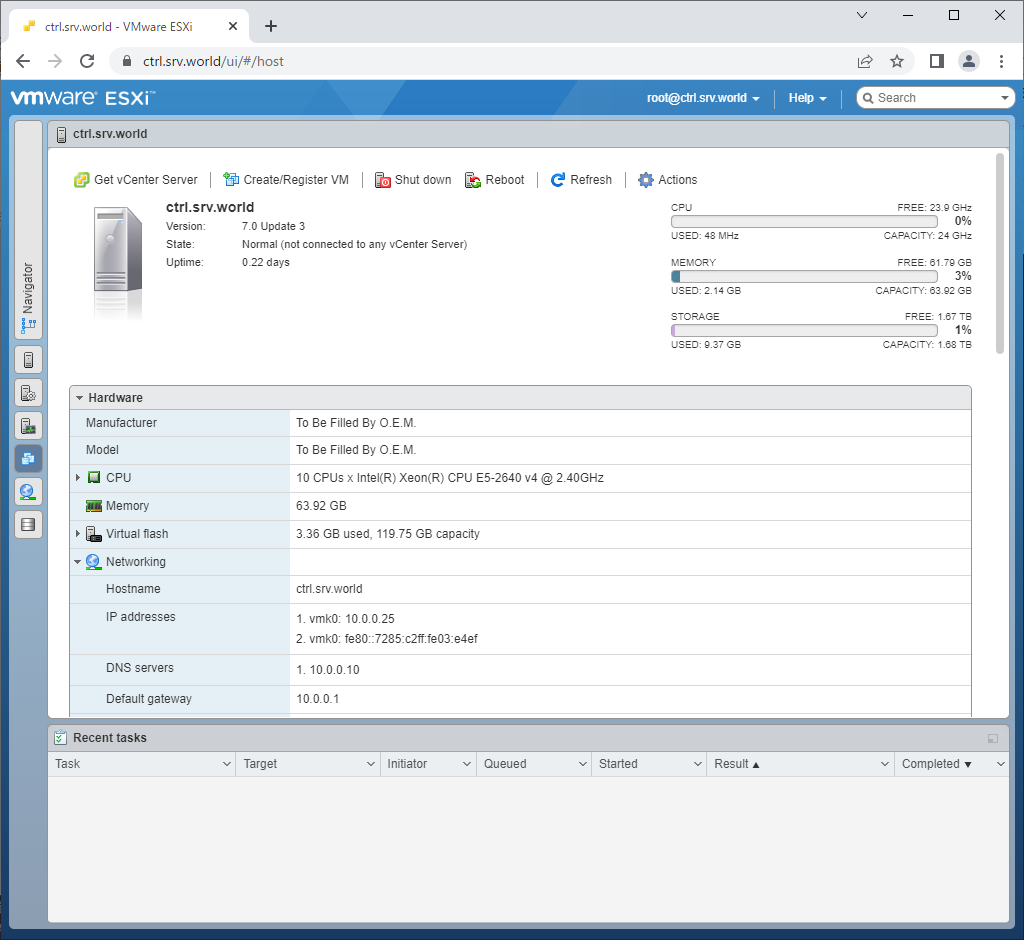
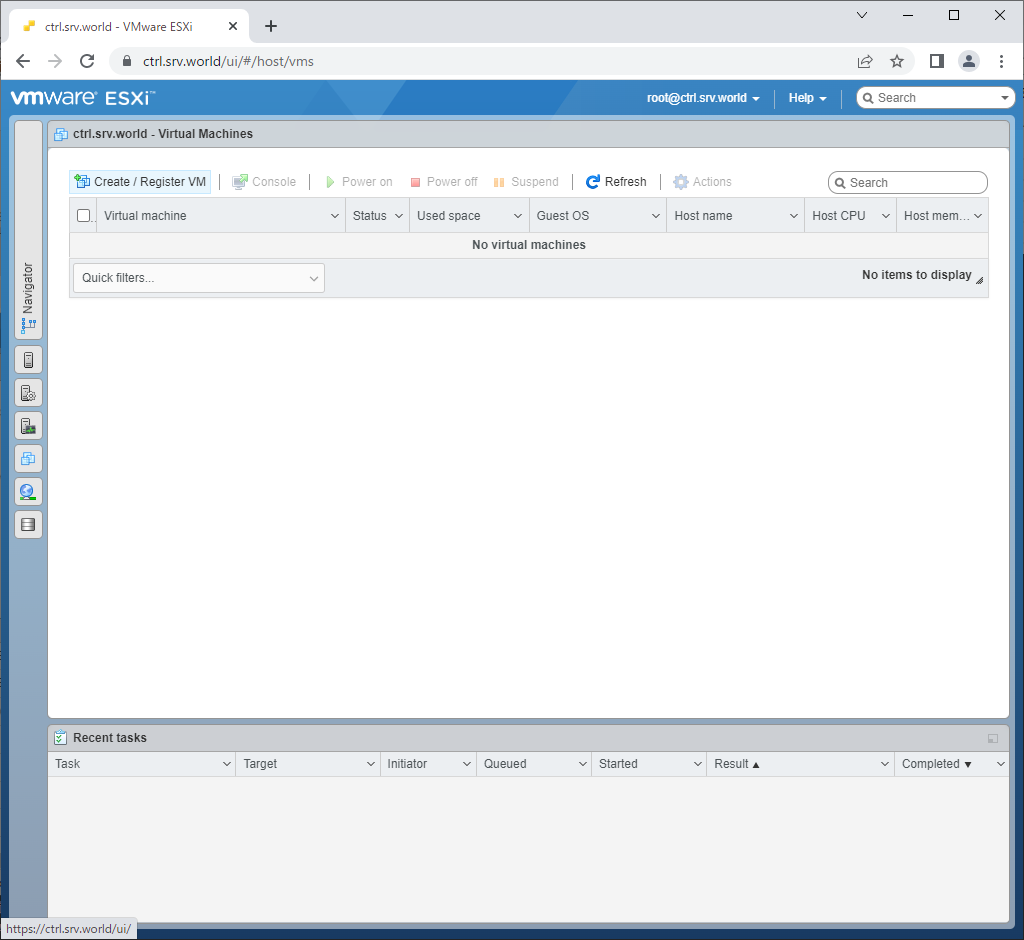
| [2] | Login to VMware Host Client with root user account and click [Virtual Machines] icon that is under [Navigator] menu. |
|
| [3] | Click [Create / Register VM] button. |
|
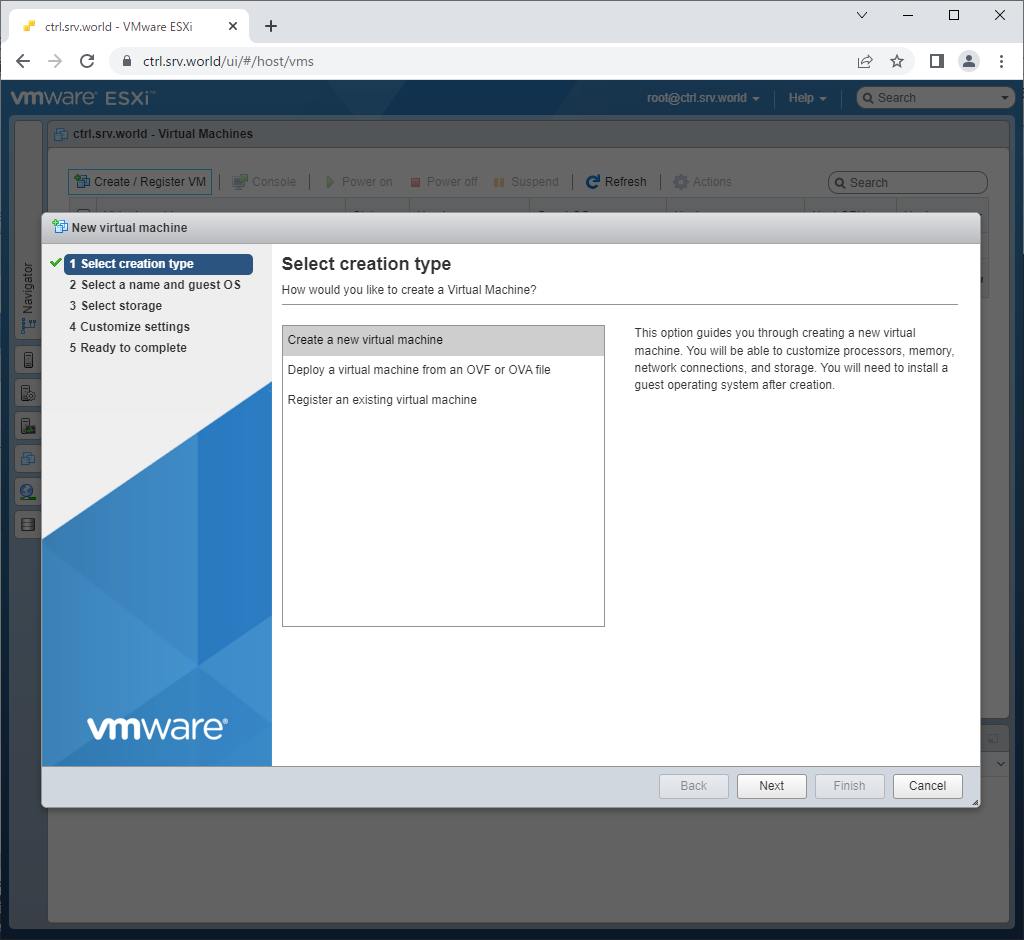
| [4] | Select [Create a new Virtual Machine] and proceed to next. |
|
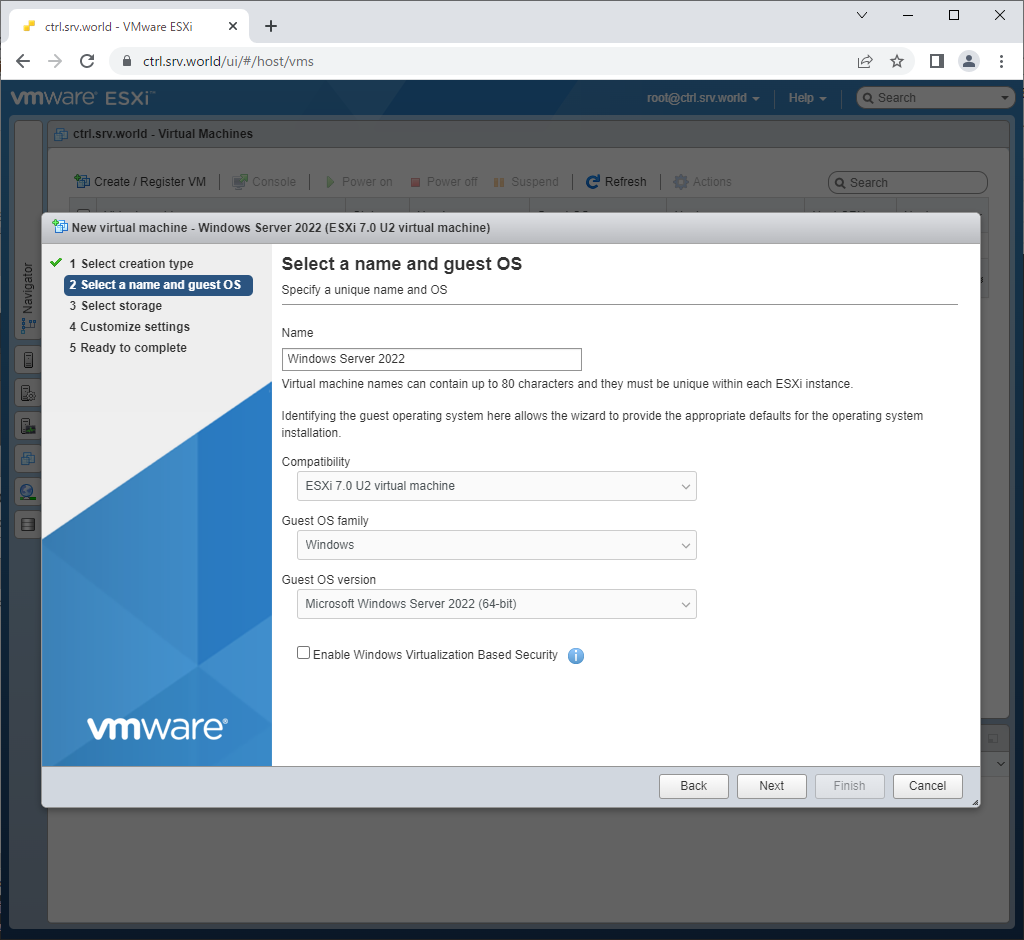
| [5] | Input any Virtual Machine name and type of Guest OS. |
|
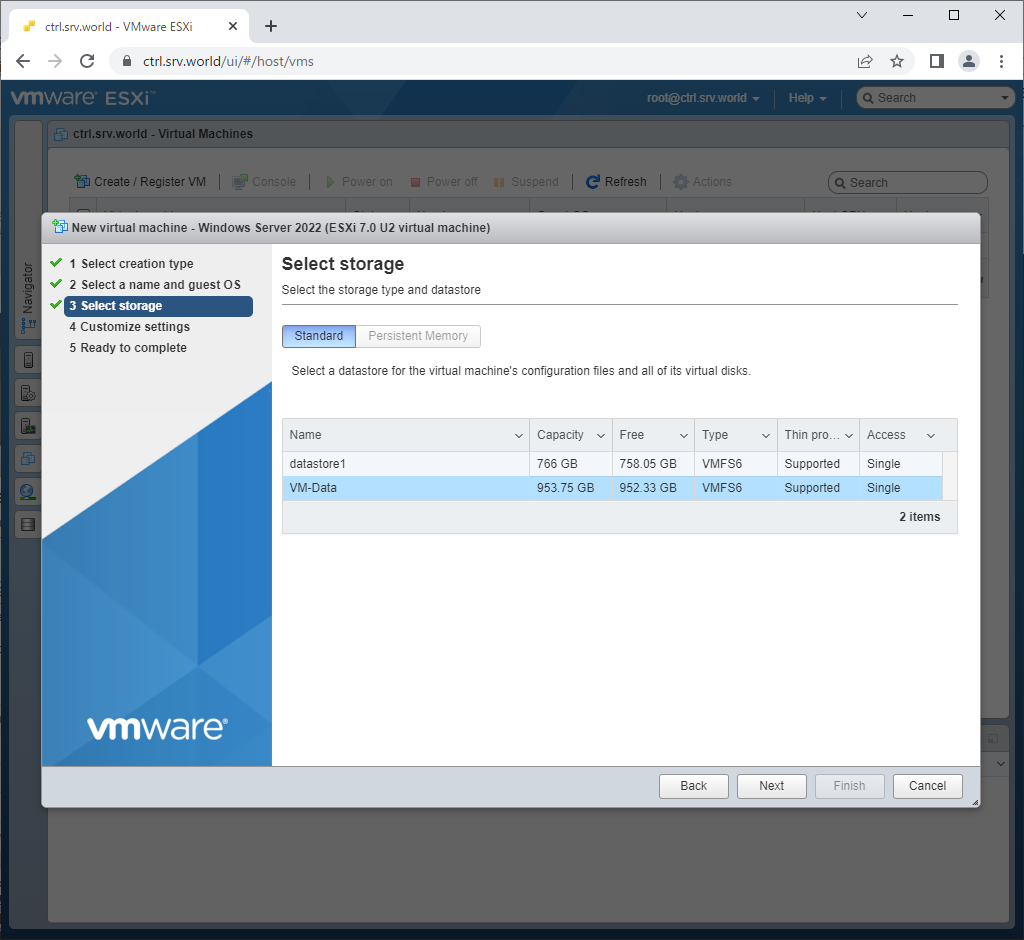
| [6] | Select a Datastore you like to locate files for this Virtual Machine. |
|
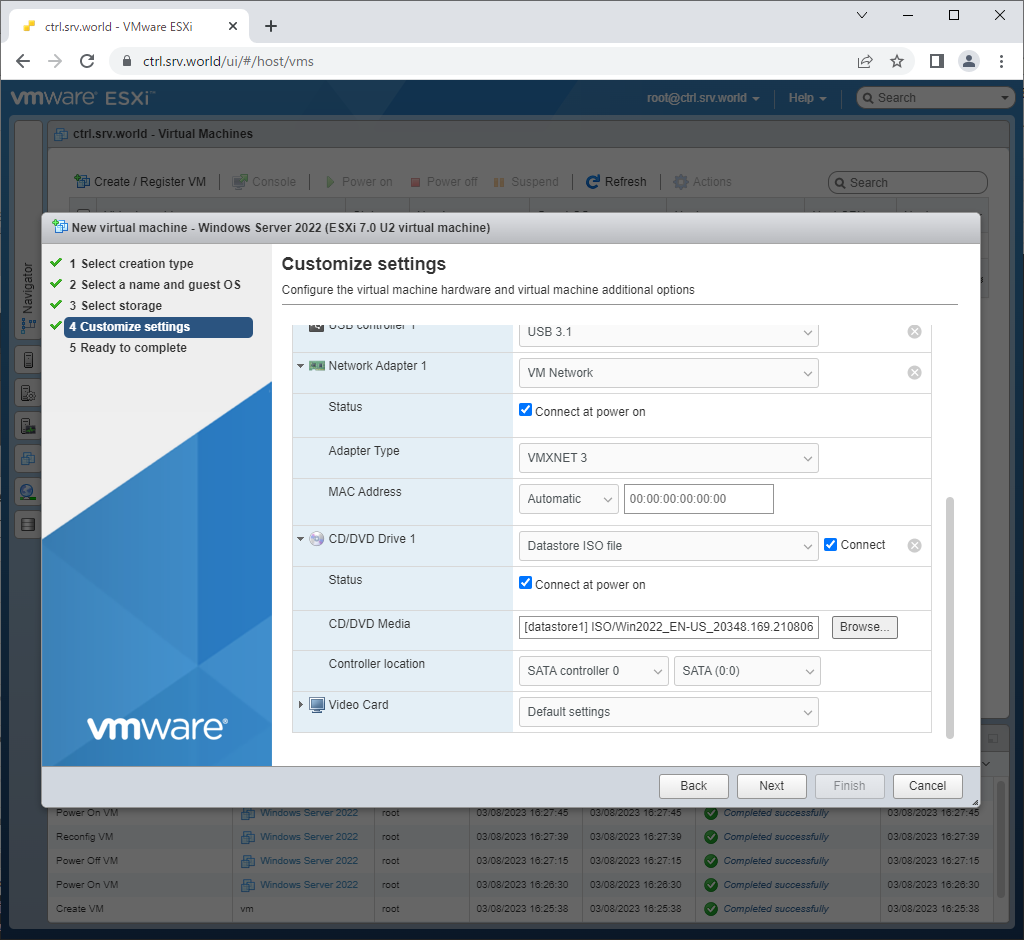
| [7] | Set parameters for Virtual Machine. For [Network Adapter] section, select [VMXNET 3] if you don't have specific requirements like that you like to install pretty old OS. |

|
| [8] | For [CD/DVD Drive] section, select [Datastore ISO file] and specify the path of ISO image on [CD/DVD Media] section. |
|
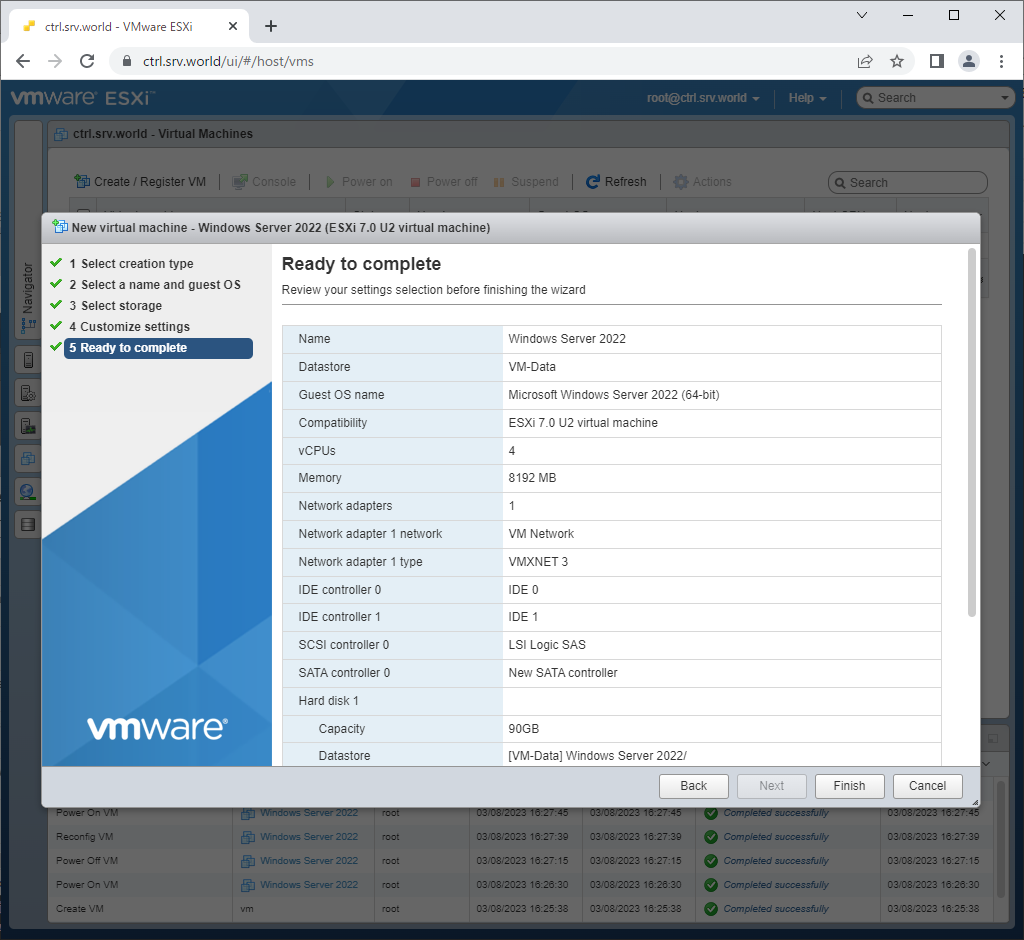
| [9] | Confirm settings and click [Finish] button if that's OK. |
|
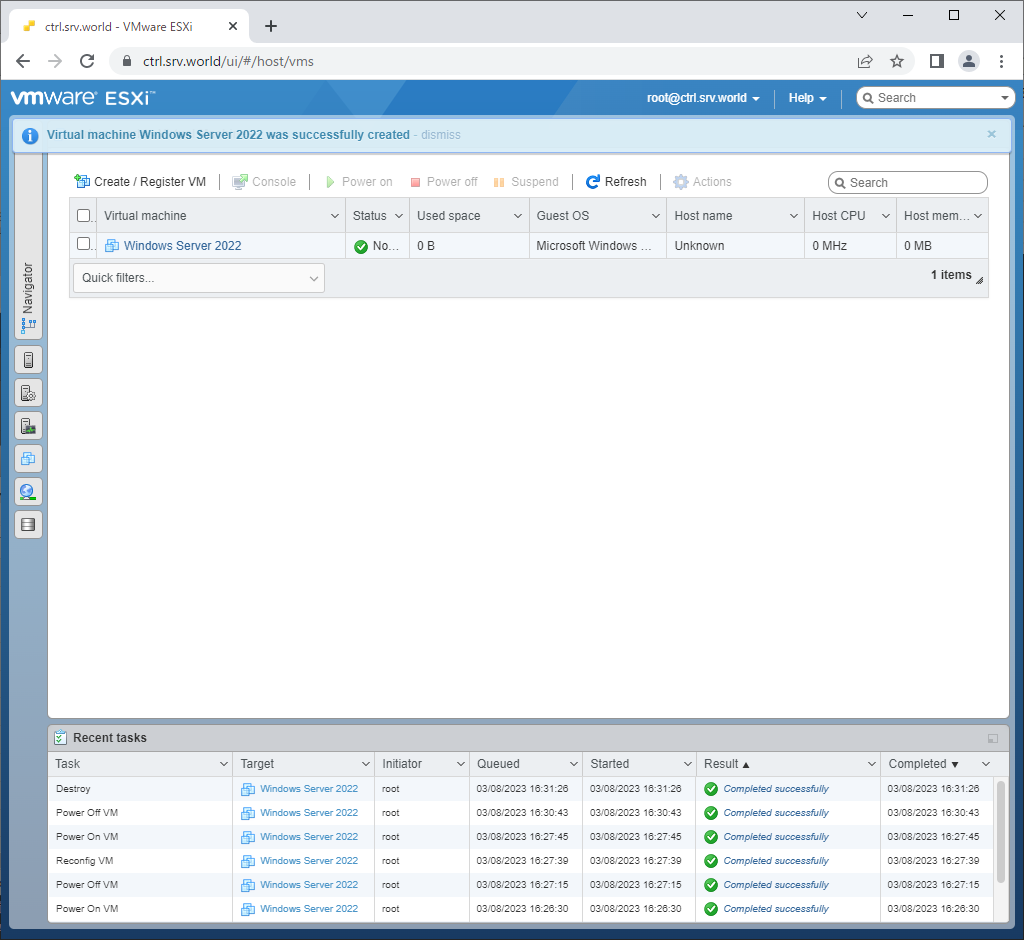
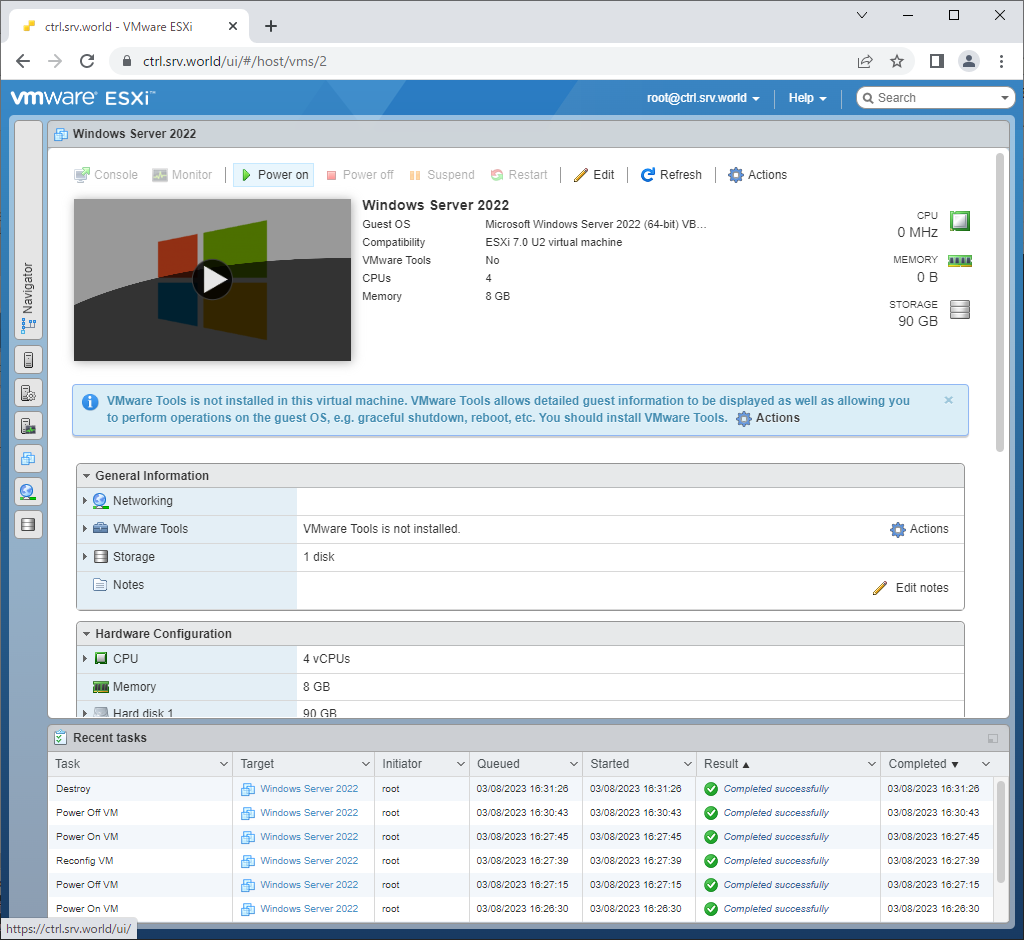
| [10] | After creating Virtual Machine, it is listed, enter in details to click the name of it. |
|
| [11] | To power on, click the image of Virtual Machine or click [Power on] button. |
|
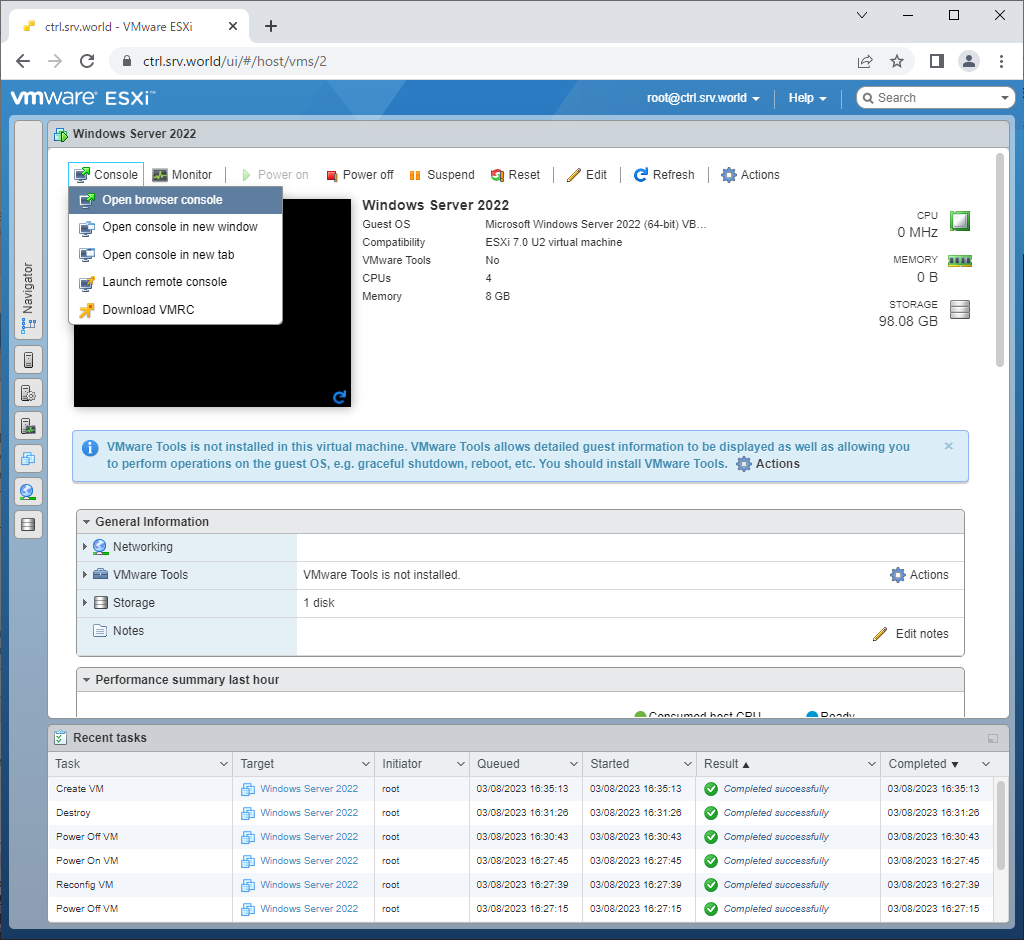
| [12] | To connect to Virtual Machine console, click the image of Virtual Machine or click [Console] button. |
|
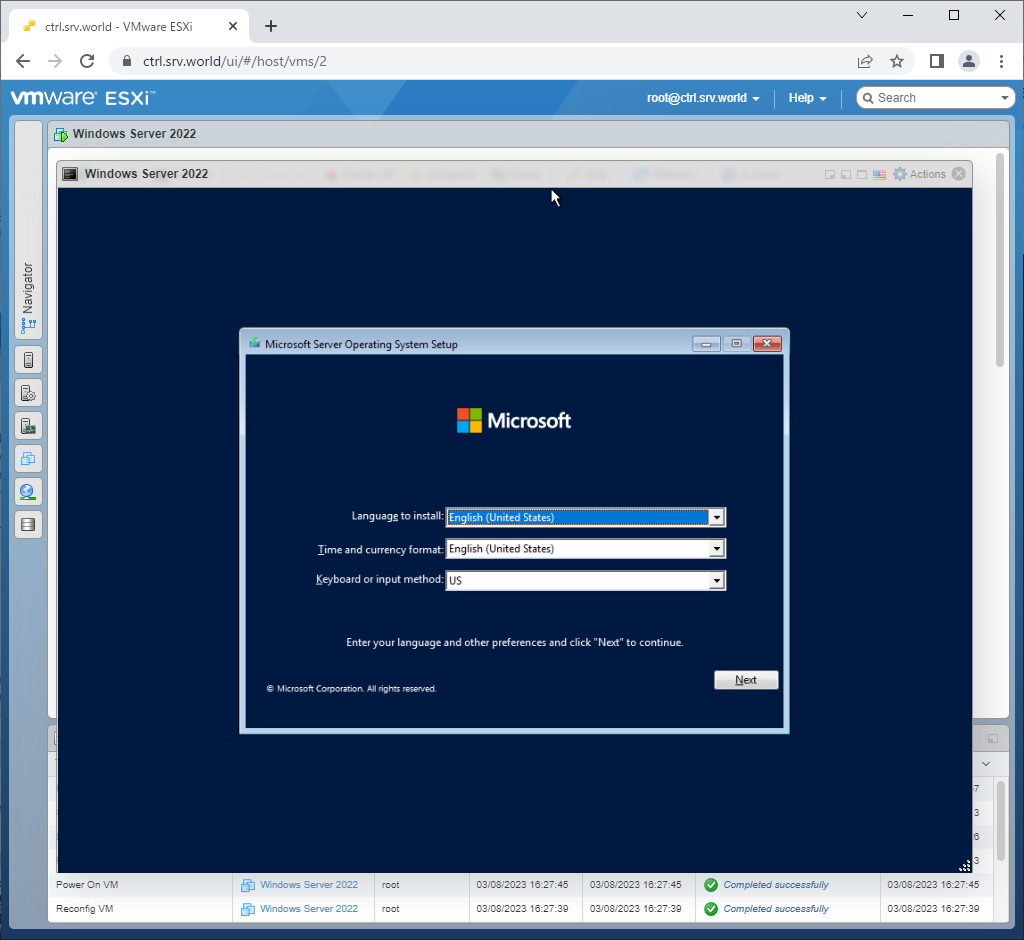
| [13] | After connecting to Virtual Machine console, it's the same way to operate it with regular procedure. |
|
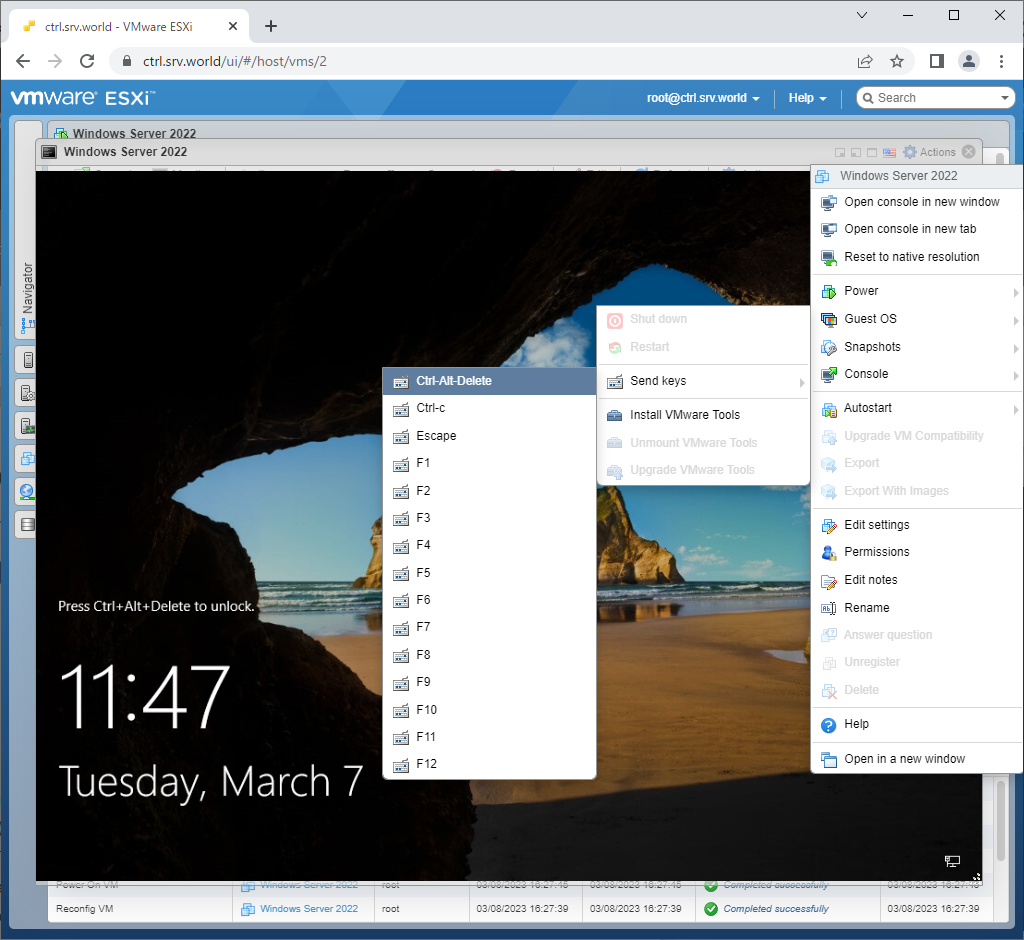
| [14] | To send [Ctrl + Alt + Delete] key and other specific keys, open [Actions] - [Guest OS] - [Send keys] like follows. |
|
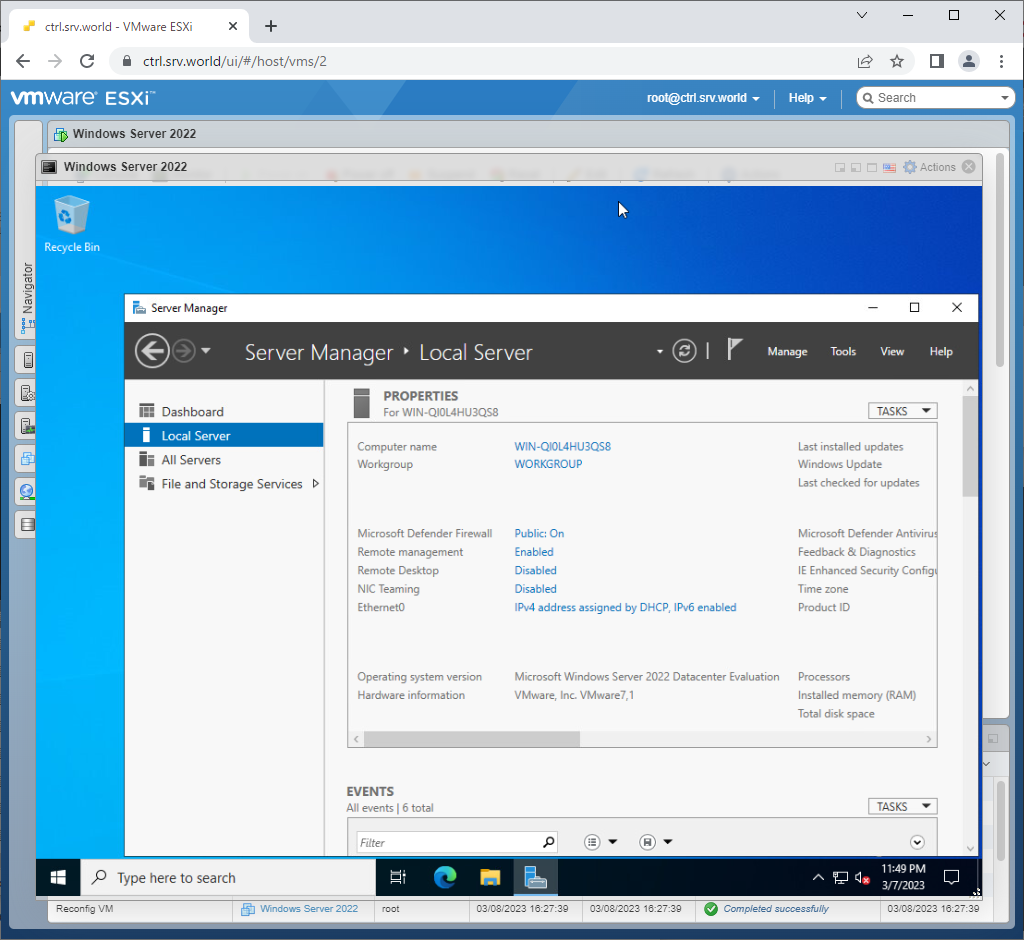
| [15] | After installing GuestOS, login to it and verify networking and other basic features to complete creating a Virtual Machine. |
|
Matched Content