Zabbix 6.0 : Add Monitoring Target (Debian)2023/07/11 |
|
Add Monitoring Target Host. Add a Debian 12 server as an example on here.
|
|
| [1] | Install Zabbix Agent on the server you'd like to add for monitoring target. |
|
root@node01:~# wget https://repo.zabbix.com/zabbix/6.0/debian/pool/main/z/zabbix-release/zabbix-release_6.0-5+debian12_all.deb root@node01:~# dpkg -i zabbix-release_6.0-5+debian12_all.deb Selecting previously unselected package zabbix-release. (Reading database ... 30815 files and directories currently installed.) Preparing to unpack zabbix-release_6.0-5+debian12_all.deb ... Unpacking zabbix-release (1:6.0-5+debian12) ... Setting up zabbix-release (1:6.0-5+debian12) ...
root@node01:~#
vi /etc/zabbix/zabbix_agent2.conf # line 80 : specify Zabbix server Server= 10.0.0.30
# line 133 : specify Zabbix server ServerActive= 10.0.0.30
# line 144 : change to your hostname Hostname= node01.srv.world
systemctl restart zabbix-agent2 |
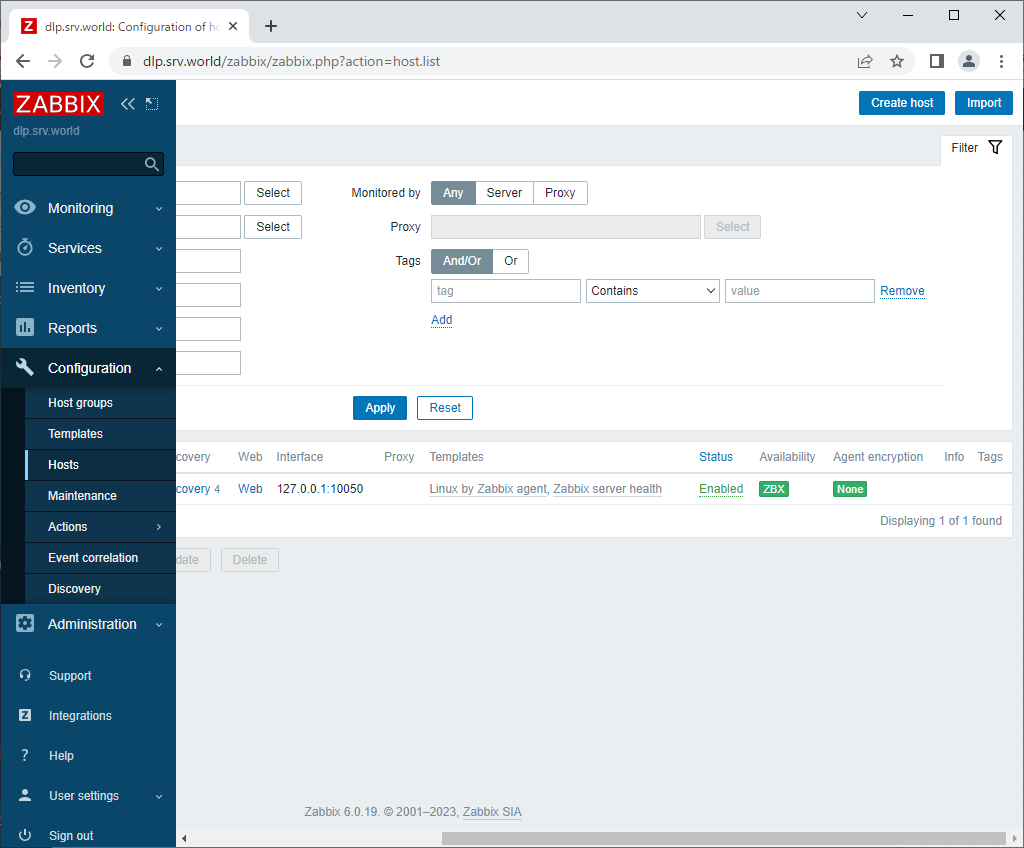
| [2] | Login to Zabbix admin site with admin user and click [Configuration] - [Hosts] on the left pane, and then click [Create Host] button on the upper-right. |
|
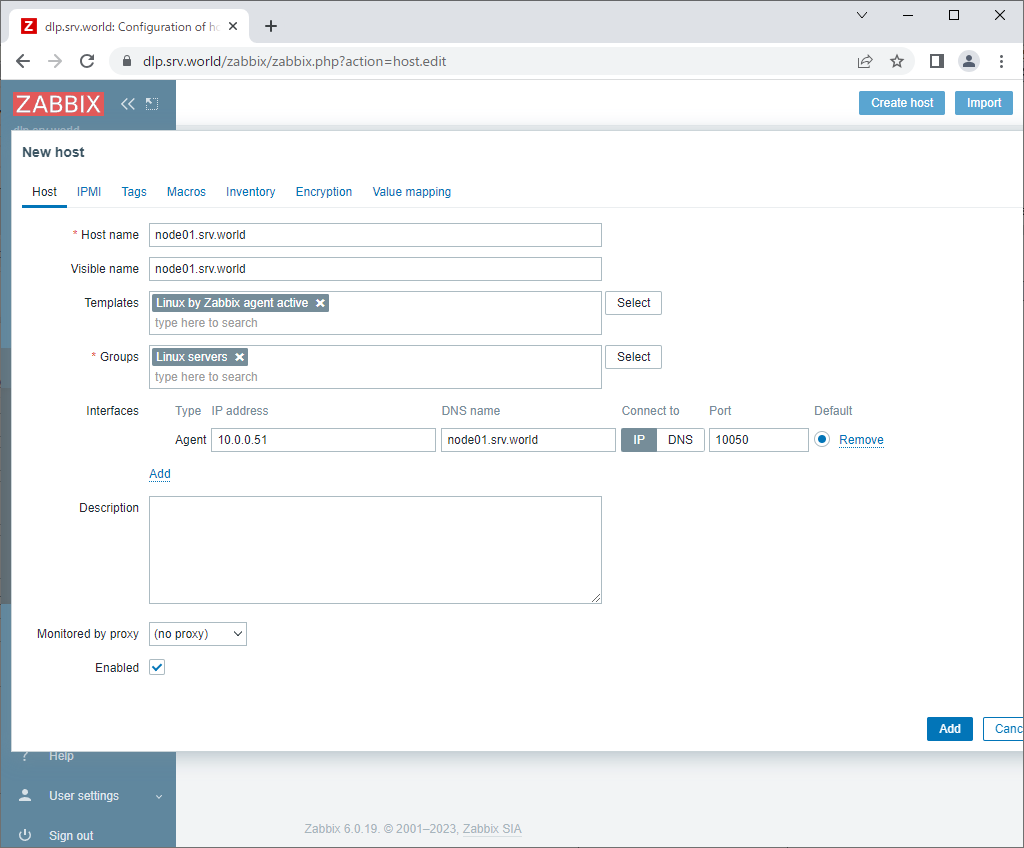
| [3] | Input hostname for [Hostname] field and input any name for [Visible name] field. For [Templates] section, to click [Select] button, monitoring templates are shown, then select a template you'd like to apply to this Host. For general Linux OS, select [Linux by Zabbix agent active] like follows. For [Groups] section, select a group or add a new group you'd like to manage this Host. For [Interfaces] section, input IP address and DNS name of this Host. If that's OK, click [Add] button. |
|
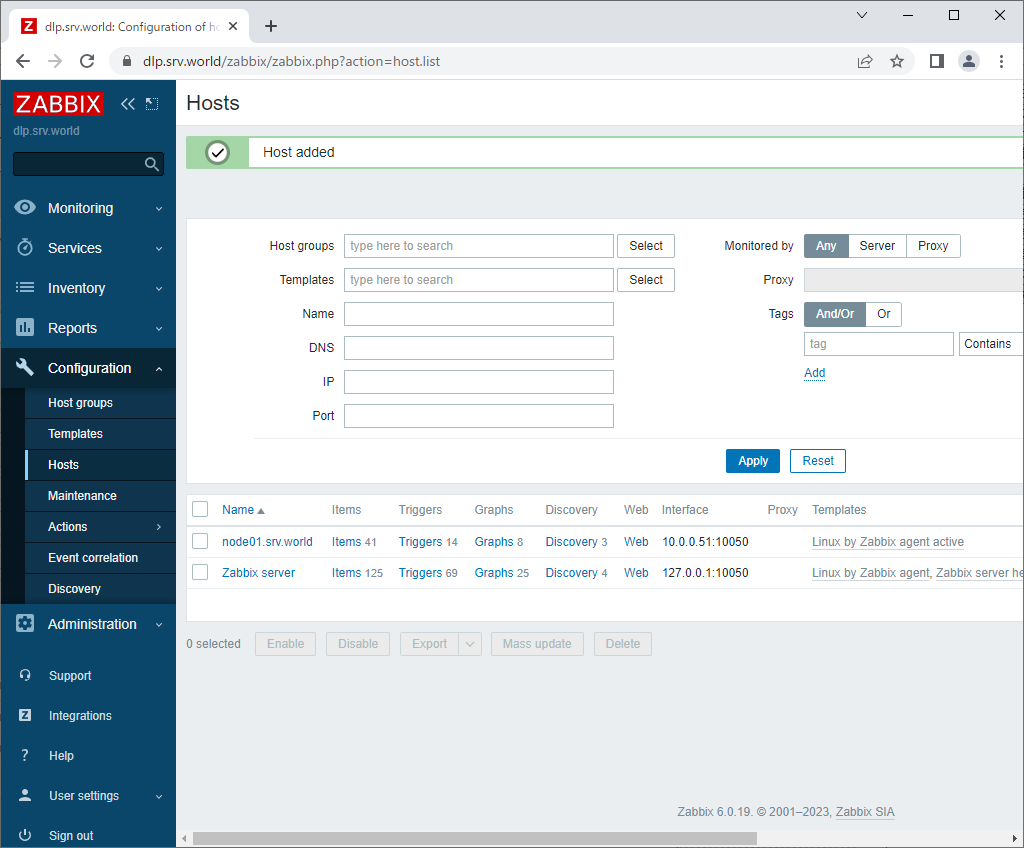
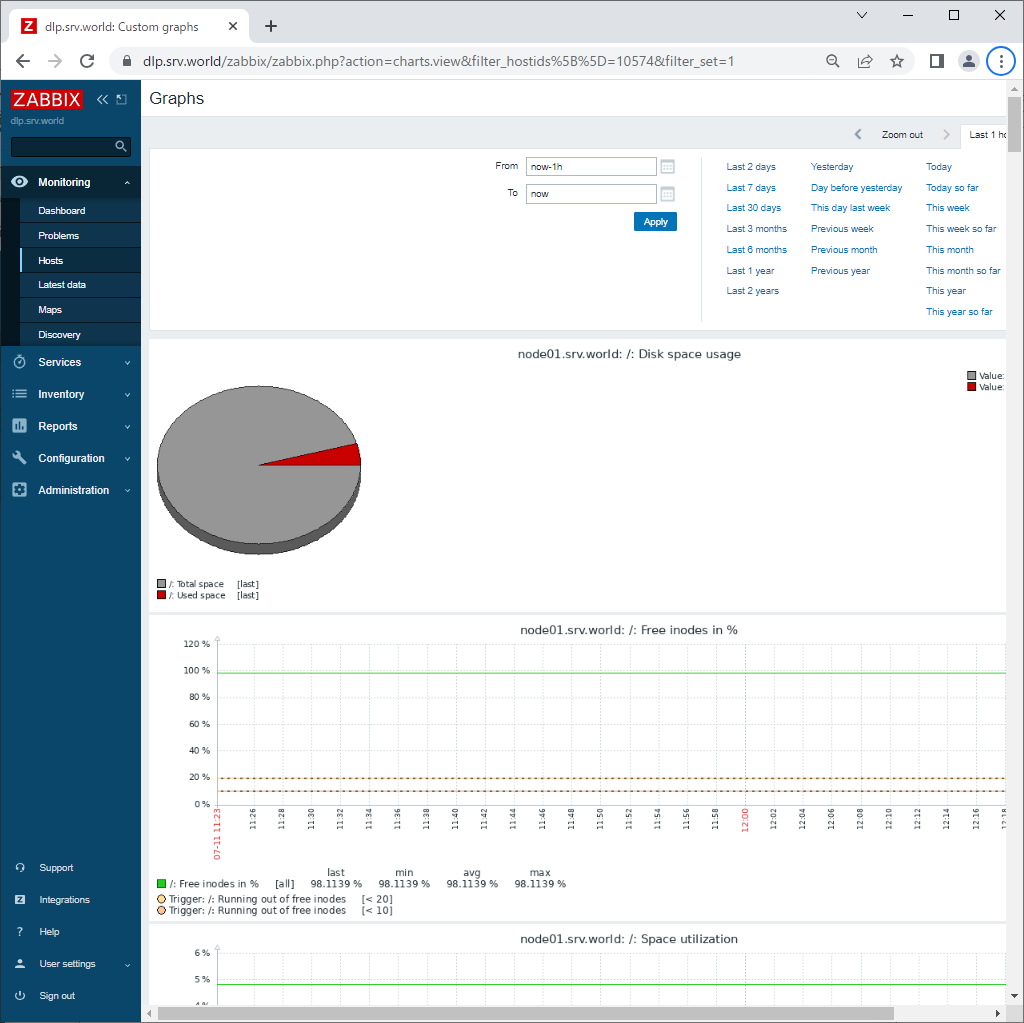
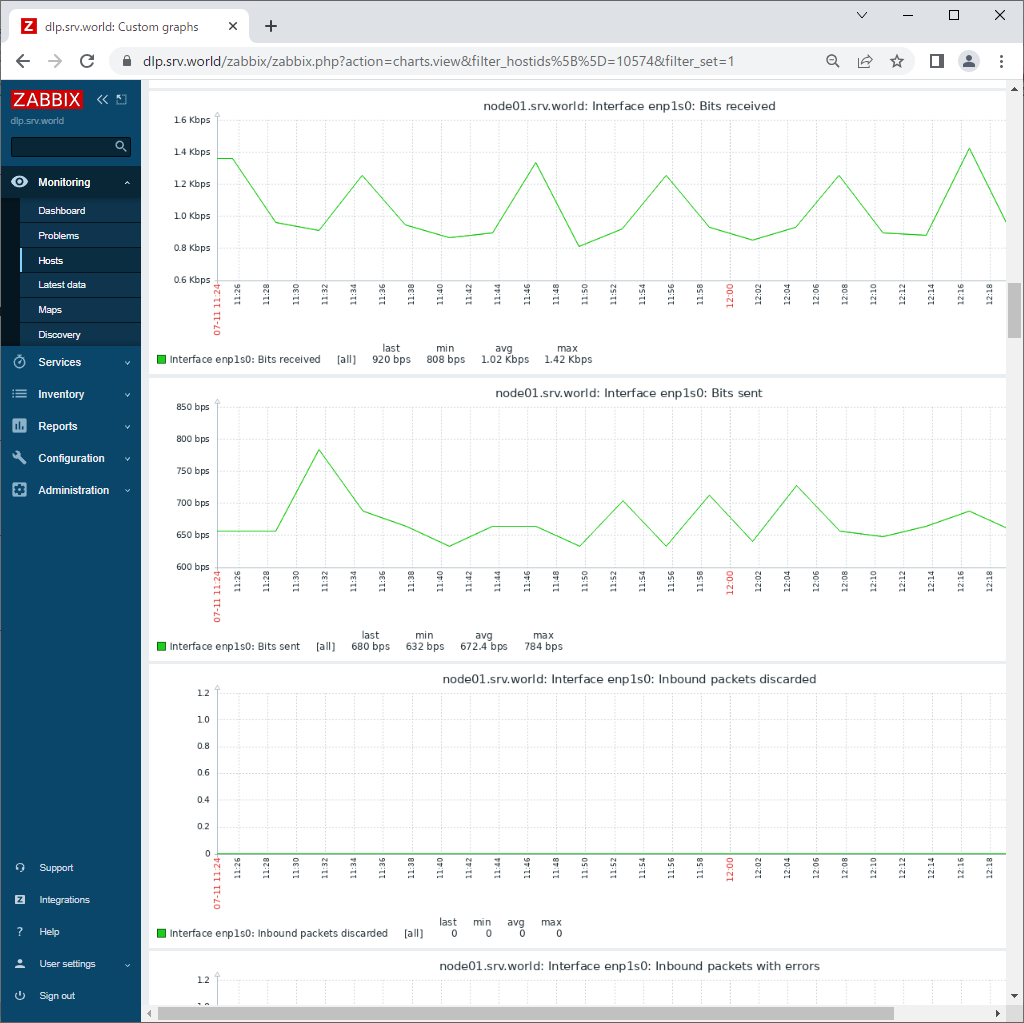
| [4] | New monitoring target host is added. After few minutes, monitoring data are collected like follows. |
|
|
|
Matched Content