Zabbix 5.0 : Add Monitoring Target (Windows)2021/09/16 |
|
Add Monitoring Target. Add a Windows Server 2019 Host as an example on here.
|
|
| [1] | Download an Installer of Zabbix Agent on target Windows host from the Zabbix site below. Generally, select [Windows (msi) amd64] to download. When installing with MSI Installer, settings of Zabbix Agent is configured all like service or Firewall rule (allowed 10050 port). ⇒ https://www.zabbix.com/download_agents |
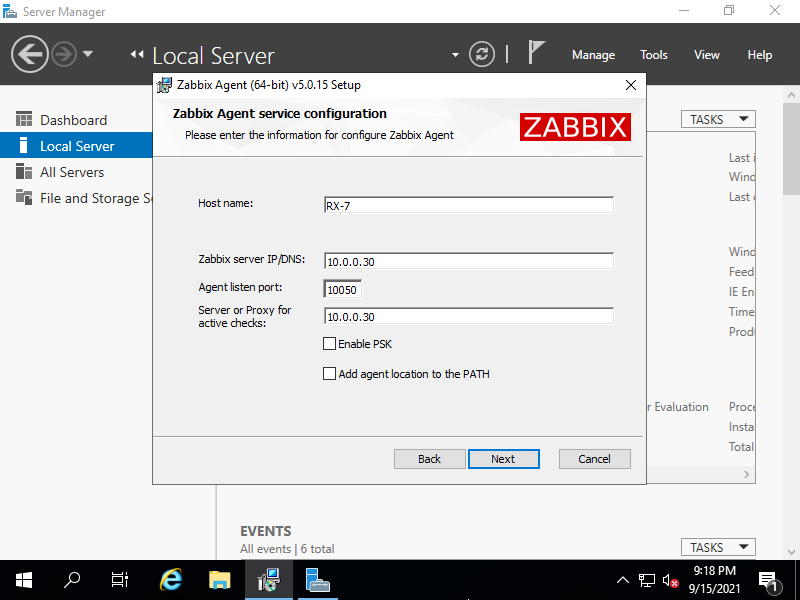
| [2] | After downloading, Click MSI Installer to install Zabbix Agent. During installation, setting of Zabbix Server is required, input Hostname or IP address of your Zabbix Server like follows. For other settings, it's OK with default. (possible to change all parameters later if need on [C:Program FilesZabbix Agentzabbix_agentd.conf]. |
|
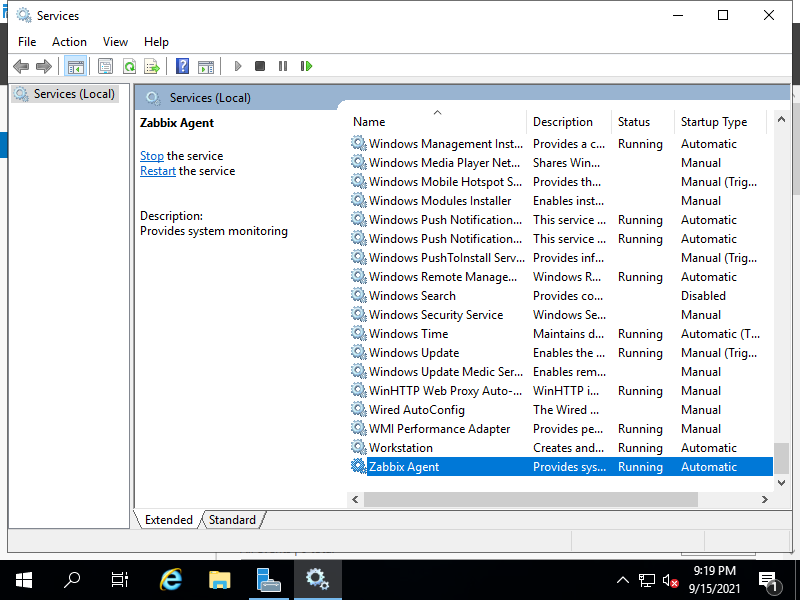
| After finishin Installation, Zabbix Agent will start like follows. |
|
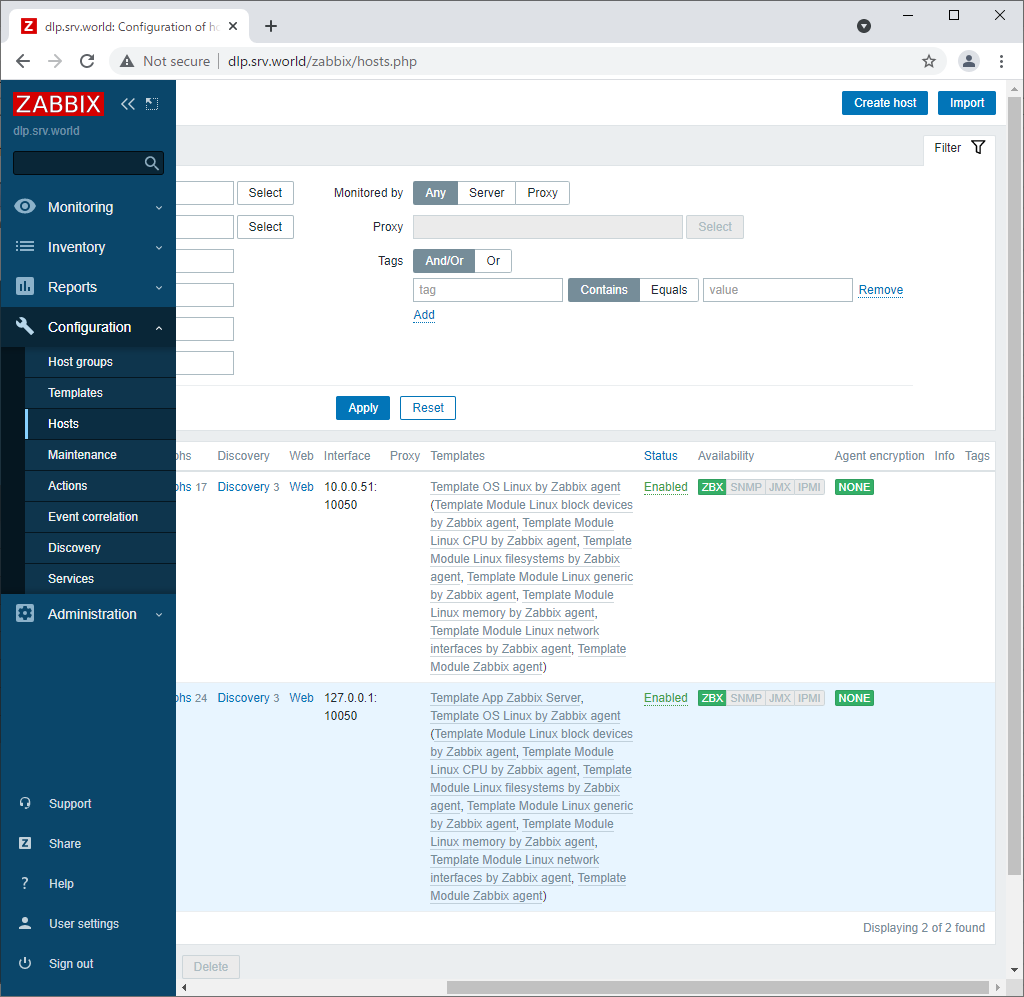
| [3] | Login to Zabbix admin site with admin user and move to [Configuration] - [Hosts] tab, and then click [Create Host] button. |
|
| [4] | Input a hostname for [Hostname] field, input any name you like for [Visible name] field, select a group or add a new group for [Groups] field, input IP address and DNS name for [Interfaces] field. For other fields are optional. If it's OK all, move to [Templates] tab. |

|
| [5] | Click [Select] button. |
|
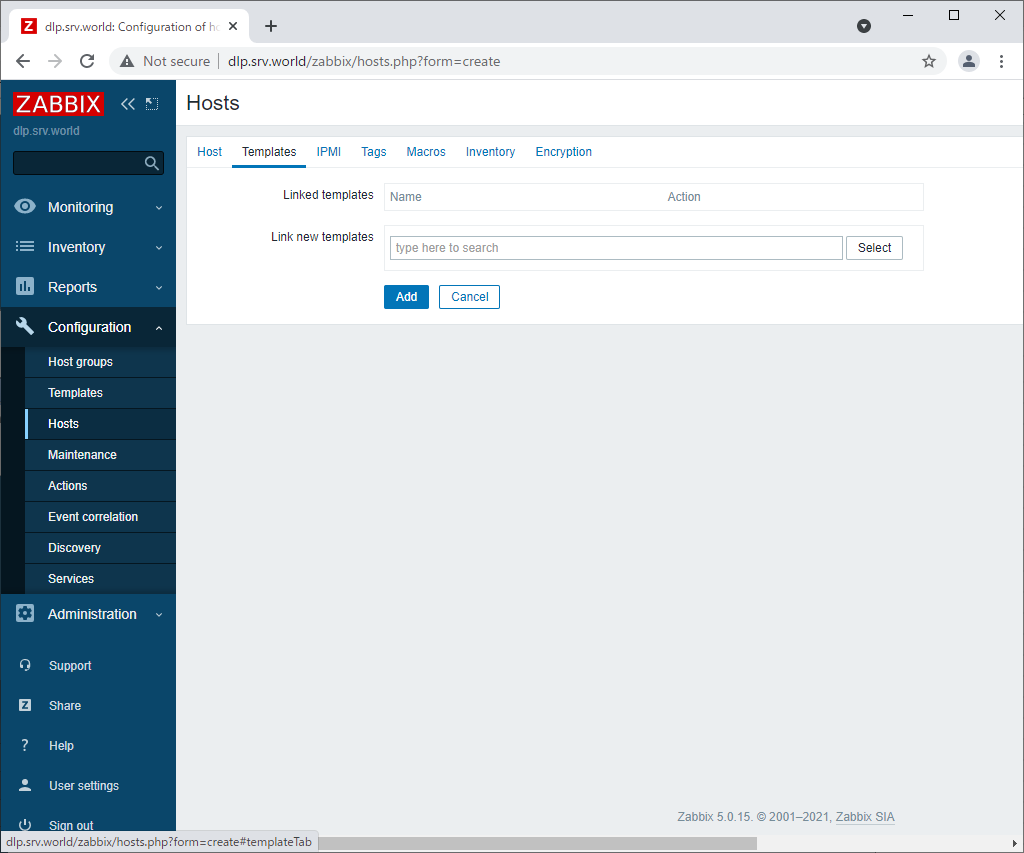
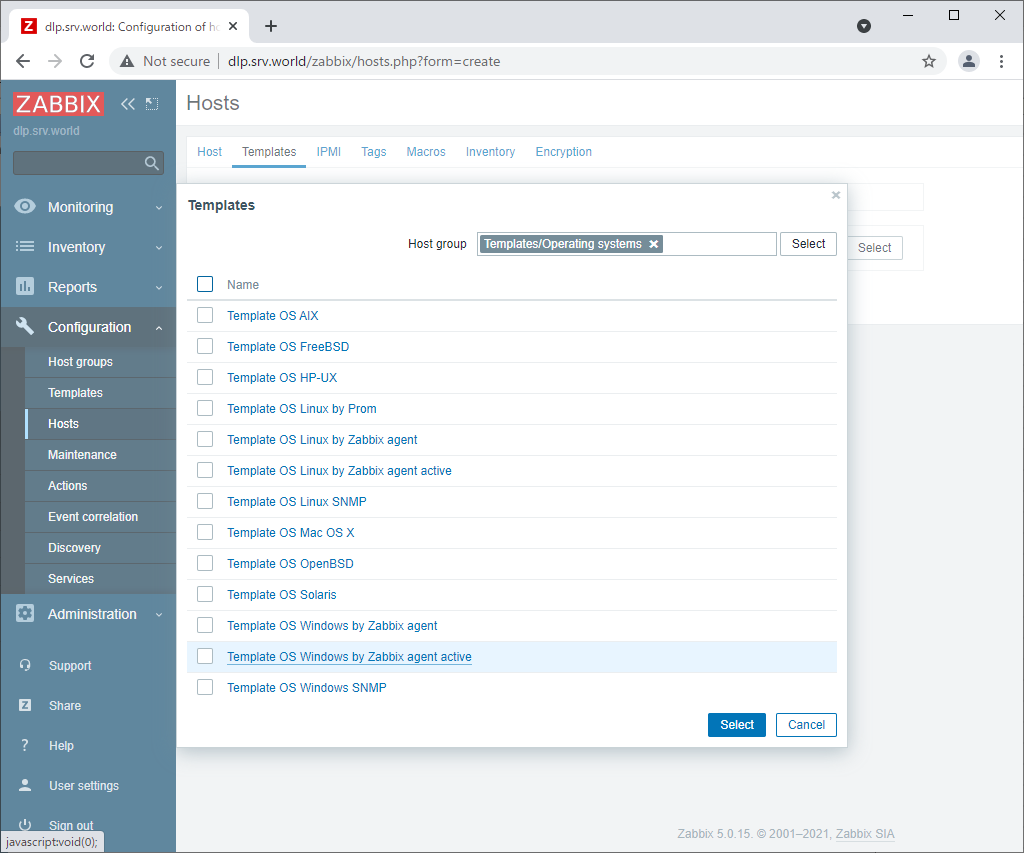
| [6] | Select [Template OS Windows by Zabbix agent active] and click [Select] button. |
|
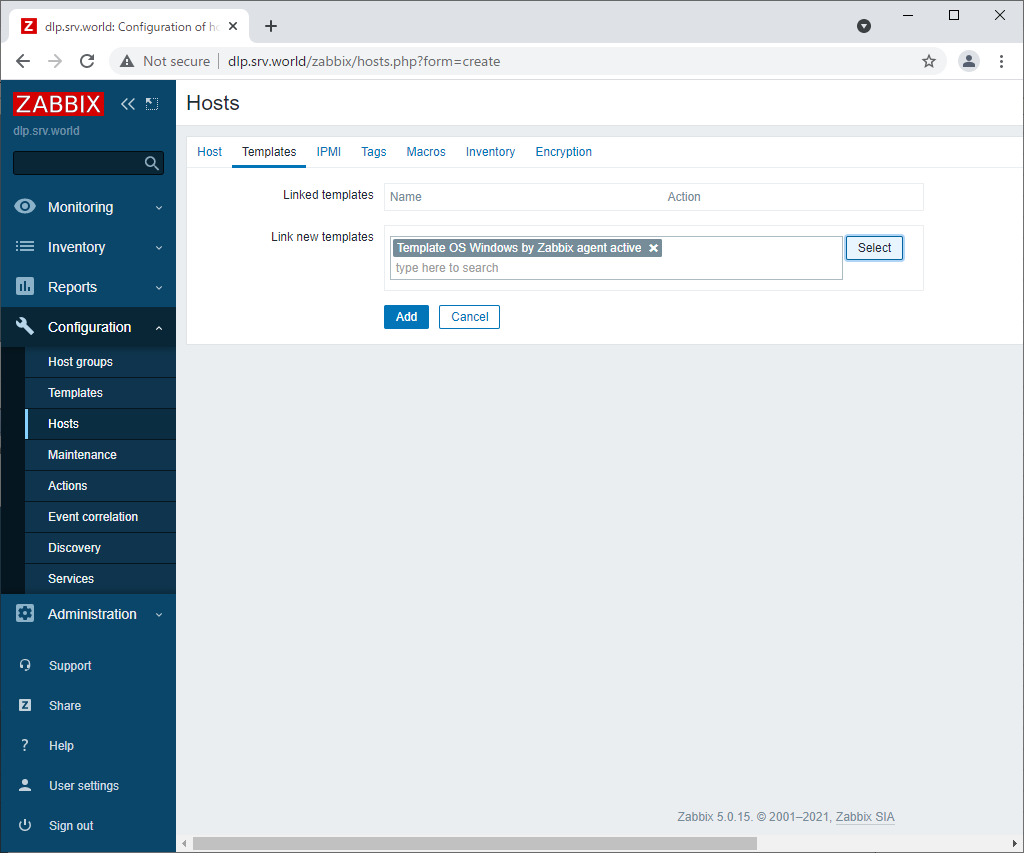
| [7] | Confirm the template added and click [Add] button. |
|
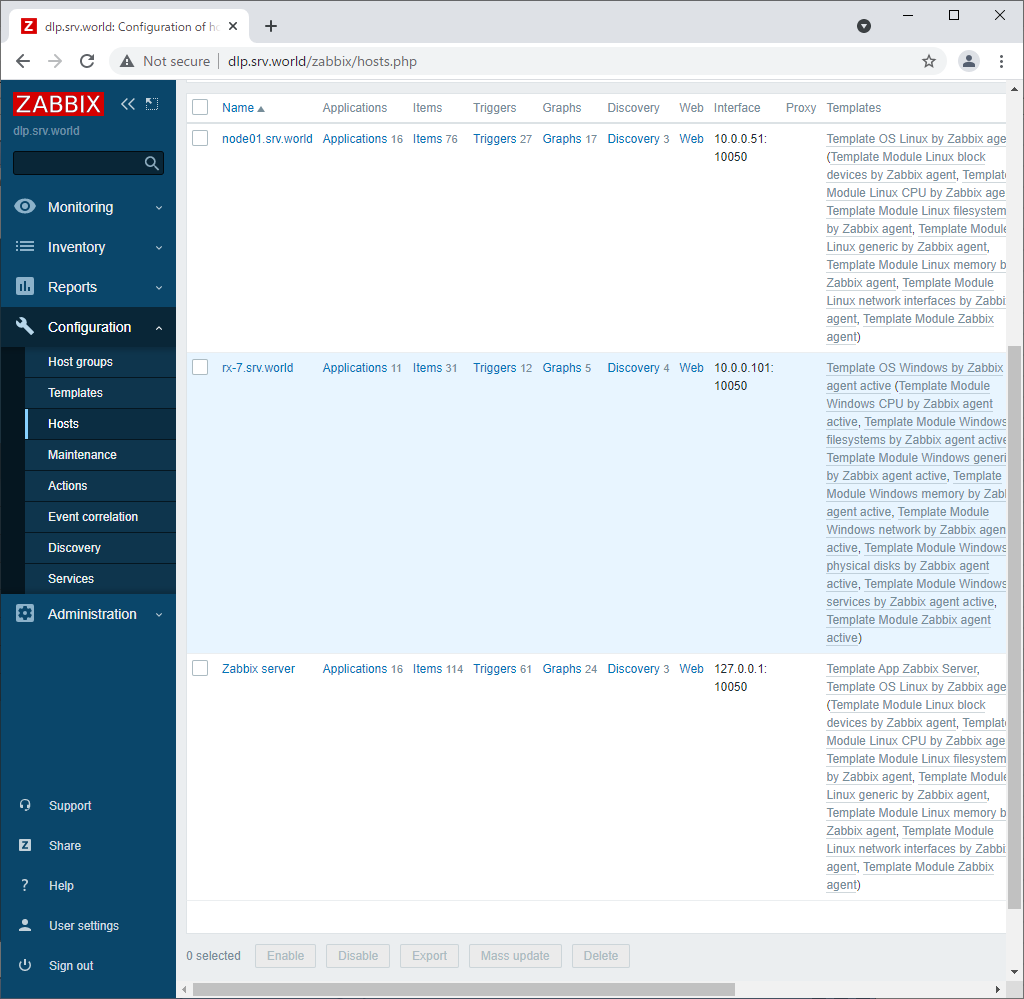
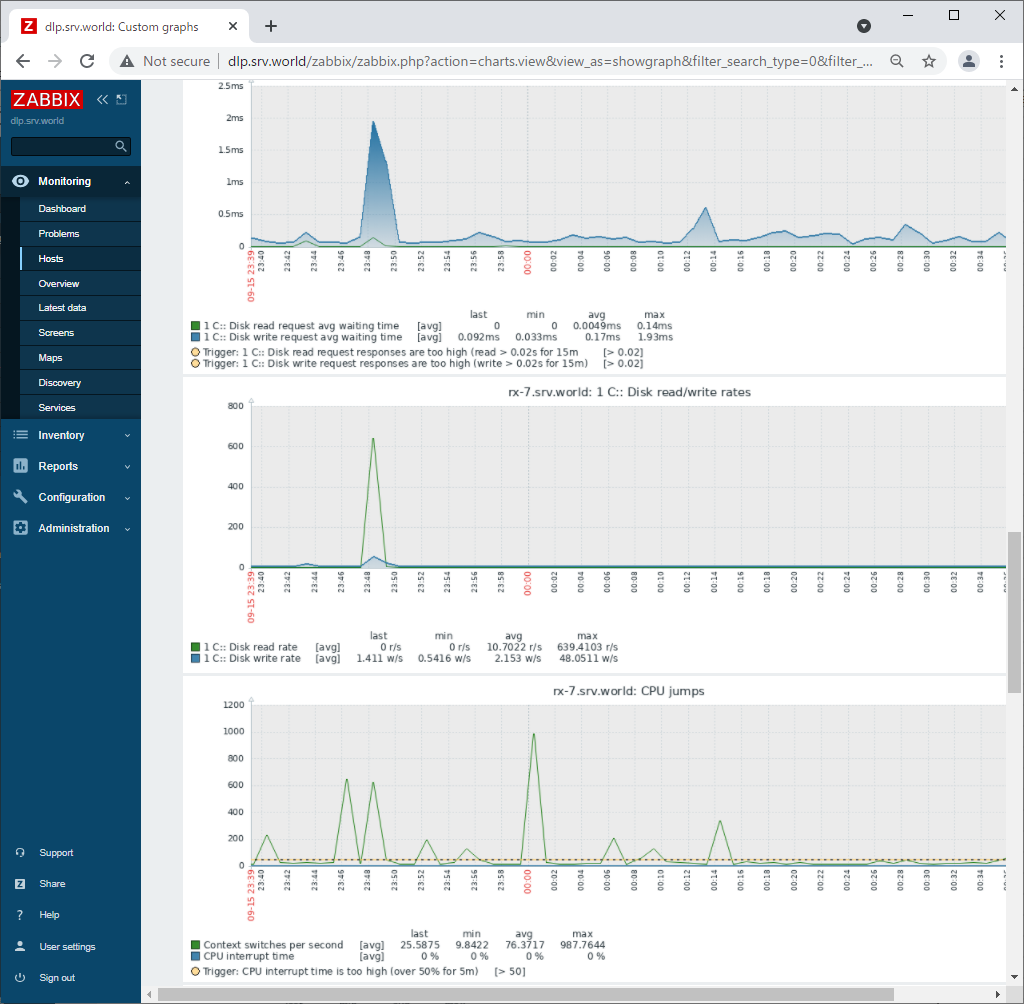
| [8] | New monitoring target is added. After few minutes, monitoring data are collected like follows. |
|
|
Matched Content