OKD 4 : Install #32022/08/02 |
|
Install OKD 4 that is the upstream version of Red Hat OpenShift 4.
This example is based on the environment like follows.
--------------+----------------+-----------------+--------------
              |10.0.0.25       |                 |10.0.0.24
+-------------+-------------+  |  +--------------+-------------+
|   [mgr.okd4.srv.world]    |  |  | [bootstrap.okd4.srv.world] |
|        Manager Node       |  |  |       Bootstrap Node       |
|           DNS             |  |  |                            |
|          Nginx            |  |  |                            |
+---------------------------+  |  +----------------------------+
                               |
--------------+----------------+-----------------+--------------
              |10.0.0.40       |                 |10.0.0.41
+-------------+-------------+  |  +--------------+-------------+
| [master-0.okd4.srv.world] |  |  |  [master-1.okd4.srv.world] |
|      Control Plane#1      |  |  |      Control Plane#2       |
|                           |  |  |                            |
|                           |  |  |                            |
+---------------------------+  |  +----------------------------+
                               |
--------------+----------------+
              |10.0.0.42
+-------------+-------------+
| [master-2.okd4.srv.world] |
|      Control Plane#3      |
|                           |
|                           |
+---------------------------+
|
The system minimum requirements are follows. (by official doc)* Bootstrap Node ⇒ 4 CPU, 16 GB RAM, 100 GB Storage, Fedora CoreOS * Control Plane Node ⇒ 4 CPU, 16 GB RAM, 100 GB Storage, Fedora CoreOS * Compute Node ⇒ 2 CPU, 8 GB RAM, 100 GB Storage, Fedora CoreOS |
|
|
* Bootstrap Node is needed only when bootstraping cluster.
|
|
|
Configure Manager Node first like here, next, Install Fedora CoreOS and configure Bootstrap, Control Plane, Compute Nodes.
|
|
| [1] |
Download Fedora CoreOS installer from the official site below.
Download [Bare Metal] - ISO file. ⇒ https://getfedora.org/en/coreos/download?tab=metal_virtualized&stream=stable&arch=x86_64 |
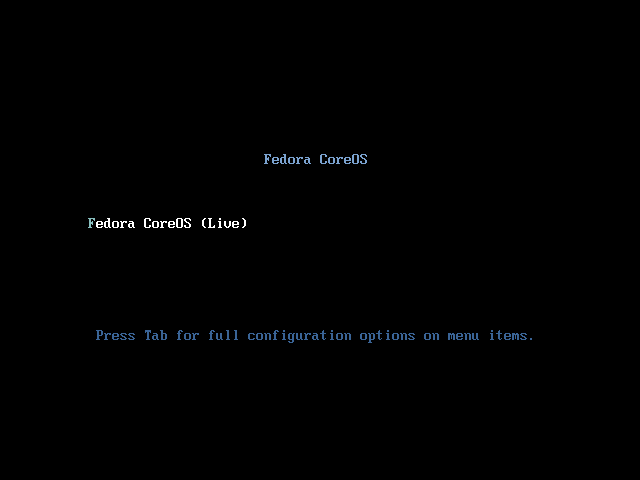
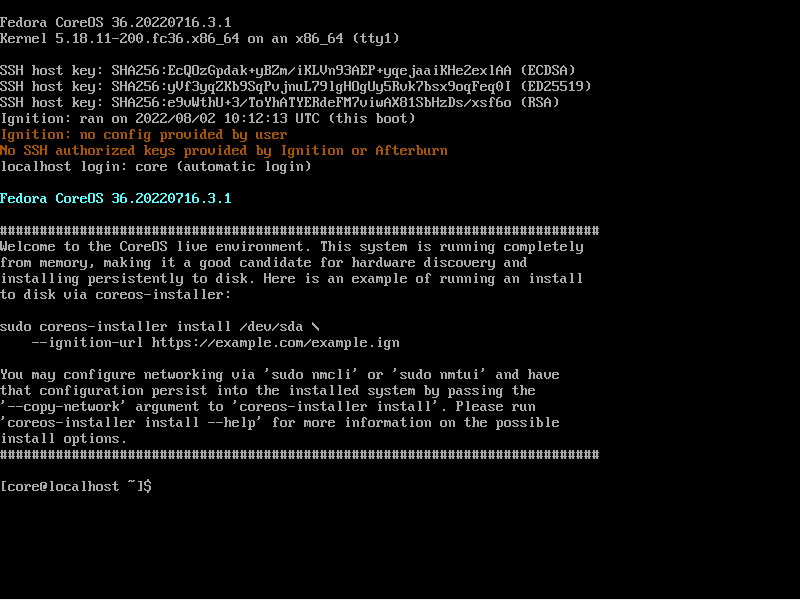
| [2] | Set ISO file on DVD drive (phisical or virtual) to your computer you'd like to install Fedora CoreOS and power on the computer. Then, Fedora CoreOS boots from DVD, push Enter key to proceed, then automatic login runs like follows. |
|
|
| [3] | After login, configure static IP address and install Fedora CoreOS on local hard drive. For hostname, you don't need to set it manually because it is set by installer. First, Configure Bootstrap Node. |
|
# confirm device name [core@localhost ~]# nmcli device DEVICE TYPE STATE CONNECTION ens160 ethernet connected Wired connection 1 lo loopback unmanaged -- # set static IP address and others # for DNS, specify to set Manager node [core@localhost ~]# nmcli connection add type ethernet autoconnect yes con-name ens160 ifname ens160 [core@localhost ~]# nmcli connection modify ens160 ipv4.addresses 10.0.0.24/24 ipv4.method manual [core@localhost ~]# nmcli connection modify ens160 ipv4.dns 10.0.0.25 [core@localhost ~]# nmcli connection modify ens160 ipv4.gateway 10.0.0.1 [core@localhost ~]# nmcli connection modify ens160 ipv4.dns-search okd4.srv.world [core@localhost ~]# nmcli connection up ens160
# confirm device name of local hard drive [core@localhost ~]# sudo fdisk -l Disk /dev/nvme0n1: 100 GiB, 107374182400 bytes, 209715200 sectors Disk model: VMware Virtual NVMe Disk Units: sectors of 1 * 512 = 512 bytes Sector size (logical/physical): 512 bytes / 512 bytes I/O size (minimum/optimal): 512 bytes / 512 bytes ..... ..... # install Fedora CoreOS to local hard drive [core@localhost ~]# sudo coreos-installer install /dev/nvme0n1 --ignition-url=http://10.0.0.25:8080/bootstrap.ign --insecure-ignition --copy-network Installing Fedora CoreOS 36.20220716.3.0 x86_64 (512-byte sectors) Read disk 2.5 GiB/2.5 GiB (100%) Writing Ignition config Copying networking configuration from /etc/NetworkManager/system-connections/ Copying /etc/NetworkManager/system-connections/ens160.nmconnection to installed system Install complete. # after completing installation, eject DVD and restart computer, and proceed to next step # * installation process continues automatically after restarting computer [core@localhost ~]# sudo reboot |
| [4] | Configure Control Plane Node. As with Bootstrap Node, set Fedora CoreOS DVD and power on computer, next configure with the same way. (different points are IP address and ignition file name) |
|
[core@localhost ~]# nmcli device DEVICE TYPE STATE CONNECTION ens160 ethernet connected Wired connection 1 lo loopback unmanaged --
[core@localhost ~]#
[core@localhost ~]# nmcli connection add type ethernet autoconnect yes con-name ens160 ifname ens160 [core@localhost ~]# nmcli connection modify ens160 ipv4.addresses 10.0.0.40/24 ipv4.method manual [core@localhost ~]# nmcli connection modify ens160 ipv4.dns 10.0.0.25 [core@localhost ~]# nmcli connection modify ens160 ipv4.gateway 10.0.0.1 [core@localhost ~]# nmcli connection modify ens160 ipv4.dns-search okd4.srv.world [core@localhost ~]# nmcli connection up ens160
sudo fdisk -l Disk /dev/nvme0n1: 100 GiB, 107374182400 bytes, 209715200 sectors Disk model: VMware Virtual NVMe Disk Units: sectors of 1 * 512 = 512 bytes Sector size (logical/physical): 512 bytes / 512 bytes I/O size (minimum/optimal): 512 bytes / 512 bytes ..... ..... # for Control Plane Node, specify [master.ign] [core@localhost ~]# sudo coreos-installer install /dev/nvme0n1 --ignition-url=http://10.0.0.25:8080/master.ign --insecure-ignition --copy-network Installing Fedora CoreOS 36.20220716.3.0 x86_64 (512-byte sectors) Read disk 2.5 GiB/2.5 GiB (100%) Writing Ignition config Copying networking configuration from /etc/NetworkManager/system-connections/ Copying /etc/NetworkManager/system-connections/ens160.nmconnection to installed system Install complete. # after completing installation, eject DVD and restart computer, and proceed to next step # * installation process continues automatically after restarting computer [core@localhost ~]# sudo reboot |
| [5] | It's possible to see installation status on Manager Node. It takes some time to finish the installation process. |
|
[root@mgr ~]# openshift-install --dir=okd4 wait-for bootstrap-complete
INFO Waiting up to 20m0s (until 11:26AM) for the Kubernetes API at https://api.okd4.srv.world:6443...
INFO API v1.24.0-2364+954643139fe994-dirty up
INFO Waiting up to 30m0s (until 11:36AM) for bootstrapping to complete...
INFO It is now safe to remove the bootstrap resources
INFO Time elapsed: 1s

# that's OK if messages like above are shown, cluster is Ready
# read kubeconfig [root@mgr ~]# export KUBECONFIG=okd4/auth/kubeconfig [root@mgr ~]# echo 'export KUBECONFIG=$HOME/okd4/auth/kubeconfig' >> ~/.bash_profile
# that's OK if STATUS = Ready [root@mgr ~]# oc get nodes NAME STATUS ROLES AGE VERSION master-0.okd4.srv.world Ready master,worker 21m v1.24.0+9546431 master-1.okd4.srv.world Ready master,worker 20m v1.24.0+9546431 master-2.okd4.srv.world Ready master,worker 20m v1.24.0+9546431 |
| [6] | After finishing to create cluster, it's possible to shutdown Bootstrap Node. As well, it's possible to access via SSH with [core] user from Manager Node to other Nodes by ignition settings like follows. |
|
[root@mgr ~]# ssh core@master-0 hostname master-0.okd4.srv.world[root@mgr ~]# ssh core@master-1 hostname master-1.okd4.srv.world[root@mgr ~]# ssh core@master-2 hostname master-2.okd4.srv.world[root@mgr ~]# ssh core@bootstrap [core@bootstrap ~]$ sudo shutdown -h now |
Matched Content