oVirt 4.2 : Create Virtual Machines2018/10/12 |
|
Create Virtual Machine on oVirt Web Admin Portal.
This example is based on the environment below.
+----------------------+          |          +----------------------+
| [ oVirt Management ] |10.0.0.30 | 10.0.0.51| [   oVirt Node     ] |
|    dlp.srv.world     +----------+----------+   node01.srv.world   |
|                      |          |          |                      |
+----------------------+          |          +----------------------+
                                  |
+----------------------+          |
| [    NFS server    ] |10.0.0.35 |
|    nfs.srv.world     +----------+
|                      |
+----------------------+
|
| [1] | Download ISO file you'd like to install for guestOS on oVirt admin Server. Next, upload it like follows. |
|
# command : engine-iso-uploader -i [ISO Domain Name] upload [ISO File] [root@dlp ~]# engine-iso-uploader -i ISO_DOMAIN upload CentOS-7-x86_64-DVD-1804.iso Please provide the REST API password for the admin@internal oVirt Engine user (CTRL+D to abort): # oVirt admin password Uploading, please wait... INFO: Start uploading CentOS-7-x86_64-DVD-1804.iso Uploading: [########################################] 100% INFO: CentOS-7-x86_64-DVD-1804.iso uploaded successfully |
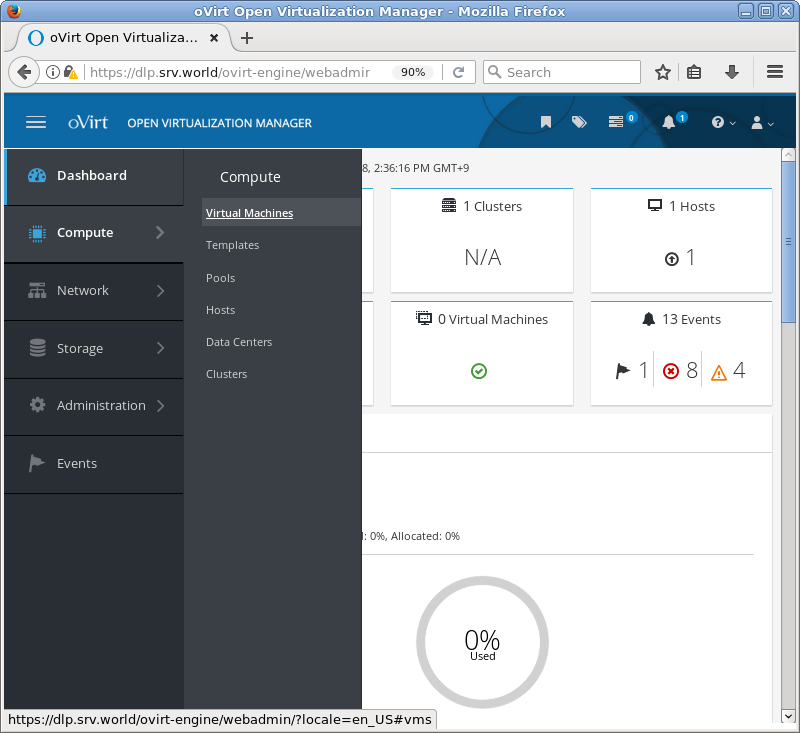
| [2] | Access to oVirt Admin Portal and Click [Compute] - [Virtual Machines] on the left pane. |
|
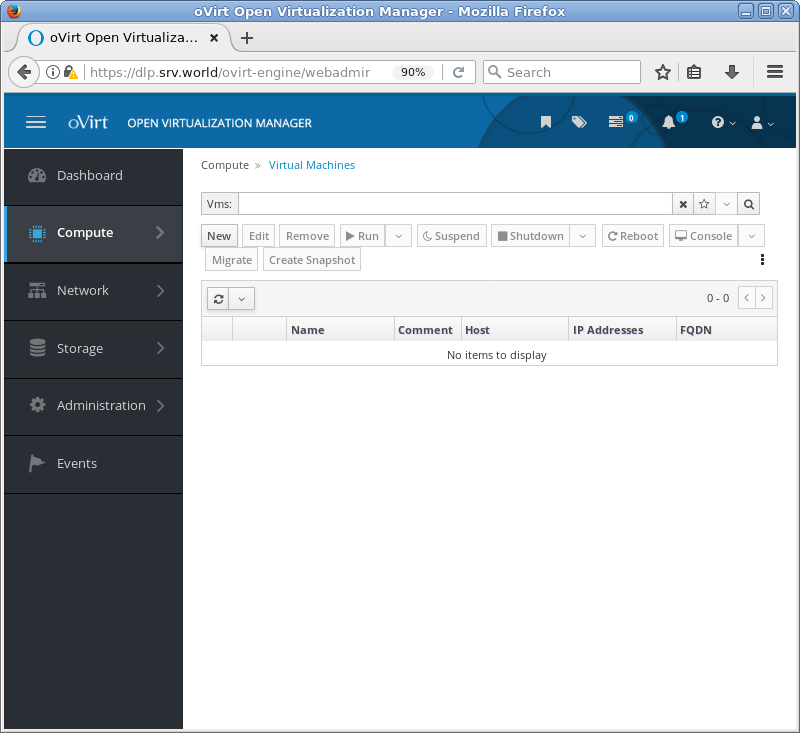
| [3] | Click [New] button on the top of right pane. |
|
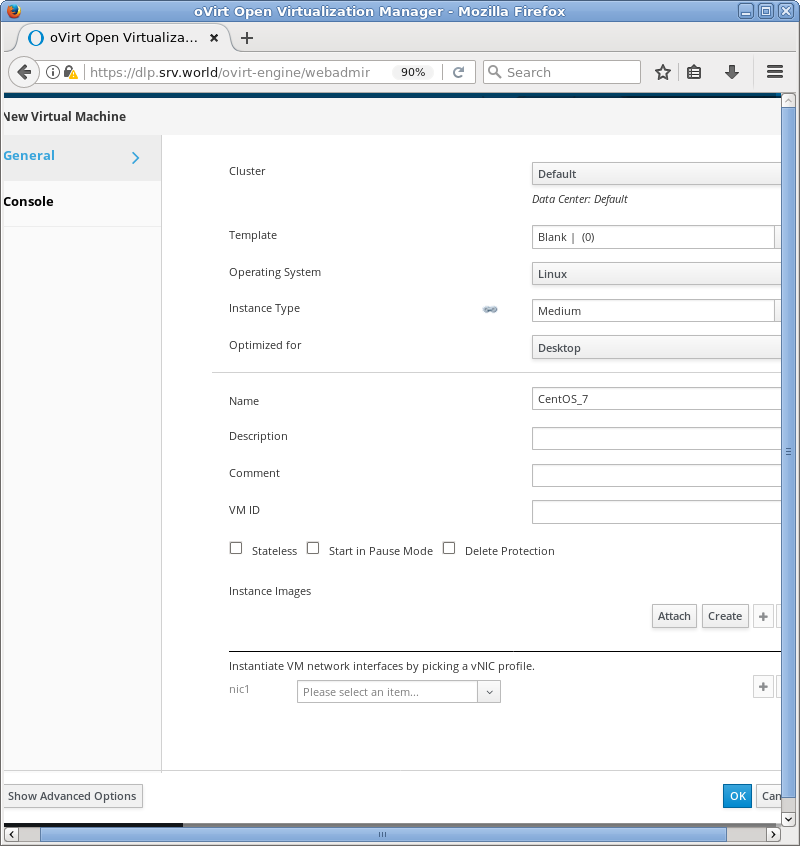
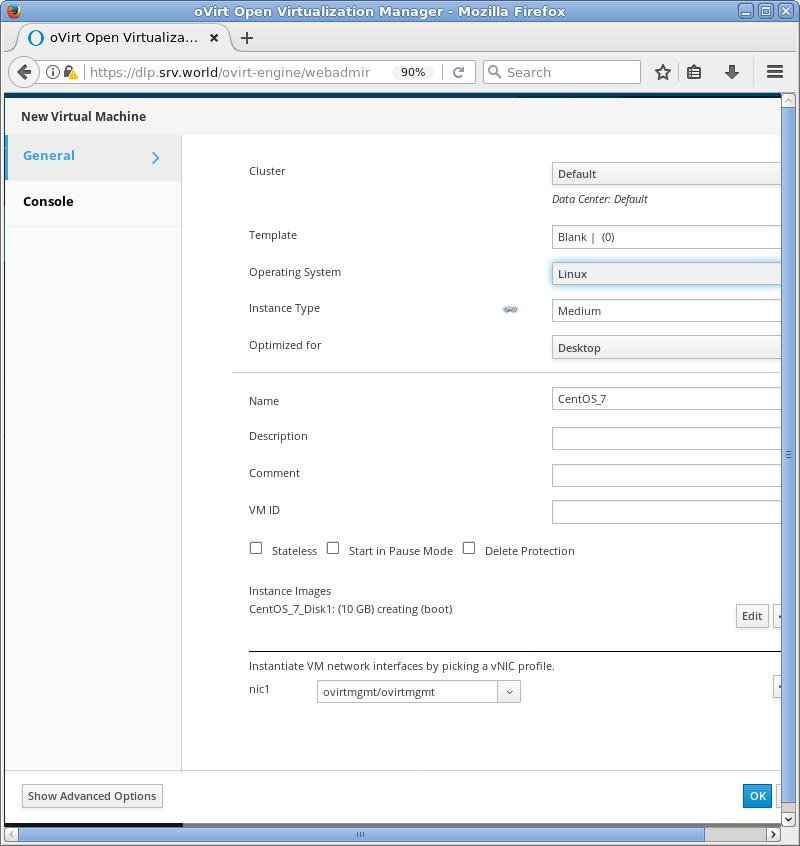
| [4] | Input name and other information of VM you'd like to create, and next, Click [Create] button on [Instance Images] section. |
|
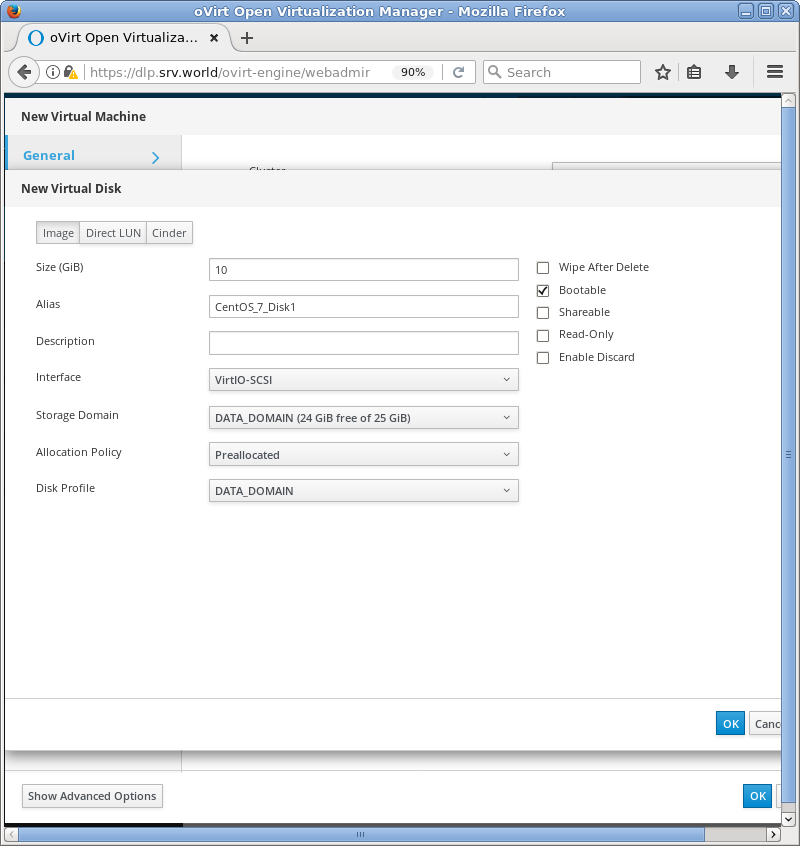
| [5] | Input Disk size of VM and click [OK] button. |
|
| [6] | Select network interfaces for VM to connect to network on [nic1] section. And next, Click [Show Advanced Options] button on the bottom. |
|
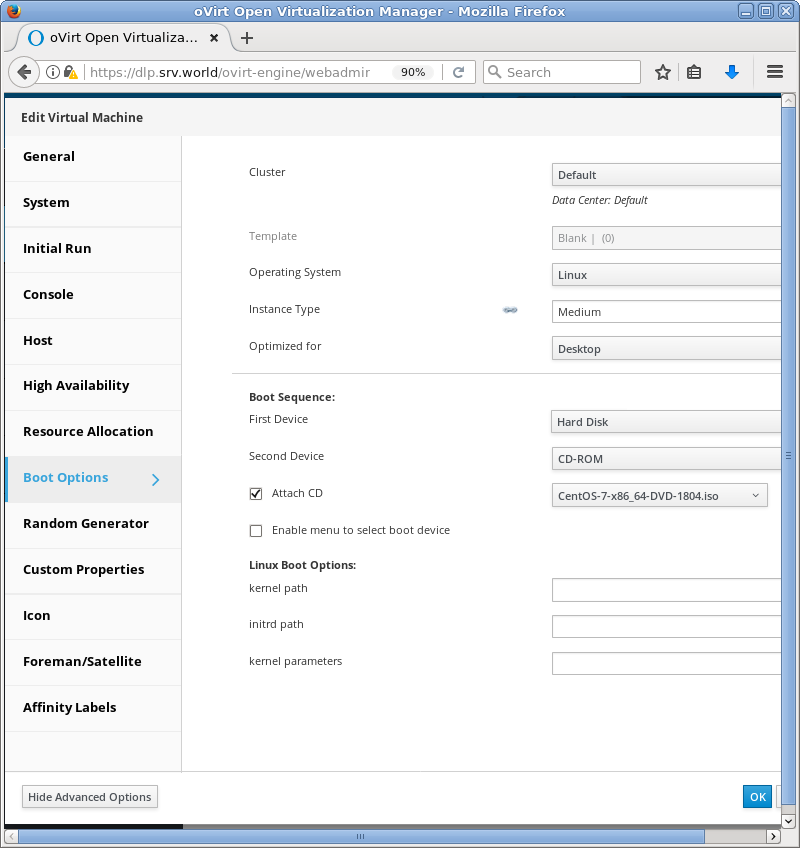
| [7] | Open [Boot Options] on the left pane and select [CD-ROM] for [Boot Sequence] - [Second Device] and check a box [Attach CD] like follows. |
|
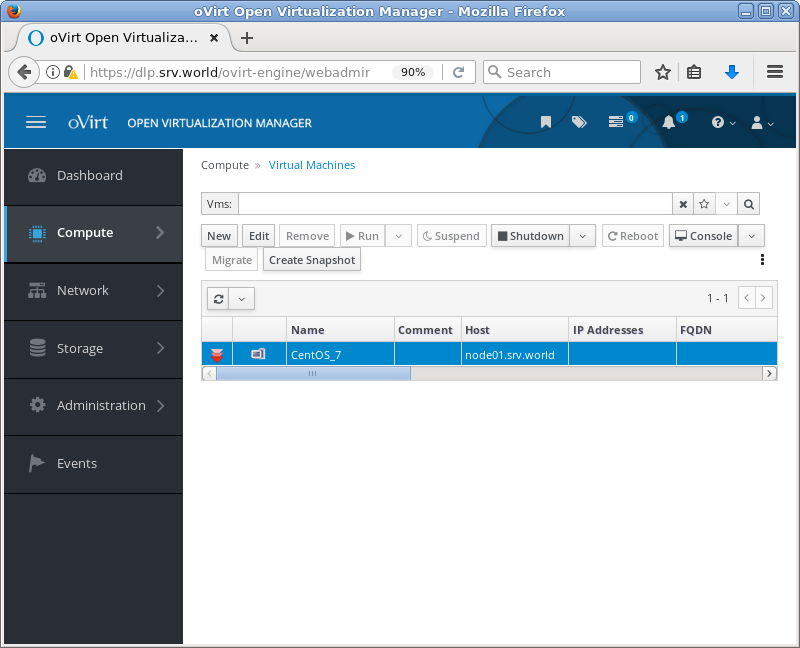
| [8] | After finishing creating Virtual Disks, VM becomes runnable state, then Click [Run] button. |
|
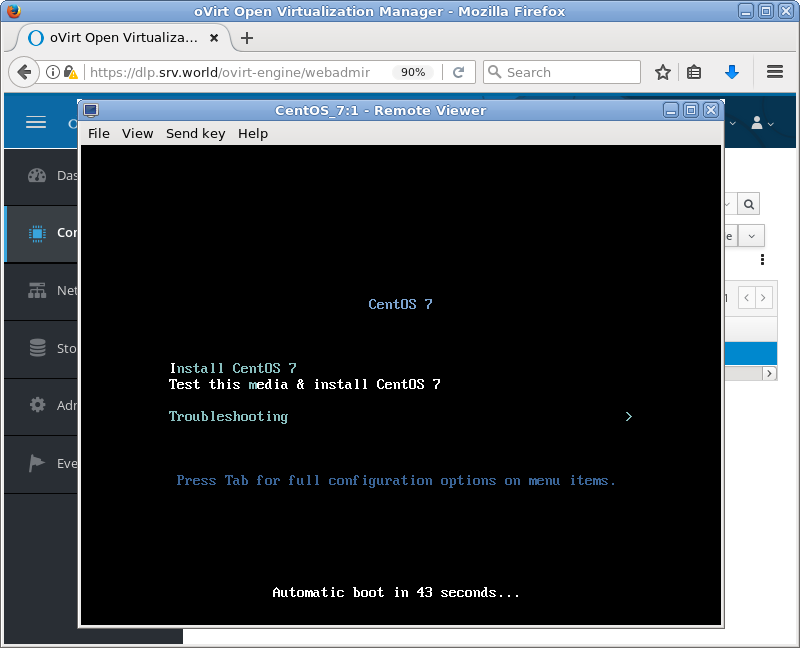
| [9] | After running VM, Installer starts. |
|
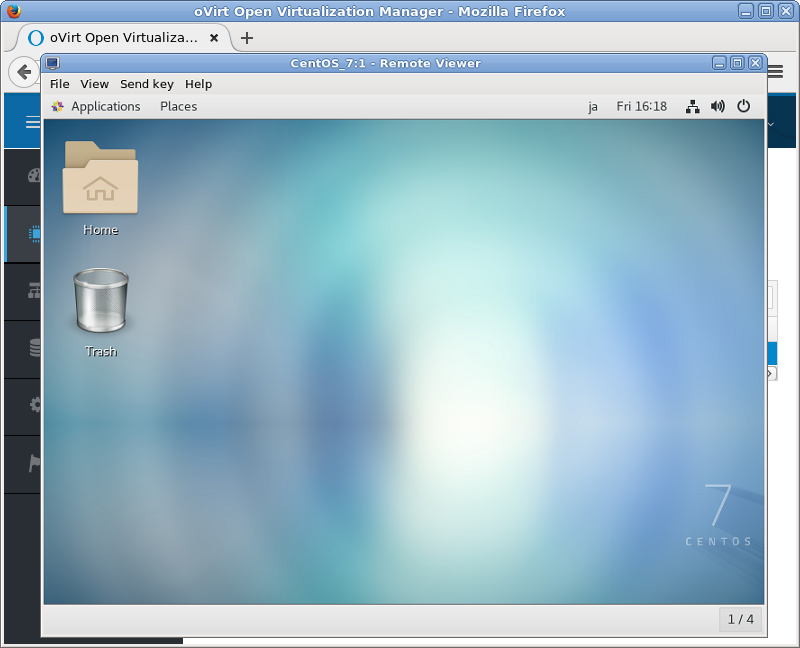
| [10] | After finishing installation, VM has been running normally. |
|
Matched Content