Oracle Database 19c : Install2020/01/22 |
|
Install Oracle Database 19c.
|
|
| [1] | Login and work with [oracle] user which you create in pre-requirements settings. |
|
| [2] | Download Oracle Databse 19c for Linux and upload on your server.
⇒ https://www.oracle.com/database/technologies/oracle-database-software-downloads.html |
| [3] | After uploading Oracle files, move to a tmp directory and run an Installer like follows. |
|
[oracle@dlp ~]$ cd database [oracle@dlp database]$ unzip LINUX.X64_193000_db_home.zip [oracle@dlp database]$ ./runInstaller
|
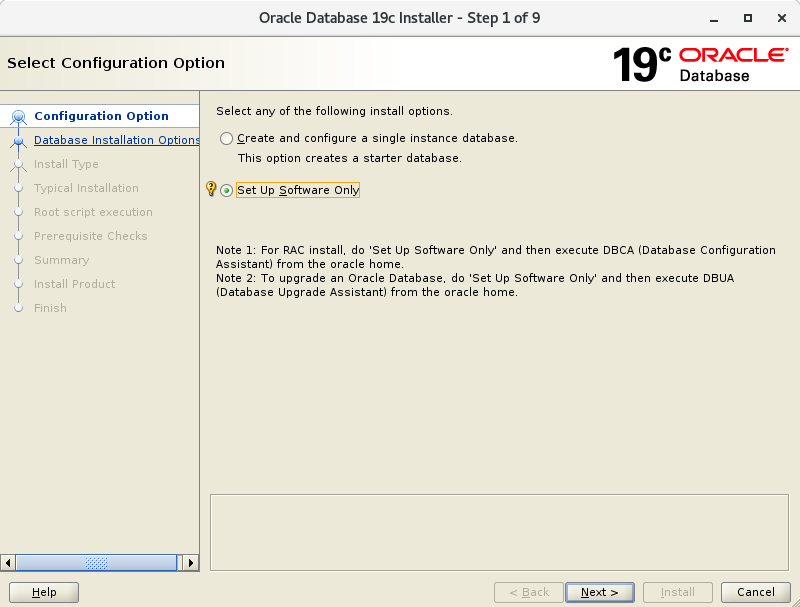
| [4] | Select Installation Option. On this example, Select [Install database software only]. |
|
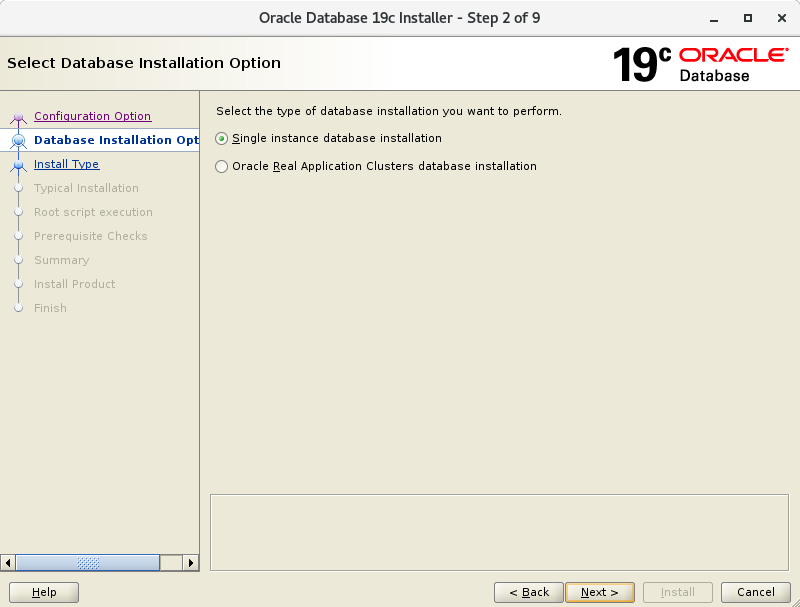
| [5] | Select Database type you install. On this example, Select [Single Instance Database ***]. |
|
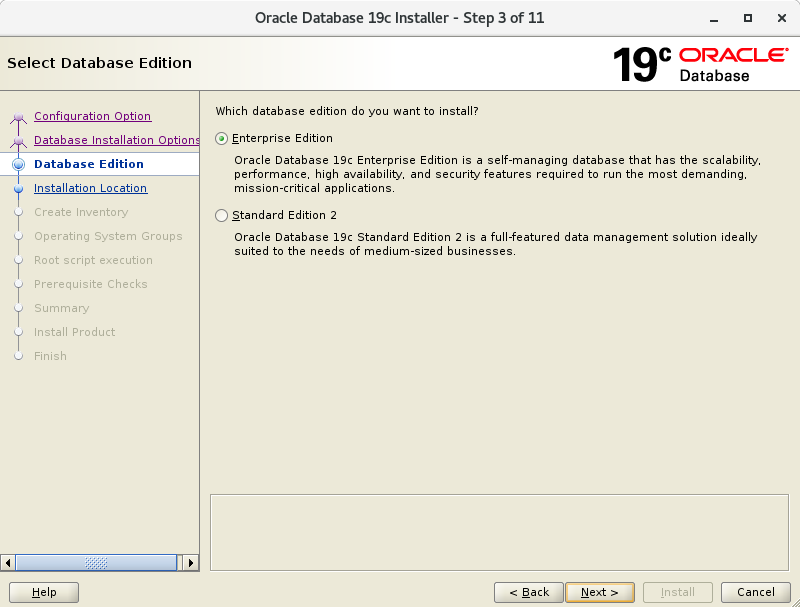
| [6] | Select edition you'd like to install. |
|
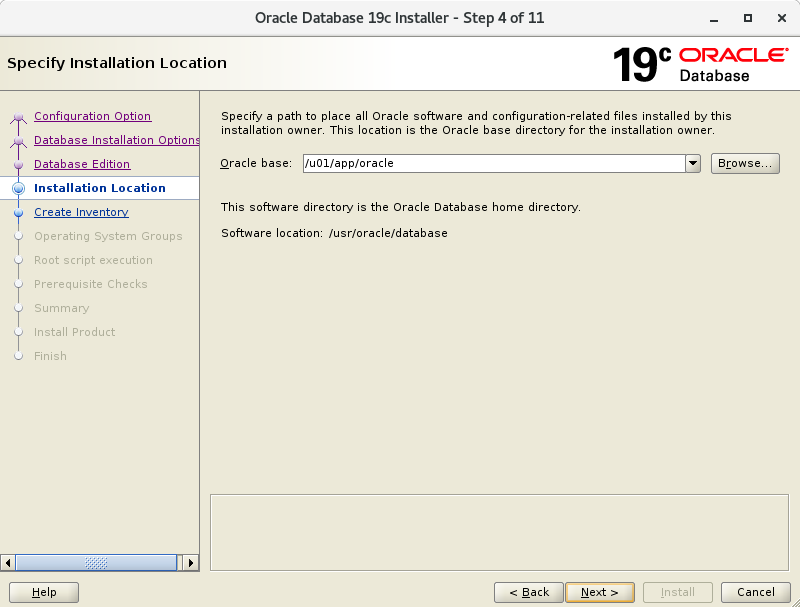
| [7] | Specify the base directory and application files for Oracle. On this example, keep default and proceed to next. |
|
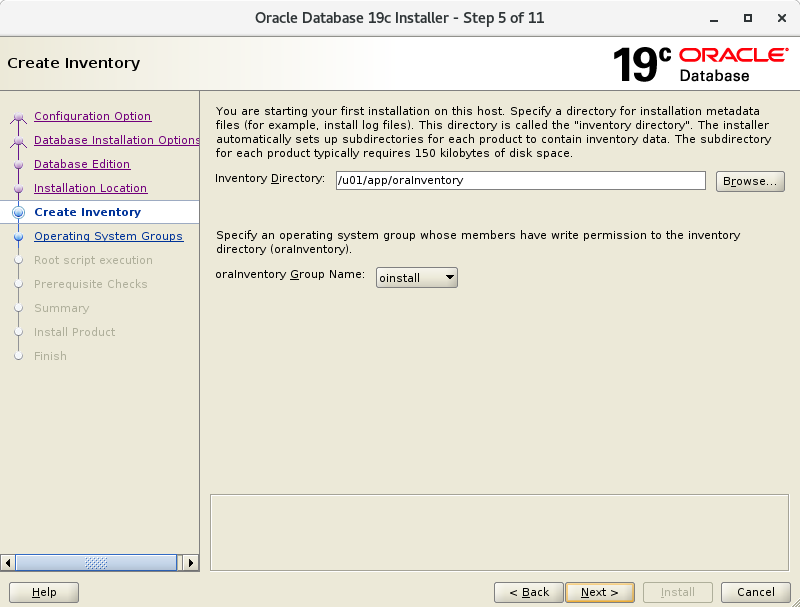
| [8] | Specify the directory for installation metadata files. On this example, keep default and proceed to next. |
|
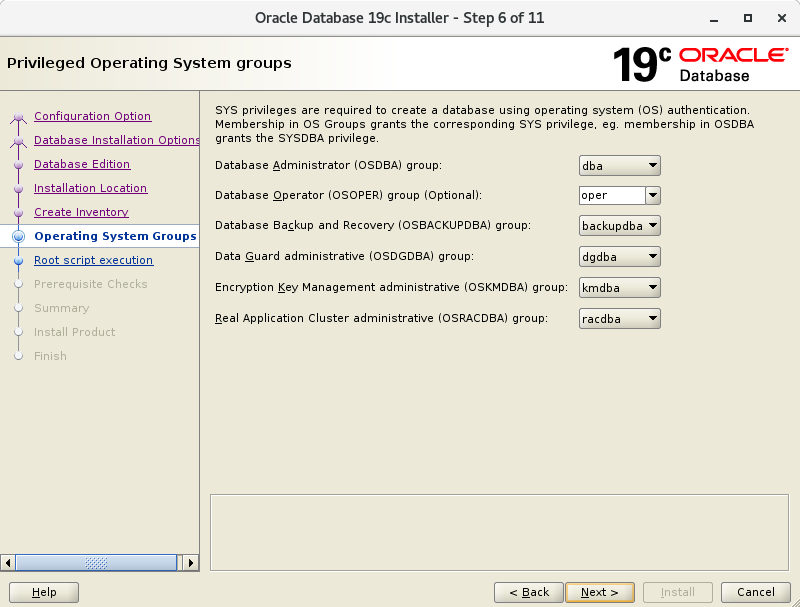
| [9] | Specify the privileged group. On this example, keep default and proceed to next. |
|
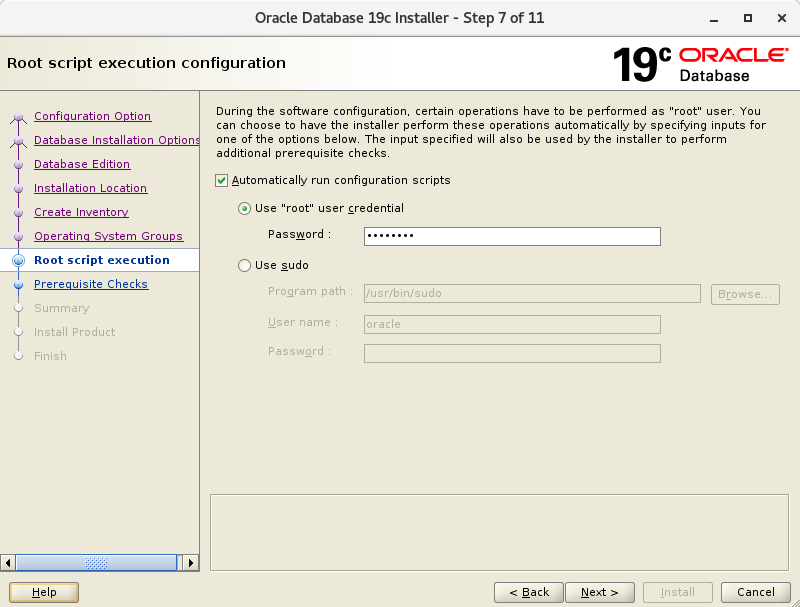
| [10] | This is the root script configuration section. Select automatic or manually. If you select automatic, input root password or username and password who has root privilege with sudo. If you do not select automatic, run root script manually later on this installation task. |
|
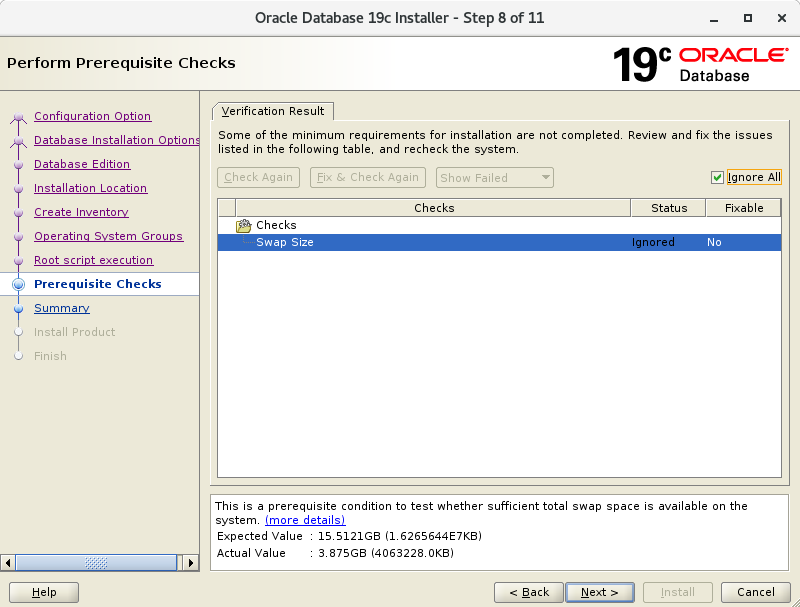
| [11] | Pre-requirements are checked. If some settings are not configured for recomendations, notification is displayed like follows. Confirm them again. |
|
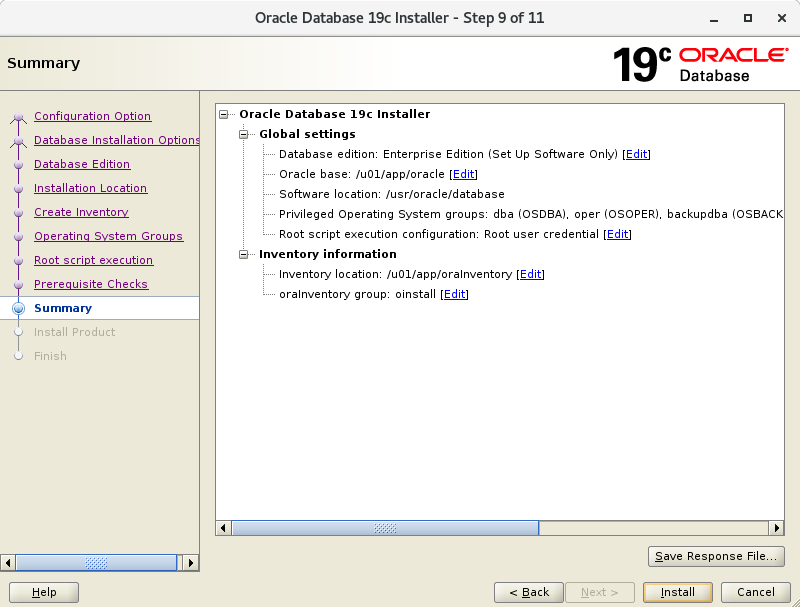
| [12] | The summary is shown for configuration. Click [Install] if it's OK all. |
|
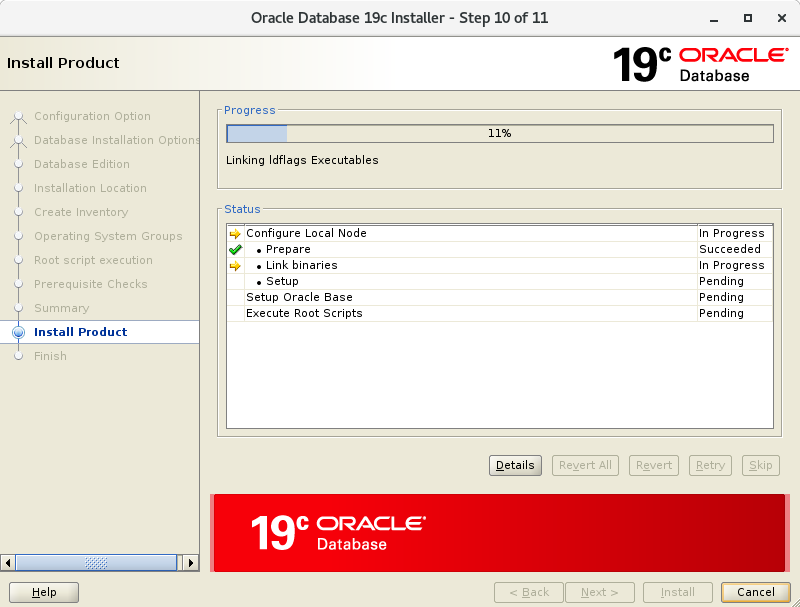
| [13] | Installation starts. After this task, if you selected manual execution for root script on the [10] section, it is required. Then, run it like follows manually. |
|
|
[root@dlp ~]# /u01/app/oraInventory/orainstRoot.sh Changing permissions of /u01/app/oraInventory. Adding read,write permissions for group. Removing read,write,execute permissions for world. Changing groupname of /u01/app/oraInventory to oinstall. The execution of the script is complete.[root@dlp ~]# /usr/oracle/database/root.sh
Performing root user operation.

The following environment variables are set as:
    ORACLE_OWNER= oracle
    ORACLE_HOME=  /usr/oracle/database

Enter the full pathname of the local bin directory: [/usr/local/bin]:  # Enter
   Copying dbhome to /usr/local/bin ...
   Copying oraenv to /usr/local/bin ...
   Copying coraenv to /usr/local/bin ...


Creating /etc/oratab file...
Entries will be added to the /etc/oratab file as needed by
Database Configuration Assistant when a database is created
Finished running generic part of root script.
Now product-specific root actions will be performed.
Do you want to setup Oracle Trace File Analyzer (TFA) now ? yes|[no] :
yes
Installing Oracle Trace File Analyzer (TFA).
Log File: /usr/oracle/database/install/root_dlp.srv.world_2020-01-21_19-13-21-711439865.log
Finished installing Oracle Trace File Analyzer (TFA)
|
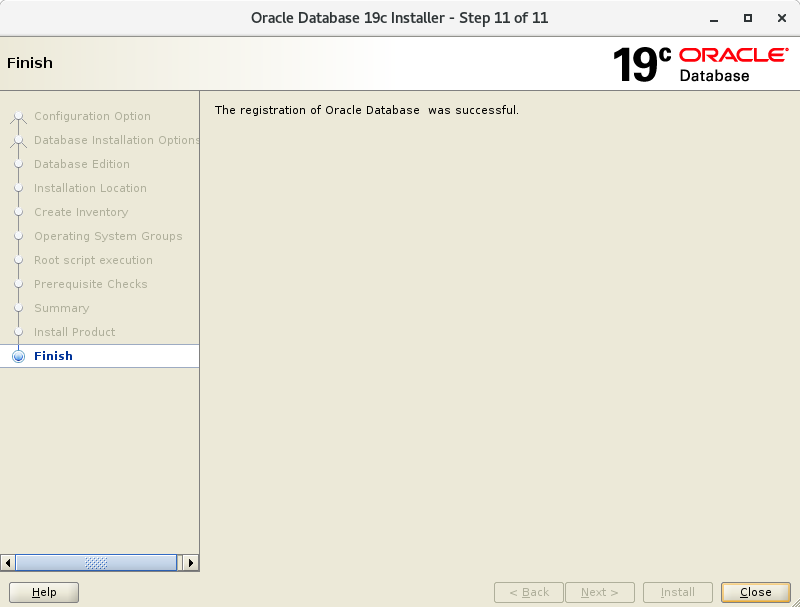
| [14] | Installation finished. Click [Close] button. |
|
| [15] | Set Environment variables for Oracle user. |
|
[oracle@dlp ~]$
vi ~/.bash_profile # add to the end
export ORACLE_HOME=/usr/oracle/database
export PATH=$PATH:$ORACLE_HOME/bin source ~/.bash_profile |
Matched Content