Redmine - Project Management Tool2015/04/08 |
|
Install Redmine which is the Project Management Tool.
|
|
| [1] | |
| [2] | |
| [3] | |
| [4] | |
| [5] | Install other required packages. |
|
[root@dlp ~]# yum -y install ImageMagick ImageMagick-devel libcurl-devel httpd-devel mysql-devel ipa-pgothic-fonts
|
| [6] | Create a user and database for Redmine on MySQL. |
|
[root@dlp ~]# mysql -u root -p Enter password: Welcome to the MySQL monitor. Commands end with ; or \g. Your MySQL connection id is 11 Server version: 5.1.73 Source distribution Copyright (c) 2000, 2013, Oracle and/or its affiliates. All rights reserved. Oracle is a registered trademark of Oracle Corporation and/or its affiliates. Other names may be trademarks of their respective owners. Type 'help;' or '\h' for help. Type '\c' to clear the current input statement.
mysql>
create database redmine_db; Query OK, 1 row affected (0.00 sec) # set any password for 'password' section mysql> grant all privileges on redmine_db.* to redmine@'localhost' identified by 'password'; Query OK, 0 rows affected (0.00 sec)
mysql>
mysql> flush privileges; Query OK, 0 rows affected (0.00 sec) exit
|
| [7] | Install Redmine. |
|
[root@dlp ~]# wget http://www.redmine.org/releases/redmine-3.0.1.tar.gz [root@dlp ~]# tar zxvf redmine-3.0.1.tar.gz [root@dlp ~]# mv redmine-3.0.1 /var/www/redmine [root@dlp ~]# cd /var/www/redmine
[root@dlp redmine]#
vi ./config/database.yml # create new
production: adapter: mysql2 # database name database: redmine_db host: localhost # database user username: redmine # password for user above password: password encoding: utf8
[root@dlp redmine]#
vi ./config/configuration.yml # create new (SMTP settings)
production: email_delivery: delivery_method: :smtp smtp_settings: address: "localhost" port: 25 domain: 'dlp.srv.world' rmagick_font_path: /usr/share/fonts/ipa-pgothic/ipagp.ttf # install bundler [root@dlp redmine]# gem install bundler --no-rdoc --no-ri # install Gem for Redmine [root@dlp redmine]# bundle install --without development test postgresql sqlite # generate keys [root@dlp redmine]# bundle exec rake generate_secret_token # generate tables [root@dlp redmine]# bundle exec rake db:migrate RAILS_ENV=production # install Passenger [root@dlp redmine]# gem install passenger --no-rdoc --no-ri # install modules for Apache2 [root@dlp redmine]# passenger-install-apache2-module Welcome to the Phusion Passenger Apache 2 module installer, v5.0.6. This installer will guide you through the entire installation process. It shouldn't take more than 3 minutes in total. Here's what you can expect from the installation process: 1. The Apache 2 module will be installed for you. 2. You'll learn how to configure Apache. 3. You'll learn how to deploy a Ruby on Rails application. Don't worry if anything goes wrong. This installer will advise you on how to solve any problems. Press Enter to continue, or Ctrl-C to abort. 1 # specify 1 and Enter ..... ..... After you restart Apache, you are ready to deploy any number of web applications on Apache, with a minimum amount of configuration! ..... |
| [8] | Configure httpd for Redmine. This example shows to configure it on virtual hostings. |
|
[root@dlp redmine]#
vi /etc/httpd/conf.d/passenger.conf # create new
LoadModule passenger_module /usr/lib64/ruby/gems/2.1.0/gems/passenger-5.0.6/buildout/apache2/mod_passenger.so
PassengerRoot /usr/lib64/ruby/gems/2.1.0/gems/passenger-5.0.6 PassengerDefaultRuby /usr/bin/ruby
NameVirtualHost *:80 <VirtualHost *:80> ServerName redmine.srv.world DocumentRoot /var/www/redmine/public </VirtualHost> chown -R apache. /var/www/redmine [root@dlp redmine]# /etc/rc.d/init.d/httpd restart Stopping httpd: [ OK ] Starting httpd: [ OK ] |
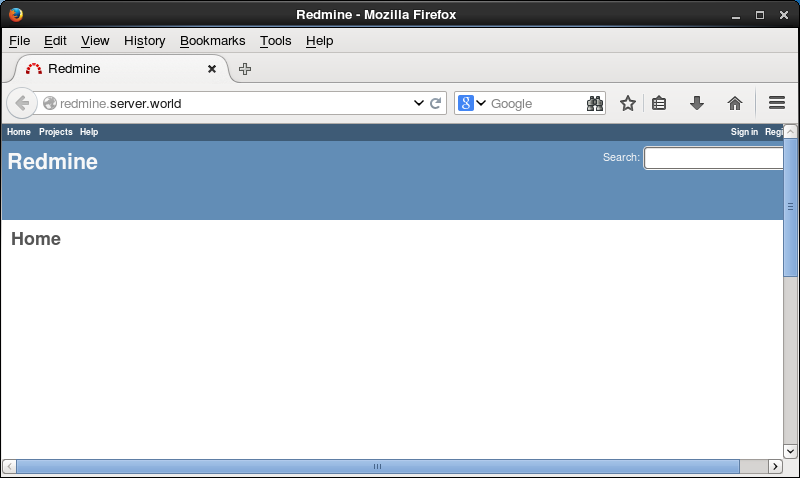
| [9] | Access to the URL you configured on httpd, then Redmine's top page is shown like follows. Click "Sing in" button. |
|
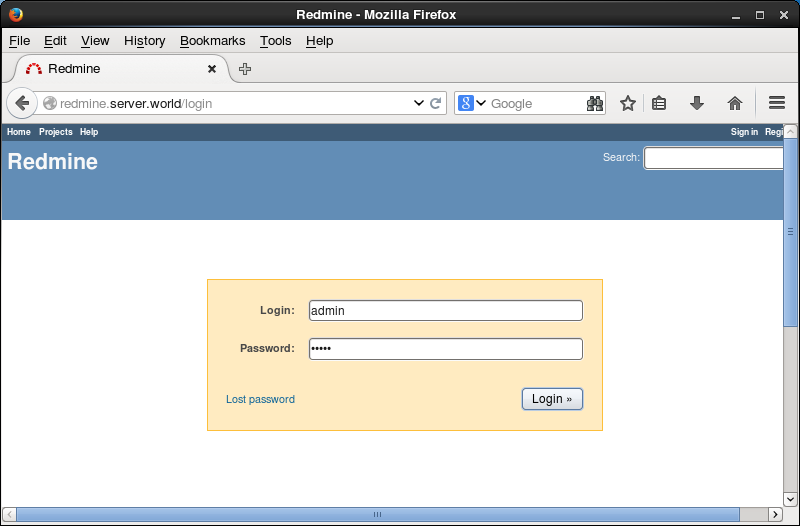
| [10] | Login with the initial username/password "admin/admin". |
|
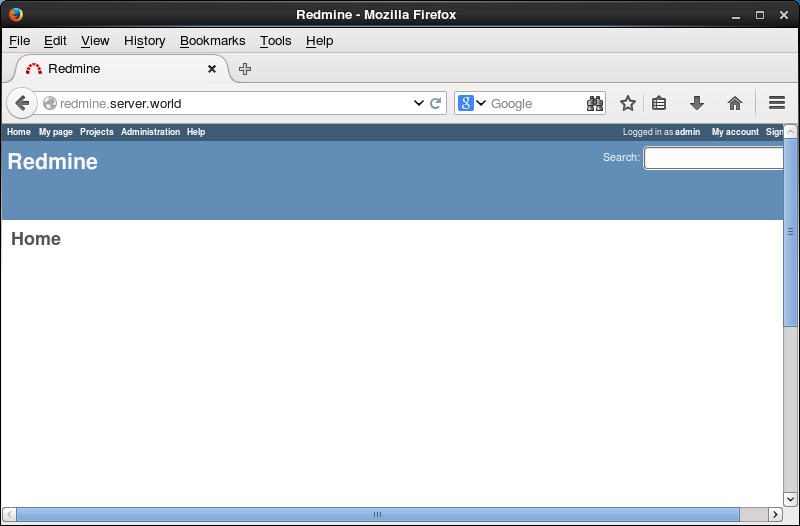
| [11] | Just logined. Change admin password first. Click "My account". |
|
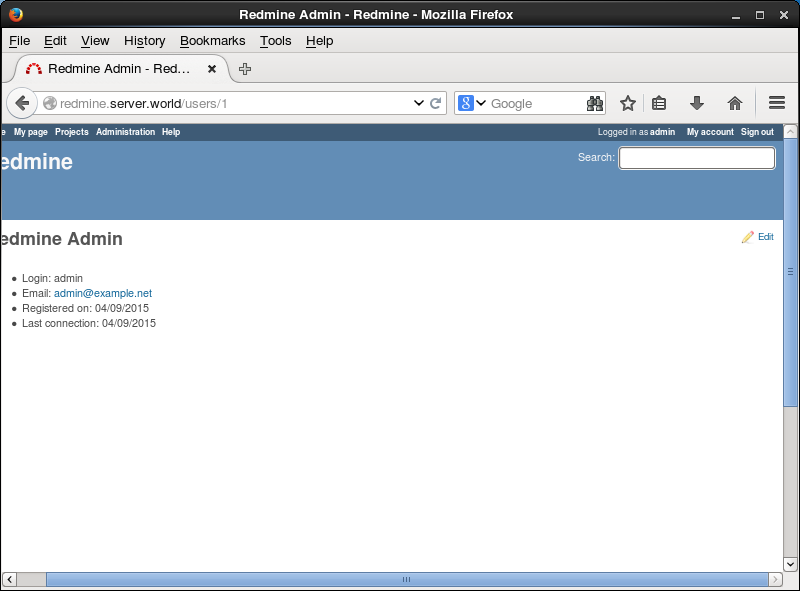
| [12] | Click "admin". |
|
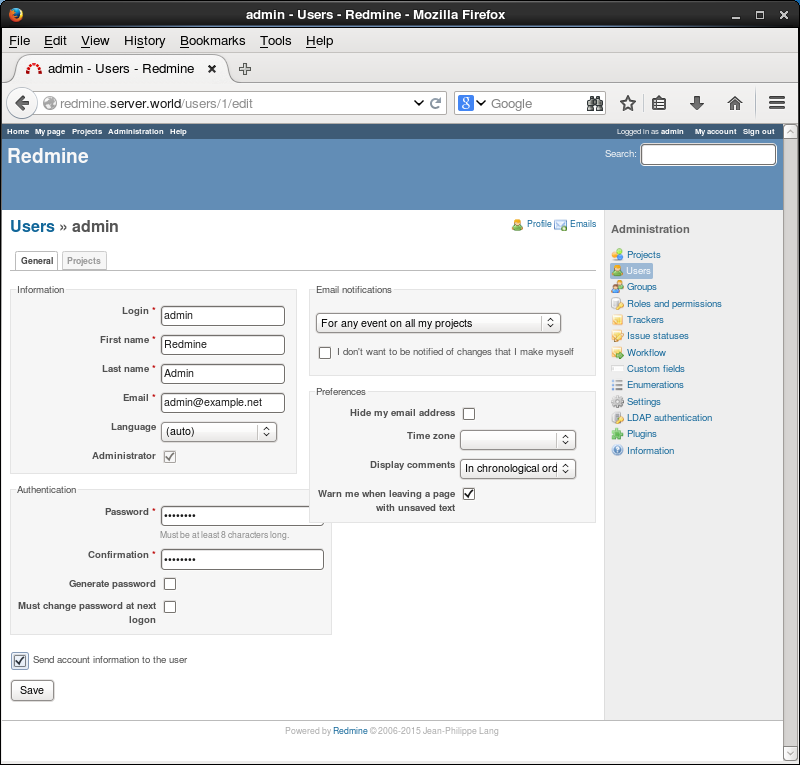
| [13] | Click "edit". |
|
| [14] | Input any password you like in the Authentication field and change it. |
|
Matched Content