oVirt - Initial Setup on Web UI2014/06/15 |
|
Initial Setup on Web UI from a Client Machine.
This example shows to configure on the environment below.
(1) ovirt.srv.world
[10.0.0.50] ⇒ oVirt Control Server ( up to 4G memory ) (2) node01.srv.world [10.0.0.40] ⇒ oVirt Node ( KVM Host configured ) (3) client.srv.world [10.0.0.30] ⇒ ClientPC ( Desktop Environment configured )
|
|
| [1] | Install some requied packages first on a Client Machine that Desktop Environment installed. |
|
[root@client ~]# yum -y install firefox spice-xpi
|
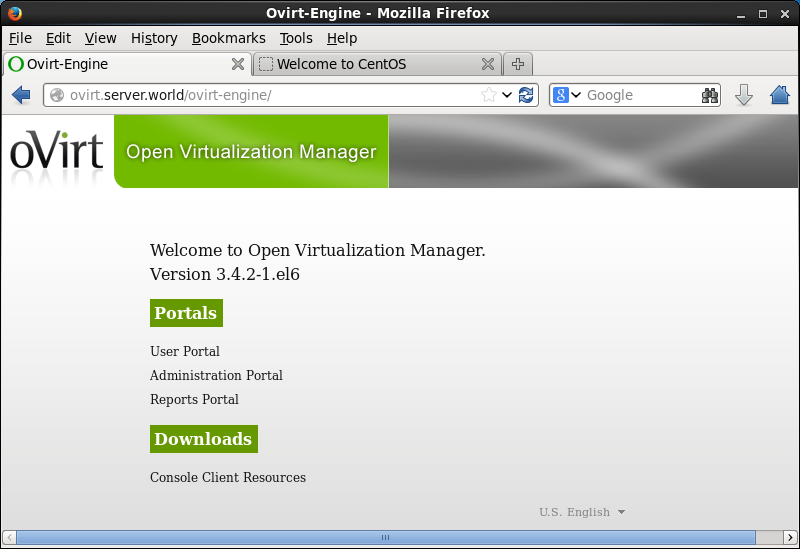
| [2] | Access to the "http://(oVirt Control server's hostname or IPaddress)/" on Firefox, and Click "Administrator Portal" on the page. |
|
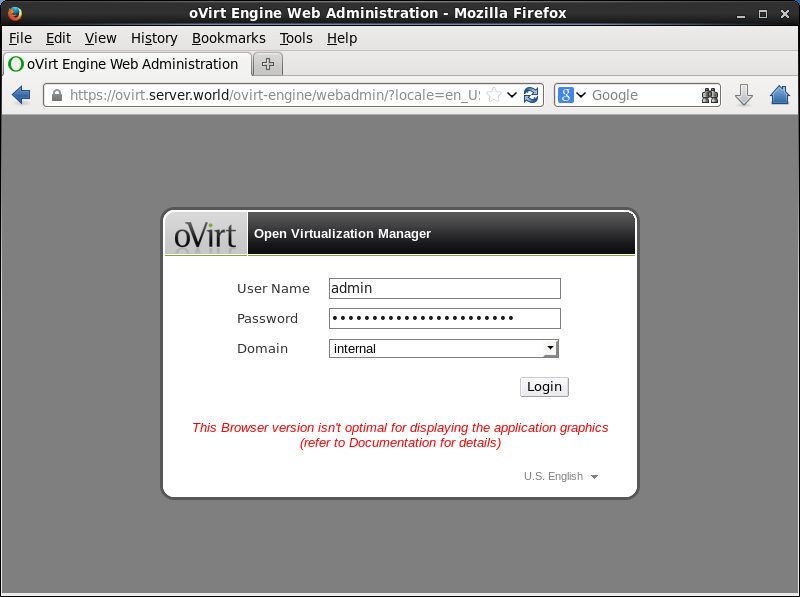
| [3] | SSL certificates warnings is show because of own created one, proceed because it's no ploblem, then, authencation page is shown like follows. Login with admin user and password that you did set during oVirt Control server. |
|
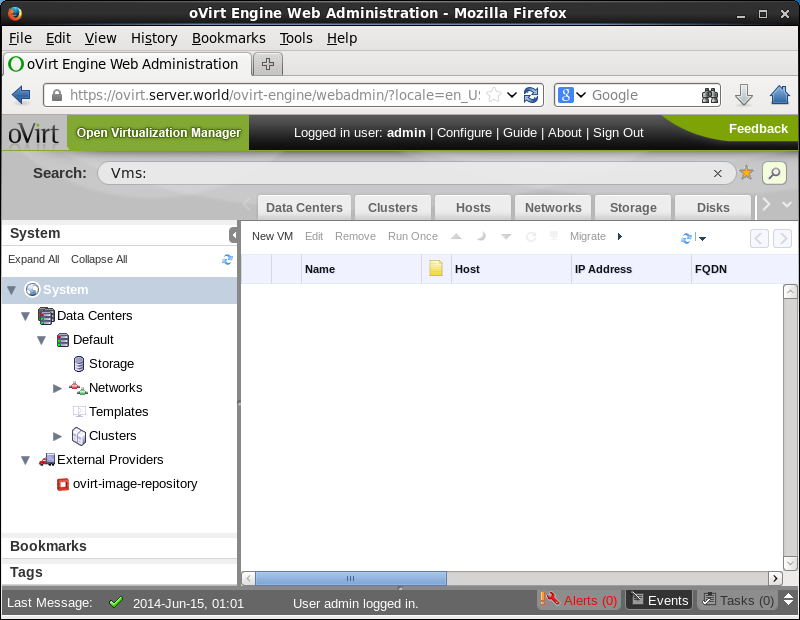
| [4] | Just logined. This is main site of oVirt Control. |
|
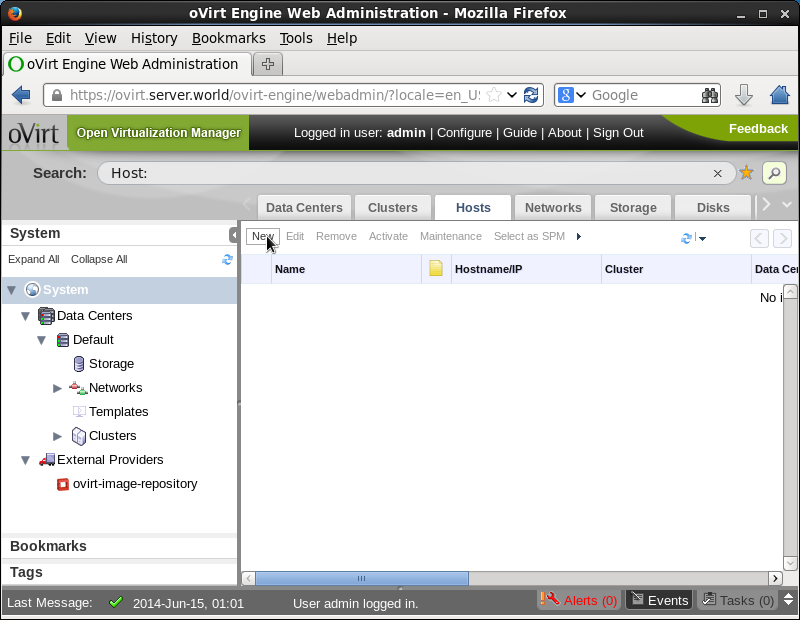
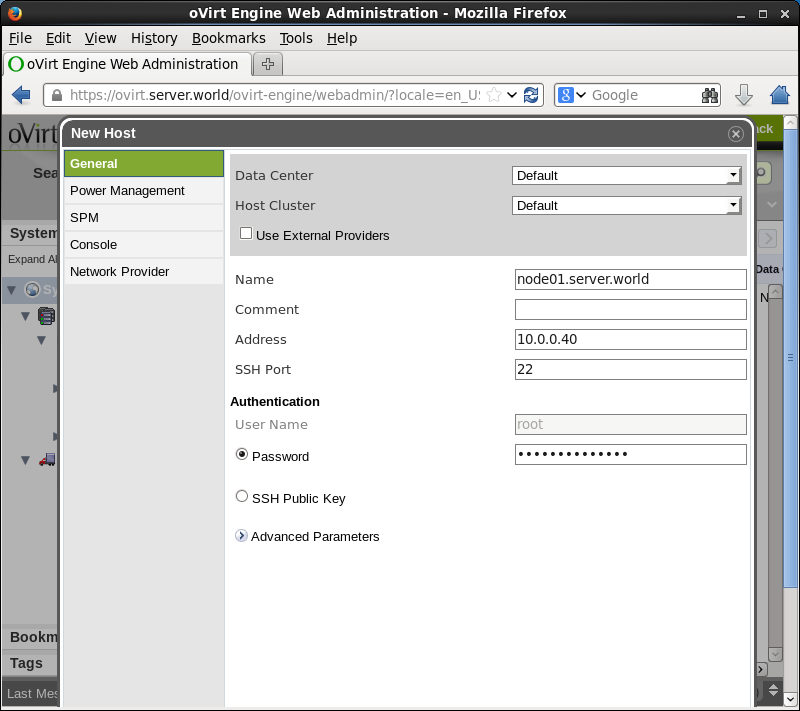
| [5] | First, add a Node. Move to "Hosts" tab and click "New". |
|
| [6] | Input the information of Node you'd like to add and click "OK". |
|
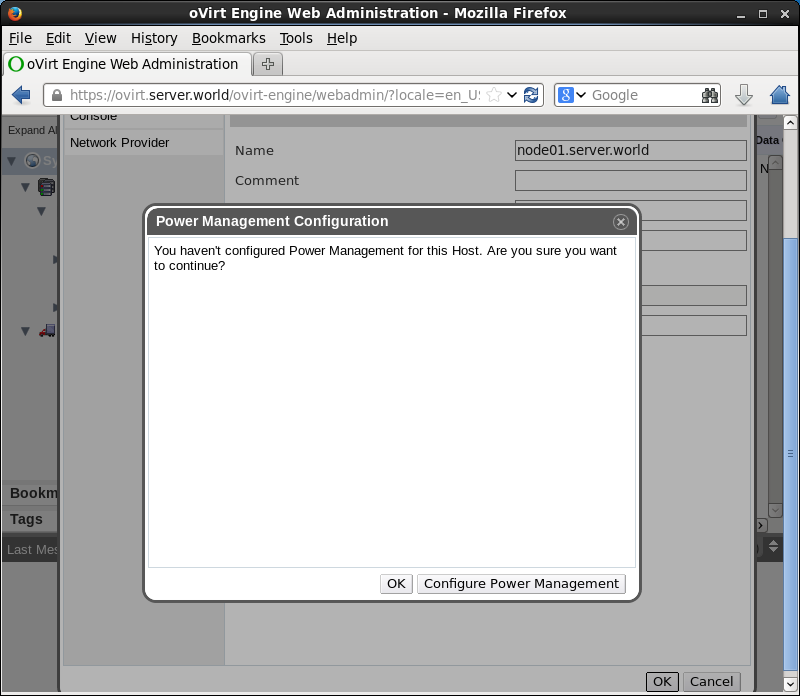
| [7] | Configure "Power Management". This function enables on specific hardwares made by HP or Dell. So if your Machine correspond, configure, or if not, Click "OK" to proceed without configuring it. |
|
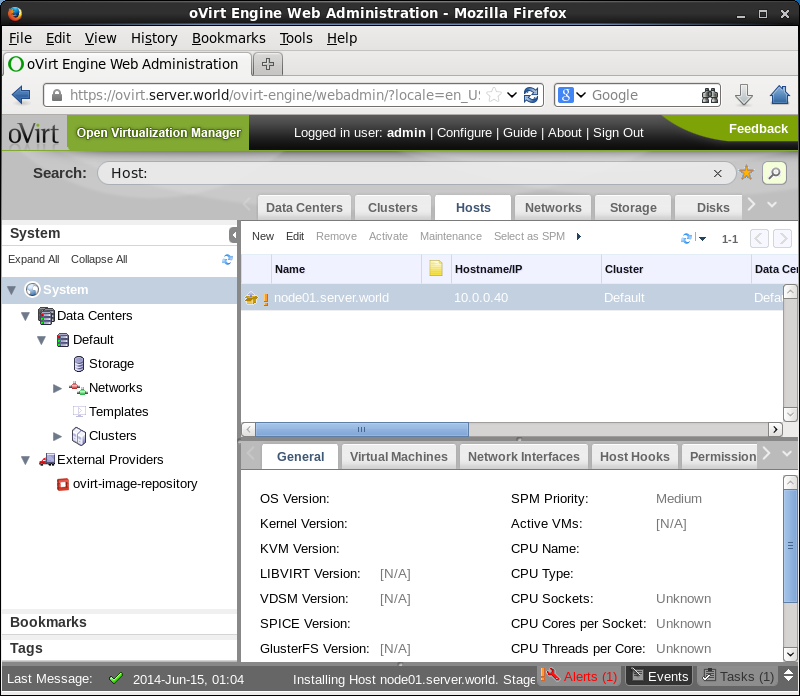
| [8] | After adding Node, the entry of it is shown on the "Hosts" tab like follows. Just then, automatical installation and configuration from oVirt Control Server to Node is running on background, so wait for a few minutes untill it would be completed. |
|
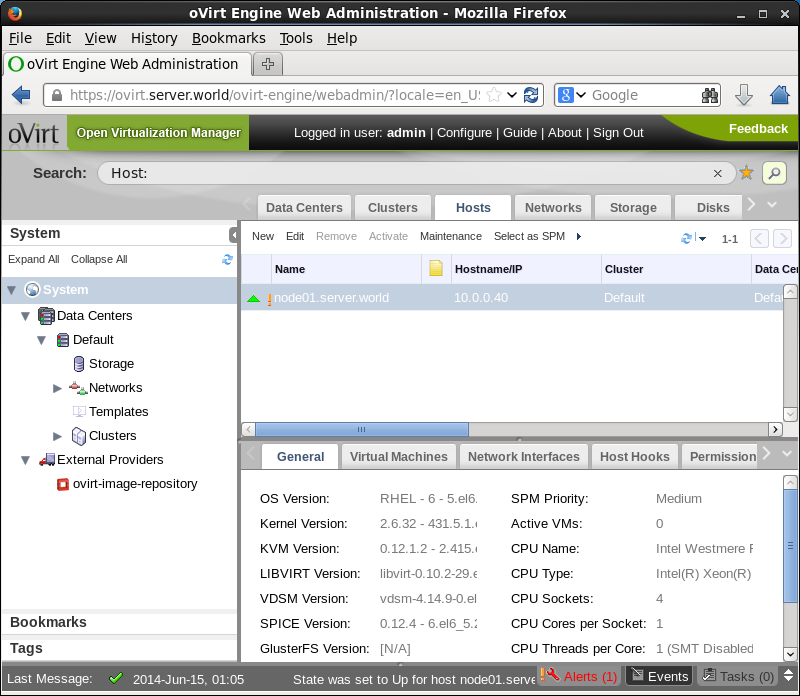
| [9] | After few minutes later, system infomation are displayed like follows. If you maintain the Node, Click "Maintenance" button, if you enable the Node, click "Activate" button. |
|
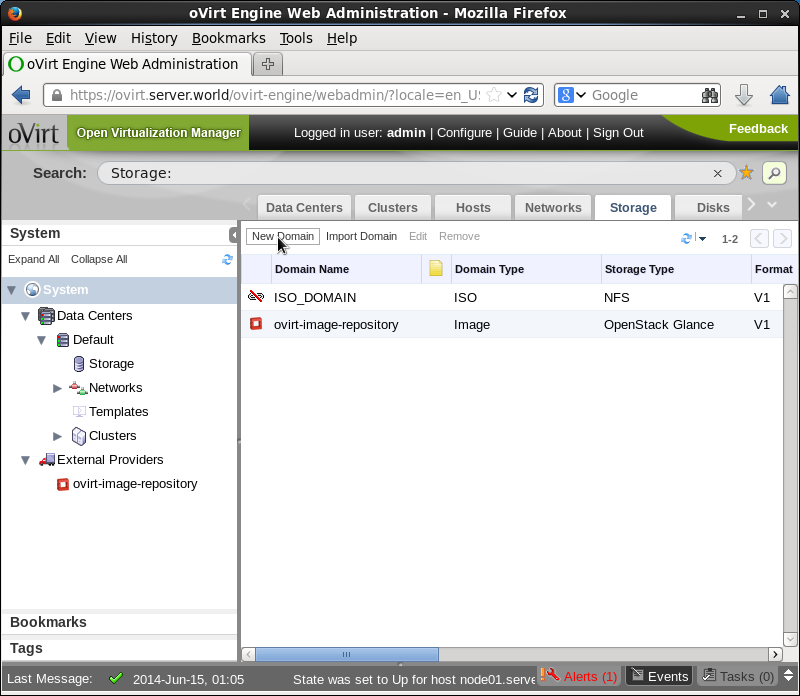
| [10] | Next, add storage. Move to "Storage" tab and click "New Domain". |
|
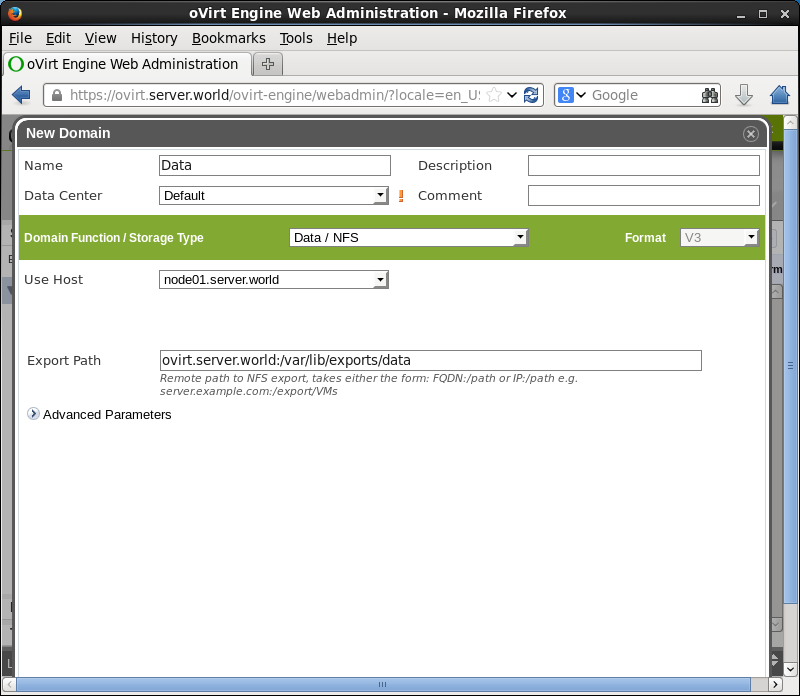
| [11] | Input any name for "Name" field. For "Export Path", input the storage that you add on oVirt Setting. |
|
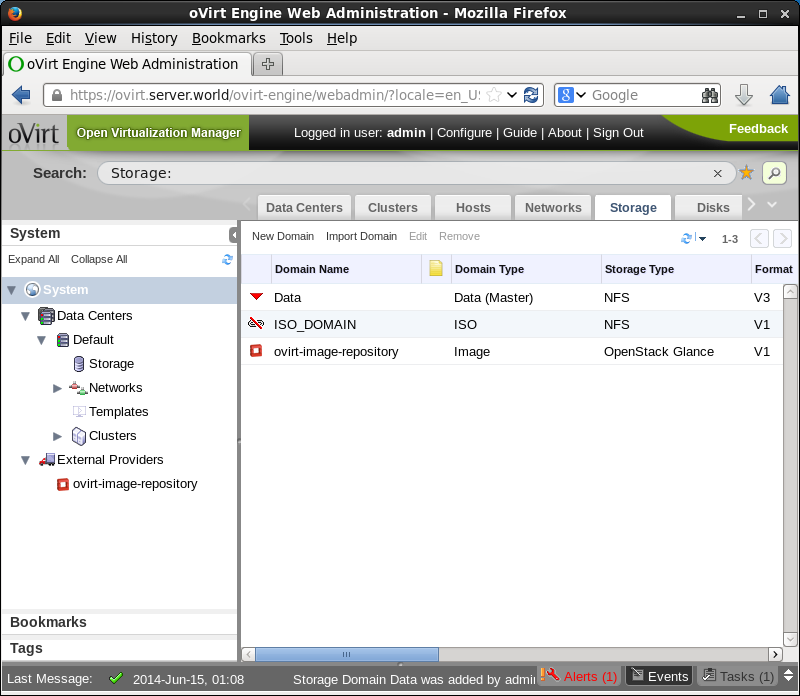
| [12] | After adding, it is listed like follows. |
|
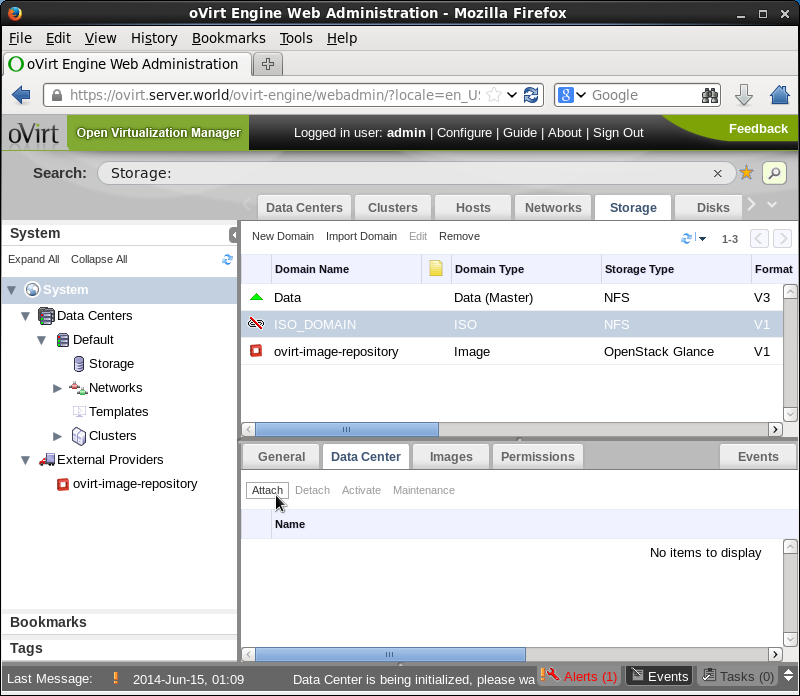
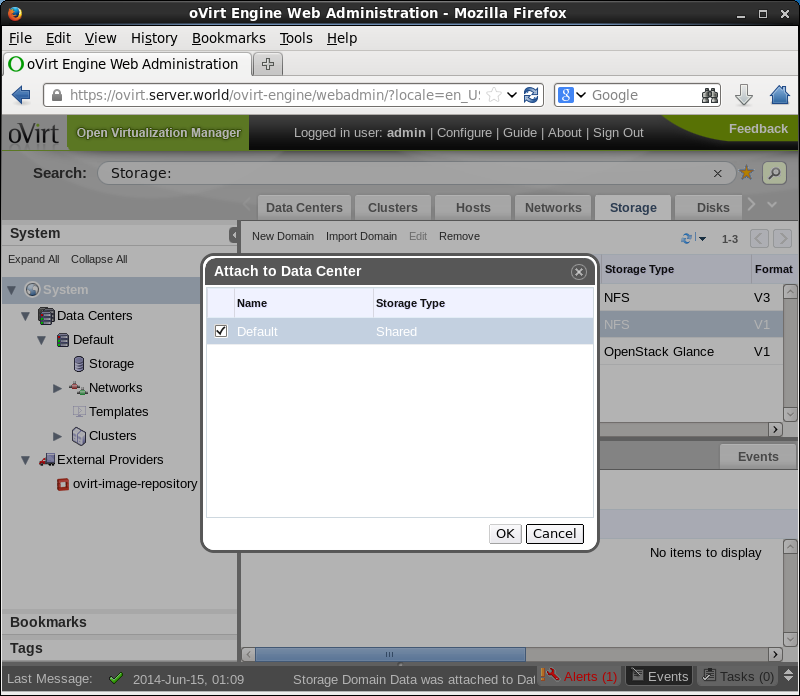
| [13] | Next, Attach the storage for ISO images for installing guestOS. Use default ISO Domain "ISO_DOMIAN" that is added on oVirt setting. Focus "ISO_DOMIAN" and move to "Data Center" tab and click "Attach" button like follows. |
|
| [14] | Check a box on "default" and click OK. |
|
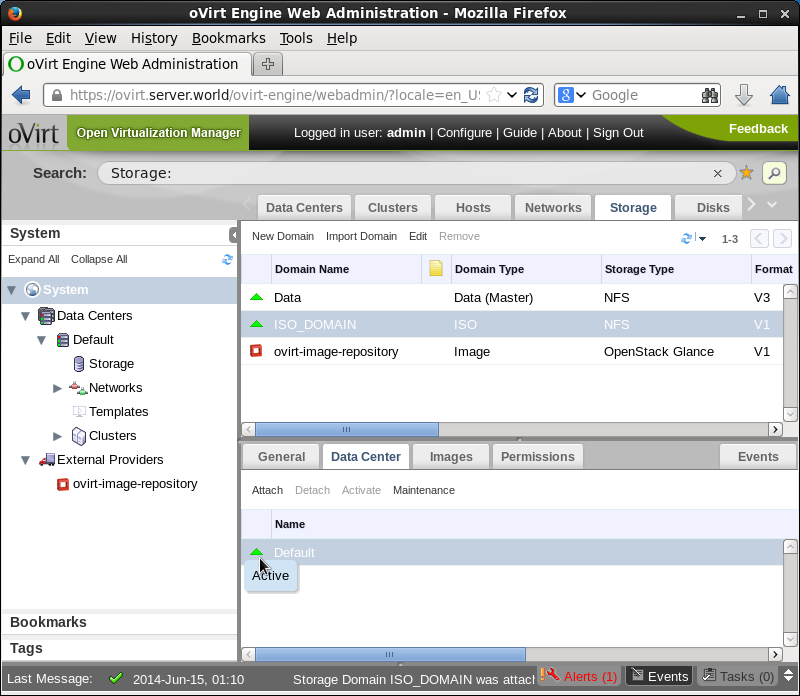
| [15] | Make sure the "Default" is "Active". |
|
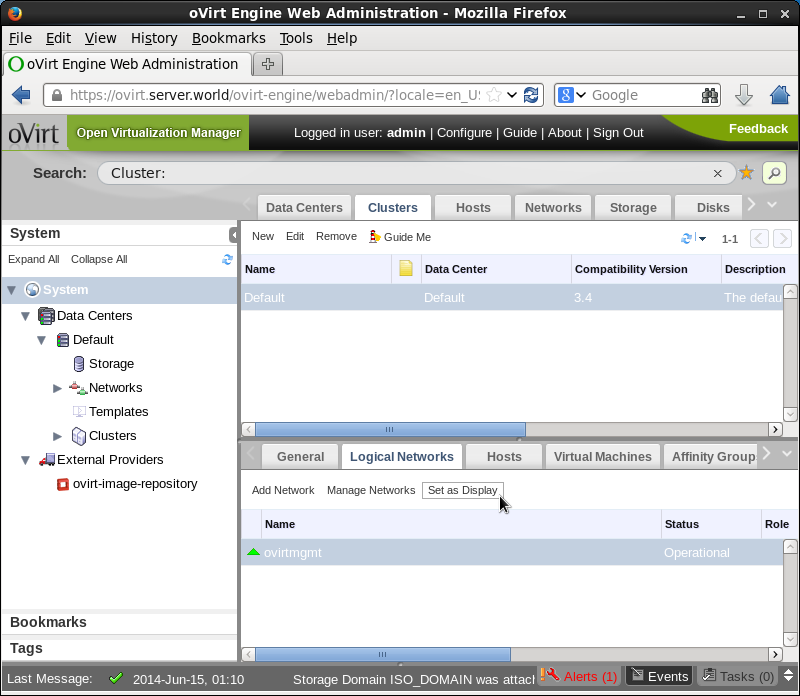
| [16] | Move to the "Cluster" tab and move to the "Logical Networks" on under section like follows, then focus on network interface listed and click "Set as Display" button. That's all, initial basic configuration is OK. |
|
Matched Content