Photo Gallery - Piwigo2014/09/22 |
|
Install Piwigo that is online Photo Gallery System.
|
|
| [1] | |
| [2] | |
| [3] | Create a database for Piwigo. |
|
[root@www ~]# mysql -u root -p Enter password: Welcome to the MySQL monitor. Commands end with ; or \g. Your MySQL connection id is 2 Server version: 5.1.73 Source distribution Copyright (c) 2000, 2013, Oracle and/or its affiliates. All rights reserved. Oracle is a registered trademark of Oracle Corporation and/or its affiliates. Other names may be trademarks of their respective owners. Type 'help;' or '\h' for help. Type '\c' to clear the current input statement. # create a database "piwigo" ( input any password you like on 'password' section )
mysql>
create database piwigo; Query OK, 1 row affected (0.00 sec)
mysql>
grant all privileges on piwigo.* to piwigo@'localhost' identified by 'password'; Query OK, 0 rows affected (0.00 sec)
mysql>
mysql> flush privileges; Query OK, 0 rows affected (0.00 sec) exit Bye |
| [4] | Install Piwigo. |
|
[root@www ~]#
[root@www ~]# yum -y install php-mysql php-gd
wget http://piwigo.org/download/dlcounter.php?code=latest -O /var/www/html/piwigo.zip [root@www ~]# unzip /var/www/html/piwigo.zip -d /var/www/html [root@www ~]# chown -R apache. /var/www/html/piwigo |
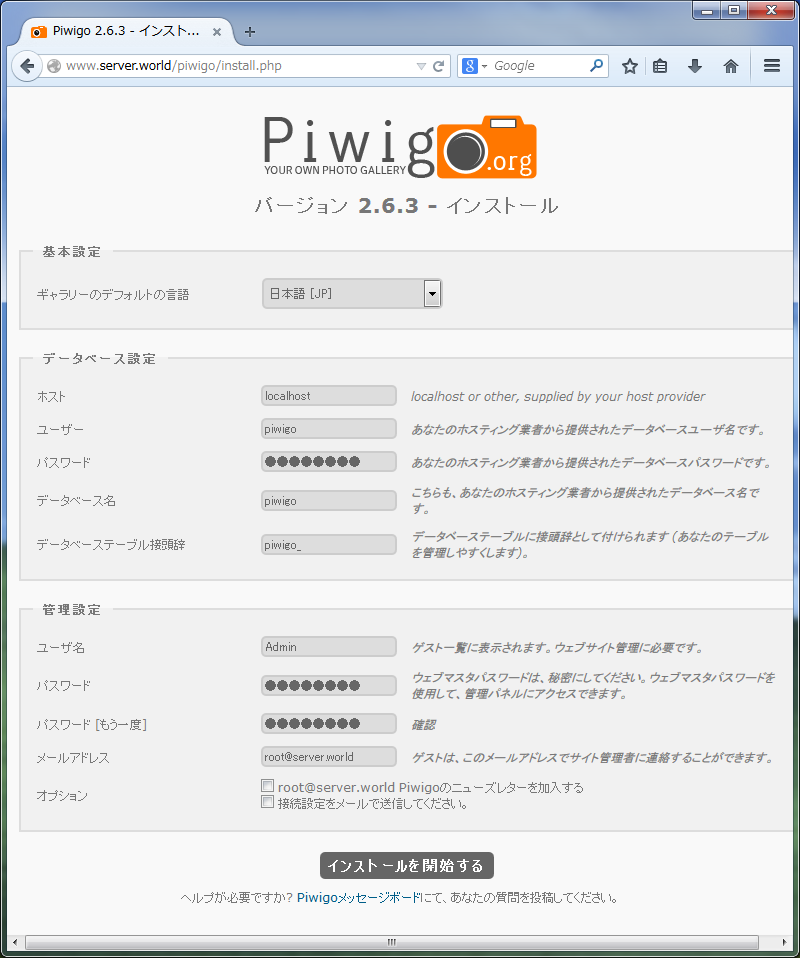
| [5] | Start Web browser and access to "http://(your server's hostname or IP address)/piwigo/". Next, input informations for setting up the Piwigo like follows. For database section, input DB user and DB name set on [1]. For administration section, input any name or password you like for setting up admin user. |
|
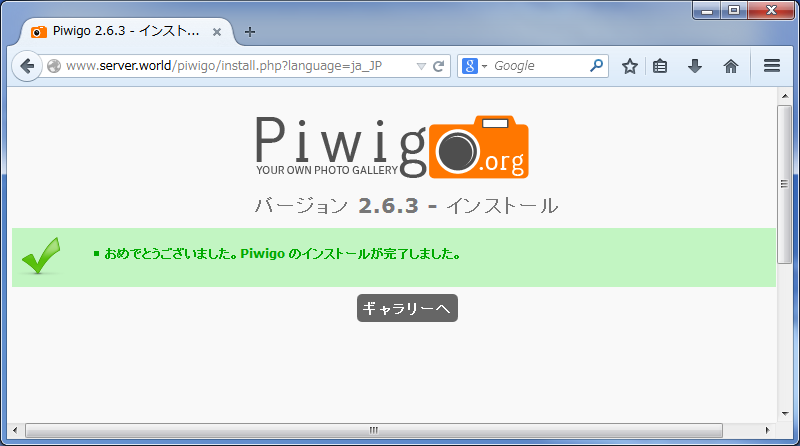
| [6] | Installation will be finished if you inputed correct information on previous section. Click "Go to Gallery" to proceed. |
|
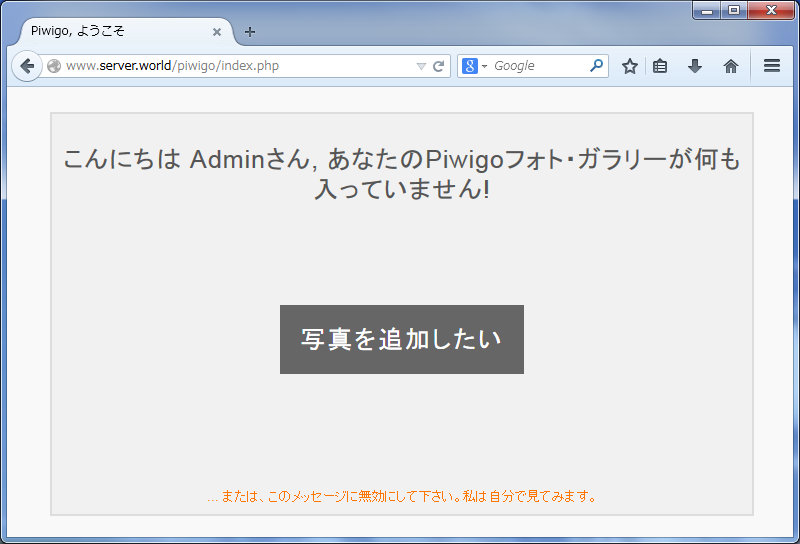
| [7] | Click "Add Photos" to proceed and next, add your photos on administration section. It's easy to operate to add photos. |
|
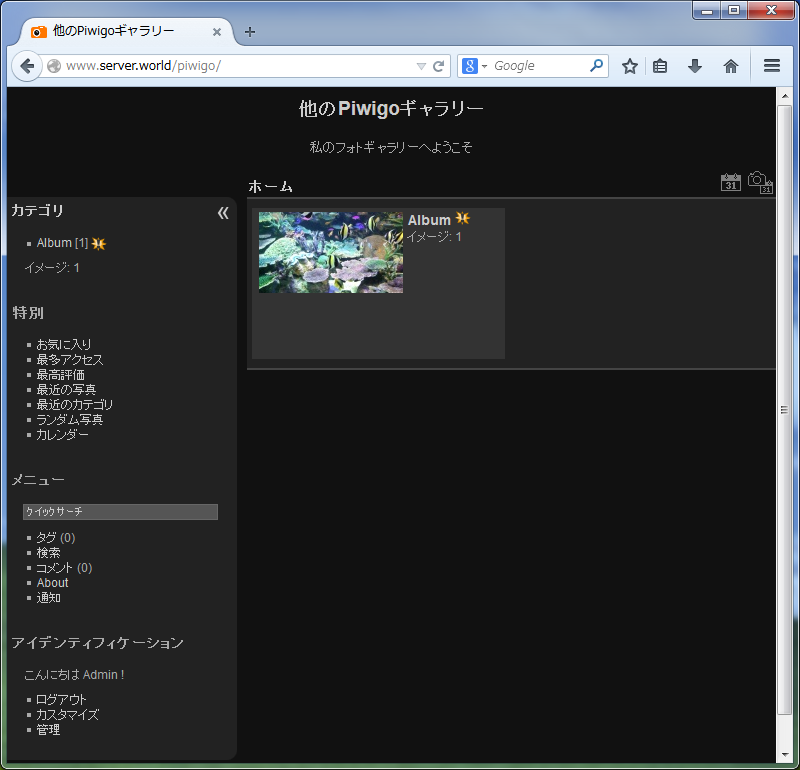
| [8] | After adding photos, it's possible to look the photos like follows. |
|
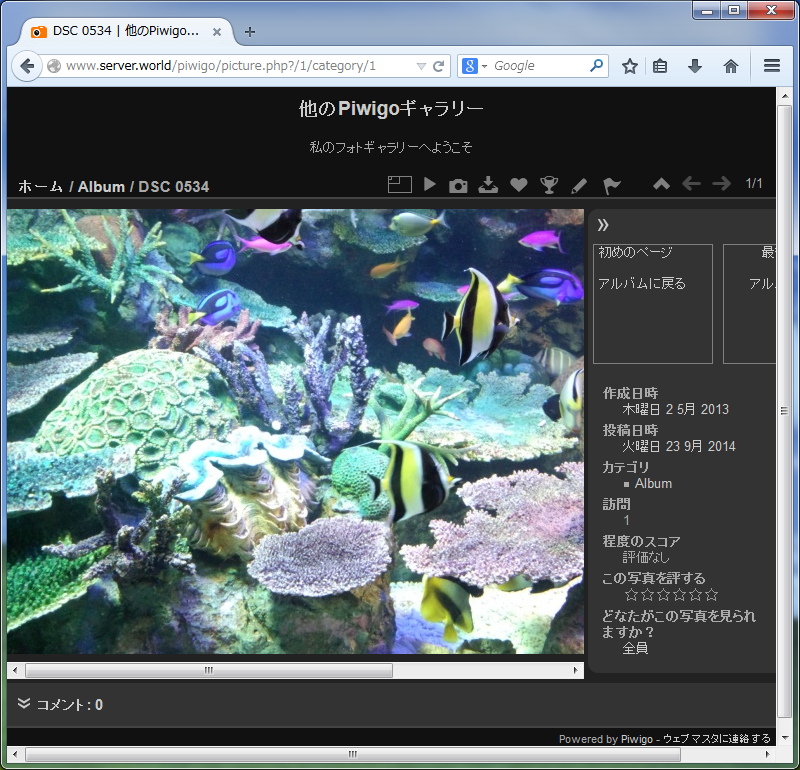
| [9] | It's possible to see on Slide show mode like follows. |
|
Matched Content